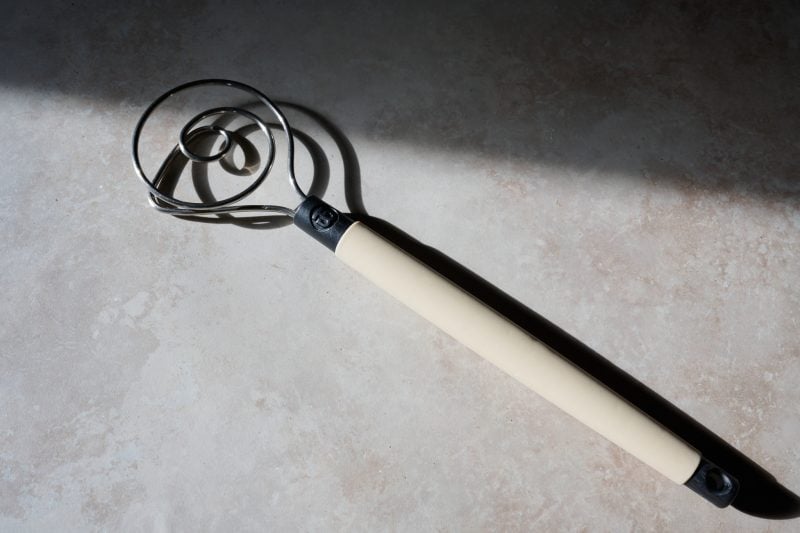
Keep your hands clean during mixing with this super strong whisk.
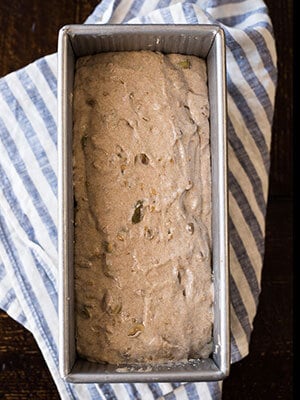
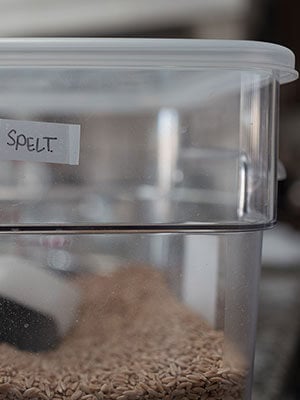
Flour and Grain
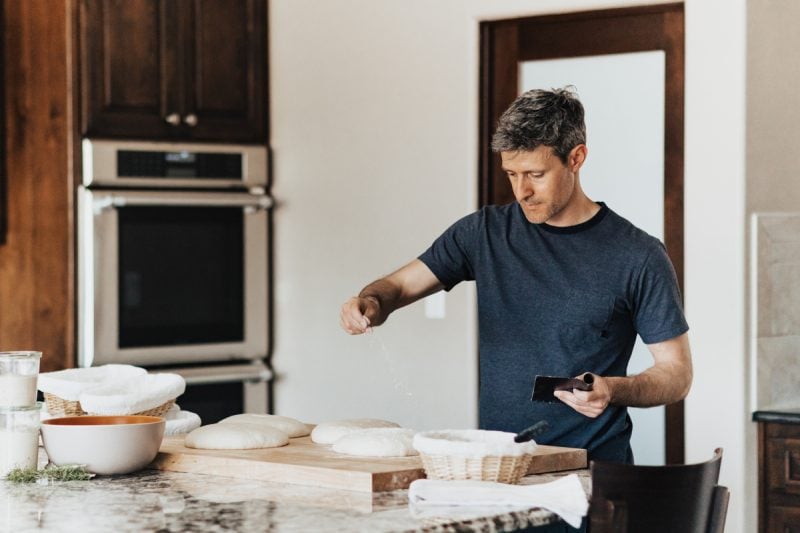
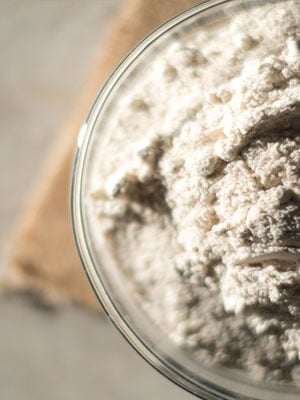
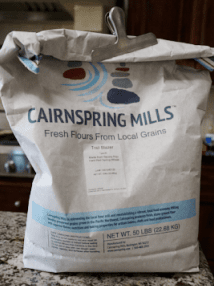
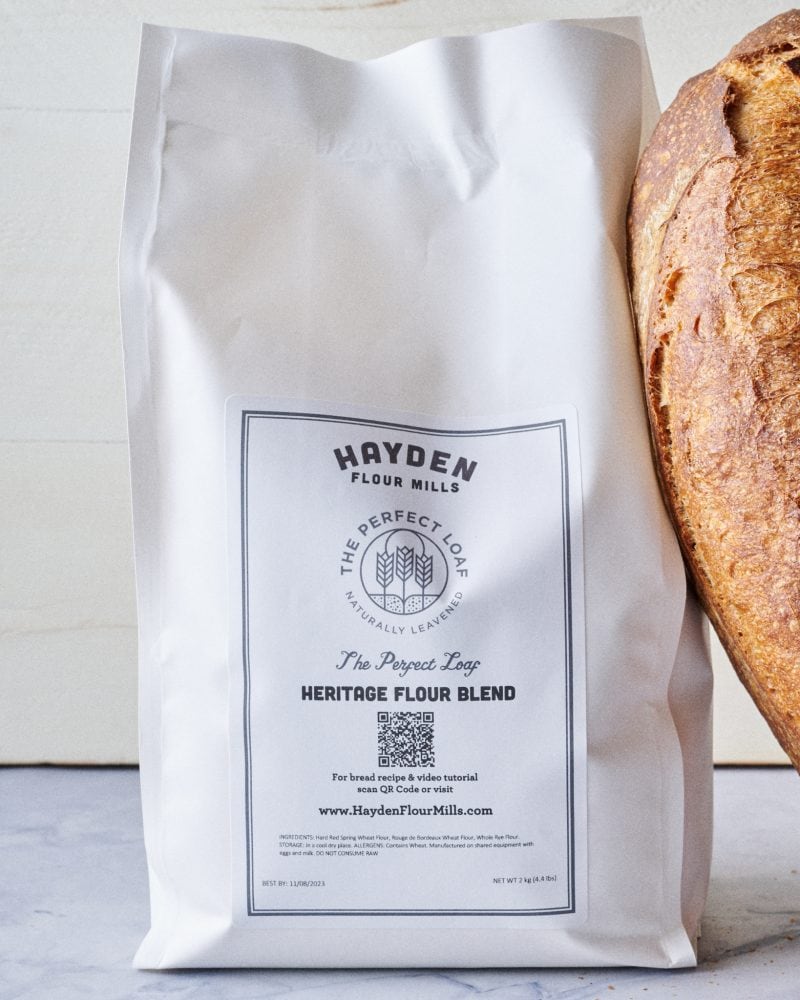
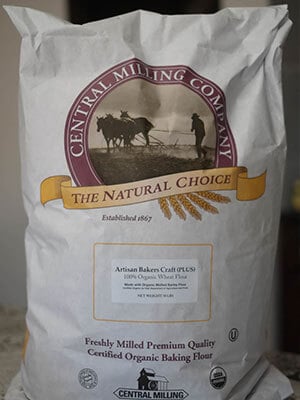
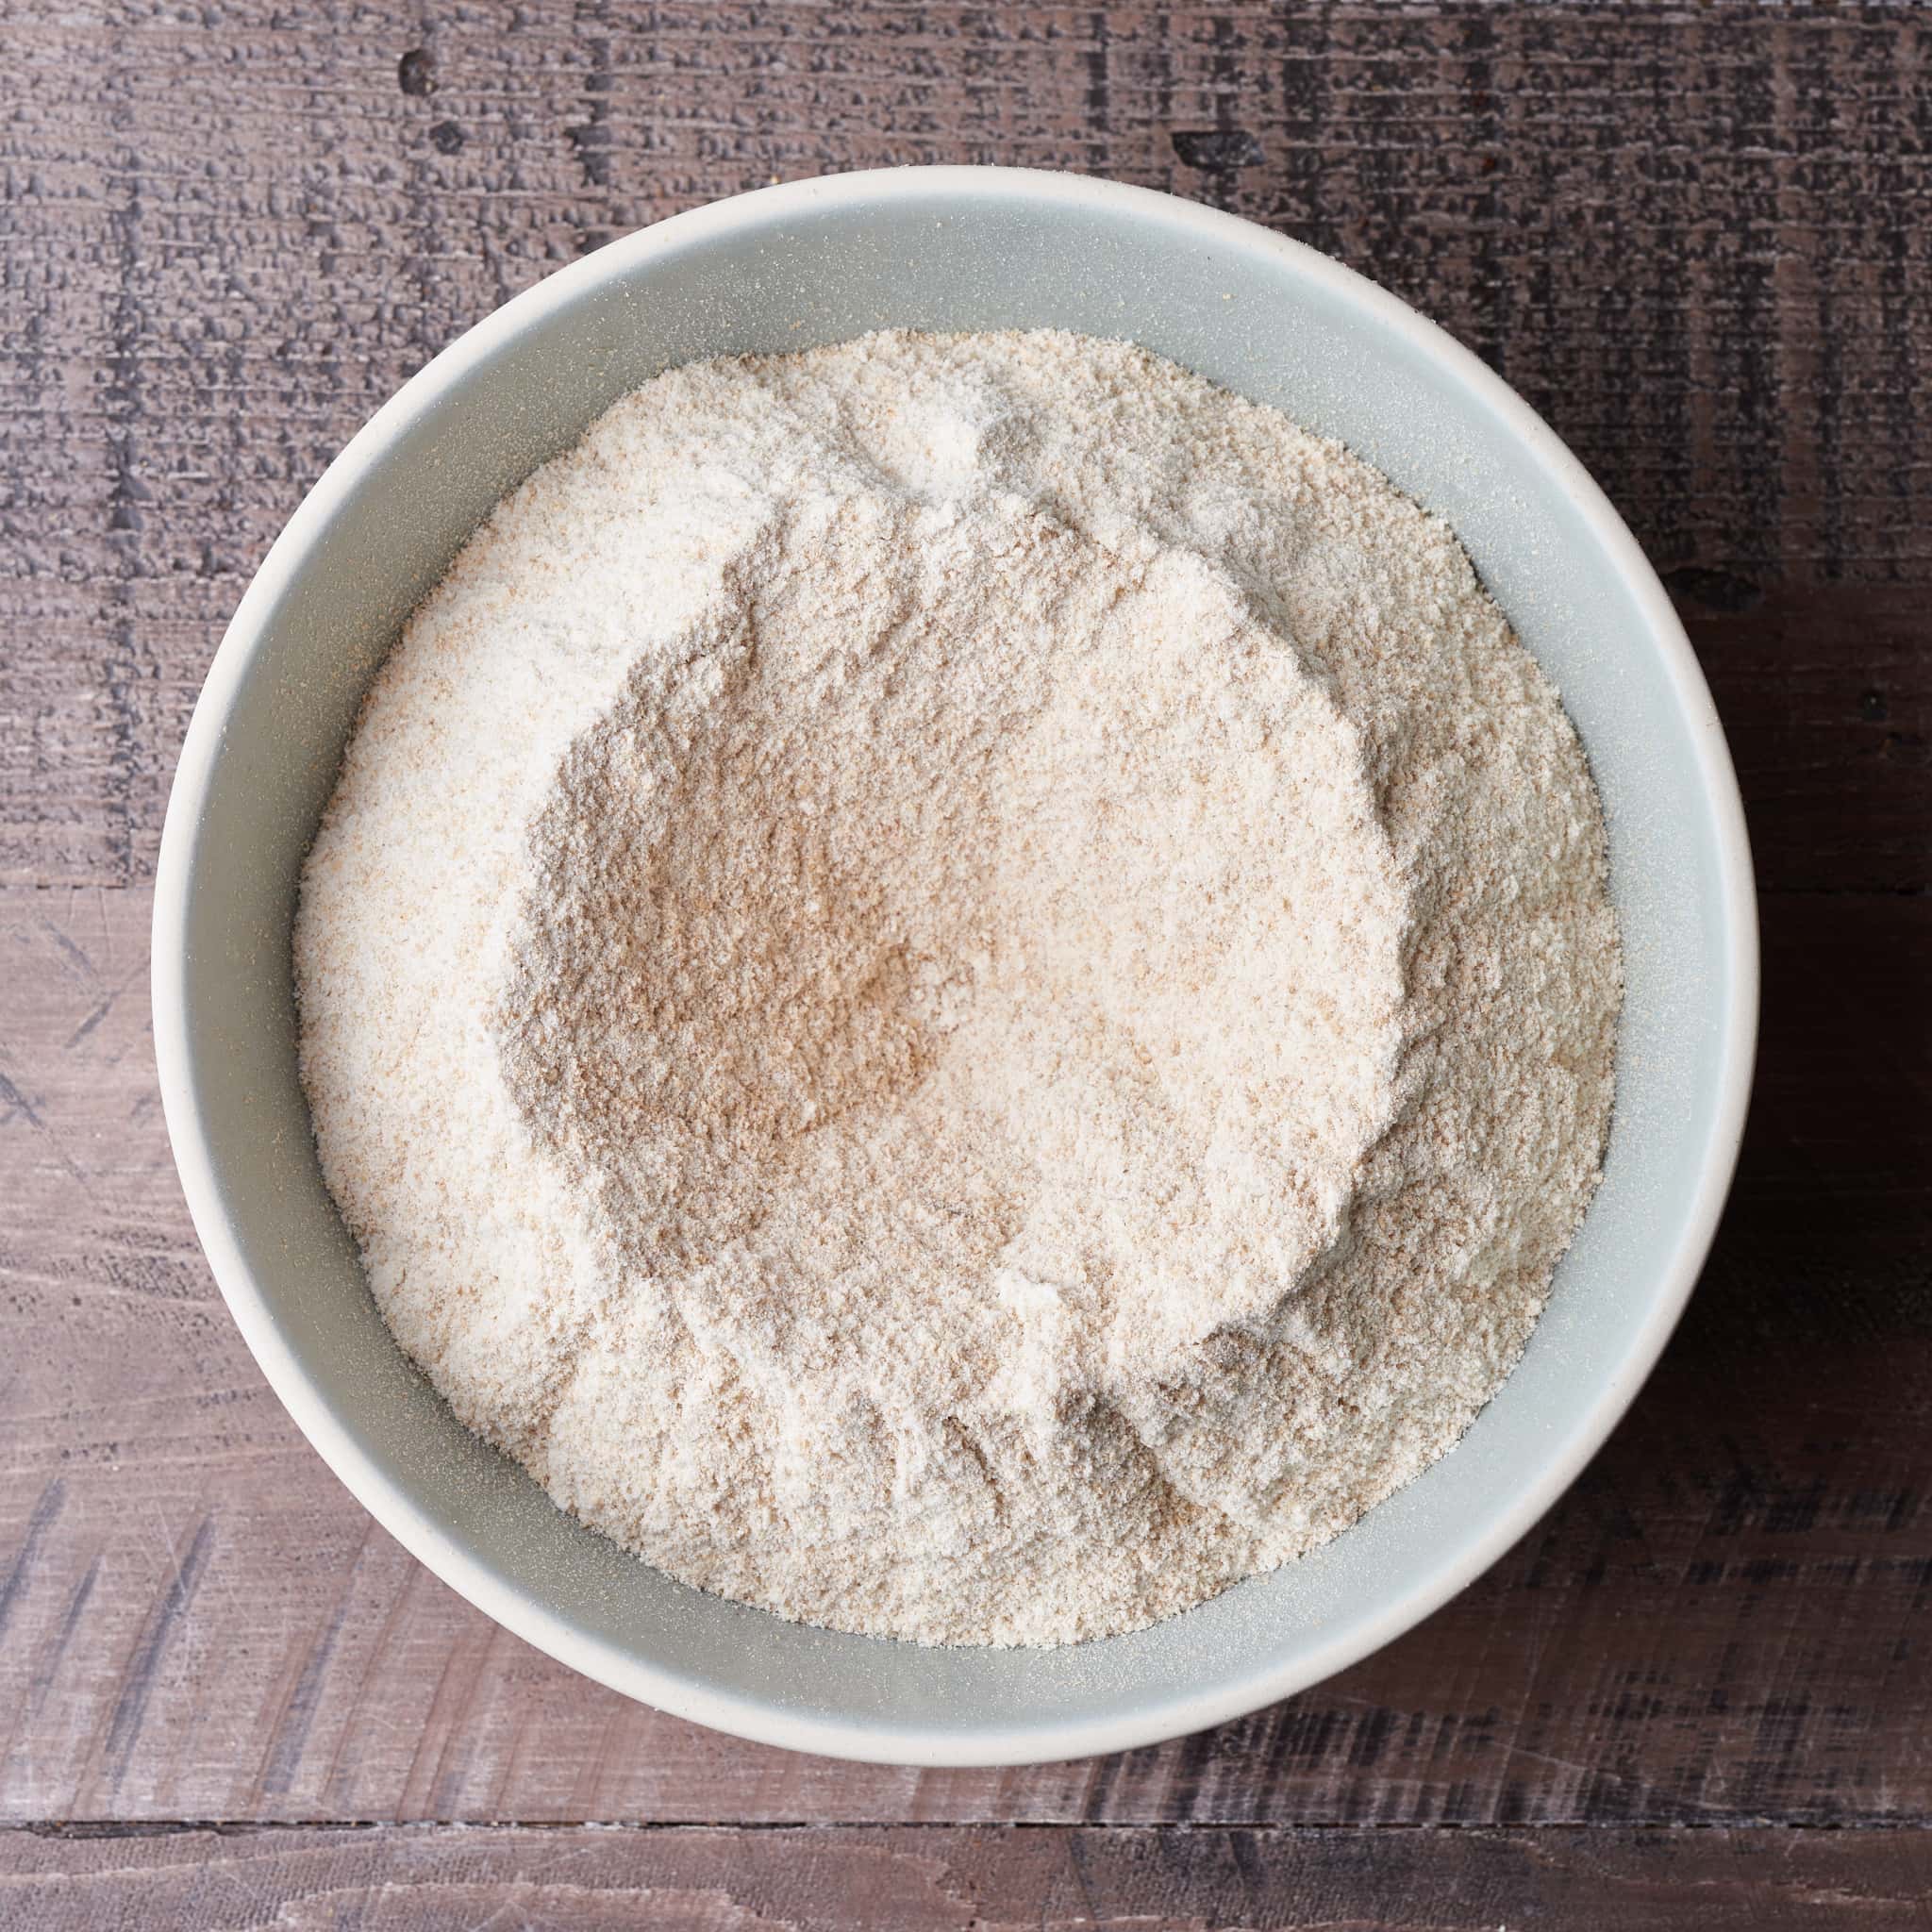
The list below are my most-used flours here at home, but look local first! There are many great farmers and millers scattered all over with incredible flour options.
I use these to store all my flour (5lb bags)—just the best.
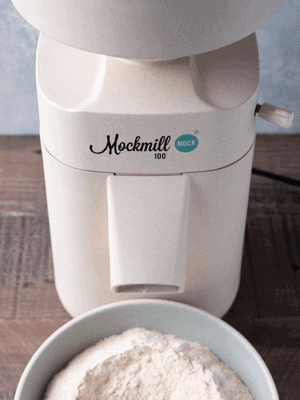
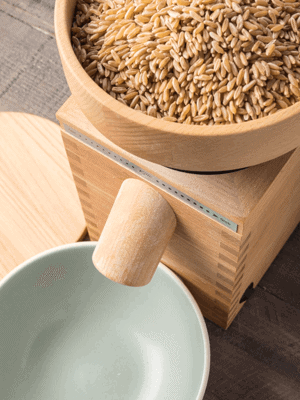
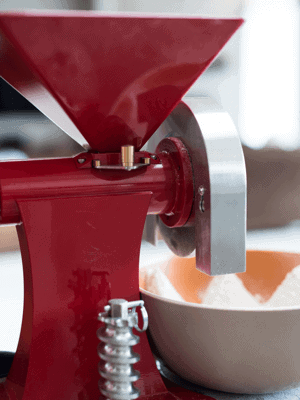
Grain Mills
Below is a list of my favorite grain mills used to mill fresh flour in my home kitchen regularly. They are all built extremely well and are capable of producing excellent flour.
I’ve touched on this in another post, but I wanted to share the results of using Breadtopia’s clay baker. This is your 100% Einkorn Sourdough to which I use 30% fresh milled whole Einkorn berries. https://imgur.com/AuAXRaC & https://imgur.com/xoZcetS For this particular bake I went to 18 hours of cold fermentation. I’m very happy with these bakers, I must be, I have two – which makes bake time go much faster. Plus they make an excellent roast chicken!
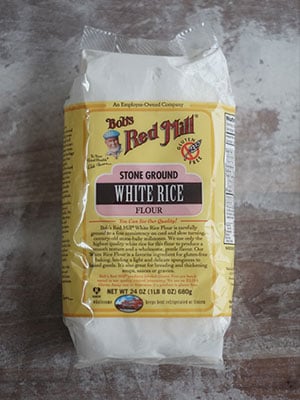
I have a link up top to the dark rye flour I use. The reason I like “dark” is because it’s 100% whole grain, which is teeming with nutrients. Here’s the link to the dark rye flour.
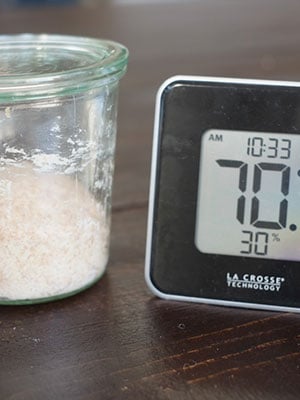
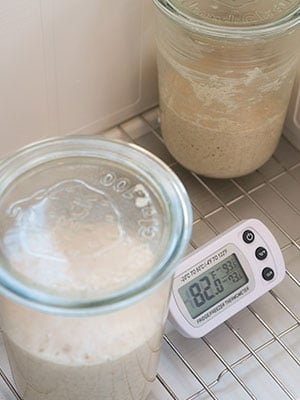
Hey, Chantel! Yes, use your oven — turned off. Your oven is an excellent temperature-stable chamber. You could toggle the light inside on and off periodically to heat up the interior as needed. Just be sure no one turns the oven on with your starter inside (I like to stick some tape or something indicating my starter is in there!).
Another idea is to use a thicker jar or wrap your jar in a towel, then heat the water you use to refresh your starter. This should help retain heat for a while longer, perhaps not until the next feeding, but every bit helps.
My daughter has a problem with gluten. Are there any gluten free flours that you would recommend for making sour dough bread? We’re also curious if the sour dough yeast is better for those who need to avoid gluten. It seems to make a difference. I myself notice the sour dough that I’ve been baking at home really feels different when I eat it. I don’t feel “stuffed” with bread. Any opinions, input, suggestions on flours? Is there a reference to read on the subject? I just stumbled on to your website and am so impressed with it. Loving it.
Thanks for the kind words, Katherine! Unfortunately I have little experience in baking proper gluten free bread. However, you might want to look for some of the typical wheat flour alternatives: buckwheat flour, almond flour/meal, oat flour, rice flour, and likely others. These can all be used in some form to bake bread.
Regarding your experience in eating sourdough, it really must be looked at in a case-by-case method — each person will react differently especially if they do have a verified wheat allergy or gluten intolerance. My biggest advice there would be to seek out a medical professional to test whether there is a diagnosed intolerance and see what they recommend (you’ve already likely done this).
Personally, I find eating naturally fermented bread, with it’s lengthy fermentation time, to just be more enjoyable to eat — in taste, texture, and nutrition. I hope this helps in some way! Happy baking 🙂
Thanks for all the great info. I have a question about the sourdough starter, I want to make it from scratch myself, but my kitchen is cold, about 60-68 at best (in the summer its usually around 80, but NOT winter). I am only baking for one person, so I don’t really want a large Poofer. Is there another method you recommend to keep the starter warm but not require a large/expensive poofer to do so?
hi Maurizio , im from argentina , i am about to buy a kitchenaid 600hd profesional , here , there are no many options at a low price , do you have experience with a similar one ? do you recomend them? Thanks a lot
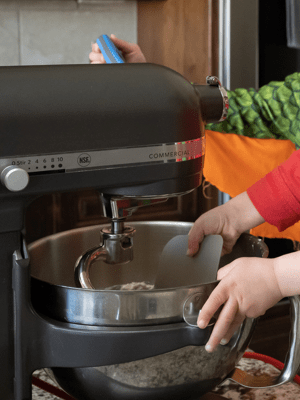
Hey! In General I find KA mixers are really nice for enriched doughs (like cinnamon roll dough, brioche, etc.) but for bread, I prefer not to use them. In the end they don’t seem to mix the dough sufficiently and if the dough is rather stiff, it can put a lot of strain on the motor. I have a Professional KA mixer as well and I use it all the time for cookies, cakes, and enriched doughs, just not bread.
I like Central Milling (you can buy really large bags), Breadtopia.com, and of course, something local! Depending on where you live you might be able to find a farmer/mill close by that has options for you.
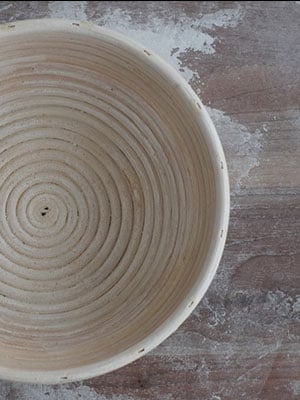
Not with that pot, I just preheat standing upright. No, I use an oblong proofing basket for a batard and a round one for a boule (check out My Baking Tools for information on each type).
Happy to hear you’re enjoying my site — thank you and happy baking, Carol!
I thought I posted a question here but now I don’t see it – so trying again! I do not have a combo cooker. I seem to remember you discussing using a Steuben dutch oven. Do you know where I can find that post – or could you give me directions here? I have an enameled Creuset. The lid however couldn’t be used like the shallow side of the combo cooker though, so now I am unclear as to how to use my Creuset for bread.
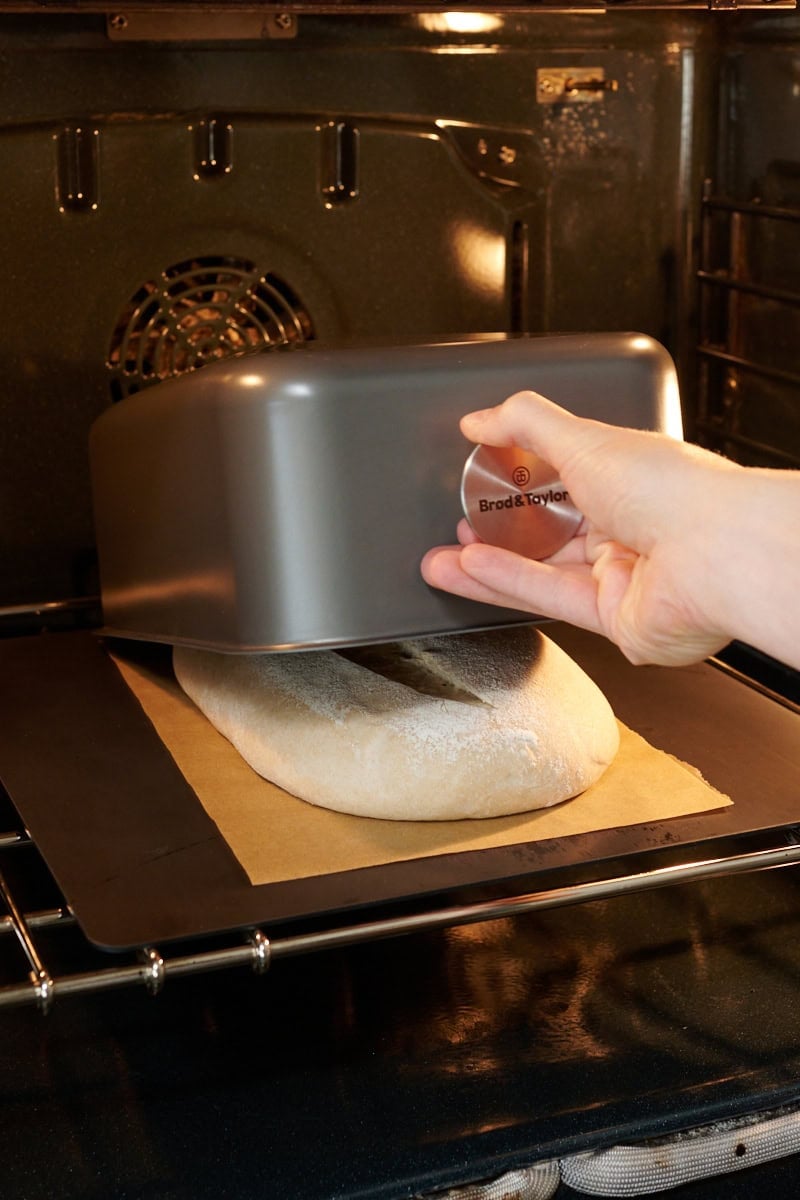
Hey, Carol! Yes, sometimes I use my Staub oval Dutch oven to bake oval loaves. I treat it the same exact way as the Lodge Combo cooker: I preheat the pot in the oven, load the dough into the deep end (there’s no shallow end) by dragging in the dough resting on a piece of snugly-cut parchment paper, cover the pot and let it bake per usual. About 20 minutes after beginning, I remove the lid (and take it out of the oven) and finish baking until done. Follow my directions for using the Lodge combo cooker on my Beginner’s Sourdough post just swap the combo cooker for your pot.
Perfect! Thanks a million. Do you preheat the pot upside down? Also, do you use the same proofing basket for a round loaf as for an oval loaf? I just LOVE your site. It’s so nice of you to take the time to reply to these questions.
Hey! Thank you for all of your wonderful content. I find your writing very helpful and clear. I just made my first sourdough loaf and it was such a satisfying feeling. I have a million questions, but I wanted to know your opinion on the best way to store a loaf after baking to keep it fresh for a few days? I noticed the bread box on your tools page, but do you also recommend putting it in a linen bag, a ziplock back, anything like that? Not for long term freshness, just on-the-counter so it wont go stain overnight. Thanks so much!
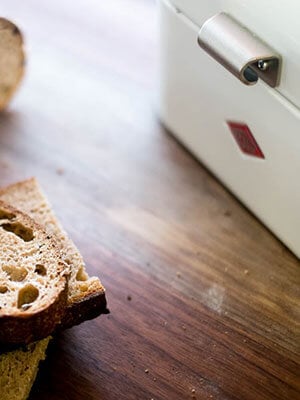
I usually use a bread box to store my bread after it’s been cut — as you saw above. If I’m using a bread box I won’t place the bread in anything — just straight into the box. The purpose of the box is to keep just enough humidity in there to keep the bread soft but not too soft. If I’m not using my bread box then I’ll either be sure to keep the crumb side of the loaf down on the cutting board so the crust naturally surrounds the entire loaf. Imagine cutting a loaf directly in half and then turning those halves down.
When freezing, I’ll wrap an entire loaf several times in plastic wrap and then place it into a freezer ziplock. When I want to eat it I’ll take it out the night before and let it thaw in the fridge. Then, you could pop it into the oven to warm up the next day or slice and toast the slices.
If you plan to eat it somewhat in the near term, you could slice the entire loaf then place the slices in a freezer ziplock back. Using a toaster (like this awesome toaster from Breville) you can thaw and toast the slices in one step and they come out fantastic.
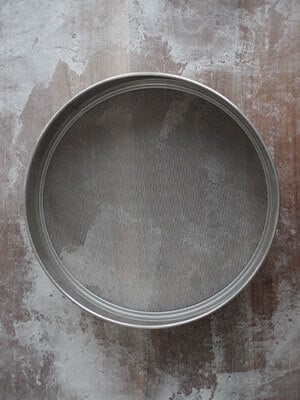
Lynn — I don’t have a guide on this, yet! I almost always use liners (or the cotton tea towels I have linked above) when using rattan or wicker proofing baskets. I do this because it just makes cleanup so much easier — I just toss them into the washing machine! However, some bakers like the design and result when the dough is in contact with the basket. When I used to do this I’d first start by “seasoning” the basket by misting some water onto the basket with a handheld sprayer. Then, I use a flour sifter (or a fine mesh strainer) to evenly coat flour onto the basket. It’ll stick to the water and form a thin nonstick layer of flour. From then on I will lightly sift flour on the basket again each time before proofing more dough. After you bake, use a brush to gently brush out any excess flour and let the basket dry completely (you can place it in the sun as well).
The enemy with all this really is excessive moisture in the basket and “nonstick” flour coating. If moisture sits in there for too long mold can form — but you should be able to spot this pretty easily.
Hi Maurizio. It’s my first time to your site. I really like the way you divided the tools into must haves and nice to haves.
I recently received Chefast’s proofing basket set. My sister gave it to me. She thought it would be something I would need once I become better at baking, so she immediately bought it on Amazon when she had the chance.
Since it’s my first time to use one, I was wondering if you have a previous post on how to use and care for a rattan proofing basket that I could read? Thanks!
I’ve ordered SO many baskets over the years, always trying to find the best one. I love the ones available at SFBI.com, but they don’t have any smaller sized ones (I use the 14″ long baskets). My suggestion is to order a few at different sizes and try them out for a bake or two. It’s best to be sure the baskets will work for you before investing in several of them, of course.
I am preferential to the wicker basket style ones that allow lots of air circulation through the sides. The cane and wood pulp baskets restrict more airflow that i’d like, but they still work well.
Also, the size of the basket is contingent on the size of the dough you’ll be placing inside, as well as how you intend for the dough to relax and rise. For example, in a smaller basket (like 10″ long) I might only place 700g dough in there so it’s nice and snug, no intention for it to relax out to fill the basket like I would with my 14″ long country-style baskets.
I occasionally give out bread to friends who might prefer it sliced for toast, french toast and sandwiches. Have you come across a motorized/mechanical bread slicer that works for sourdough boules & batards? Then I could bake it, cool it, slice it, bag it and deliver it! Wouldn’t that be awesome?!
I took give away or barter loaves I bake. I haven’t a small one suitable for home use, most of the ones I’ve seen are large commercial slicers for a bakery (which are awesome). The only countertop one I’ve seen are the old Scandinavian ones, I believe they’re made by Raadvad. You can find some older ones one ebay but they’re typically used for square rye loaves. Might still work!
there’s a good deal on a stainless cart at ikea. saw a couple at artisan baking center in Petaluma when there for the guy frenkel/mockmill class last week.was thinking of getting one for my ooni oven. before I got the mixer and didn’t know how it’d fit on my workbench, I was considering a 1/2 or full sheet pan prep cart with poly top on webstraunt made by channel manufacturing.
I’ve never moved it. it’s heavy, but other than that can’t think why it be any more awkward to move than anything else of similar weight. the tilt head can lock down. the rubber feet stand off the counter a bit if grabbing there is what you’d do. the only thing that would be markedly different is that the locking ring that holds the bowl in place is a spinning disc and might not be a great grabbing point. also worth noting is that the locking ring is the point of widest and deepest dimension (overhangs the bowl by at least a half inch), so removing the bowl doesn’t make its strorage footprint any smaller. I wouldn’t want to have to move it, but I have the 10kg, don’t know which you were considering.
Thanks for that info. Unfortunately I don’t really have a space to keep it all the time, I’ll have to move it, that’s why I was looking at a rolling cart. I was looking at the 8kg mixer, though. Lots to think about there!
Thanks so much, Thiago! My table is actually a really large Boos Block maple board I bought online. I highly recommend their maple boards for bread dough!
There’s really no “right way” for sourdough bread — there’s a trend right now for that super open crumb, and in some ways it’s good to have that, but really in the end the most important thing is flavor! For me personally, I like the interior to be just open enough to lighten the bread and give me the overall texture I’m after. The real key, though, is an interior that’s fermented enough so there’s no dense spots, no raw flour, and everything is as even as possible. In other words, I strive to avoid large scattered holes, but rather a uniformly open interior that’s comprised of smaller holes that are even throughout each slice.
Aside from that, for me flavor really is the motivator with every bake. If I wanted a super open interior all of my recipes will be 100% white bread flour, which makes it easier to achieve that type of interior. However, I find bread like this tastes rather bland and can even be gummy (due to the high protein flour). No my cup of tea.
I’d say definitely give it a try: mix the coarse spent grains in when you’re doing the proper mixing. I do this from time-to-time with seeds, porridge breads, and others. Sometimes it’s just easier this way and, like you said, it can lead to a better interior.
Let me know how the seeded sourdough works out for you! One of my favorites and it should be rather similar to your spent grains loaf.
Hi Maurizio, thanks as always for your kind reply. It all makes sense and it is basically what my approach has been. Good to know though that as in most things bread baking related, there is no absolute correct or right way. Rather there is underlying science and then the art applied to it.
I did make the Seeded Sourdough and it turned out really nice. The crumb was better than prior bakes. As with the Spent Grains bake I found that mixing in the seeds during Bulk Fermentation caused me to have to work the dough to hard to get it mixed well. I am going to add the seed mixture as an extra step during mix next time. Perhaps between adding the Levain and adding the salt. Not sure yet, but that seems like a good approach. Also, I added Fennel Seeds to the coating (which by the way I had no problem getting right) and I think that combined with the Fennel Seeds in the dough might have been a bit too much. The final result was still great but I think next time I will cut Fennel Seeds out completely from the coating and possibly even reduce the amount I put in the seed mixture. Anyway, thanks again for your responses. They are much appreciated. Best, Michael
Hi again Maurizio, another quick question for you, and an update on my baking. First, I just finished baking a 100% Einkorn Sourdough from your site. It came out really nice. Not sure if I under hydrated as the final dough before baking was a bit “hard” and not sticky at all. I ended up using closer to 500g of water at 76 degrees. My final dough temp was around 74 degrees. In the end though the result looks really nice. Dark crust, and a rise that looks higher than in your photo for the recipe. My final dough temp after baking was 205 degrees. I haven’t let it cool enough to taste but it looks quite nice. I am hopeful.
As to my question – I have been using stainless steel bowls for Rest & Proof but want to get bannetons. Not sure but I am guessing Cane is better. I want to order from Brotformen in Germany. I am not sure what sizes to order. Here is a cut and paste from what I am thinking and if you don’t mind I would like your feedback. I don’t want to order more than I need as storage is an issue since they can’t be stored stacked, but I want to be sure I have what I need for the types of recipes on your site. I am ordering Oval and Round as I haven’t tried Batards yet due to a lack of a proper proofing basket.
Here is the cut n’ paste of the possible order:
Your Shopping Cart
Remove 2.1 – cane bannetons – long oval fully cane – 30x14x7 cm 10.23 €
2
20.46 €
Remove 2.3 – cane bannetons – round fully cane – d = 22 cm 10.23 €
2
20.46 €
Remove 4.5.4 – Accessories – cleaning brush for bannetons 3.49 €
1
3.49 €
Remove 2.33 – cane bannetons – round fully cane – d = 25 cm 11.78 €
2
23.56 €
Remove 2.12 – cane bannetons – long oval fully cane – 25x13x7 cm 9.94 €
2
19.88 €
Thanks for any suggestions you might have. Cheers! Michael


733 Comments
Thanks for sharing that, Larry — and really nice bakes, per usual! Those bakers do look awfully nice, and such a great idea.
I’ve touched on this in another post, but I wanted to share the results of using Breadtopia’s clay baker. This is your 100% Einkorn Sourdough to which I use 30% fresh milled whole Einkorn berries. https://imgur.com/AuAXRaC & https://imgur.com/xoZcetS For this particular bake I went to 18 hours of cold fermentation. I’m very happy with these bakers, I must be, I have two – which makes bake time go much faster. Plus they make an excellent roast chicken!
I have a link up top to the dark rye flour I use. The reason I like “dark” is because it’s 100% whole grain, which is teeming with nutrients. Here’s the link to the dark rye flour.
Sadly sold out at Amazon, unless you want to but a ton, but I’m on the waiting list.
Thanks again,
Don
Don Emery
Casa de puestas de sol
H: 505/982-8383
C; 505/690-5334
Don: here’s another fantastic choice: Bob’s Dark Rye Flour.
What brand and where do you by the Dar Rye flour you use in your starter. I’m using Arrowhead, but it’s not “dark'”. Seems to work OK, but…?
Thanks!
Do you use sprouterd flour? How?
Yes, I have a few recipes using sprouted grain and sprouted flour. Head to my Recipes page and scroll down to the Sprouted Grain/Cereal section.
Hey, Chantel! Yes, use your oven — turned off. Your oven is an excellent temperature-stable chamber. You could toggle the light inside on and off periodically to heat up the interior as needed. Just be sure no one turns the oven on with your starter inside (I like to stick some tape or something indicating my starter is in there!).
Another idea is to use a thicker jar or wrap your jar in a towel, then heat the water you use to refresh your starter. This should help retain heat for a while longer, perhaps not until the next feeding, but every bit helps.
Hope that helps!
Great thanks! I appreciate the info. I’ll give it a try
My daughter has a problem with gluten. Are there any gluten free flours that you would recommend for making sour dough bread? We’re also curious if the sour dough yeast is better for those who need to avoid gluten. It seems to make a difference. I myself notice the sour dough that I’ve been baking at home really feels different when I eat it. I don’t feel “stuffed” with bread. Any opinions, input, suggestions on flours? Is there a reference to read on the subject? I just stumbled on to your website and am so impressed with it. Loving it.
Thanks for the kind words, Katherine! Unfortunately I have little experience in baking proper gluten free bread. However, you might want to look for some of the typical wheat flour alternatives: buckwheat flour, almond flour/meal, oat flour, rice flour, and likely others. These can all be used in some form to bake bread.
Regarding your experience in eating sourdough, it really must be looked at in a case-by-case method — each person will react differently especially if they do have a verified wheat allergy or gluten intolerance. My biggest advice there would be to seek out a medical professional to test whether there is a diagnosed intolerance and see what they recommend (you’ve already likely done this).
Personally, I find eating naturally fermented bread, with it’s lengthy fermentation time, to just be more enjoyable to eat — in taste, texture, and nutrition. I hope this helps in some way! Happy baking 🙂
Thanks for all the great info. I have a question about the sourdough starter, I want to make it from scratch myself, but my kitchen is cold, about 60-68 at best (in the summer its usually around 80, but NOT winter). I am only baking for one person, so I don’t really want a large Poofer. Is there another method you recommend to keep the starter warm but not require a large/expensive poofer to do so?
Thank you very much !! I’ll keep on searching !
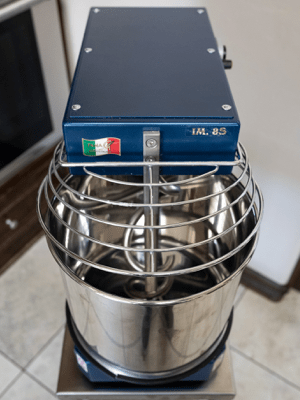
hi Maurizio , im from argentina , i am about to buy a kitchenaid 600hd profesional , here , there are no many options at a low price , do you have experience with a similar one ? do you recomend them? Thanks a lot
Hey! In General I find KA mixers are really nice for enriched doughs (like cinnamon roll dough, brioche, etc.) but for bread, I prefer not to use them. In the end they don’t seem to mix the dough sufficiently and if the dough is rather stiff, it can put a lot of strain on the motor. I have a Professional KA mixer as well and I use it all the time for cookies, cakes, and enriched doughs, just not bread.
Hope that helps!
I like Central Milling (you can buy really large bags), Breadtopia.com, and of course, something local! Depending on where you live you might be able to find a farmer/mill close by that has options for you.
Hey Maurizio, Just looking for a good source for wheat berries. I’ll try one of your blog pages too. Thx!
Not with that pot, I just preheat standing upright. No, I use an oblong proofing basket for a batard and a round one for a boule (check out My Baking Tools for information on each type).
Happy to hear you’re enjoying my site — thank you and happy baking, Carol!
I thought I posted a question here but now I don’t see it – so trying again! I do not have a combo cooker. I seem to remember you discussing using a Steuben dutch oven. Do you know where I can find that post – or could you give me directions here? I have an enameled Creuset. The lid however couldn’t be used like the shallow side of the combo cooker though, so now I am unclear as to how to use my Creuset for bread.
Hey, Carol! Yes, sometimes I use my Staub oval Dutch oven to bake oval loaves. I treat it the same exact way as the Lodge Combo cooker: I preheat the pot in the oven, load the dough into the deep end (there’s no shallow end) by dragging in the dough resting on a piece of snugly-cut parchment paper, cover the pot and let it bake per usual. About 20 minutes after beginning, I remove the lid (and take it out of the oven) and finish baking until done. Follow my directions for using the Lodge combo cooker on my Beginner’s Sourdough post just swap the combo cooker for your pot.
Hope that helps!
Perfect! Thanks a million. Do you preheat the pot upside down? Also, do you use the same proofing basket for a round loaf as for an oval loaf? I just LOVE your site. It’s so nice of you to take the time to reply to these questions.
What is nice to keep bread is a steel box. I can keep sourdough bread for up to 9 days.
Hey! Thank you for all of your wonderful content. I find your writing very helpful and clear. I just made my first sourdough loaf and it was such a satisfying feeling. I have a million questions, but I wanted to know your opinion on the best way to store a loaf after baking to keep it fresh for a few days? I noticed the bread box on your tools page, but do you also recommend putting it in a linen bag, a ziplock back, anything like that? Not for long term freshness, just on-the-counter so it wont go stain overnight. Thanks so much!
I usually use a bread box to store my bread after it’s been cut — as you saw above. If I’m using a bread box I won’t place the bread in anything — just straight into the box. The purpose of the box is to keep just enough humidity in there to keep the bread soft but not too soft. If I’m not using my bread box then I’ll either be sure to keep the crumb side of the loaf down on the cutting board so the crust naturally surrounds the entire loaf. Imagine cutting a loaf directly in half and then turning those halves down.
When freezing, I’ll wrap an entire loaf several times in plastic wrap and then place it into a freezer ziplock. When I want to eat it I’ll take it out the night before and let it thaw in the fridge. Then, you could pop it into the oven to warm up the next day or slice and toast the slices.
If you plan to eat it somewhat in the near term, you could slice the entire loaf then place the slices in a freezer ziplock back. Using a toaster (like this awesome toaster from Breville) you can thaw and toast the slices in one step and they come out fantastic.
Lynn — I don’t have a guide on this, yet! I almost always use liners (or the cotton tea towels I have linked above) when using rattan or wicker proofing baskets. I do this because it just makes cleanup so much easier — I just toss them into the washing machine! However, some bakers like the design and result when the dough is in contact with the basket. When I used to do this I’d first start by “seasoning” the basket by misting some water onto the basket with a handheld sprayer. Then, I use a flour sifter (or a fine mesh strainer) to evenly coat flour onto the basket. It’ll stick to the water and form a thin nonstick layer of flour. From then on I will lightly sift flour on the basket again each time before proofing more dough. After you bake, use a brush to gently brush out any excess flour and let the basket dry completely (you can place it in the sun as well).
The enemy with all this really is excessive moisture in the basket and “nonstick” flour coating. If moisture sits in there for too long mold can form — but you should be able to spot this pretty easily.
I hope this helps!
Hi Maurizio. It’s my first time to your site. I really like the way you divided the tools into must haves and nice to haves.
I recently received Chefast’s proofing basket set. My sister gave it to me. She thought it would be something I would need once I become better at baking, so she immediately bought it on Amazon when she had the chance.
Since it’s my first time to use one, I was wondering if you have a previous post on how to use and care for a rattan proofing basket that I could read? Thanks!
I’ve ordered SO many baskets over the years, always trying to find the best one. I love the ones available at SFBI.com, but they don’t have any smaller sized ones (I use the 14″ long baskets). My suggestion is to order a few at different sizes and try them out for a bake or two. It’s best to be sure the baskets will work for you before investing in several of them, of course.
I am preferential to the wicker basket style ones that allow lots of air circulation through the sides. The cane and wood pulp baskets restrict more airflow that i’d like, but they still work well.
Also, the size of the basket is contingent on the size of the dough you’ll be placing inside, as well as how you intend for the dough to relax and rise. For example, in a smaller basket (like 10″ long) I might only place 700g dough in there so it’s nice and snug, no intention for it to relax out to fill the basket like I would with my 14″ long country-style baskets.
I occasionally give out bread to friends who might prefer it sliced for toast, french toast and sandwiches. Have you come across a motorized/mechanical bread slicer that works for sourdough boules & batards? Then I could bake it, cool it, slice it, bag it and deliver it! Wouldn’t that be awesome?!
I took give away or barter loaves I bake. I haven’t a small one suitable for home use, most of the ones I’ve seen are large commercial slicers for a bakery (which are awesome). The only countertop one I’ve seen are the old Scandinavian ones, I believe they’re made by Raadvad. You can find some older ones one ebay but they’re typically used for square rye loaves. Might still work!
there’s a good deal on a stainless cart at ikea. saw a couple at artisan baking center in Petaluma when there for the guy frenkel/mockmill class last week.was thinking of getting one for my ooni oven. before I got the mixer and didn’t know how it’d fit on my workbench, I was considering a 1/2 or full sheet pan prep cart with poly top on webstraunt made by channel manufacturing.
Yes, that’s exactly what I was thinking — a prep cart.
I’ve never moved it. it’s heavy, but other than that can’t think why it be any more awkward to move than anything else of similar weight. the tilt head can lock down. the rubber feet stand off the counter a bit if grabbing there is what you’d do. the only thing that would be markedly different is that the locking ring that holds the bowl in place is a spinning disc and might not be a great grabbing point. also worth noting is that the locking ring is the point of widest and deepest dimension (overhangs the bowl by at least a half inch), so removing the bowl doesn’t make its strorage footprint any smaller. I wouldn’t want to have to move it, but I have the 10kg, don’t know which you were considering.
Thanks for that info. Unfortunately I don’t really have a space to keep it all the time, I’ll have to move it, that’s why I was looking at a rolling cart. I was looking at the 8kg mixer, though. Lots to think about there!
Thanks so much, Thiago! My table is actually a really large Boos Block maple board I bought online. I highly recommend their maple boards for bread dough!
There’s really no “right way” for sourdough bread — there’s a trend right now for that super open crumb, and in some ways it’s good to have that, but really in the end the most important thing is flavor! For me personally, I like the interior to be just open enough to lighten the bread and give me the overall texture I’m after. The real key, though, is an interior that’s fermented enough so there’s no dense spots, no raw flour, and everything is as even as possible. In other words, I strive to avoid large scattered holes, but rather a uniformly open interior that’s comprised of smaller holes that are even throughout each slice.
Aside from that, for me flavor really is the motivator with every bake. If I wanted a super open interior all of my recipes will be 100% white bread flour, which makes it easier to achieve that type of interior. However, I find bread like this tastes rather bland and can even be gummy (due to the high protein flour). No my cup of tea.
I’d say definitely give it a try: mix the coarse spent grains in when you’re doing the proper mixing. I do this from time-to-time with seeds, porridge breads, and others. Sometimes it’s just easier this way and, like you said, it can lead to a better interior.
Let me know how the seeded sourdough works out for you! One of my favorites and it should be rather similar to your spent grains loaf.
Hi Maurizio, thanks as always for your kind reply. It all makes sense and it is basically what my approach has been. Good to know though that as in most things bread baking related, there is no absolute correct or right way. Rather there is underlying science and then the art applied to it.
I did make the Seeded Sourdough and it turned out really nice. The crumb was better than prior bakes. As with the Spent Grains bake I found that mixing in the seeds during Bulk Fermentation caused me to have to work the dough to hard to get it mixed well. I am going to add the seed mixture as an extra step during mix next time. Perhaps between adding the Levain and adding the salt. Not sure yet, but that seems like a good approach. Also, I added Fennel Seeds to the coating (which by the way I had no problem getting right) and I think that combined with the Fennel Seeds in the dough might have been a bit too much. The final result was still great but I think next time I will cut Fennel Seeds out completely from the coating and possibly even reduce the amount I put in the seed mixture. Anyway, thanks again for your responses. They are much appreciated. Best, Michael
Hi again Maurizio, another quick question for you, and an update on my baking. First, I just finished baking a 100% Einkorn Sourdough from your site. It came out really nice. Not sure if I under hydrated as the final dough before baking was a bit “hard” and not sticky at all. I ended up using closer to 500g of water at 76 degrees. My final dough temp was around 74 degrees. In the end though the result looks really nice. Dark crust, and a rise that looks higher than in your photo for the recipe. My final dough temp after baking was 205 degrees. I haven’t let it cool enough to taste but it looks quite nice. I am hopeful.
As to my question – I have been using stainless steel bowls for Rest & Proof but want to get bannetons. Not sure but I am guessing Cane is better. I want to order from Brotformen in Germany. I am not sure what sizes to order. Here is a cut and paste from what I am thinking and if you don’t mind I would like your feedback. I don’t want to order more than I need as storage is an issue since they can’t be stored stacked, but I want to be sure I have what I need for the types of recipes on your site. I am ordering Oval and Round as I haven’t tried Batards yet due to a lack of a proper proofing basket.
Here is the cut n’ paste of the possible order:
Your Shopping Cart
Remove 2.1 – cane bannetons – long oval fully cane – 30x14x7 cm 10.23 €
2
20.46 €
Remove 2.3 – cane bannetons – round fully cane – d = 22 cm 10.23 €
2
20.46 €
Remove 4.5.4 – Accessories – cleaning brush for bannetons 3.49 €
1
3.49 €
Remove 2.33 – cane bannetons – round fully cane – d = 25 cm 11.78 €
2
23.56 €
Remove 2.12 – cane bannetons – long oval fully cane – 25x13x7 cm 9.94 €
2
19.88 €
Thanks for any suggestions you might have. Cheers! Michael