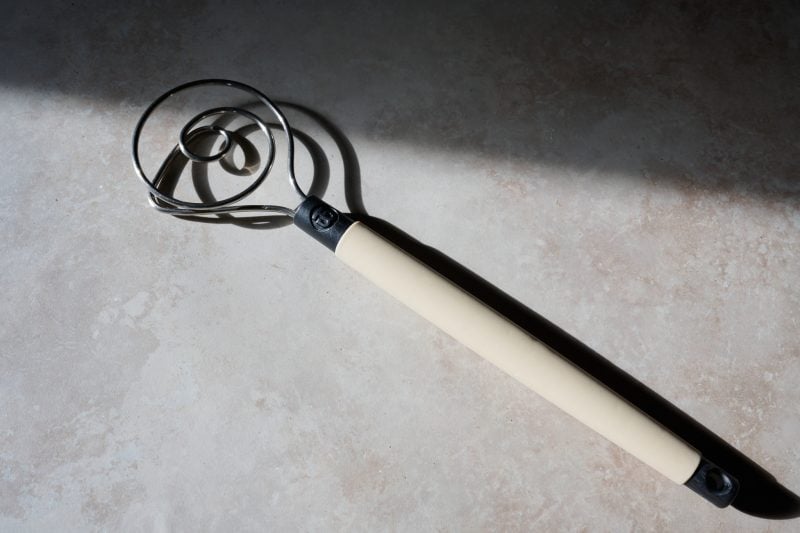
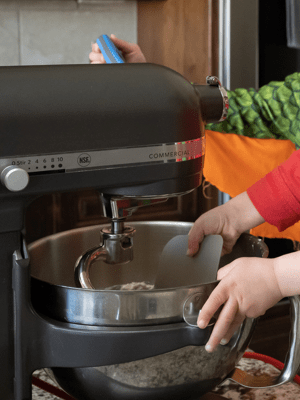
Keep your hands clean during mixing with this super strong whisk.
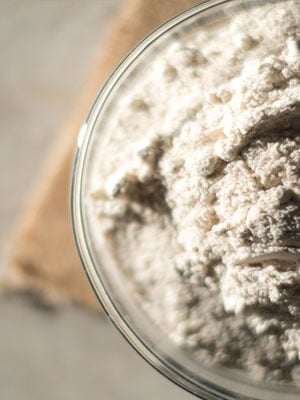
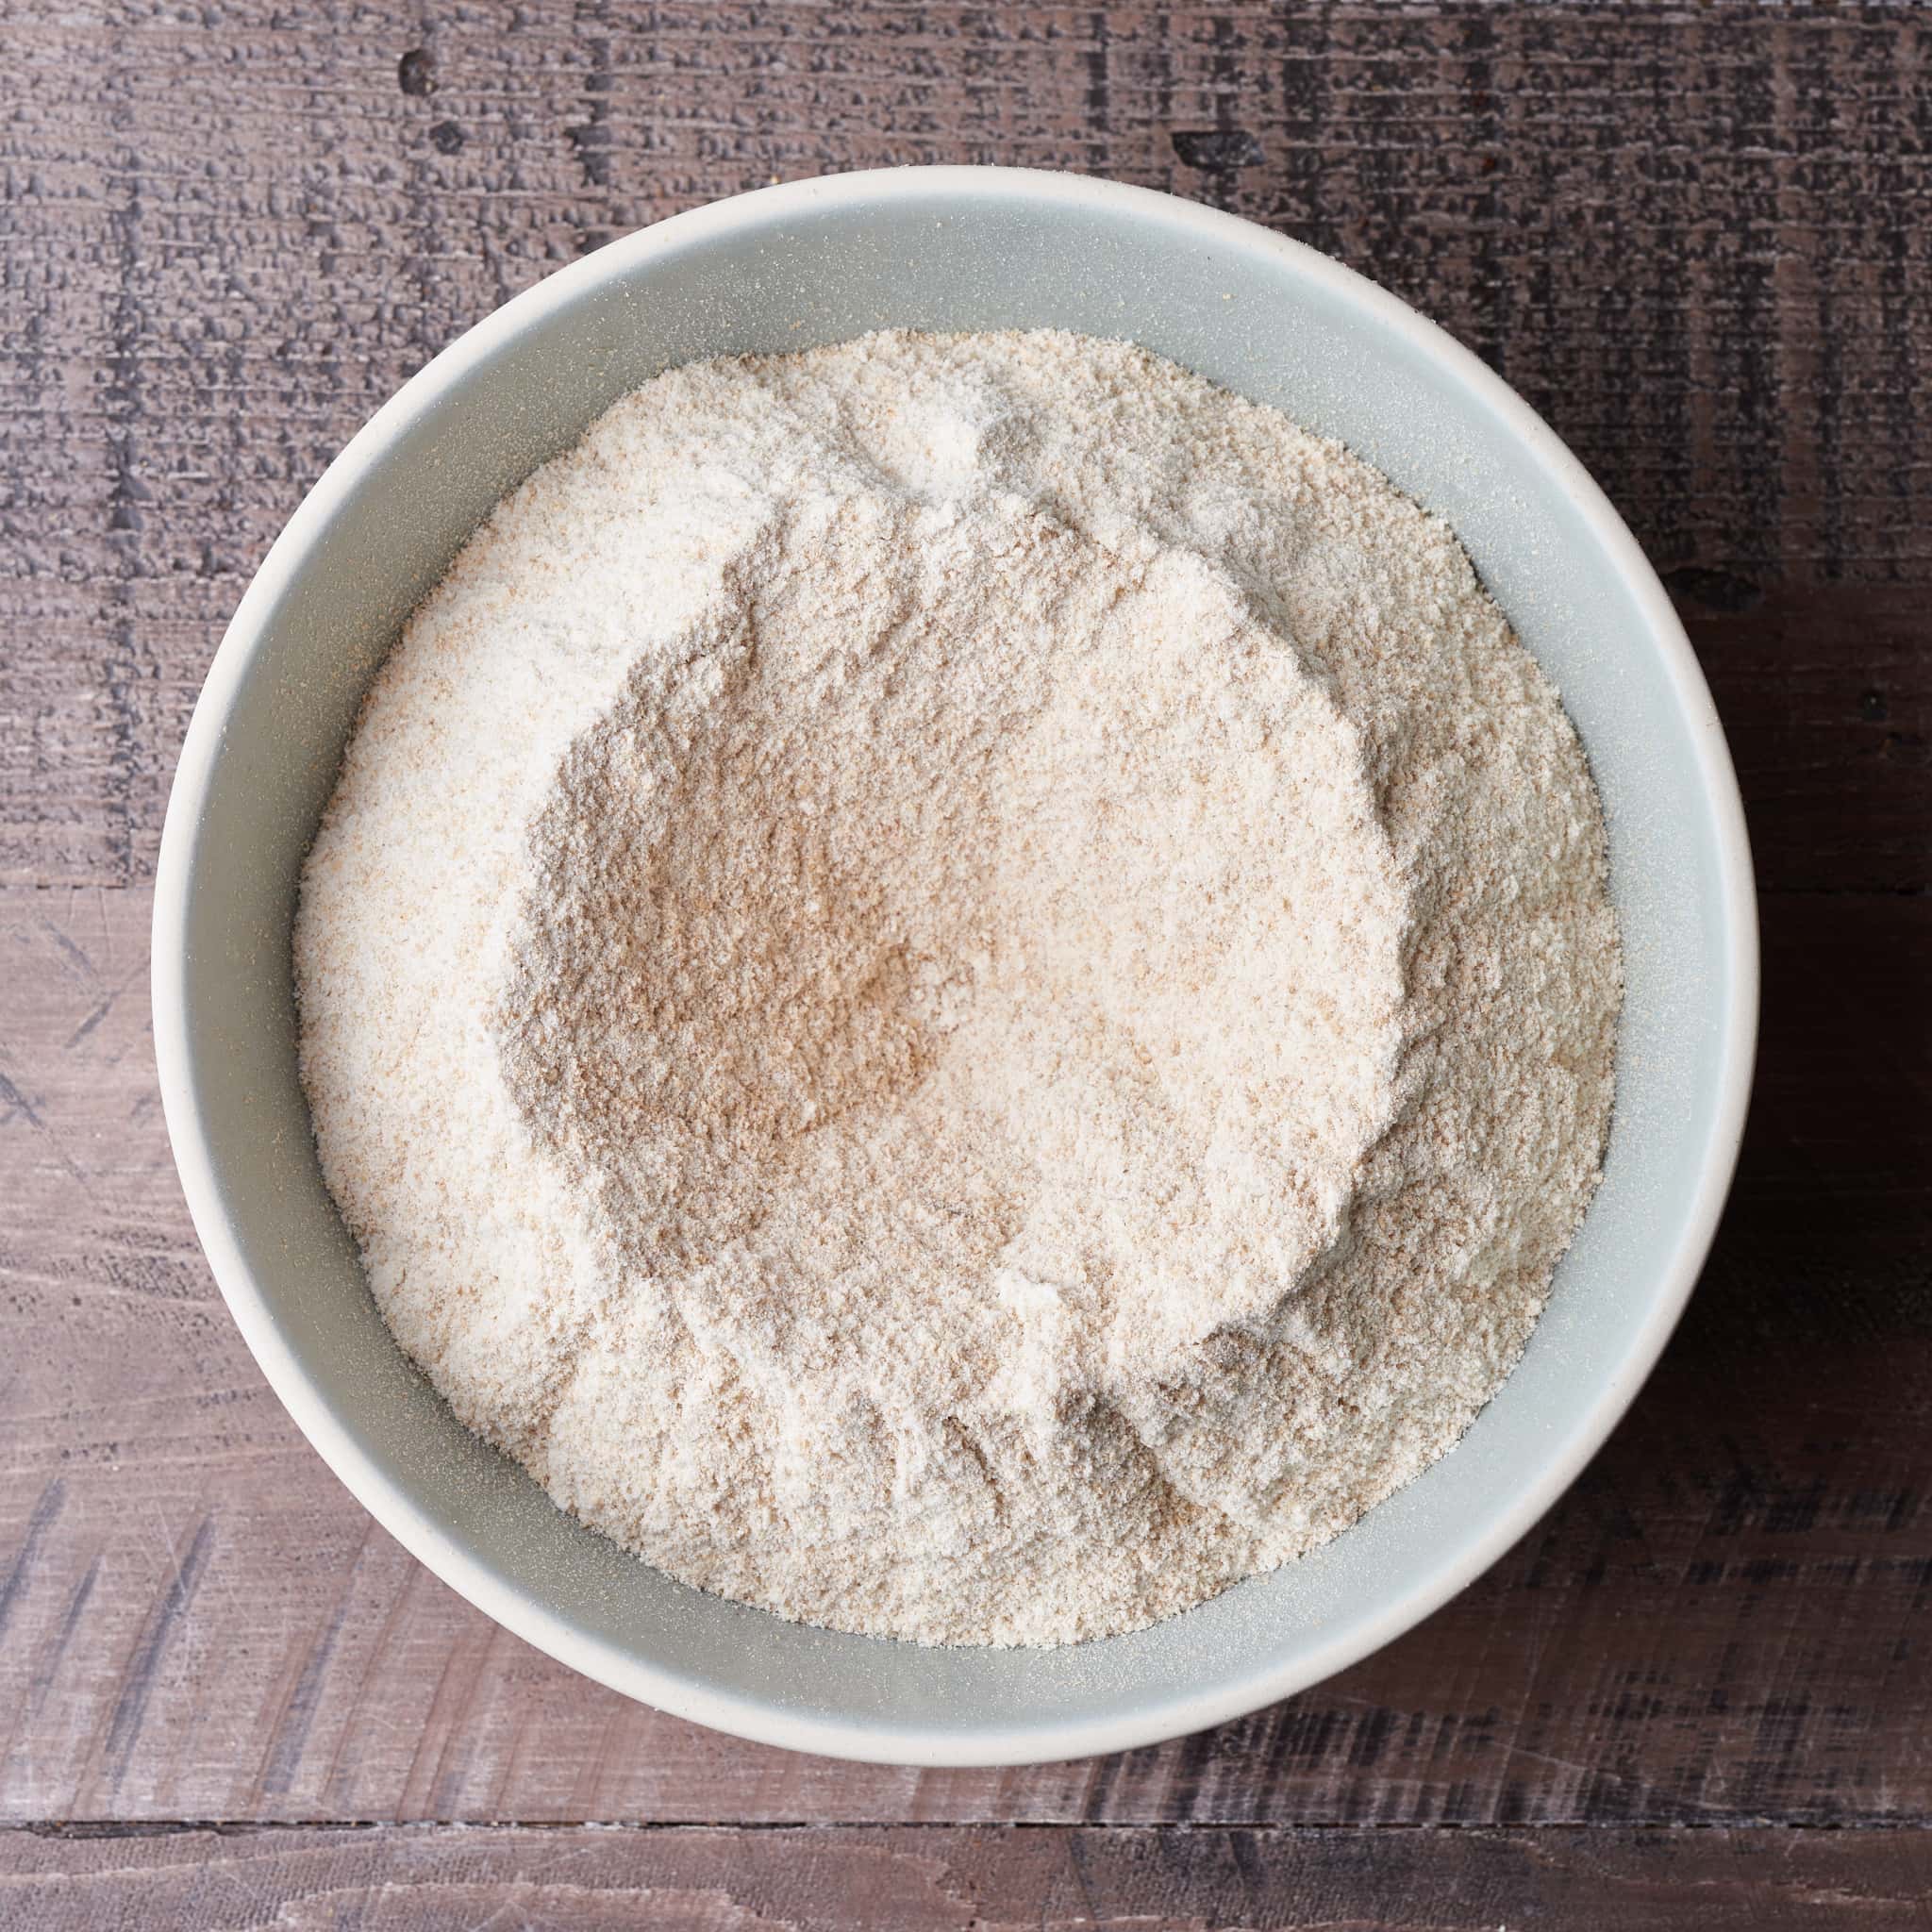
Flour and Grain
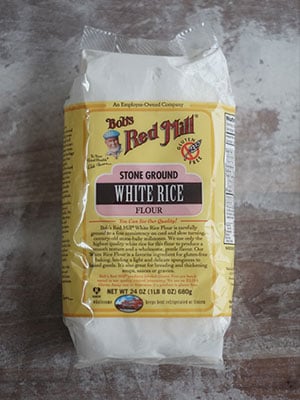
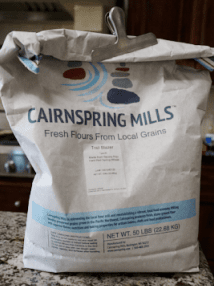
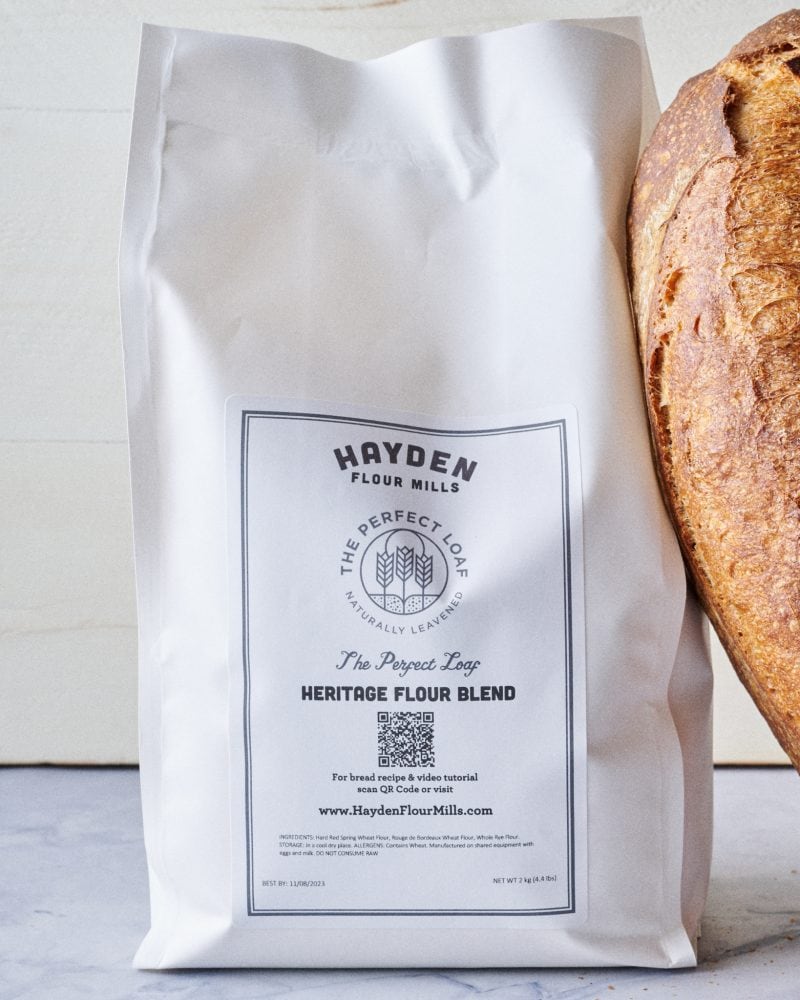
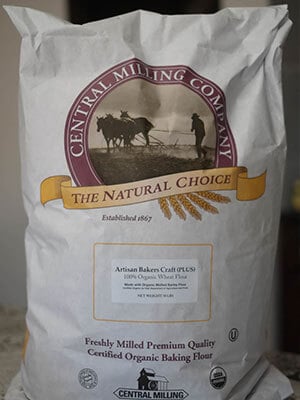
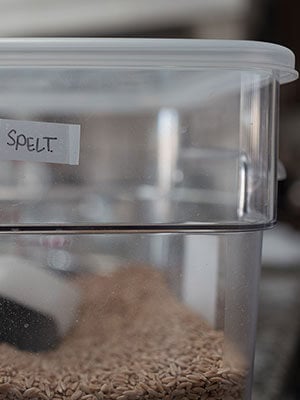
The list below are my most-used flours here at home, but look local first! There are many great farmers and millers scattered all over with incredible flour options.
I use these to store all my flour (5lb bags)—just the best.
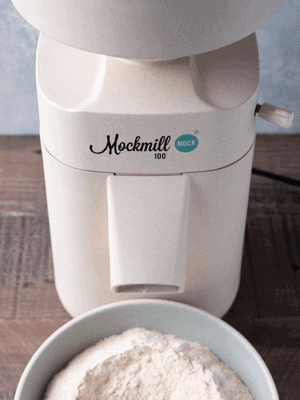
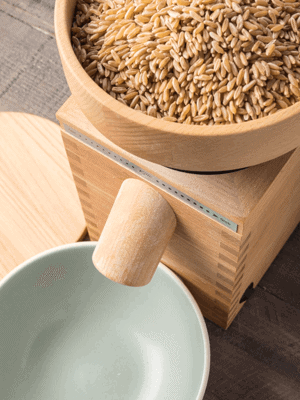
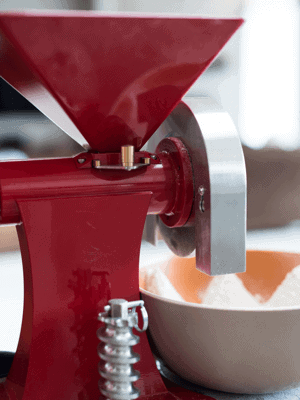
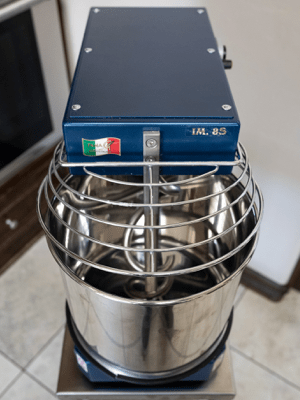
Grain Mills
Below is a list of my favorite grain mills used to mill fresh flour in my home kitchen regularly. They are all built extremely well and are capable of producing excellent flour.
Morning I decided to bake my starter today so prepared the leaven but did not realise I need wholewheat flour so used rye instead? Would that work? Also I don’t have any of your must equipment so should I carry on or abandon until I get my equipment this week first. As I understand you can create the steam by placing water in a tray and put that in the oven at the same time you bake the bread?
I’m not sure what recipe you’re following, but you can sub in some rye flour if you’d like. It will result in a different flavor profile, and the loaf may not rise as high due to the lower gluten levels in rye. It’ll taste great though, I’m sure.
Have a look at my Beginner’s Sourdough post, I list out the tools I find are most necessary! If you don’t have all of these it’s fine, but a scale is super important. You can definitely create steam in your home oven with a tray of water in the bottom, or use something similar to my steaming method.
Been baking for a while now and recently got access to a neighbours wood oven. Been working on stepping up my game and this blog had been amazing! Trying out this recipe now as I love a very large tender crumb. Cant wait to see how it comes out! Thank you Maurizio for sharing all of your trial and error
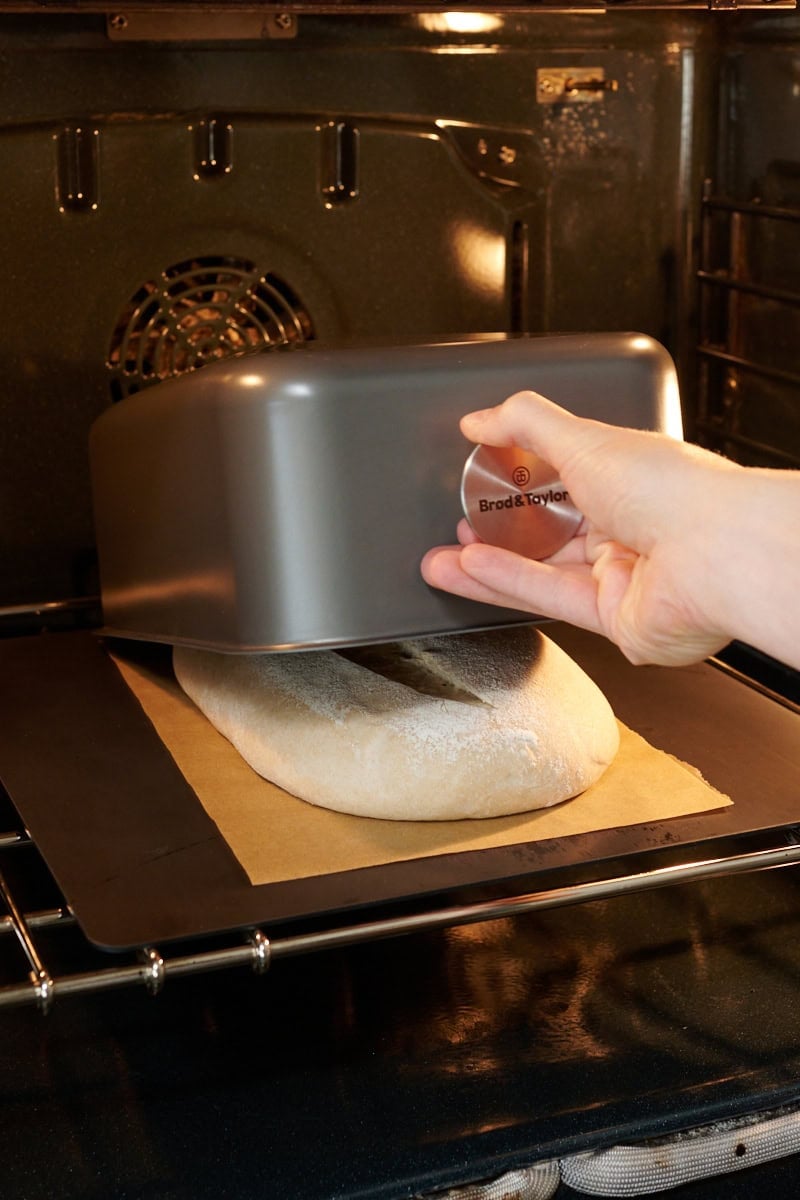
It’s possible to bake in the Dutch oven using the 9″ banneton, but if your dough spreads out any little bit it will be a tight fit. I’d say if you’re baking larger loaves then shape them as boules for the Dutch oven or you can use an alternate steaming method.
Another approach is to use a stainless steel bowl that will be large enough to cover your batard. Get some baking stones (I have some listed in my Tools page) and when you’re ready to bake slide the batard onto the stones and cover it with the inverted bowl for the first part of the bake (when I say to bake with steam). This way the bowl traps the moisture escaping from the dough and will provide a moist environment for the dough to rise.
Hi Maurizio. I have s questions regarding the banneton. I wanted to make oval loaf but I am not sure of how to go about it. You stated that the 9″ batard banneton can fit into the combo cooker, but do I need to scale down the recipe? Currently, I’m making 2 loaves from 1kg of flour. I understand that there is another way to go about it. It is using baking stone with some sort of cover or something to create the steam. But what can I use to cover an oval loaf? Or is the steam method good enough? Thanks in advance for your help.
Hi, Didi! You definitely do not need a banneton, any properly sized kitchen bowl will work really well. A banneton is nice for the looks but aside from that, and the convenience of a nice shape, they are no 100% mandatory by any means. Hope that helps — happy baking!
HI Maurizio!! First of all I would like to pay you my compliments for your absolutely amazing website and incredible bread!! I have a question, recently I bought a Dutch oven and when I cooked, for the first time, my bread with this new pot it sticked to the bottom. I didn’t preheat the Dutch oven and I didn’t use parchment paper, olive oil or flour on the bottom. What do you advise me to do in future to avoid the sticking? I would like to use parchment paper but I am afraid it will catch fire. This Dutch Oven is like a le creuset model so not a cast iron type. Thank you Silvia
Silvia — thanks for the comments! I use a combo cooker from time to time and when I do I always use a piece of parchment paper below the dough, it’s never caught fire… I’d recommend that OR you could lightly dust the bottom of your dough with white rice flour before you turn it out into the Dutch oven, that should help keep it from sticking. Other possible things you could use are wheat germ and cornmeal.
I hope that helps and thanks again — happy baking!
Thanks! Yes, those jars really are perfect. I also use them for pickling, storage and tons of other things in the kitchen.
I highly recommend rye, but if you cannot find it then ww will work better than apw. If you’re having issues getting things going after a week or so with ww, try to grab a small sack of rye and see if it helps.
thanks for the quick response. I assume that you use to use the 1/2 L jar and upgraded to the 3/4L jars. I have to buy a pack of 6 so I want to get what will be best for the starter. They are the perfect container.
I really think that the starter step by step is well written. I have been following the Josey Baker method and find that it is too wet and I am struggling with every other day feedings (causing hooch). I am 10 days in and I do not believe that this method is going to work for me.
Lastly, will ww flour be ok instead of a rye/white flour that you use in your setup. Rye is hard to find locally and I have a ton of ww bread flour that I would like to use up.
I am confused to your jar sizes for starter. I have found weck jars and you say that you use a 580ml weck jar for the starter in the 7 steps to making a starter. On your baking tools section you link to a 3/4 L weck jar. 580 ml is the same as I assume the 1/2L 742 model, but on your baking tools you are linking to the 3/4 743 model. Can you confirm what jar I need for the starter please and thanks
Ryan,
You can use either. If you’re going to buy just one set I’d recommend the 3/4 liter jars as they are a bit taller and are a little more useful throughout the kitchen. I’ll update my 7 steps post to point to those jars, I’ve made a progression to using those more and more these days just because they have a little more wiggle room if your starter grows a little unexpectedly 🙂
Thanks for pointing this out!
Thanks for your advice. I purchased a 23cm/9″ rising basket which is for 1kg loaves. I’m not sure how to work out the final bread weight? I made a loaf with the following ingredients and I may have over proofed the dough slightly but it rose over the edges of the basket. I think I may have to buy a larger basket if I want to make bigger loaves.
135g stiff starter
400g flour
310g water
8g salt
Thanks again!
Those sound perfect. It’s certainly fine if the dough rises above the edges, you just don’t wait the dough to spill over too far. I like to have plenty of room in my baskets to let the dough fully expand without popping up over the edge. You can either reduce the quantity of each of these (but leave the percentages the same) to fit your banneton, or even get a larger banneton. My preference here is to reduce the quantities to fit a single banneton, and then bake two loaves if you’d like more bread. I find it easier to work with smaller dough amounts rather than larger — but this is up to you!
The size of your bannetons/baskets should be relative to the weight of the loaf you wish to bake. I typically like to bake 800g batards and use 9″ x 4″ bannetons. This gives them plenty of room to expand and rise overnight. You could comfortably fit 800-1000g loaves in these baskets. I would say if you’re using a round banneton, for a 1kg loaf you could get those that are around 8-9″ in diameter at the top and be fine.
I’ve purchased many bannetons over the years and I’d recommend buying just a single one, trying it out, and if you like it then return back to the store and get a few more. Sometimes the size is a bit off, the materials don’t suit you, or the quality of construction. I hope that helps!
I recently bought a Miele induction range. It has the ability to proof as low as 75 degrees. It also has a water line that can inject steam during the baking through a plumbed line. It’s a fantastic oven! Pricey, but worth it for me.
Wow I didn’t know Miele made an oven like that, I would love a water line! I looked briefly at Miele when I was purchasing my oven and was turned off by the price, but I know they have a great reputation and I would have bought that in a heartbeat. Thanks, Mark!
85 is a bit high, but some bakers pref it at that temperature. Definitely the best proof setting I’ve seen! It just means the dough will ferment a bit faster, but you can adjust.
Hi Maurizio,
I was wondering what size banneton you recommend buying? I just bought a 5 quart dutch oven which is 25cm wide so I’m wondering if I should just go for the biggest basket so that I have the option to make a 1kg loaf or a half loaf. Does that sound like the right thing to do?
I’ve been having some trouble with my dough collapsing and I think it may be due to using a large bowl which doesn’t have a nice curve to it so thought I should get a banneton to see if that helps.
Thanks!
Unfortunately I don’t have a ton of recommendations here. I have a Thermador double oven at home that I really like so far, the controls are a bit counterintuitive but I find that to be the case for most home electronics for some reason. It does have a proof setting, but only goes down to 100ºF so that is pretty much useless. 80ºF would be perfect.
I wanted to get a Wolf for my home, but the cost was too much for me to justify. I’m really glad I didn’t opt for their steam oven, it’s so small I’d probably only be able to fit one loaf in there at a time.
As far as brands, I’m a fan of Wolf and Bosch — both very respectable. Viking used to be, but I’ve heard lots of issues lately. I’m not familiar with Dacor…
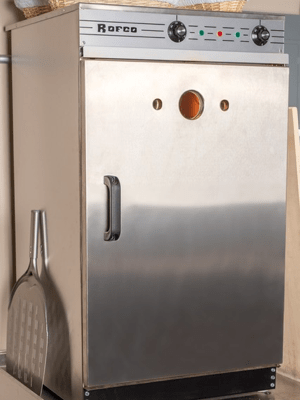
I hope that helps! Oh, and if you’re looking at a dedicated baking oven, check out Rofco. One can dream.
Thanks for your time! Heading towards the Wolf, the proof cycle won the day. I think the temp is 85 at the lowest….still is high to what’s called out in recipes…but will that work?
What about great wall ovens? I wore out my Dacor after 16 years and today need to pull the trigger on a new one. Any advice out there? Looked at the Dacor, Viking, and Wolf, Bosch and GE. WOLF has the proof setting that reaches lowest temp, 80 degrees.
Thanks, Mathew! Yes, I use rice flour (white or brown) almost exclusively. Sometimes I’ll use a bit of sifted out bran when I’m milling my own flour, if I wan’t to also give the loaf a bit of crunch when baked. The residue should be left there, but I *lightly* brush, or tap out, any excess flour. I will do an intensive cleaning here every month or so where I scrape out any really hard flour and do a really thorough brush down (with stiff bristles).
A banneton develops a sort of patina on the cane from the flour used and helps make it more non-stick, of course you’ll always need a light dusting, but it seems they get better the longer they are used.
My climate here in New Mexico is extremely dry so I don’t ever have to worry about excessive moisture building up in the banneton and mold is very rare here. If you’re in a more wet climate you might have to do a more thorough cleaning at a more frequent interval. I’ve read that some pro bakers will wash them lightly and then let them dry in the sun, I can’t comment on that because I haven’t really had to do it!
First visit via Debra Wink on TFL Sourdough. Really nice site. I think the small notes (…) are unique and informative. My question concerns care and maintenance of bannetons. I know that rice flour is generally used.? Is the residue left there or washed out. If left should they be cleaned at a later time and how?
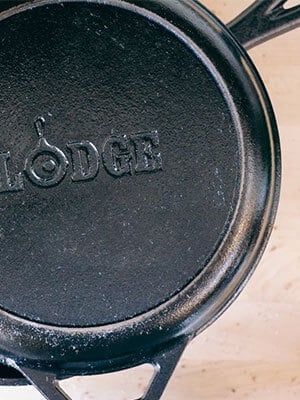
You’re welcome, thanks for the comments! Yes, the Lodge combo cooker is very similar to a Dutch oven, actually it’s pretty much the same thing it just has handles on both sides of the pot so you can cook in the shallow or deep end. You can use a Dutch oven just the same, no need to get a new pot.
Ah, I love Colorado 🙂 I’ve only really ever baked here at high altitude, but I honestly don’t think there will be many adjustments to make. You might need to adjust cook times at sea level, your bread might cook a little faster than the times I have listed here, but there are no hard guidelines I can give on that. Just use my times as a guideline and then at the last 10-15 mins keep an eye on your bread and pull it out when it looks good and a slight knock on the bottom sounds hollow. I’ve also read that at lower altitude you might need to increase the amount of levain in your mix, but I haven’t had any emails from others indicating this.
Hello, Thank you for your blog, it’s really helpful! I was wondering is the lodge combo cooker like a Dutch oven? Can I use a Dutch oven? Also, I’m at sea level, lived in Denver for five years and Telluride for ten years though, I miss Colorado but I’m on Cape Cod now, so literally sea level. Do you have any general adjustments you’d make with temperature from the temps you’re using at altitude? Thank you!!
For large quantities of raw wheat berries, or larger sacks of flour I use these cambro containers, they are very nice. You can get various sizes as well.


733 Comments
Morning I decided to bake my starter today so prepared the leaven but did not realise I need wholewheat flour so used rye instead? Would that work? Also I don’t have any of your must equipment so should I carry on or abandon until I get my equipment this week first. As I understand you can create the steam by placing water in a tray and put that in the oven at the same time you bake the bread?
I’m not sure what recipe you’re following, but you can sub in some rye flour if you’d like. It will result in a different flavor profile, and the loaf may not rise as high due to the lower gluten levels in rye. It’ll taste great though, I’m sure.
Have a look at my Beginner’s Sourdough post, I list out the tools I find are most necessary! If you don’t have all of these it’s fine, but a scale is super important. You can definitely create steam in your home oven with a tray of water in the bottom, or use something similar to my steaming method.
Happy baking!
Very jealous, I’d love to use a wood fired oven! One day I hope to get one. Hope the bread turns out great — happy baking!
Been baking for a while now and recently got access to a neighbours wood oven. Been working on stepping up my game and this blog had been amazing! Trying out this recipe now as I love a very large tender crumb. Cant wait to see how it comes out! Thank you Maurizio for sharing all of your trial and error
It’s possible to bake in the Dutch oven using the 9″ banneton, but if your dough spreads out any little bit it will be a tight fit. I’d say if you’re baking larger loaves then shape them as boules for the Dutch oven or you can use an alternate steaming method.
I have a post that explains how I steam my oven for baking.
Another approach is to use a stainless steel bowl that will be large enough to cover your batard. Get some baking stones (I have some listed in my Tools page) and when you’re ready to bake slide the batard onto the stones and cover it with the inverted bowl for the first part of the bake (when I say to bake with steam). This way the bowl traps the moisture escaping from the dough and will provide a moist environment for the dough to rise.
Hope that helps — happy baking!
Thank you for the link for the steaming method. I’ll try that first. Have a great day, Maurizio!
Hi Maurizio. I have s questions regarding the banneton. I wanted to make oval loaf but I am not sure of how to go about it. You stated that the 9″ batard banneton can fit into the combo cooker, but do I need to scale down the recipe? Currently, I’m making 2 loaves from 1kg of flour. I understand that there is another way to go about it. It is using baking stone with some sort of cover or something to create the steam. But what can I use to cover an oval loaf? Or is the steam method good enough? Thanks in advance for your help.
Hi, Didi! You definitely do not need a banneton, any properly sized kitchen bowl will work really well. A banneton is nice for the looks but aside from that, and the convenience of a nice shape, they are no 100% mandatory by any means. Hope that helps — happy baking!
Thank you!!!! As I thought… I’ll do it the next time!!
And what about preheating the Dutch oven? Thank you again!!
Yes, I definitely preheat the Dutch oven. Place it inside your oven with the shallow side face up and the larger side face down, open.
HI Maurizio!! First of all I would like to pay you my compliments for your absolutely amazing website and incredible bread!! I have a question, recently I bought a Dutch oven and when I cooked, for the first time, my bread with this new pot it sticked to the bottom. I didn’t preheat the Dutch oven and I didn’t use parchment paper, olive oil or flour on the bottom. What do you advise me to do in future to avoid the sticking? I would like to use parchment paper but I am afraid it will catch fire. This Dutch Oven is like a le creuset model so not a cast iron type. Thank you Silvia
Silvia — thanks for the comments! I use a combo cooker from time to time and when I do I always use a piece of parchment paper below the dough, it’s never caught fire… I’d recommend that OR you could lightly dust the bottom of your dough with white rice flour before you turn it out into the Dutch oven, that should help keep it from sticking. Other possible things you could use are wheat germ and cornmeal.
I hope that helps and thanks again — happy baking!
Thanks! Yes, those jars really are perfect. I also use them for pickling, storage and tons of other things in the kitchen.
I highly recommend rye, but if you cannot find it then ww will work better than apw. If you’re having issues getting things going after a week or so with ww, try to grab a small sack of rye and see if it helps.
Happy baking!
thanks for the quick response. I assume that you use to use the 1/2 L jar and upgraded to the 3/4L jars. I have to buy a pack of 6 so I want to get what will be best for the starter. They are the perfect container.
I really think that the starter step by step is well written. I have been following the Josey Baker method and find that it is too wet and I am struggling with every other day feedings (causing hooch). I am 10 days in and I do not believe that this method is going to work for me.
Lastly, will ww flour be ok instead of a rye/white flour that you use in your setup. Rye is hard to find locally and I have a ton of ww bread flour that I would like to use up.
I am confused to your jar sizes for starter. I have found weck jars and you say that you use a 580ml weck jar for the starter in the 7 steps to making a starter. On your baking tools section you link to a 3/4 L weck jar. 580 ml is the same as I assume the 1/2L 742 model, but on your baking tools you are linking to the 3/4 743 model. Can you confirm what jar I need for the starter please and thanks
Ryan,
You can use either. If you’re going to buy just one set I’d recommend the 3/4 liter jars as they are a bit taller and are a little more useful throughout the kitchen. I’ll update my 7 steps post to point to those jars, I’ve made a progression to using those more and more these days just because they have a little more wiggle room if your starter grows a little unexpectedly 🙂
Thanks for pointing this out!
Thanks for your advice. I purchased a 23cm/9″ rising basket which is for 1kg loaves. I’m not sure how to work out the final bread weight? I made a loaf with the following ingredients and I may have over proofed the dough slightly but it rose over the edges of the basket. I think I may have to buy a larger basket if I want to make bigger loaves.
135g stiff starter
400g flour
310g water
8g salt
Thanks again!
Those sound perfect. It’s certainly fine if the dough rises above the edges, you just don’t wait the dough to spill over too far. I like to have plenty of room in my baskets to let the dough fully expand without popping up over the edge. You can either reduce the quantity of each of these (but leave the percentages the same) to fit your banneton, or even get a larger banneton. My preference here is to reduce the quantities to fit a single banneton, and then bake two loaves if you’d like more bread. I find it easier to work with smaller dough amounts rather than larger — but this is up to you!
The size of your bannetons/baskets should be relative to the weight of the loaf you wish to bake. I typically like to bake 800g batards and use 9″ x 4″ bannetons. This gives them plenty of room to expand and rise overnight. You could comfortably fit 800-1000g loaves in these baskets. I would say if you’re using a round banneton, for a 1kg loaf you could get those that are around 8-9″ in diameter at the top and be fine.
I’ve purchased many bannetons over the years and I’d recommend buying just a single one, trying it out, and if you like it then return back to the store and get a few more. Sometimes the size is a bit off, the materials don’t suit you, or the quality of construction. I hope that helps!
I recently bought a Miele induction range. It has the ability to proof as low as 75 degrees. It also has a water line that can inject steam during the baking through a plumbed line. It’s a fantastic oven! Pricey, but worth it for me.
Wow I didn’t know Miele made an oven like that, I would love a water line! I looked briefly at Miele when I was purchasing my oven and was turned off by the price, but I know they have a great reputation and I would have bought that in a heartbeat. Thanks, Mark!
85 is a bit high, but some bakers pref it at that temperature. Definitely the best proof setting I’ve seen! It just means the dough will ferment a bit faster, but you can adjust.
Hi Maurizio,
I was wondering what size banneton you recommend buying? I just bought a 5 quart dutch oven which is 25cm wide so I’m wondering if I should just go for the biggest basket so that I have the option to make a 1kg loaf or a half loaf. Does that sound like the right thing to do?
I’ve been having some trouble with my dough collapsing and I think it may be due to using a large bowl which doesn’t have a nice curve to it so thought I should get a banneton to see if that helps.
Thanks!
Unfortunately I don’t have a ton of recommendations here. I have a Thermador double oven at home that I really like so far, the controls are a bit counterintuitive but I find that to be the case for most home electronics for some reason. It does have a proof setting, but only goes down to 100ºF so that is pretty much useless. 80ºF would be perfect.
I wanted to get a Wolf for my home, but the cost was too much for me to justify. I’m really glad I didn’t opt for their steam oven, it’s so small I’d probably only be able to fit one loaf in there at a time.
As far as brands, I’m a fan of Wolf and Bosch — both very respectable. Viking used to be, but I’ve heard lots of issues lately. I’m not familiar with Dacor…
I hope that helps! Oh, and if you’re looking at a dedicated baking oven, check out Rofco. One can dream.
Thanks for your time! Heading towards the Wolf, the proof cycle won the day. I think the temp is 85 at the lowest….still is high to what’s called out in recipes…but will that work?
What about great wall ovens? I wore out my Dacor after 16 years and today need to pull the trigger on a new one. Any advice out there? Looked at the Dacor, Viking, and Wolf, Bosch and GE. WOLF has the proof setting that reaches lowest temp, 80 degrees.
Thanks, Mathew! Yes, I use rice flour (white or brown) almost exclusively. Sometimes I’ll use a bit of sifted out bran when I’m milling my own flour, if I wan’t to also give the loaf a bit of crunch when baked. The residue should be left there, but I *lightly* brush, or tap out, any excess flour. I will do an intensive cleaning here every month or so where I scrape out any really hard flour and do a really thorough brush down (with stiff bristles).
A banneton develops a sort of patina on the cane from the flour used and helps make it more non-stick, of course you’ll always need a light dusting, but it seems they get better the longer they are used.
My climate here in New Mexico is extremely dry so I don’t ever have to worry about excessive moisture building up in the banneton and mold is very rare here. If you’re in a more wet climate you might have to do a more thorough cleaning at a more frequent interval. I’ve read that some pro bakers will wash them lightly and then let them dry in the sun, I can’t comment on that because I haven’t really had to do it!
I hope that helps!
First visit via Debra Wink on TFL Sourdough. Really nice site. I think the small notes (…) are unique and informative. My question concerns care and maintenance of bannetons. I know that rice flour is generally used.? Is the residue left there or washed out. If left should they be cleaned at a later time and how?
You’re welcome, thanks for the comments! Yes, the Lodge combo cooker is very similar to a Dutch oven, actually it’s pretty much the same thing it just has handles on both sides of the pot so you can cook in the shallow or deep end. You can use a Dutch oven just the same, no need to get a new pot.
Ah, I love Colorado 🙂 I’ve only really ever baked here at high altitude, but I honestly don’t think there will be many adjustments to make. You might need to adjust cook times at sea level, your bread might cook a little faster than the times I have listed here, but there are no hard guidelines I can give on that. Just use my times as a guideline and then at the last 10-15 mins keep an eye on your bread and pull it out when it looks good and a slight knock on the bottom sounds hollow. I’ve also read that at lower altitude you might need to increase the amount of levain in your mix, but I haven’t had any emails from others indicating this.
I hope that helps!
Hello, Thank you for your blog, it’s really helpful! I was wondering is the lodge combo cooker like a Dutch oven? Can I use a Dutch oven? Also, I’m at sea level, lived in Denver for five years and Telluride for ten years though, I miss Colorado but I’m on Cape Cod now, so literally sea level. Do you have any general adjustments you’d make with temperature from the temps you’re using at altitude? Thank you!!
Thanks, Brendan! I should add that to the list above, will work on it. For now I use these Oxo containers to store smaller amounts of flour (they perfectly fit 5 lb. bags and are airtight).
For large quantities of raw wheat berries, or larger sacks of flour I use these cambro containers, they are very nice. You can get various sizes as well.
Hope that helps!
Just discovered your site and love it man….What do you store your flour in?
Thanks