
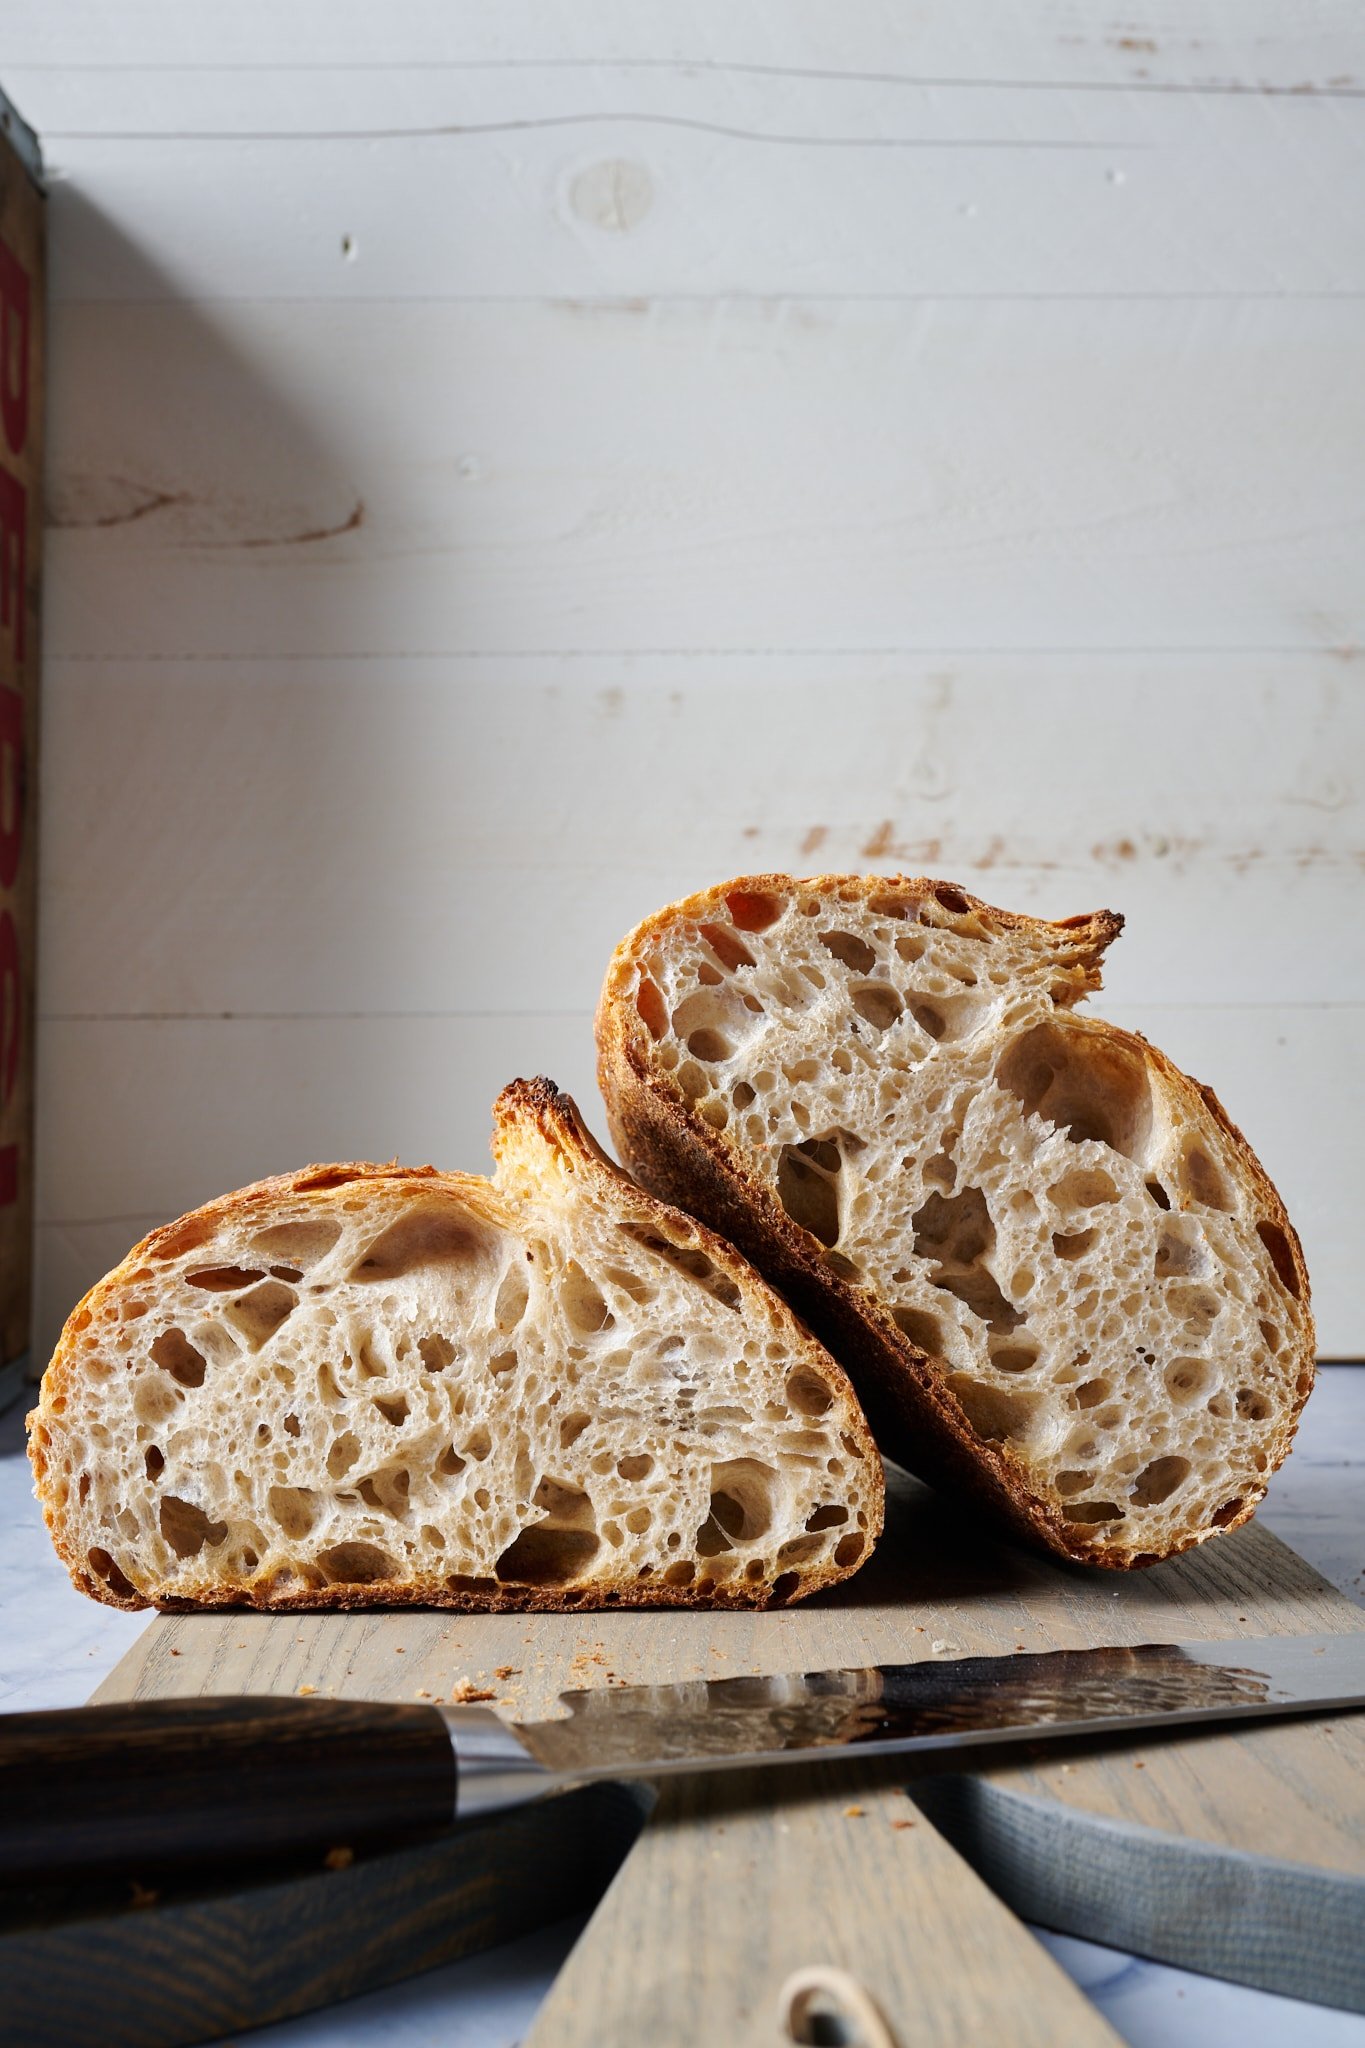
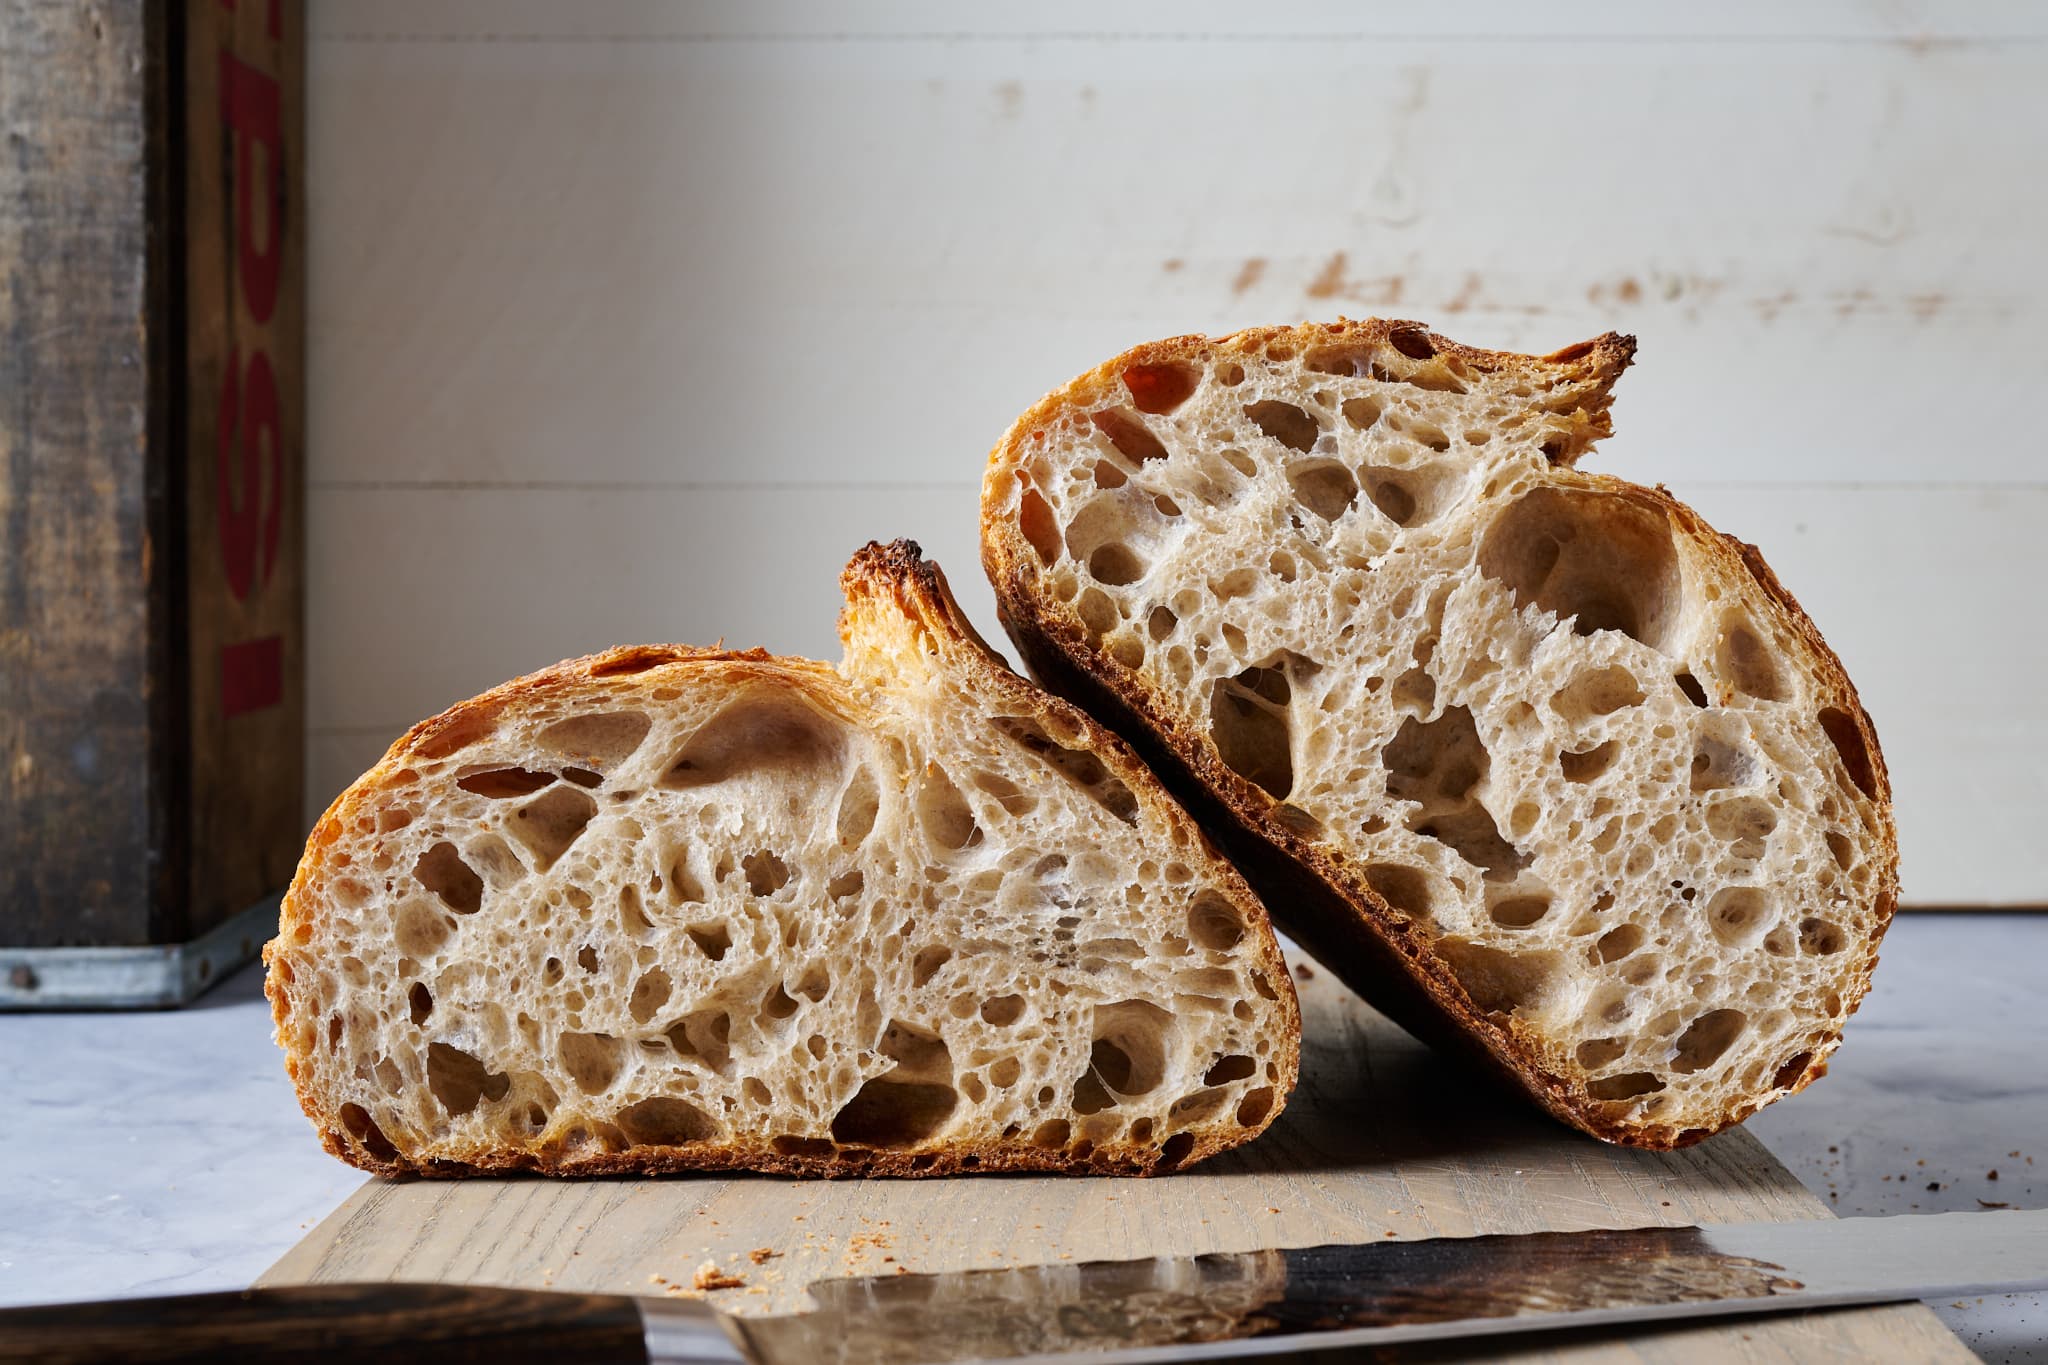
I’ve always wanted to create a unique flour blend explicitly designed for naturally leavened sourdough bread. When combined with the proper process, this custom bread flour would result in a loaf with a vast depth of flavor, the crispiest crust with a golden hue, and an interior crumb that’s open and melts in the mouth. This is the kind of bread that got me started baking sourdough in the first place, the ideal loaf that inspired the name of this website.
With this flour, I’ve done all the blending for you so you can simply open a bag of this freshly milled flour and start mixing.
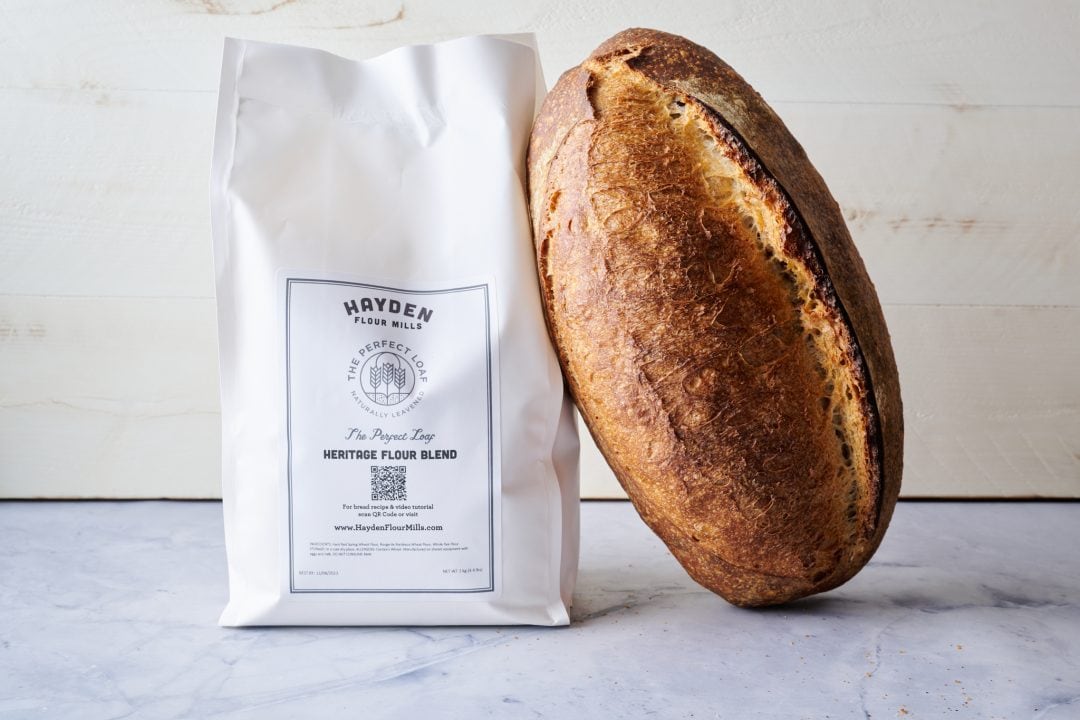
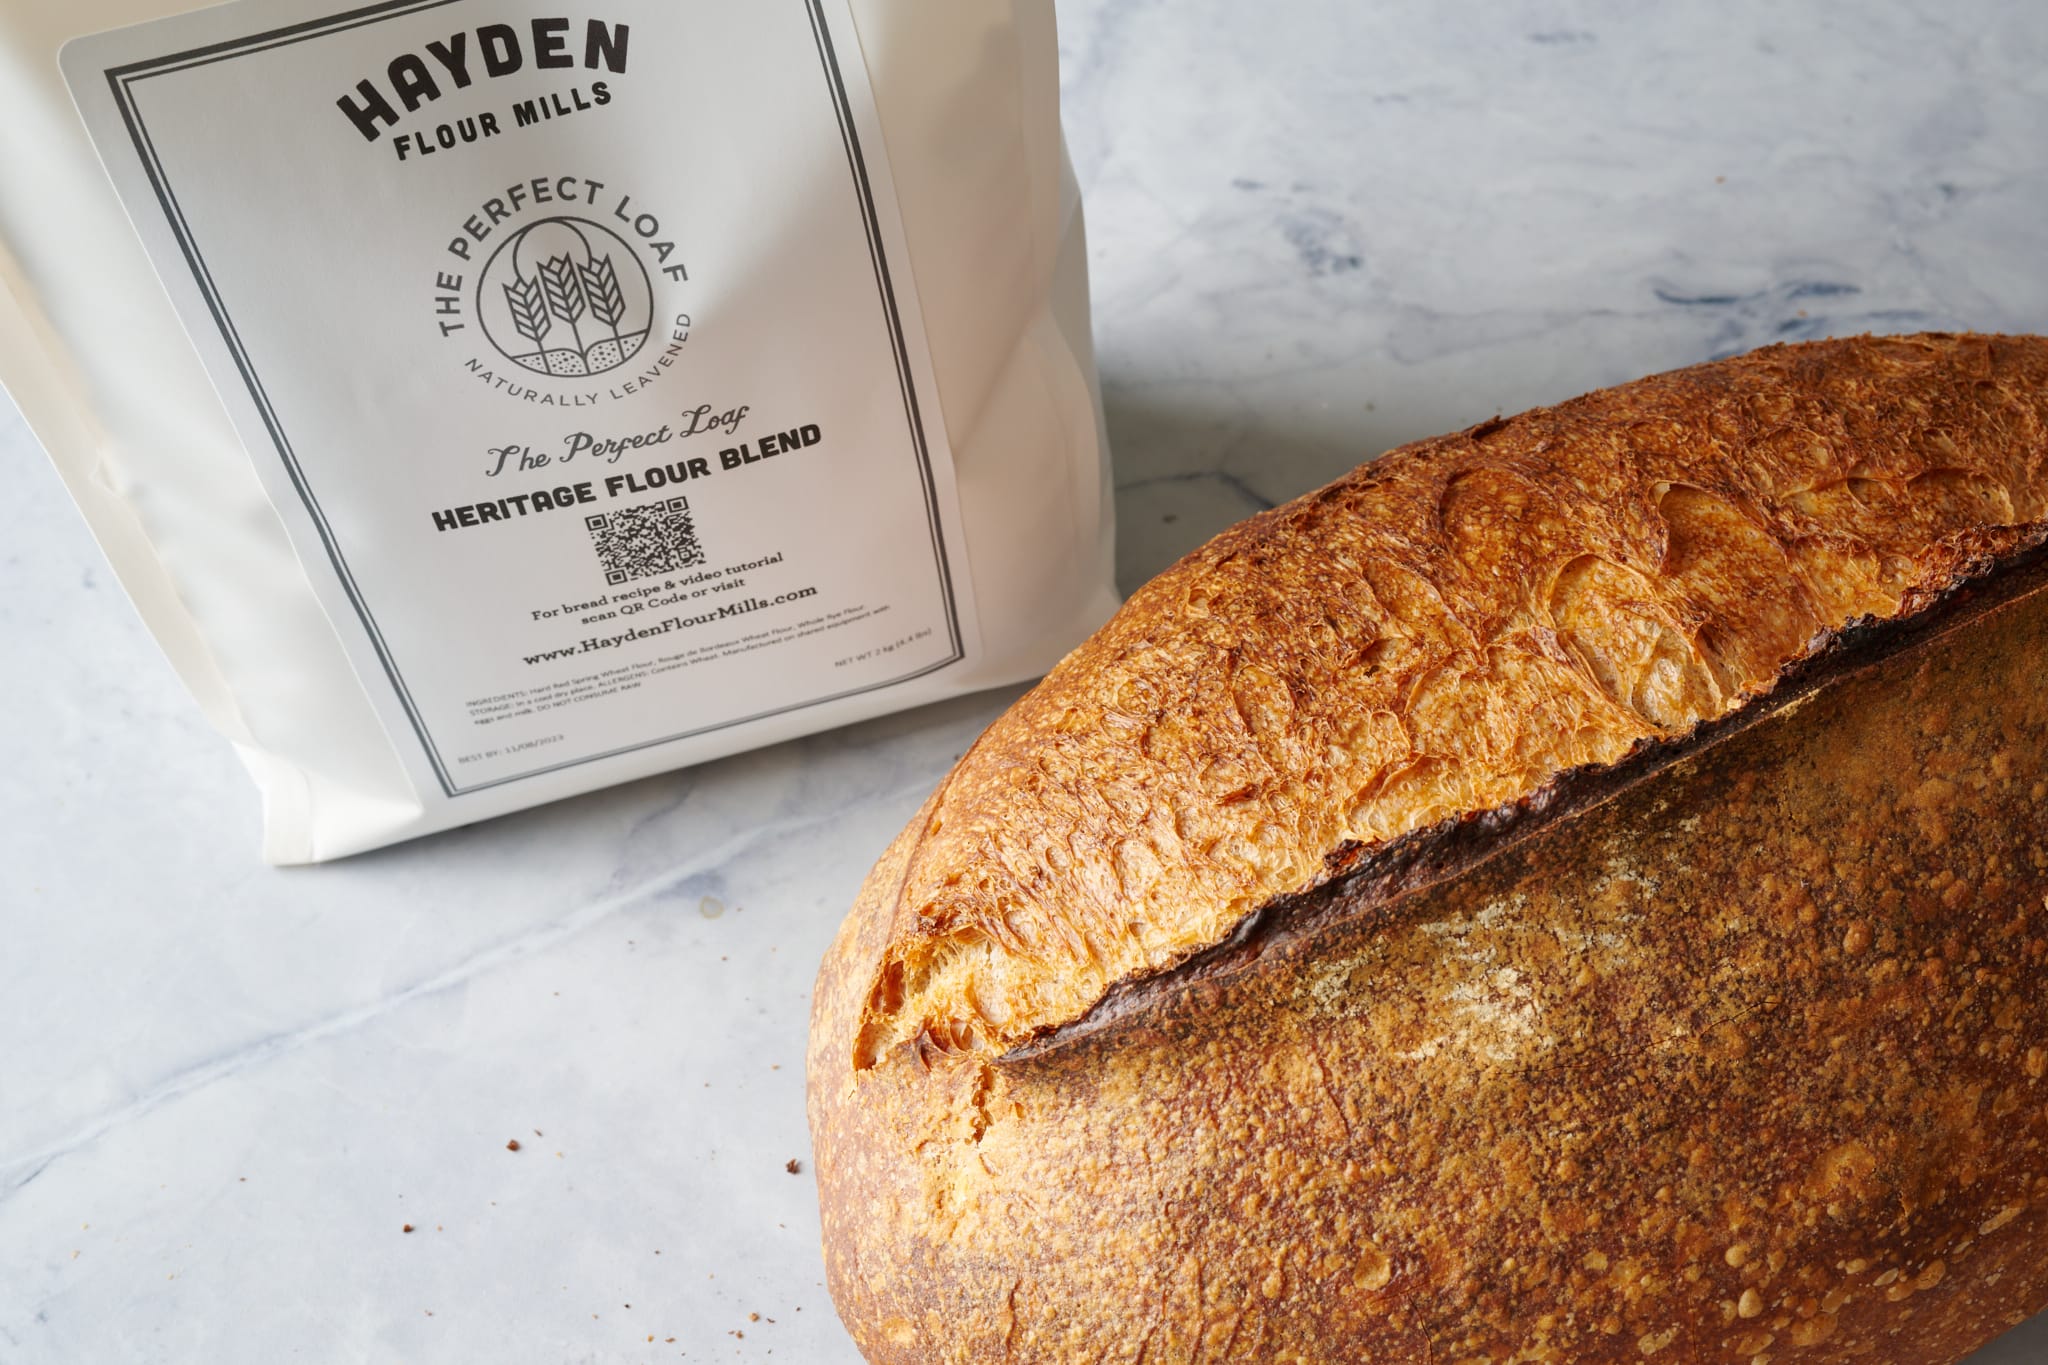
Well, the day has finally arrived and I’m delighted to announce The Perfect Loaf Bread Flour. Hayden Flour Mills is a small, family-run mill to the west of me in Arizona, and I’ve long been a fan of their products. I’ve spent lots of time blending, tweaking, and testing various fresh flours from this mill to create a specialized blend I’d be happy to use in any sourdough recipe as 100% of the flour.
I almost always develop recipes with multiple flours in varying percentages, combining the qualities of whole grain, white flour, and even whole rye to end up with the perfect loaf of bread. But with this flour, you don’t need to mix and match, since I’ve already done that work for you.
Real Quick: Why do I love this custom flour blend for sourdough bread?
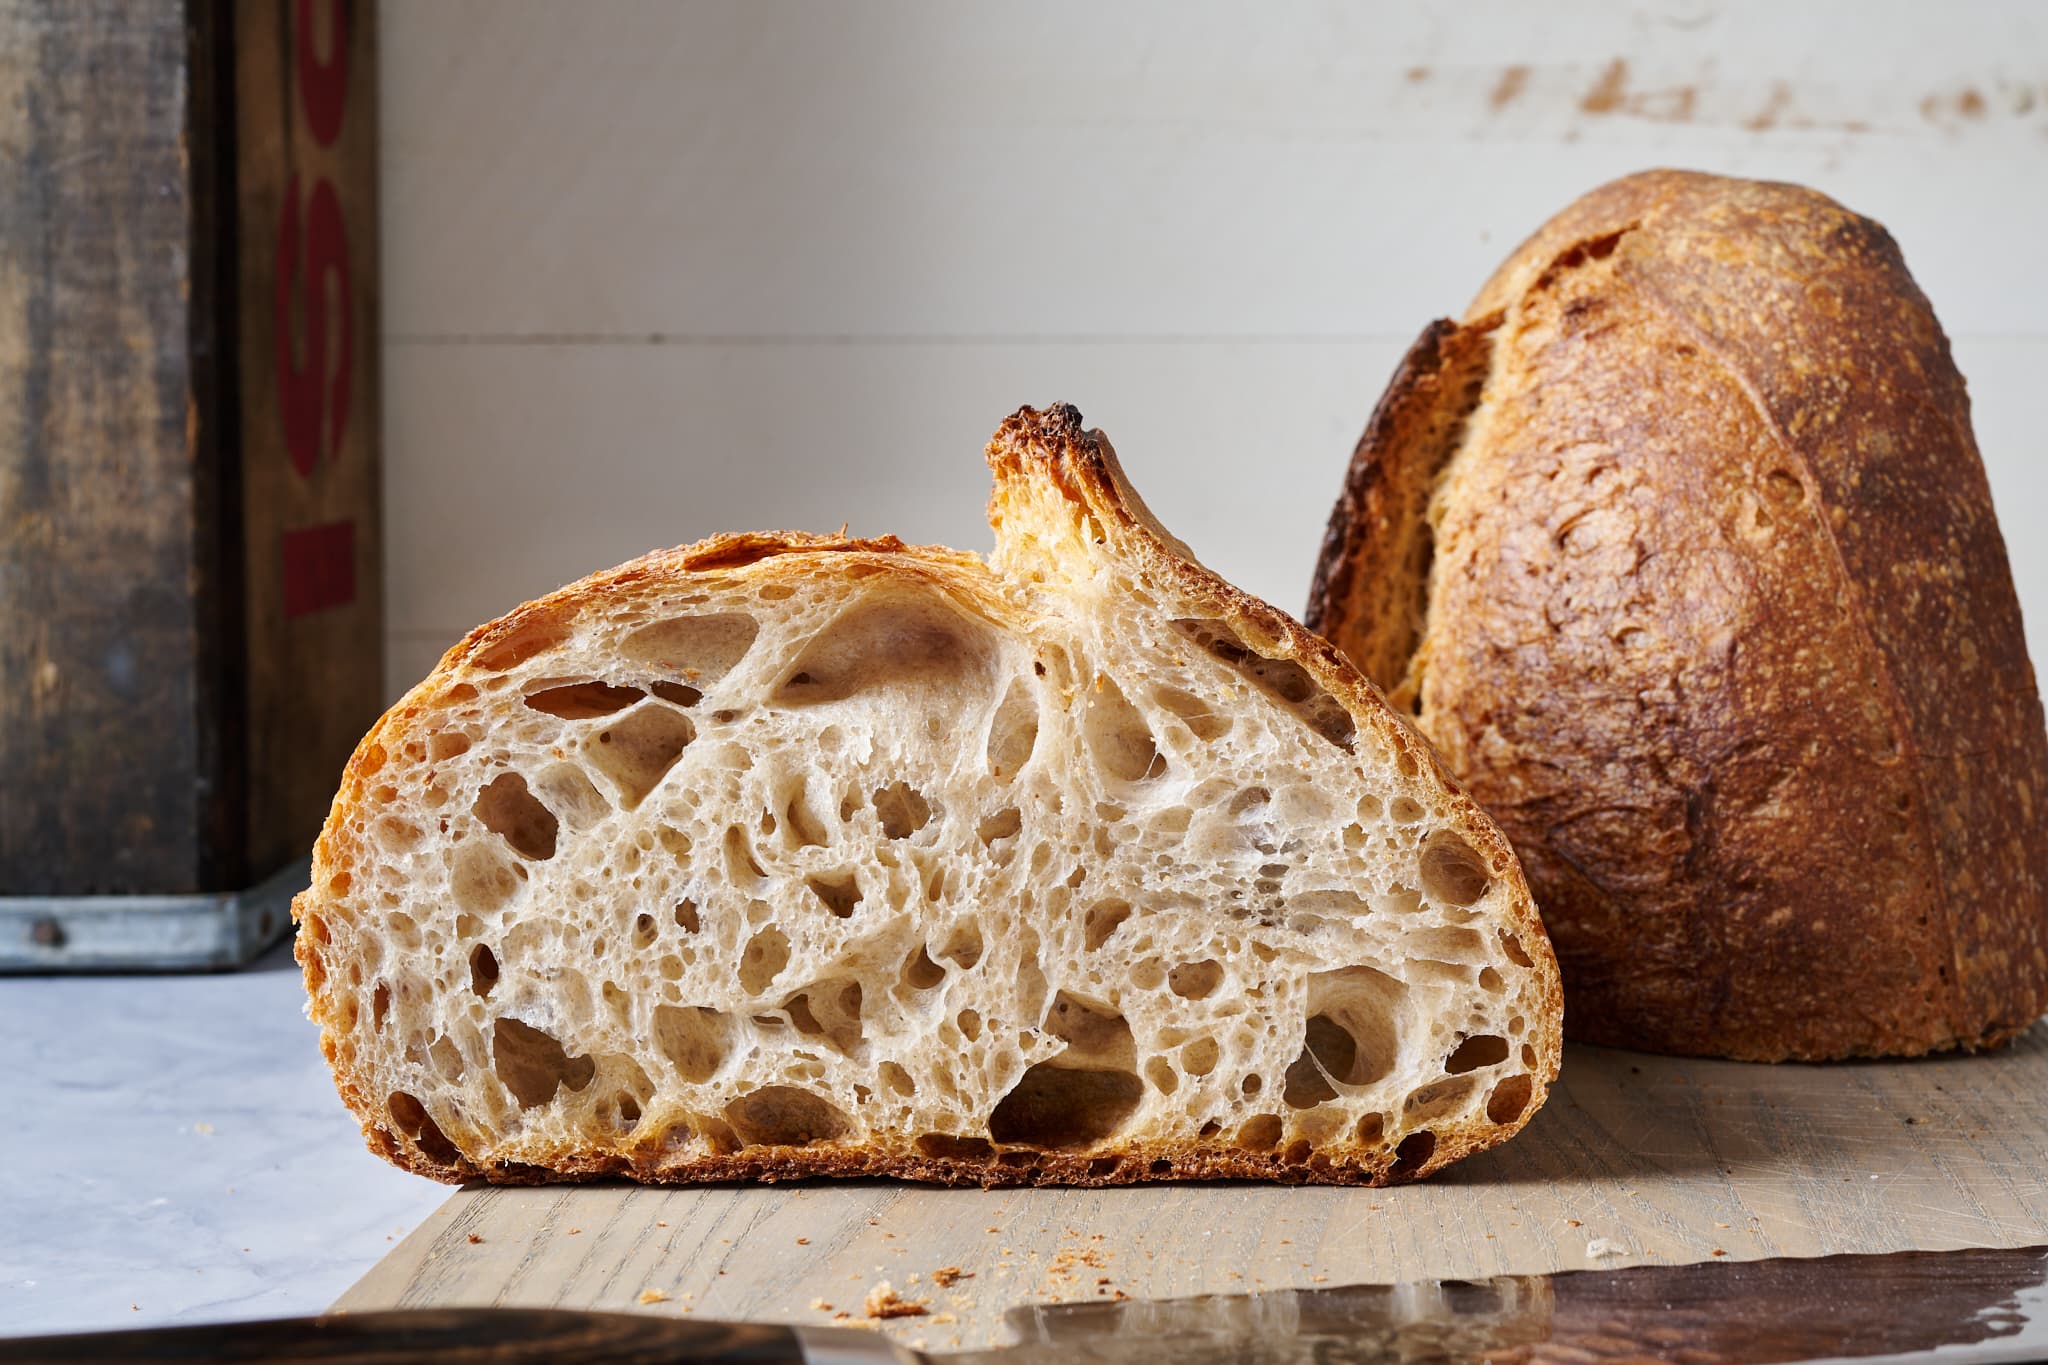
- The blend of grains in the flour results in bread with a deeply colored crust, open and light interior, and intense flavor
- The flour has an incredible aroma that makes bread irresistible
- The flour is freshly milled and shipped close to the mill date
- The flour is designed specifically for sourdough bread (though it can be used in many other things; see below)
Let’s take a closer look at what makes this custom flour special.
With this flour, I’ve done all the blending for you so you can simply open a bag of this freshly milled flour and start mixing. I’ve combined three fabulous flour varieties from Hayden Flour Mills:
- White bread flour (a sifted hard red spring wheat)
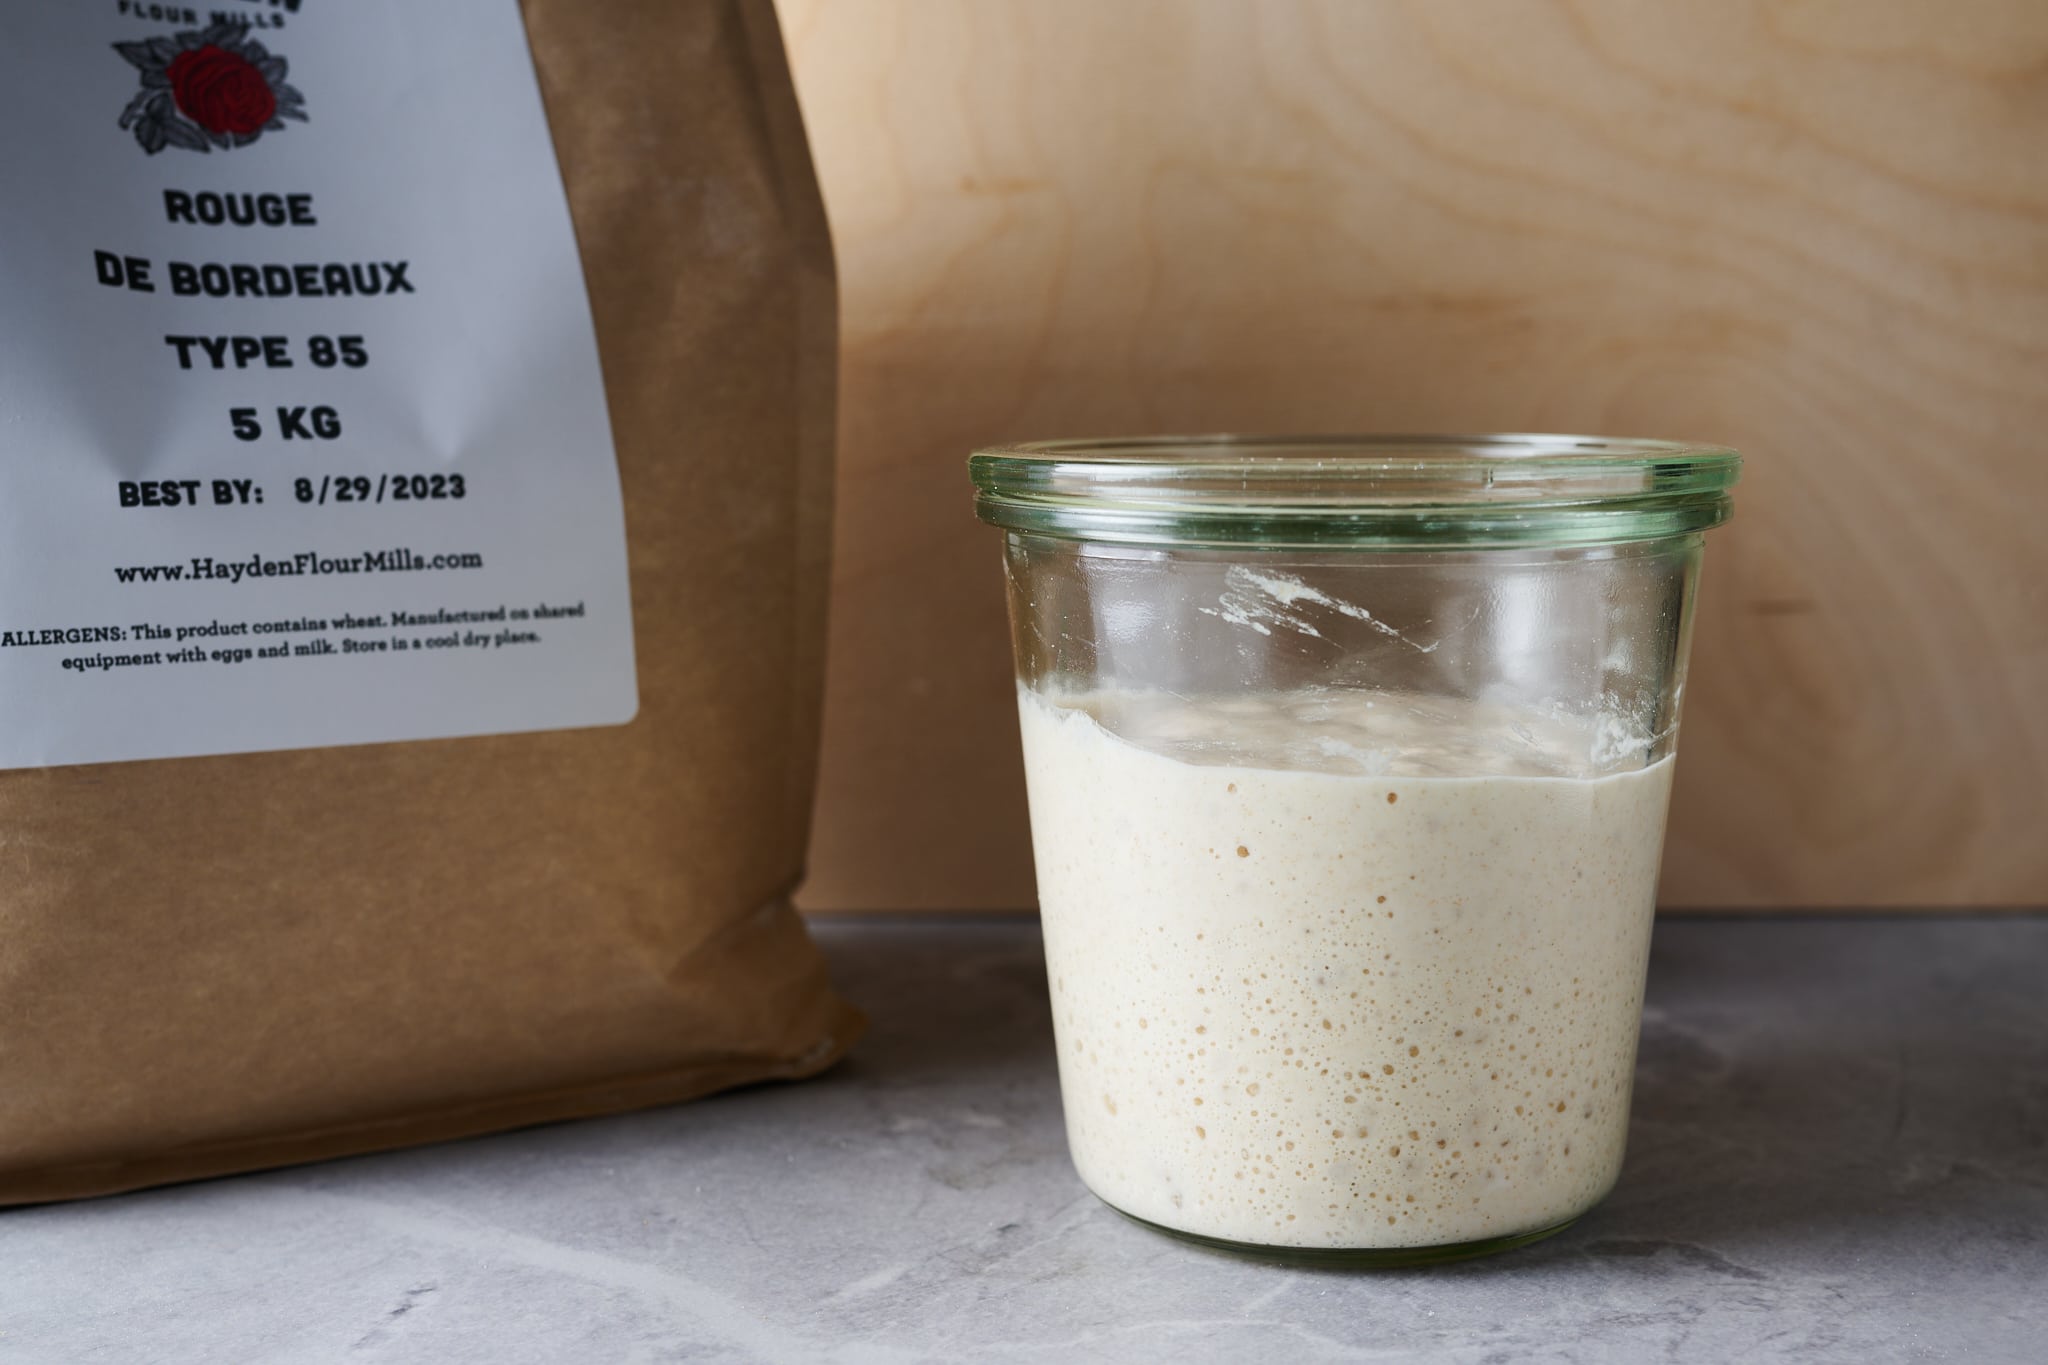
- Type 85 Rouge de Bordeaux
- Whole grain Gazelle rye
Bread dough made with this custom flour is silky, extensible yet strong, and easy to work with. The result will be bread that surprises you with its flavor and texture. It can be used for shorter fermentation timelines for same-day bread, and it also performs very well with extended fermentation times (like using an overnight cold proof, as in my recipe below).
In this post, I will go into my decisions in choosing the flours that make up this custom flour blend, the different grain varieties, and the various baker percentages. Then, I’ll share my simple recipe for making two loaves of sourdough bread with this flour.
All About The Perfect Loaf Bread Flour
My flour blend is labeled as “Complex, nutty, and sweet”—and that’s the perfect way to describe it.
These wonderful flavors are mostly attributed to the blend of grains used, but in addition, Hayden Flour Mills stone mills and blends this flour every couple of weeks in small batches, so you get flour at peak freshness. Additionally, orders are shipped just a few days after receiving and directly from the mill (no middle man or fulfillment centers). This means that the flour is fresh, flavorful, and ready for baking sourdough bread.
The Perfect Loaf Bread Flour Grain Blend
| Flour | Percentage |
|---|---|
| White bread flour (sifted hard red spring wheat) | 70.0% |
| Rouge de Bordeaux Type-85 Flour | 25.0% |
| Gazelle Rye (stone-milled 100% whole-grain rye flour) | 5.0% |
The flours listed above are exactly what goes into this custom bread flour and their percentage relative to the other ingredients.
The Perfect Loaf Bread Flour Specifications
| Protein | 11.82% |
| Moisture | 11.96% |
All of the flour in The Perfect Loaf Bread Flour is:
- From wheat grown in Arizona
- Freshly milled
- Non-GMO
How I Developed The Perfect Loaf Bread Flour
Whenever I set out to develop a new sourdough bread recipe, I first ask myself if the bread will be mostly whole grain or primarily white flour. One or the other is usually the majority of the flour in a recipe, and which flour I choose sets the recipe’s tone, if you will. More whole grains are undeniably delicious and wholesome, but I also like to balance that with a very light texture and an open and airy interior.
As I thought about my ideal bread and the flour needed to achieve it, I decided I wanted a loaf with excellent volume and that open crumb you often see here in my recipes. So, I knew I wanted at least 70% of the flour in the blend to be reliable and consistent white flour. But this large percentage of white flour also makes this flour easy to use in other baking applications. And I can always tweak how much whole grains to add in for flavor and additional nutritional value, if I want that for a specific recipe.
What is Type-85 Flour and Why Include It?
Type-85 flour is between white and whole wheat, as it has more bran and germ left in the flour than white but not as much as whole wheat. This flour is strong thanks to the increased whole grains, but it performs like white flour when milled finely. So it produces bread with the added flavor of whole grains but with a light and open texture.
These days, I use type-85 flour often in my baking; it’s the sweet spot between whole grain flour and sifted white flour, with the benefits of increased flavor without compromising crumb structure.
For my custom flour blend, I chose type-85 Rouge de Bordeaux, a variety of wheat popular in France with a perceptible nutty flavor and rich aroma with an earthy backdrop. The flavor is unique and delightful.
Why Add Whole Grain Rye Flour?
If you’re a frequent baker here, you’ll know I often use a small percentage of rye in my recipes (and in my sourdough starter). Adding whole grain rye helps encourage vigorous fermentation, a deeply colored crust, and, perhaps most importantly, a sweet, grassy flavor in the final loaf. Because rye lacks the same gluten qualities as wheat, it’ll result in a closed, dense crumb if used at high percentages (which isn’t necessarily bad!). To avoid this, I typically keep the rye to around 5% of the total flour in the recipe (in baker’s percentages).
For this custom flour blend, I chose Hayden’s Gazelle rye, which is an ancient variety that has prominent grassy flavors and, to me, an almost sweet aftertaste.
How To Use The Perfect Loaf Bread Flour
In practice, this flour is incredibly robust and flexible in terms of how you can use it in any bread formula. It can handle short or long fermentation times, be used as 100% of the flour in a bread recipe, or even be used in a reduced percentage to complement your existing bread recipes.
It is a strong flour that needs ample hydration for the best texture and result. In addition, as you’ll see in my recipe, I like to perform a 1-hour autolyse to help bring extensibility to the resulting bread dough.
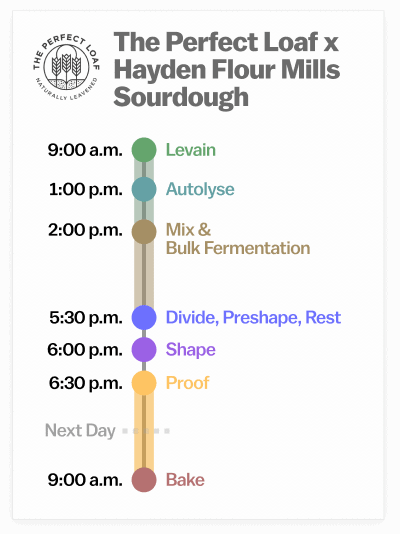
Baking Schedule
This bread can be baked the same day for a milder result or proofed in the refrigerator and retarded overnight for a deeper, more complex flavor profile. I like to retard this dough more often than not because this flour blend handles long fermentation times beautifully, resulting in bread with lots of flavor and beautiful crust color.
The Perfect Loaf Bread Flour Recipe
Vitals
| Total dough weight | 1,800 grams |
| Prefermented flour | 7.3% |
| Hydration | 75.0% |
| Levain in the final dough | 19.7% |
| Yield | Two loaves |
Total formula
Desired dough temperature: 78°F (25°C) (see my post on the importance of dough temperature).
| Weight | Ingredient | Baker’s percentage |
|---|---|---|
| 997g | The Perfect Loaf Bread Flour (Hayden Flour Mills custom blend) | 100.0% |
| 698g | Water 1 (levain and autolyse) | 70.0% |
| 50g | Water 2 (mix) | 5.0% |
| 1g | Diastatic malt powder (optional) | 0.1% |
| 18g | Fine sea salt | 1.8% |
| 36g | Ripe sourdough starter, 100% hydration | 3.7% |
Method
1. Prepare the levain – 9:00 a.m.
| Weight | Ingredient | Baker’s percentage |
| 73g | The Perfect Loaf Bread Flour | 100.0% |
| 73g | Water | 100.0% |
| 36g | Ripe sourdough starter, 100% hydration | 50.0% |
To make the levain, mix the ingredients in the chart above in a jar and leave them covered at a warm temperature, 74-76°F (23-24°C), to ripen for 5 hours.
2. Autolyse – 1:00 p.m.
| Weight | Ingredient |
|---|---|
| 924g | The Perfect Loaf Bread Flour |
| 1g | Diastatic malt powder (optional) |
| 625g | Water 1 |
Warm or cool the autolyse water so that the temperature of the mixed dough meets the FDT (final dough temperature) of 78°F (25°C) for this recipe. Place the flour, malt powder, and water 1 in a large bowl. Use wet hands to mix until no dry bits remain; the dough will be shaggy and loose. Use a bowl scraper to scrape down the sides of the bowl to keep all the dough in one area at the bottom. Cover the bowl and place it near your levain for 1 hour.
3. Mix – 2:00 p.m.
| Weight | Ingredient |
|---|---|
| 50g | Water 2 |
| 18g | Fine sea salt |
| 181g | Ripe levain (from Step 1) |
Add the salt and levain to the top of the dough that was just in autolyse and use a splash of water 2 to moisten. With wet hands, mix thoroughly. Add the remaining water if the dough feels like it can handle it. Next, knead the dough for a few minutes using either the slap and fold technique or folds in the bowl. For this dough, I kneaded for about 5 minutes until the dough smoothed and became elastic.
Transfer the dough to a bulk fermentation container and cover.
4. Bulk fermentation – 2:30 p.m. to 5:30 p.m. (3 hours)
At a warm room temperature, 74-76°F (23-24°C), bulk fermentation should take about 3 hours.
This dough will require 2 sets of stretches and folds during bulk fermentation. After the first 30 minutes, wet your hands, grab one side of the dough, and lift it over to the other side. Rotate the bowl 180 degrees and repeat. Then rotate the bowl a quarter turn and stretch and fold that side. Rotate the bowl 180 degrees again and finish with a stretch and fold on the last side. The dough should be neatly folded up in the bowl. Cover and repeat these folds once more after 30 minutes. Then let the dough rest, covered, for the remainder of bulk fermentation.
5. Divide and preshape – 5:30 p.m.
After 3 hours, the dough should be well-risen in the bulk fermentation container and puffy to the touch. The edge where the dough meets the container should be domed downward, showing strength and rise.

Fill a small bowl with water and place it next to your work surface. Scrape the dough onto a clean counter. Divide the dough into 2 equal pieces and preshape the pieces into loose rounds.
Let the dough rest, uncovered, for 30 minutes.
6. Shape – 6:00 p.m.
Flour the top of the preshaped rounds and your work surface. Using your bench knife, flip one of the rounds over onto the floured area. Using floured hands, shape the dough into a bâtard (oval). Gently transfer the dough to a 14-inch-long proofing basket, seam-side up. Repeat with the remaining round.
7. Proof – 6:30 p.m. to 9:00 a.m. (overnight)
Cover the baskets with a large, reusable plastic bag and seal shut. Place the baskets in the refrigerator to proof overnight.
8. Bake – 9:00 a.m.
Place an oven rack in the bottom-third of the oven. Due to their oval shape, I baked these loaves in my long Challenger bread pan. Or, see my guide to baking with a Dutch oven or steaming your entire oven.
Preheat the oven to 450°F (230°C) for 30 minutes.
Take one of the proofing baskets out of the fridge, uncover it, and put a piece of parchment paper over the basket. Place a pizza peel or inverted baking sheet on top of the parchment and, using both hands, flip everything over. Gently remove the basket and score the dough.
Slide the dough into the oven. Steam the oven: either cover the Challenger bread pan or pour ice into the preheated pan at the bottom of the oven. Bake for 20 minutes. Vent the steam oven: uncover the Challenger bread pan and remove the lid or steaming pans. Continue to bake for 30 minutes more. When done, the loaf should have an internal temperature of around 204°F (95°C), and the crust should be deeply colored.
Let the loaves cool on a wire rack for at least 1 hour before slicing with your favorite bread knife.
Print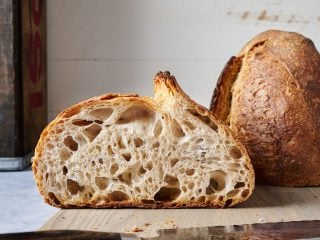
The Perfect Loaf x Hayden Flour Mills Custom Bread Flour Blend (with Recipe!)
- Prep Time: 23 hours
- Cook Time: 1 hour
- Total Time: 24 hours
- Yield: 2 loaves
- Category: Main course
- Cuisine: American
Description
My recipe for an open, light, and crusty loaf of sourdough bread using The Perfect Loaf custom bread flour blend from Hayden Flour Mills.
Ingredients
Levain
- 73g The Perfect Loaf Bread Flour
- 73g water
- 36g ripe sourdough starter, 100% hydration
Autolyse
- 924g The Perfect Loaf Bread Flour
- 1g diastatic malt powder (optional)
- 625g Water
Main Dough
- 50g water
- 18g fine sea salt
- 181g ripe levain
Instructions
- Levain (9:00 a.m.)
In a small bowl mix the Levain ingredients. Cover the jar and keep it at a warm temperature for 5 hours. - Autolyse (1:00 p.m)
In a mixing bowl, add the Autolyse ingredients until no dry bits remain. Cover the bowl and let rest for 1-hour. - Mix (2:00 p.m.)
Add the salt and levain to the top of the dough in autolyse and use a splash of the remaining water to moisten. With wet hands, mix thoroughly. Add the remaining water if the dough feels like it can handle it. Knead the dough for a few minutes using either the slap and fold technique or folds in the bowl until the dough smooths and becomes elastic. Transfer the dough back into the bowl. Transfer the dough to a bulk fermentation container and cover. - Bulk Fermentation (2:30 p.m. to 5:30 p.m.)
This dough will require 2 sets of stretches and folds during bulk fermentation at 30-minute intervals. After the second set, let the dough rest, covered, for the remainder of bulk fermentation. - Divide and Preshape (5:30 p.m.)
Scrape the dough out to a clean work surface. Use water and a wet hand, and your bench knife, divide the dough in half. Lightly shape each half into a round shape and let rest for 30 minutes, uncovered. - Shape (6:00 p.m.)
Flour the top of the preshaped round and your work surface. Using your bench knife, flip one of the rounds over onto the floured area. Using floured hands, shape the dough into a bâtard. Gently transfer the dough to a 14-inch long proofing basket, seam-side up. Repeat with the remaining round. - Proof (6:30 p.m. to 9:00 a.m. the next day)
Cover proofing baskets with reusable plastic, seal, and place into the refrigerator overnight. - Bake (The next day, 9:00 a.m.)
Place an oven rack in the bottom-third of the oven. Due to their oval shape, I baked these loaves in my long Challenger bread pan. Using my oven-steaming technique, you could also bake them directly on a baking surface. Preheat the oven to 450°F (230°C) for 30 minutes. Take one of the proofing baskets out of the fridge, uncover it, and put a piece of parchment paper over the basket. Place a pizza peel or inverted baking sheet on top of the parchment and, using both hands, flip everything over. Gently remove the basket and score the dough. Slide the dough into the oven. Steam the oven: either cover the Challenger bread pan or pour ice into the preheated pan at the bottom of the oven. Bake for 20 minutes. Vent the steam oven: uncover the Challenger bread pan and remove the lid or remove the steaming pans. Continue to bake for 30 minutes more. When done, the loaf should have an internal temperature of around 204°F (95°C), and the crust should be deeply colored. Let the loaves cool on a wire rack for at least 1 hour before slicing.
Frequently Asked Questions
Can I make this bread recipe if I don’t have your flour blend?
Yes, absolutely, though it won’t have quite the same flavor! Try to find a similar flour to the white flour, type-85, and rye that are in my blend, then mix them to the same ratios (you can use the member’s spreadsheets to do this quite easily) and use your blend for all of the flour in this recipe.
What’s Next?
Though I can honestly say the search will probably never be over for my ideal bread—and that’s one of the reasons I love bread baking, that never-ending quest— I often catch a glimpse of perfection when the conditions are just right, when everything seems to fit its proper groove. My new flour blend will help get you there too.
This The Perfect Loaf custom bread flour will also work exceptionally well in my Beginner’s Sourdough recipe (use it for 100% of the flour), my Sunflower and Sesame Sourdough, and last but not least, my Sourdough Pretzel.
I do hope you love this flour. It’s something special. Buon appetito!

