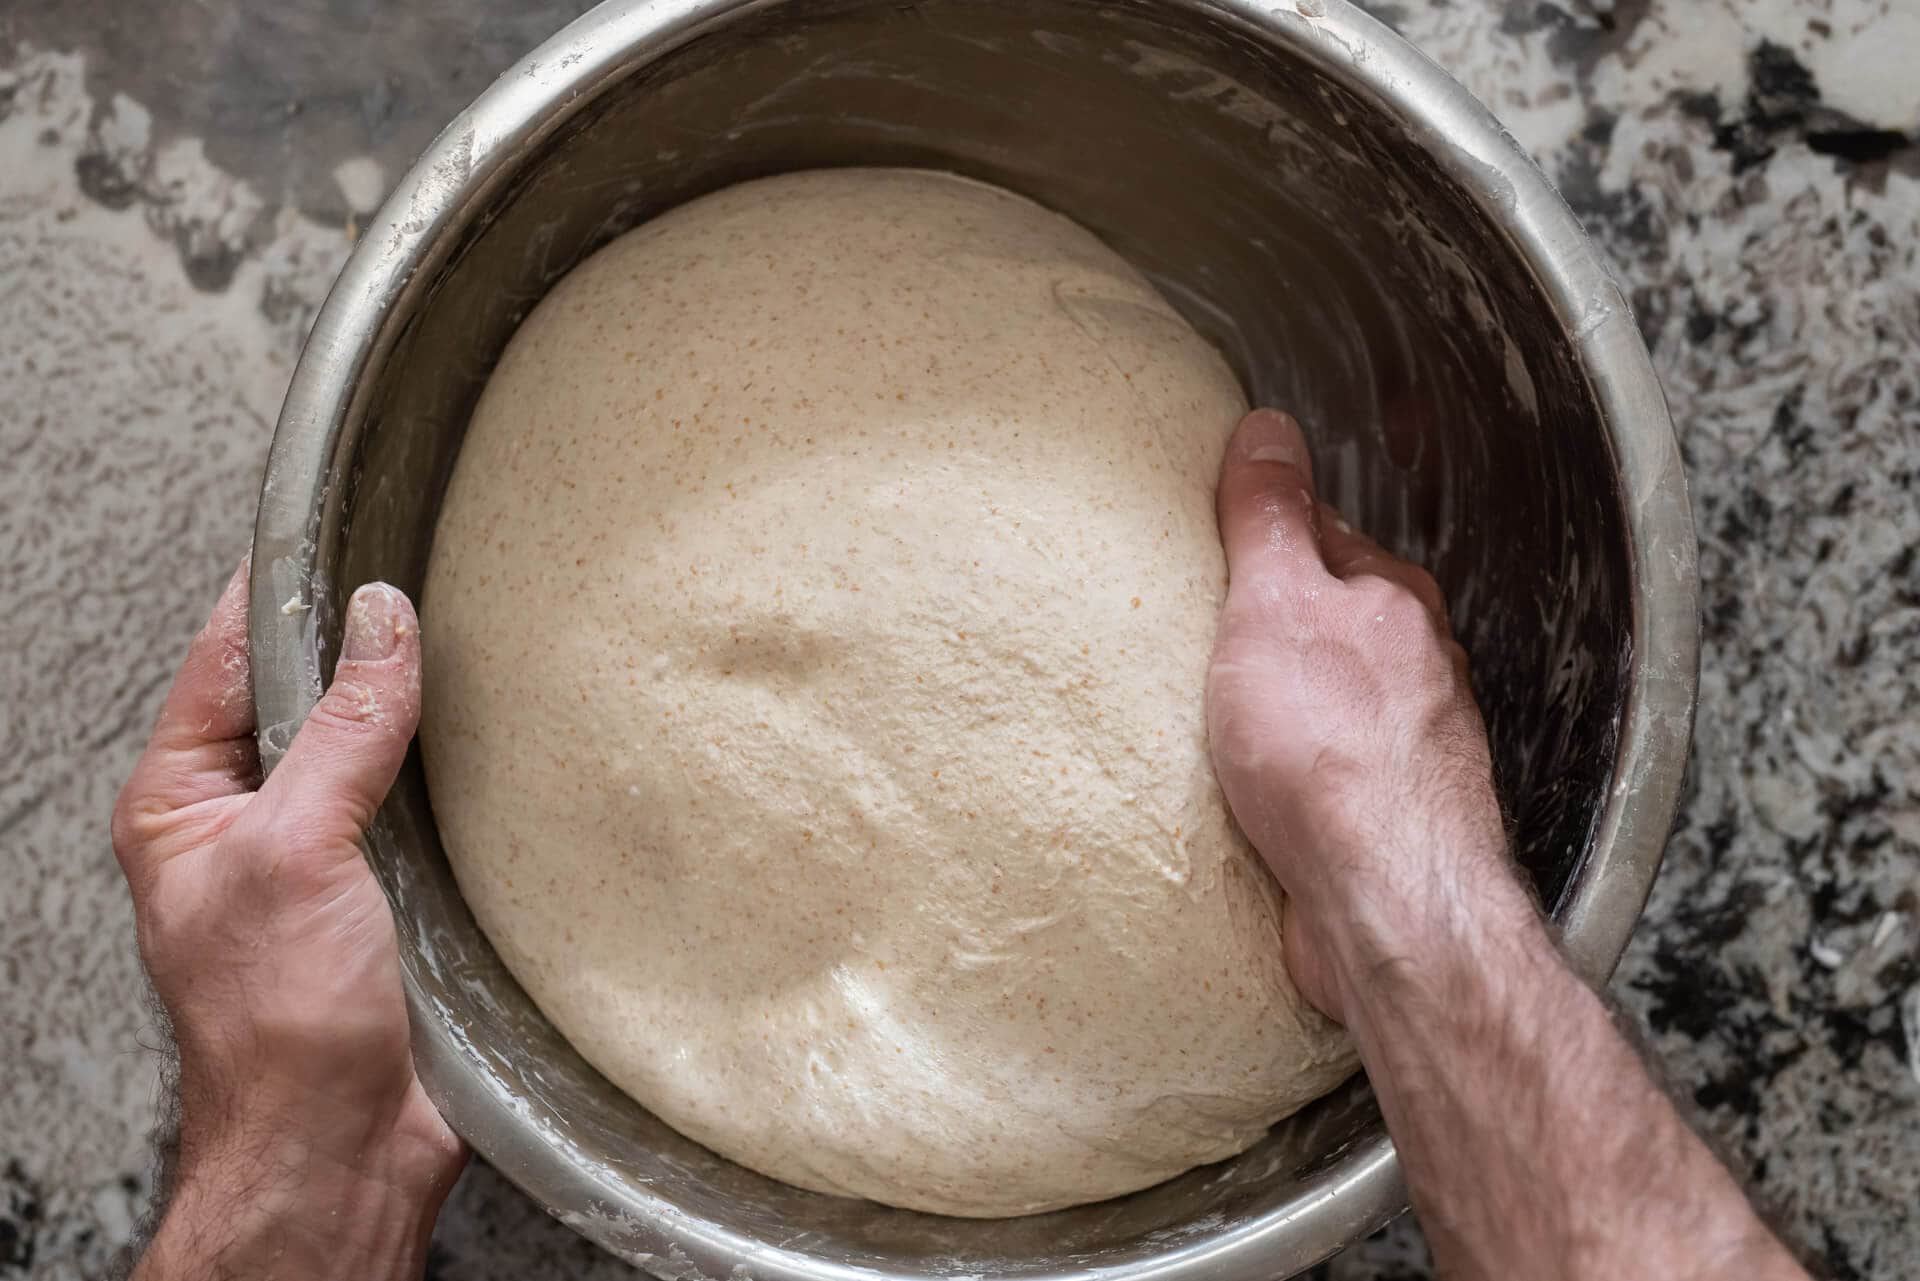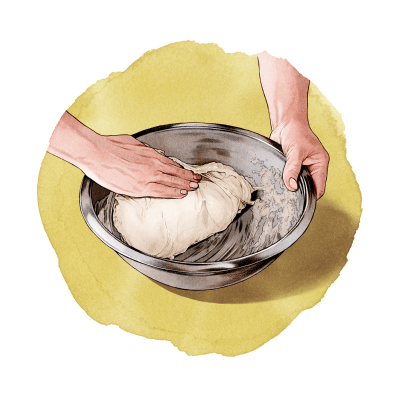
Mixing bread dough is an important—and often overlooked!—step in the sourdough bread-making process. It’s more than just combining ingredients; it’s a multi-step procedure that involves weighing ingredients, incorporating them, and achieving proper dough development (strengthening).
A systematic approach to mixing will ensure your dough is easier to work with, rises tall with optimal volume, and has the best texture and eating quality.
If you’re starting with sourdough bread, mixing can be challenging because it’s hard to know if you’ve mixed your dough enough. In this guide, I’ll break down different mixing and strengthening techniques—by hand and with a mixer—and show you how to spot when your dough has been mixed sufficiently (be sure to read to the end for this).
Plus, this guide to mixing bread dough includes information on how autolyse affects mixing, how to use the bassinage technique, and what happens if you’ve overmixed your dough.
Mixing Bread Dough Guide Contents
- What is mixing bread dough—the basics
- How dough hydration affects mixing
- How to strengthen the dough during mixing (slap and fold, folding in the bowl, Rubaud, and more)
- Strengthening bread dough with a mechanical mixer
- How do I know if I’ve mixed and strengthened my dough enough?
What is Mixing Bread Dough?
Mixing bread dough is the third step in the sourdough bread-making process. It involves combining ingredients and strengthening the dough through techniques like kneading (e.g., slap and fold). If a recipe includes the autolyse step (step 2), mixing picks up after the flour and water have been combined, followed by adding more water, salt, levain, and any inclusions (seeds, fruit) or enrichments (butter, oil, sugar).

Mixing starts by adding water to flour, allowing starches and proteins to absorb and begin enzymatic activity. The dough becomes viscoelastic, acting like a liquid and a solid. Two proteins, gliadin and glutenin, are important: Gliadin provides extensibility, while glutenin offers elasticity. When hydrated, they form gluten, which, through mixing and strengthening, creates a continuous matrix. This gluten network, interspersed with starches and air pockets, supports dough structure and gas retention during fermentation, forming the bread’s crumb.
I’ve found that it’s more common for home bakers to understrengthen their dough, so don’t hesitate to mix and strengthen thoroughly.
Dough oxidation during mixing strengthens the gluten network, improving gas retention and dough handling. While overoxidation can degrade flavor and color (stripping carotenoid pigments), it is rare in home baking. I’ve found that it’s more common for home bakers to understrengthen their dough, so don’t hesitate to mix and strengthen thoroughly. Overoxidation is unlikely unless a mechanical mixer is used for excessively long periods.
How Do I Mix Bread Dough?
I break down mixing bread dough into four steps. While they’re not all mandatory, they follow the same flow and get you from raw ingredients to viscoelastic dough ready for fermentation.
- Incorporate only the flour and water
- Autolyse (optional)
- Strengthen
- Incorporate enrichments (and optionally inclusions)
Let’s look at each step in detail.
1. Incorporate the flour and water (only)
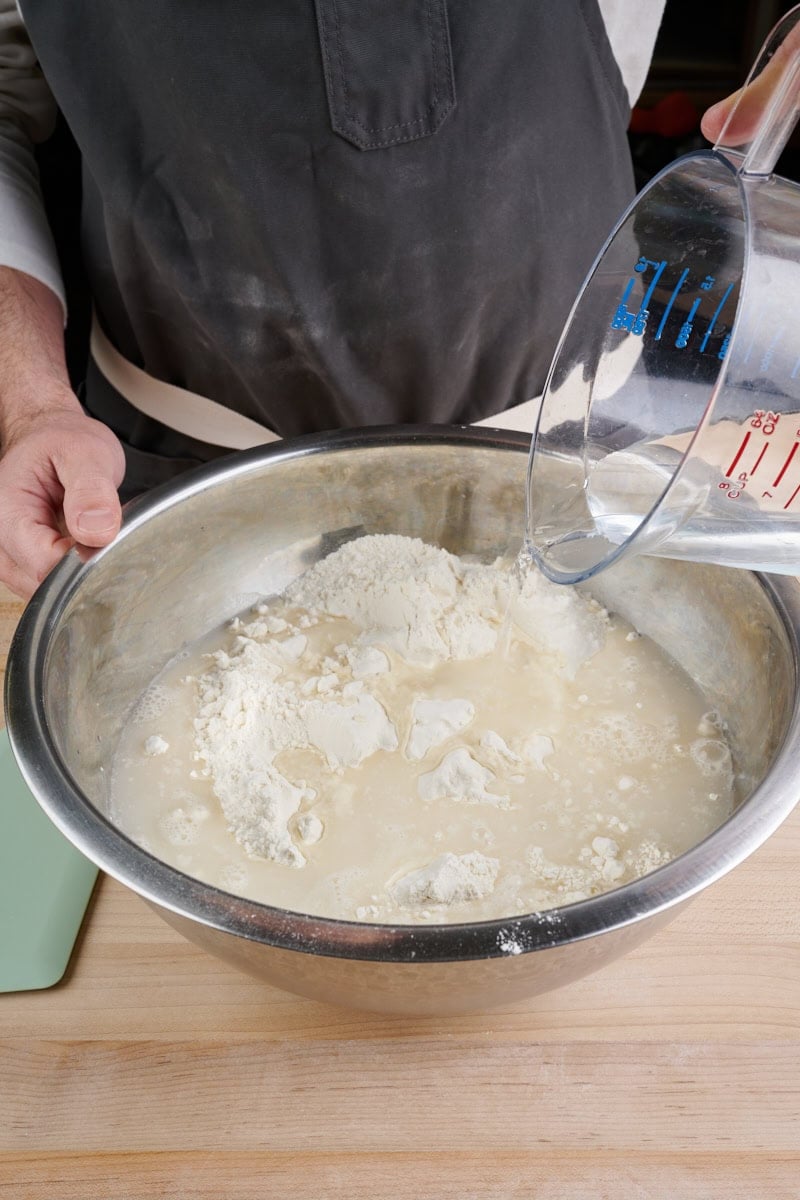
If I’m mixing by hand, I like to set my mixing bowl on a kitchen scale and weigh out the flour listed in the recipe. Then, I’ll pour in most—but not all—of the water in the recipe (if the recipe has Water 1 and Water 2 listed, I’ll pour all of Water 1). I like to hold back some of the water until later in the mixing to adjust the hydration of the dough. More on this in a moment.
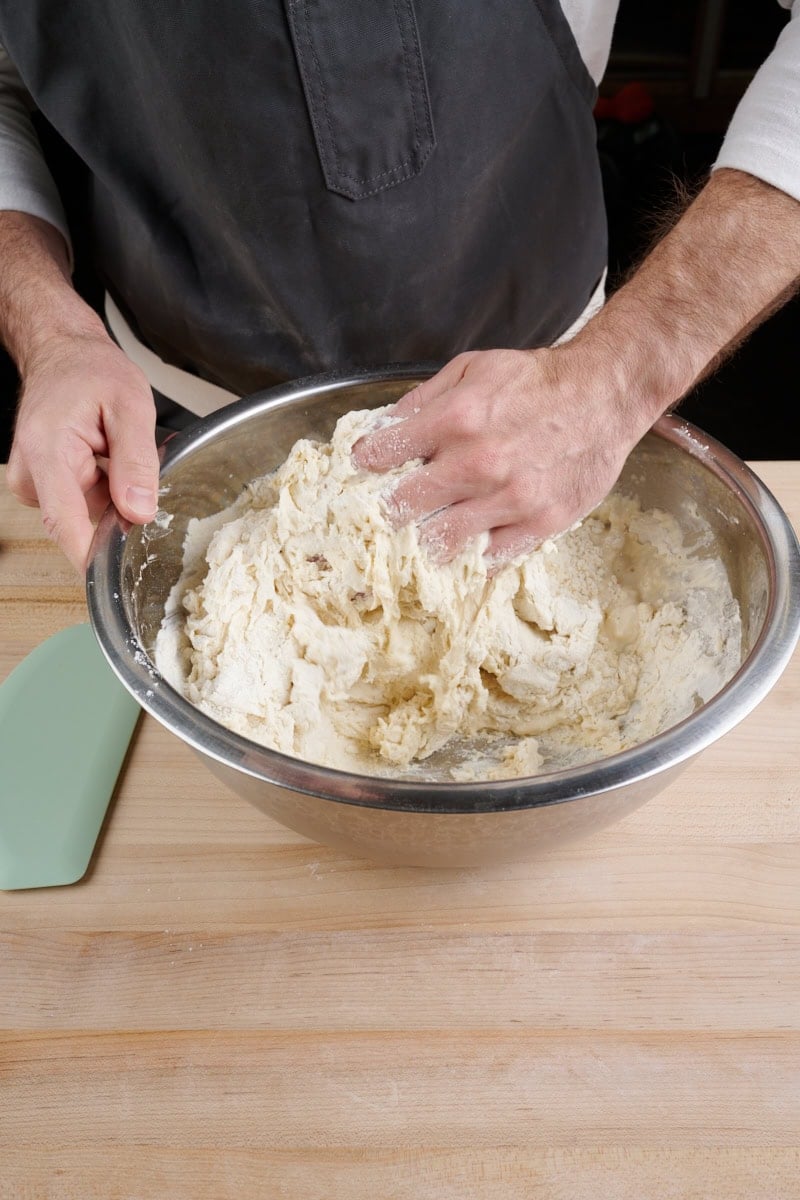
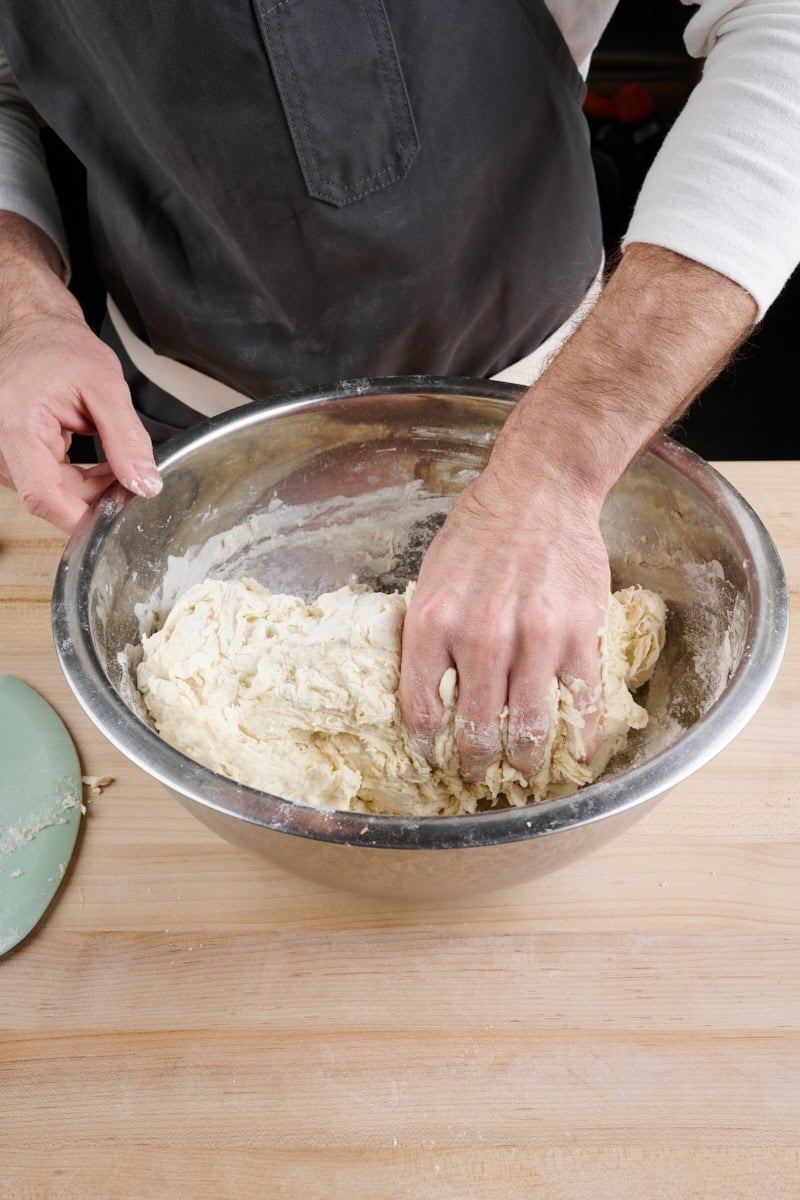
Next, I use my wet hands to pinch and fold the dough until it forms a single, shaggy mass with no dry bits of flour. Alternatively, I’ll sometimes use a dough whisk until no dry bits remain.
If I’m using a mechanical mixer, I add the water to the mixing bowl first to help prevent the flour from sticking to the bottom.
Before adding the flour and water to the mixing bowl, I always recommend warming or cooling the mixing water to whatever is necessary to achieve the recipe’s stated desired dough temperature. In the summer, this might mean mixing in ice to bring the water temperature down or warming the water in the microwave in the winter.
2. Autolyse (optional)
An optional step to increase dough extensibility and decrease mixing time. Now that the flour and most of the water have been mixed, the autolyse phase is simply letting the dough rest for some period. During this time, gluten bonds will form without any physical input.
3. Strengthen
Mixing bread dough by hand or with a mixer strengthens the gluten network, enhancing its structure and gas retention. However, not all dough development needs to happen at the start. No-knead recipes skip initial strengthening, opting for stretches and folds during bulk fermentation.
I prefer initial strengthening at this phase, which can reduce the number of stretches and folds needed later in bulk fermentation and result in a loaf with a more open crumb.
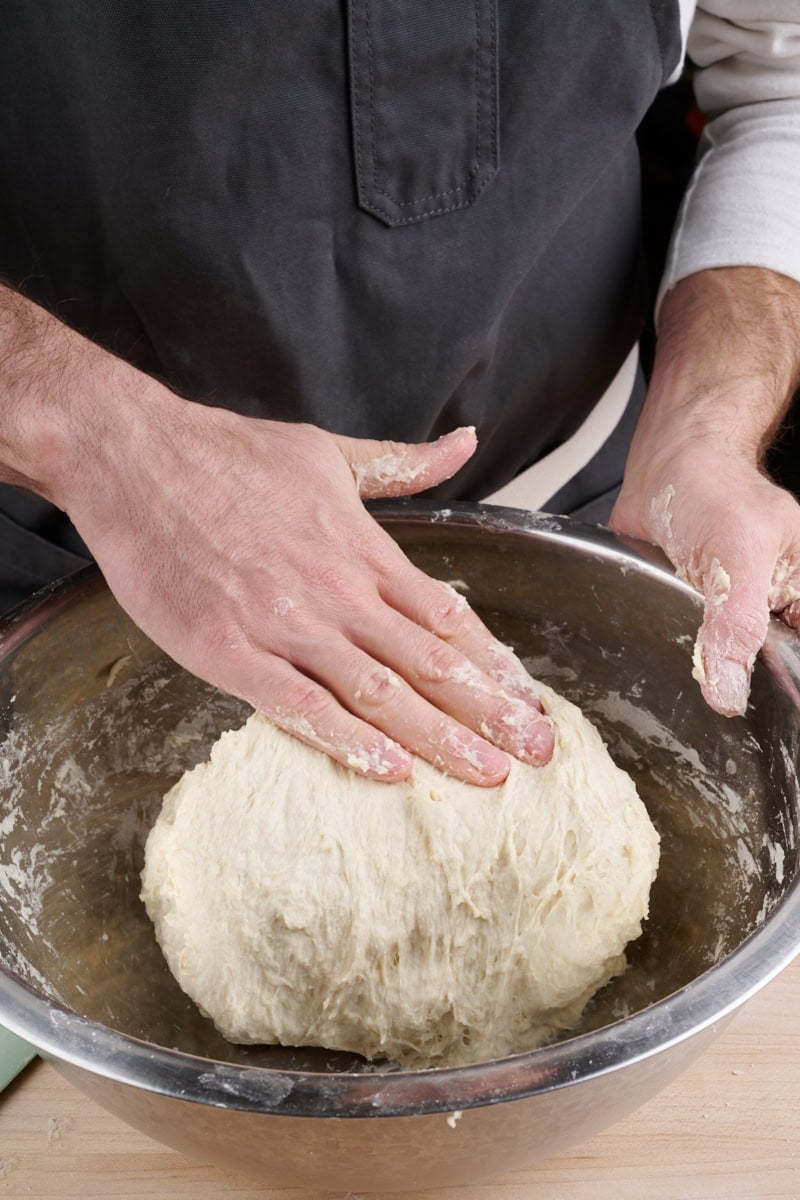
To strengthen the dough here, I’ll either slap and fold it on the counter or simply give it a series of folds in the mixing bowl (see the video later in this post).
Depending on the dough’s hydration, this initial strengthening usually takes between 5 and 8 minutes.
More on strengthening techniques in the next section. 👇🏼
4. Incorporate enrichments (optional)
At this phase, you’ll add butter, sugar, eggs, and other ingredients called for in the recipe. These ingredients are usually added later in the mixing process because they can stress the dough’s gluten network and make mixing difficult, requiring more mixing time.
Fats, such as oil and butter, slow gluten development because:
- Fat coats gluten strands, preventing them from bonding as easily.
- Fat can delay (or even prohibit) the hydration of the proteins (gliadin and glutenin) in flour—these proteins must be hydrated to form gluten.
However, be sure to follow the recipe instructions. Depending on the other dough ingredients, eggs and sugar are usually added at the start of mixing.
I take a much deeper look at each of these four key phases to mixing bread dough in my sourdough bread cookbook.

How Does The Autolyse Technique Affect Mixing Bread Dough?
The autolyse technique involves letting the combined flour and water rest for some time. This method can reduce mixing time, increase dough extensibility, and enhance flavor preservation. It’s impact on mixing is easy to see: the longer the autolyse, the less mixing needed to get the dough to a strengthened state—within reason.
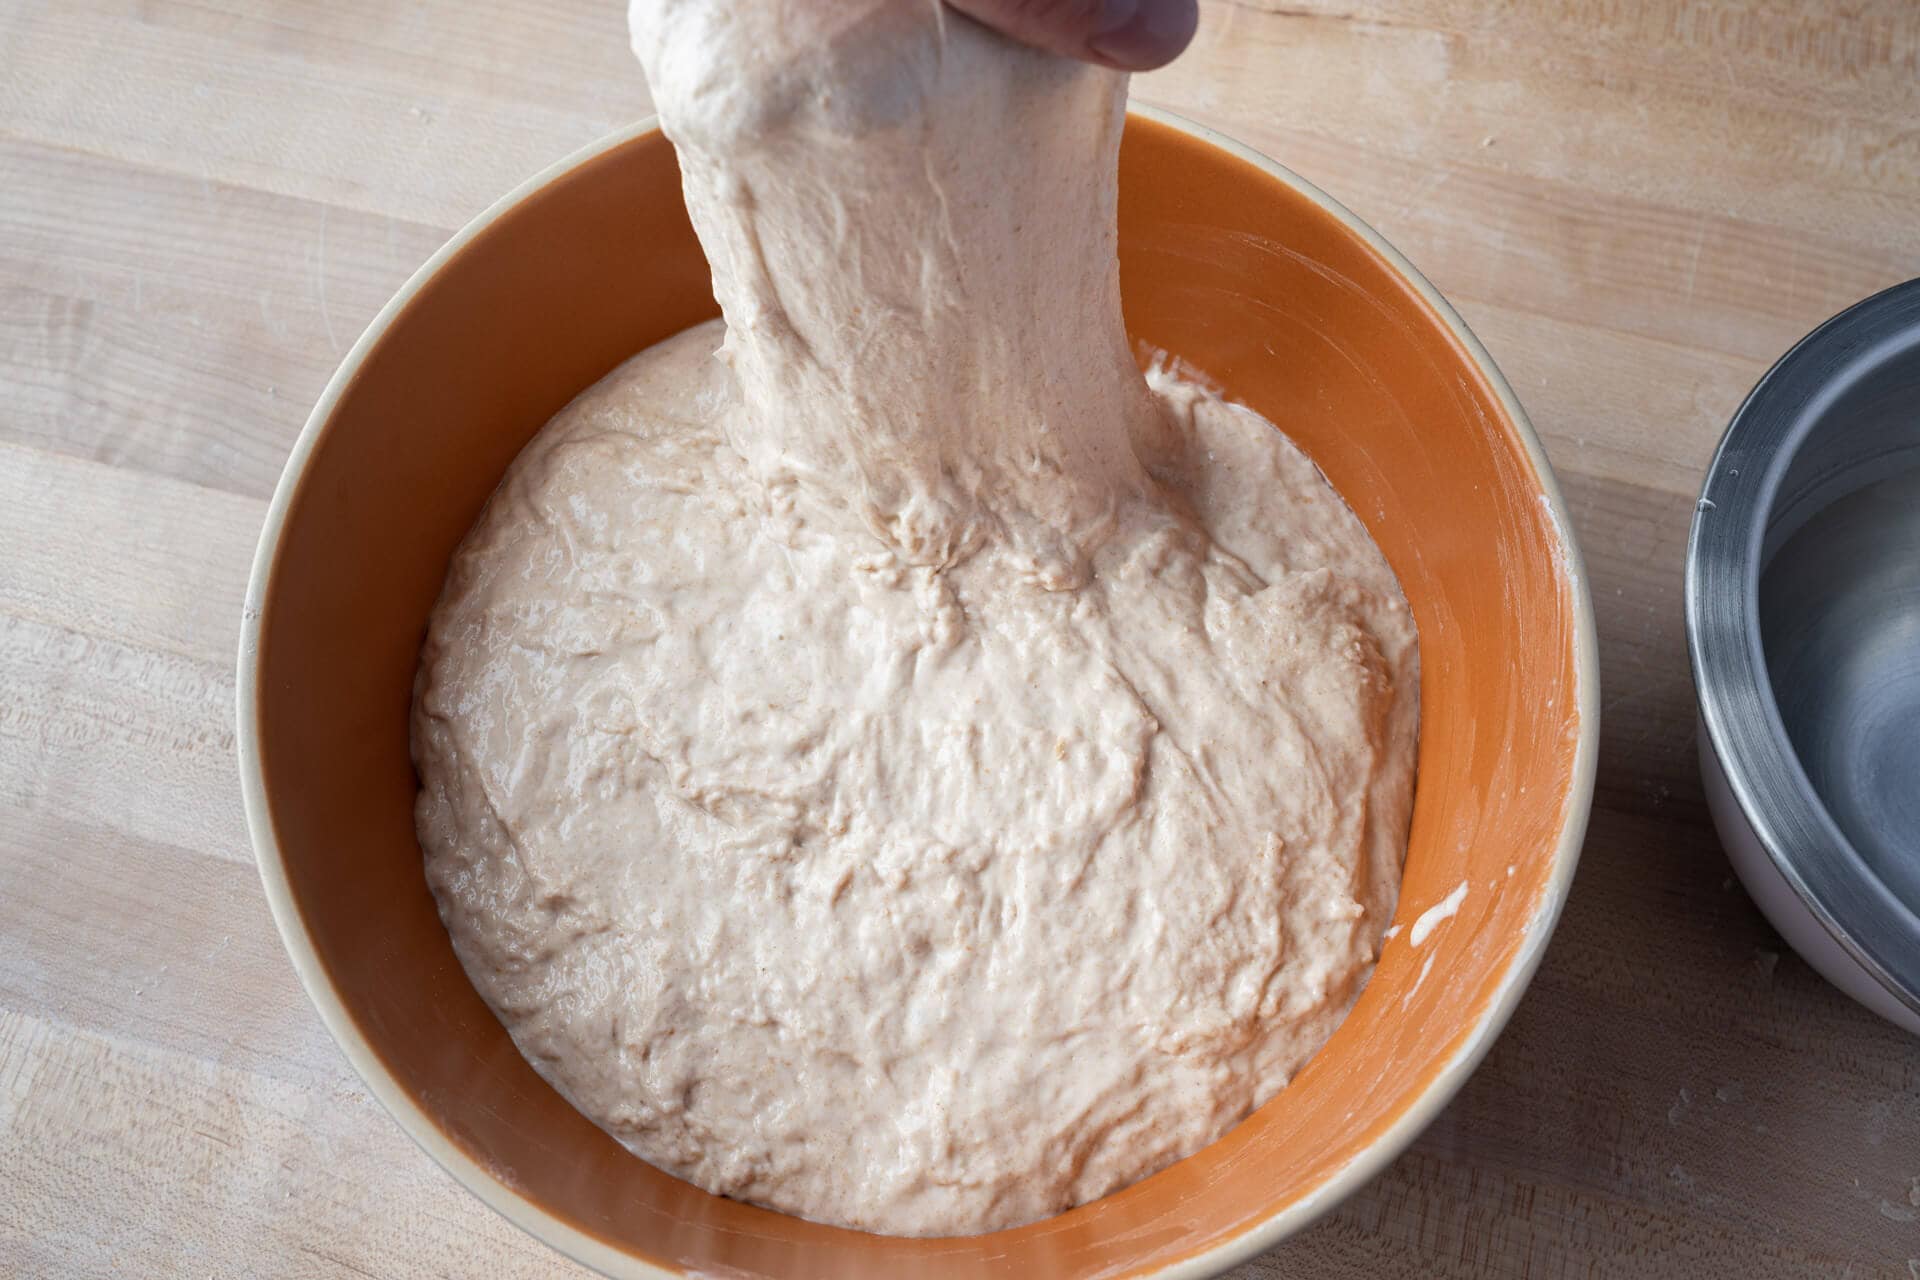
When water is initially mixed with flour during the autolyse period, gluten bonds start forming without kneading, creating an elastic and strong dough that improves volume and gas retention. The presence of water also activates enzymes in the flour, particularly protease, which breaks down protein bonds and makes the dough more extensible.
Read more about how to perform the autolyse technique and when to use it in your baking.
How Does Dough Hydration Affect Mixing?
Generally, and this is very dependent on the flour in the mix, but the more water in the dough, the more mixing (and strengthening) required to sufficiently develop the gluten network in a dough.
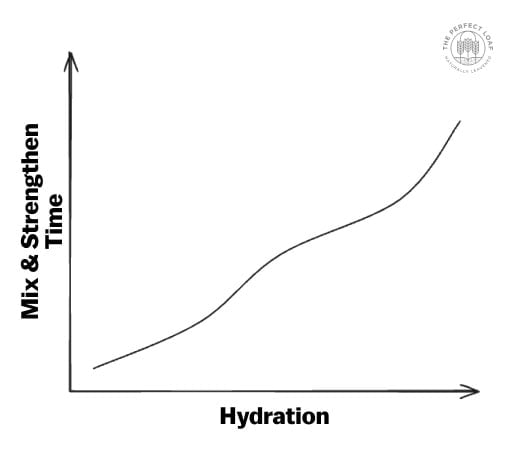
While the increase in mixing and strengthening time isn’t exactly linear, and it’s nowhere near as drastic as exponential (probably closer to something like quadratic growth), it will increase as the hydration of a bread dough increases. Eventually, though, there will be too much water for the flour to handle, and no amount of mixing will strengthen the dough—this is overhydration (see below).
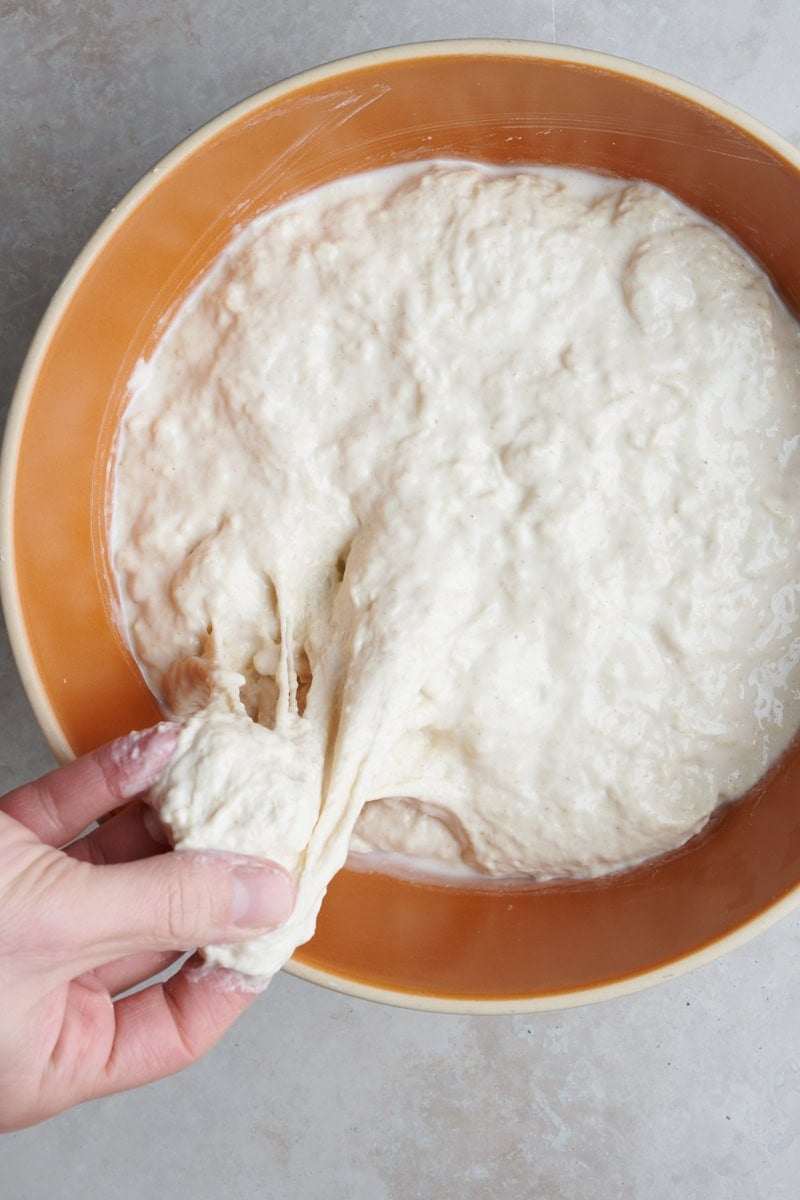
The exact point at which the dough becomes overhydrated isn’t clearly defined and can vary from flour to flour—even bag to bag—so I always recommend holding back some of the mixing water. This reserved mixing water allows you to adjust the dough hydration at that moment.
Holding back water is better than adding flour because adding flour will skew the baker’s percentages for that formula (since all ingredients are measured with respect to total flour).
Avoid a Sloppy Mess with the Bassinage Technique
Bassinage (sometimes called double hydration) is a bread-making technique in which water is gradually incorporated into the dough during mixing. Adding water gradually helps achieve a higher total dough hydration without compromising the dough’s structure, potentially resulting in a more open crumb and improved dough handling. I use this technique in high-hydration doughs where adding all the water at the start might result in a sloppy, sticky mess.
Additionally, holding back some of the mixing water in this way allows you to adjust the total dough hydration while you’re mixing. If it feels like the dough is too sloppy and wet, skip adding part—or all—of Water 2.
Here at The Perfect Loaf, you’ll often see recipes with Water 1 and Water 2 listed in the ingredients section. This is bassinage at work. The second addition of water happens slowly through mixing to ensure the dough is not over-hydrated.
Check out My Best Sourdough Recipe for an example of how the bassinage technique helps you make a highly hydrated loaf of sourdough bread without the risk of the dough falling apart.
How to Strengthen the Dough During Mixing
During the mixing phase of sourdough bread-making, you strengthen the dough by kneading (unless you’re making a true no-knead sourdough bread). Kneading can be done by hand with various techniques or with a mechanical mixer.
Strengthening Dough By Hand: The Slap and Fold Kneading Technique
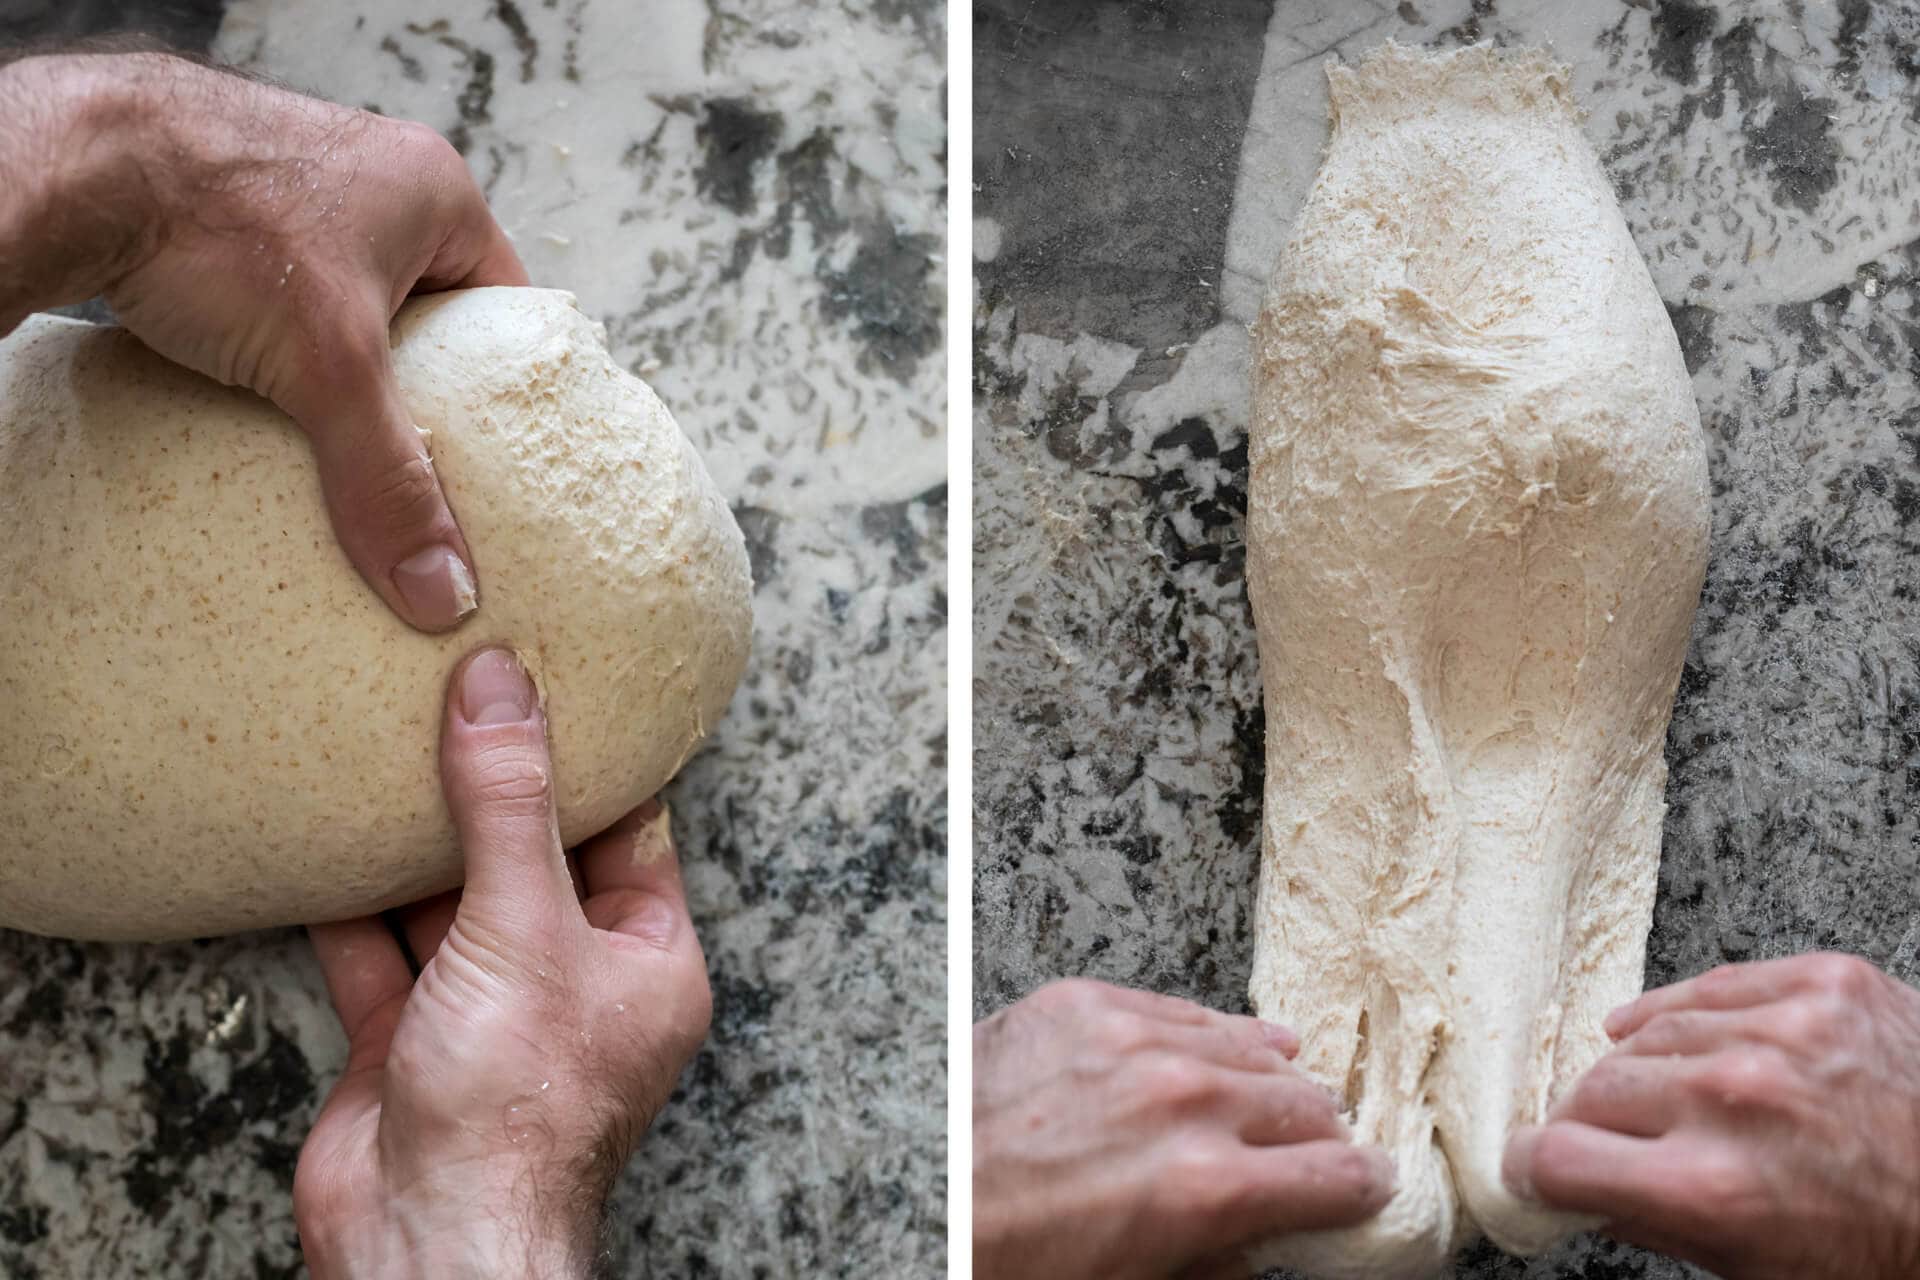
The slap and fold technique, also called the French Fold, is a very effective way to quickly strengthen bread dough. It works well with highly hydrated doughs and results in a strong gluten network with ample aeration. A well-developed dough with lots of aeration is important to achieve a final loaf of bread with optimal volume and open interior (open crumb).
When mixing by hand, I almost always use the slap and fold technique (see video below) because it’s so effective and quick to strengthen bread dough.
Example: Kneading Bread Dough By Hand with Slap and Fold
The video below shows me performing the slap and fold technique on a highly hydrated sourdough bread dough. You need a certain amount of practice for this technique, but once you get the hang of it, you can quickly strengthen and develop a dough.
Strengthening Dough By Hand: Folding in the Bowl
This kneading technique is simple and clean because the dough never leaves the mixing bowl. I use one hand to stretch the far side up and over itself and then push it away from me down into the bowl. Rotate the bowl and repeat. I’ll continue this stretch, fold, and push several times in a row with scattered sessions of pinching and squeezing.
The mixing duration varies by recipe: higher hydration doughs need more time, while stiffer or high-protein doughs need less. After 2 to 8 minutes, the dough should be smoother and cohesive, though still a bit shaggy. Additional sets of stretches and folds during bulk fermentation will finish the strengthening.
Example: Mixing By Hand (Folding In The Bowl) in My Beginner’s Sourdough Bread Recipe
You can see me performing folds in the bowl in my Beginner’s Sourdough Bread Recipe on YouTube, below:
Strengthening Dough By Hand: The Rubaud Method
The Rubaud Method is a dough kneading (strengthening) technique made popular by Gerard Rubaud. I find this technique is very effective with very highly hydrated doughs that are too loose to mix with the slap and fold technique.
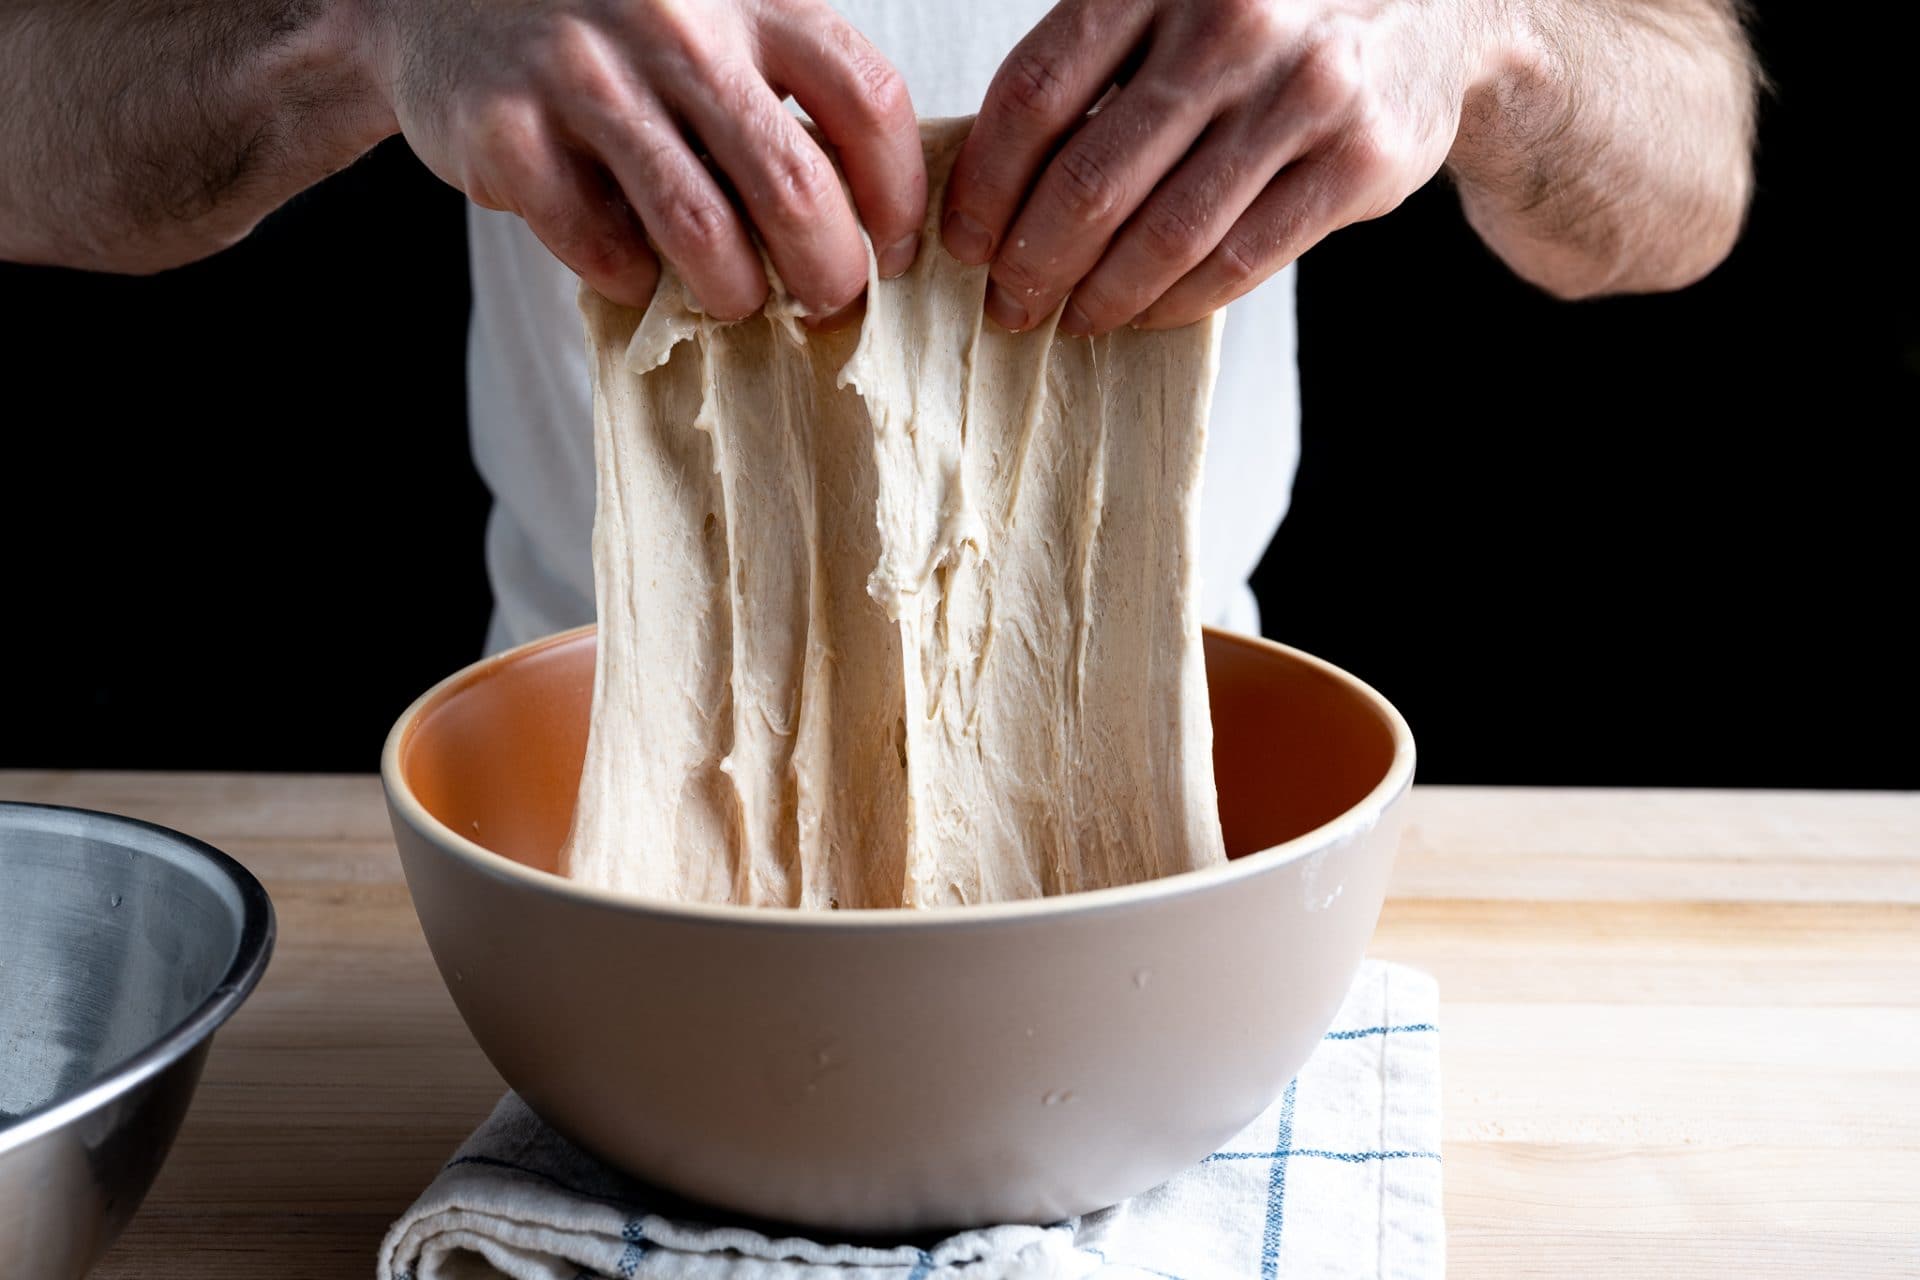
To perform the Rubaud mixing method, the dough is left in the mixing bowl. With a wet hand, reach down the side and grab a small portion. Lift it while gently stretching it away from you, then drop the dough back down. Imagine forming the letter “C” with your hand, dipping it down the side of the dough, scooping the side up, and gently stretching it a bit away from you.
This lift, scoop, stretch, and drop action is performed very quickly, usually for 8 to 10 minutes, depending on the flour choice and hydration of the dough. By the end of mixing, the dough will be smooth and elastic.
Strengthening Dough With a Mechanical Mixer
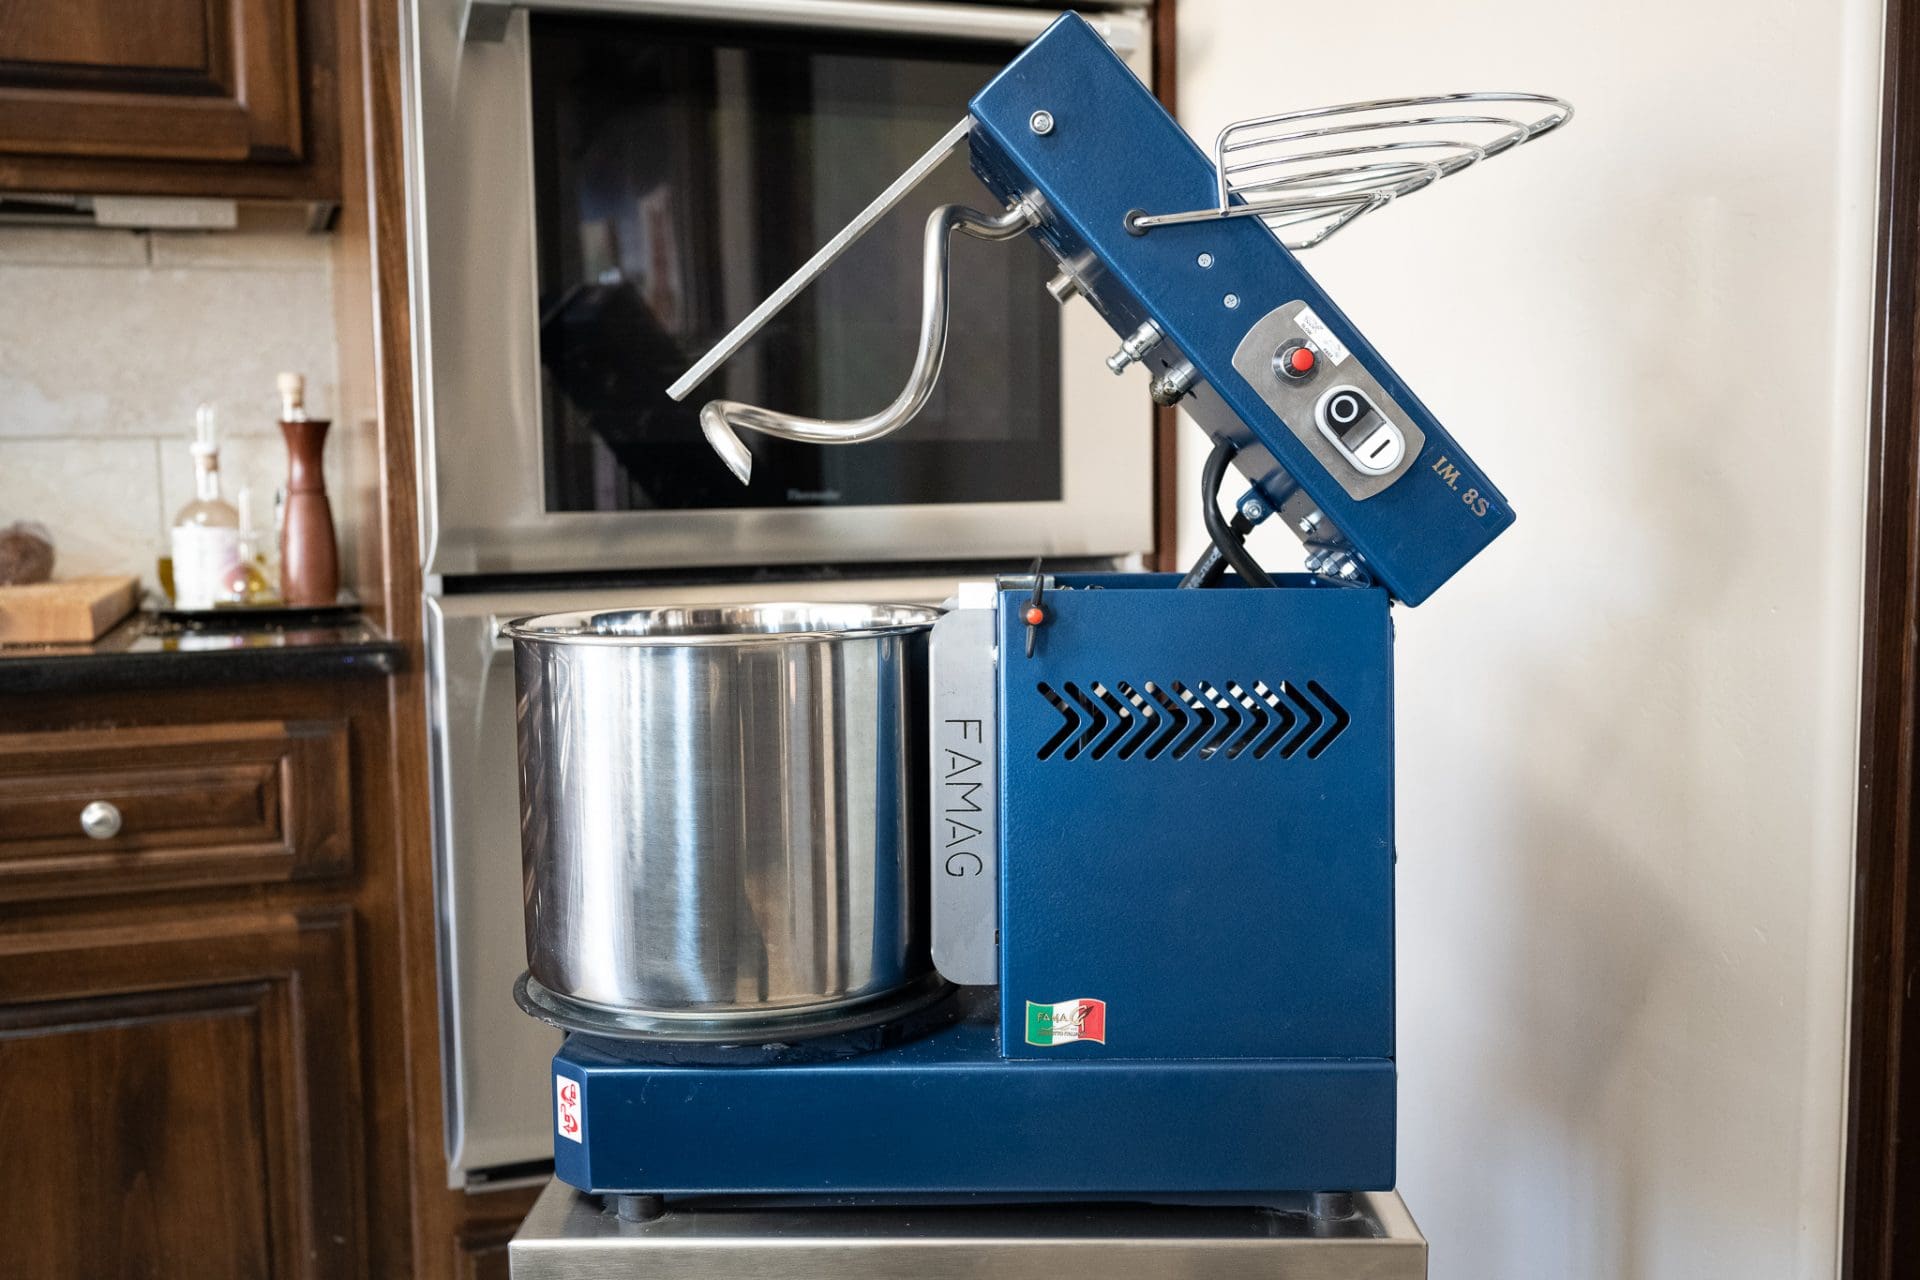
While I usually mix dough by hand, using a mechanical mixer is efficient and effective for dough strengthening. Nowadays, high-quality spiral mixers are available for home kitchens that can handle up to 8 kilograms of dough and fit under a cabinet. Some worry about quality loss with mixers, but I’ve found my bread remains flavorful and nutritious whether mixed by hand or machine.
When mixing enriched dough, I always use a mechanical mixer, like my KitchenAid Commercial Countertop Mixer because it effectively incorporates fat, sugar, and dairy. It’s crucial to strengthen these doughs until they nearly pass the Windowpane Test before adding large quantities of fat and sugar.
I mix and strengthen the dough in a mixer, similar to hand mixing. I add the pre-ferment, salt, and optional enrichments to the flour and water in the mixer bowl, mixing on low speed for 2 to 3 minutes to incorporate them. Then, I increase to medium speed for 3 to 6 minutes until the dough shows elasticity and smoothness. Sometimes, I let the dough rest for 5 to 10 minutes to relax. After the rest, I mix it on medium speed for another 2 to 4 minutes, adding reserved water as needed. I add butter on low speed until fully absorbed for doughs requiring a high percentage of fat.
If you’re looking for a smaller spiral mixer with a breaker bar (which helps keep the dough off the hook so it doesn’t climb up), read how I use the Ooni Halo Pro spiral mixer. It’s a great mixer designed for mixing bread and pizza dough in the home kitchen.
Or, if you’re looking for a larger, more professional mixer, my guide to mixing bread dough with a Famag spiral mixer goes into using a larger 8kg capacity machine.
Can I Overmix My Bread Dough In a Mixer?
It’s tough to overmix your bread dough, even with a mechanical mixer (especially when mixing by hand). For this to happen, you’d have to mix your dough at high speed for many minutes before you see any breakdown, loss of color, or flavor.
Do I Have To Give My Dough Stretches and Folds If I Knead It?
If you’re kneading dough in a mechanical mixer and mix it to “full development,” technically, you don’t need to give it stretches and folds in bulk fermentation. Since you’ve developed it far enough, adding more strength during the dough’s first rise is not necessary.
In my baking here, I almost always give my dough at least one set of stretches and folds because I don’t fully develop my dough with kneading, I stop short. I like checking in with my dough during bulk fermentation, it gives me a chance to assess dough strength and correct it if necessary.
When I mix my sourdough bread dough by hand, I can expect always to give it at least one set of stretches and folds.
Of course, there are always exceptions to any rule. If I’m using a mechanical mixer for sourdough pizza dough, I will fully develop it in the mixer—no stretches and folds necessary during bulk fermentation.
How Do I Know If I’ve Mixed and Strengthened My Dough Enough?
Consider the two images below. On the left, the dough is at the early stages of mixing in a mixing bowl. On the right, a dough that was folded in the bowl for approximately 8 minutes.
There are subtle cues to point out in the dough on the right, things to look for to let you know you’ve mixed enough at this stage. The dough is:
- Smoother in texture
- More cohesive. If tugged, it’ll show some resistance (though it will still be quite “shreddy”)
- No wet areas or dry bits of dough

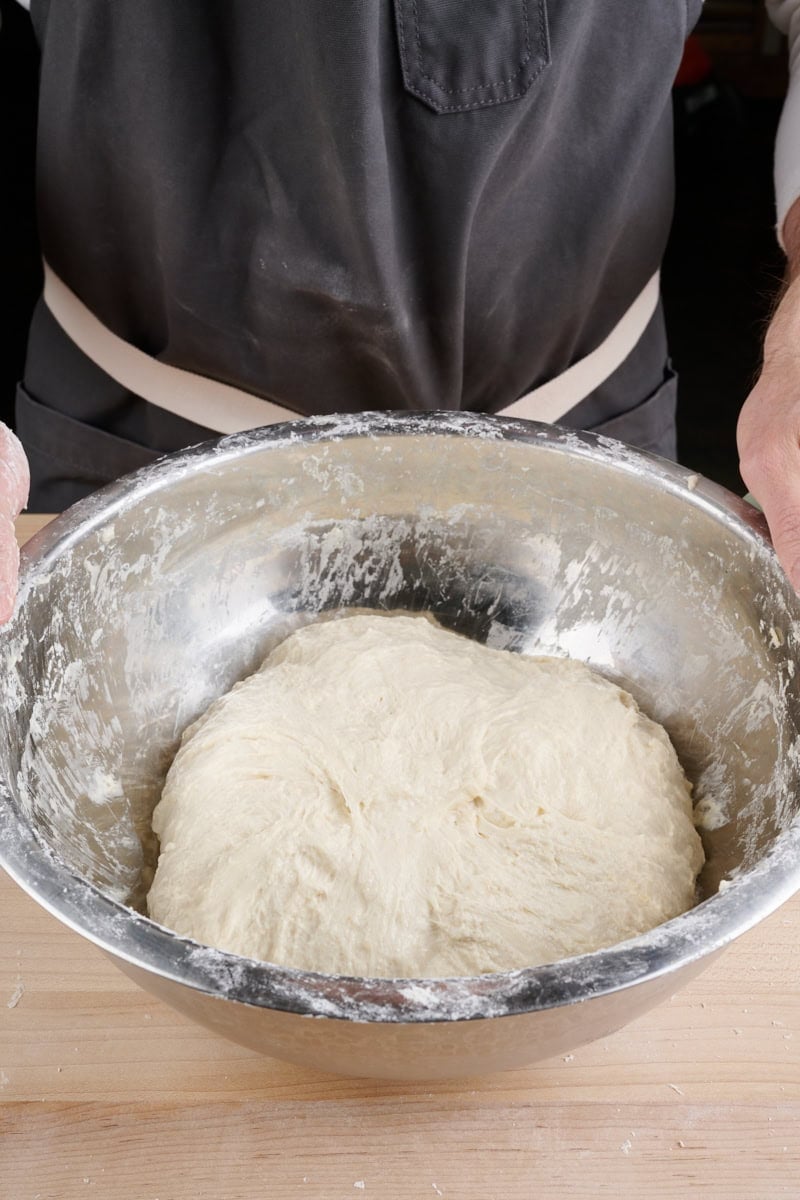
The thing is, even if the dough could have technically benefitted from a little more hand mixing before you stopped, you can always correct it by giving it more stretches and folds in bulk fermentation. It’s always better to err on the side of adding in one more set of stretches and folds, too.
💬 Have questions about whether you’ve mixed your dough sufficiently? Take photos and post them in our member community and we can help!
Mixing Bread Dough FAQs
Is it better to mix bread dough by hand?
This is subjective, but in my experience, you can make fantastic sourdough bread by mixing by hand or with a mechanical mixer. Whichever method you choose, it’s important that you develop the dough sufficiently to trap gasses and rise.
Did I destroy the gluten in my bread dough by overmixing?
It’s practically impossible to overmix your bread dough when mixing by hand. With a mechanical mixer, it’s possible, but you would have to mix your dough for many minutes at a very high speed to overmix a dough. I have never seen this happen.
What’s Next?
Now that you’ve mixed your bread dough, be sure to review my guide to bulk fermentation, the next step in the sourdough bread-making process.
Or, read my Beginner’s Guide to Sourdough Bread for a look at every step of the sourdough process, from creating a levain to baking your bread in the oven.


