
One of the exciting aspects of working with pan loaves is the pan affords some wiggle room to experiment and push the boundaries. Because the pan provides added structure, you can increase the hydration (making it softer), push the number of mix-ins, and even experiment with new grain types. This guide on shaping a pan loaf outlines my go-to method for shaping rectangular loaves of all shapes and sizes.
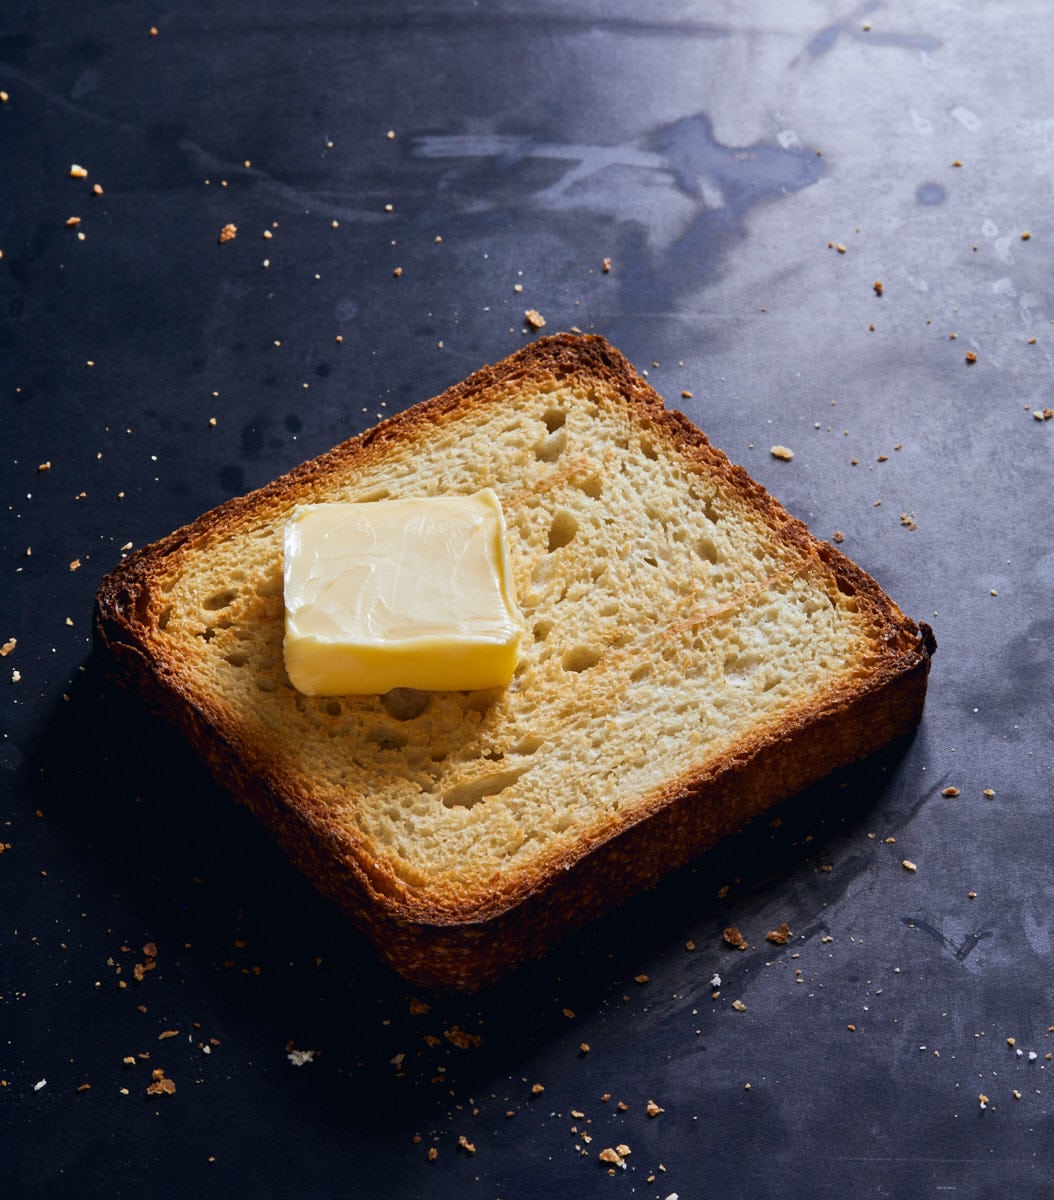
I can summarize what I love about pan loaves with one word: toast. I often bake pan loaves because their shape makes them perfect for sandwiches and toast with butter and jam. Plus, who can argue with a peanut butter and jelly sandwich? No one.
Many recipes at this site shaped as a boule or bâtard can be adapted to use a pan loaf instead. Shape the dough as described below, steam your oven, and turn your free-form loaf into a pan loaf.
I can summarize what I love about pan loaves with one word: toast.
Common Dough Weights for Different Pans
Finding the right pan to hold a dough can be a challenging thing. I’ve tried so many pans, always searching for the right one. Below is a list of my favorite pans and how much dough I’ve been able to fit in each one without it overflowing.
Click on the Bread Style column to view a particular recipe, and the Pan column links to purchase each online, if available.
| Bread Style (with recipe link) | Pan (with store link) | Total Dough Weight |
|---|---|---|
| Rye bread | 9″ x 4″ x 4″ Pullman Pan | 1450g |
| Pain de Mie | 9″ x 4″ x 4″ Pullman Pan | 800-900g |
| Small Sandwich Loaf (or sourdough banana bread) | 9″ x 5″ x 2.75″ Pan | 700-1000g |
| Large Pan Loaf | 8.85″ x 4.7″ x 4.7″ Campbell’s Bread Pan | 1400g |
Dough Strength and Shaping a Pan Loaf
I usually push the hydration relatively high with my pan loaves. Why? The pan gives you incredible leeway with hydration because it provides the structure for your loaf. If baking a hearth loaf, especially a highly hydrated recipe, you must ensure the dough has sufficient strength to keep its shape throughout bake time. With a pan loaf, the pan gives you all the support you need—no worrying about it spreading excessively in the oven.
However, you still want the dough to be strong enough to rise and have an even and open interior. Kneading up front, using the slap and fold technique or with a mixer, is a great way to do it, but stretch and folds during bulk fermentation are usually my approach.
Read more about dough strength and how to stretch and fold dough in bulk fermentation →
How to Shape a Pan Loaf: Step by Step
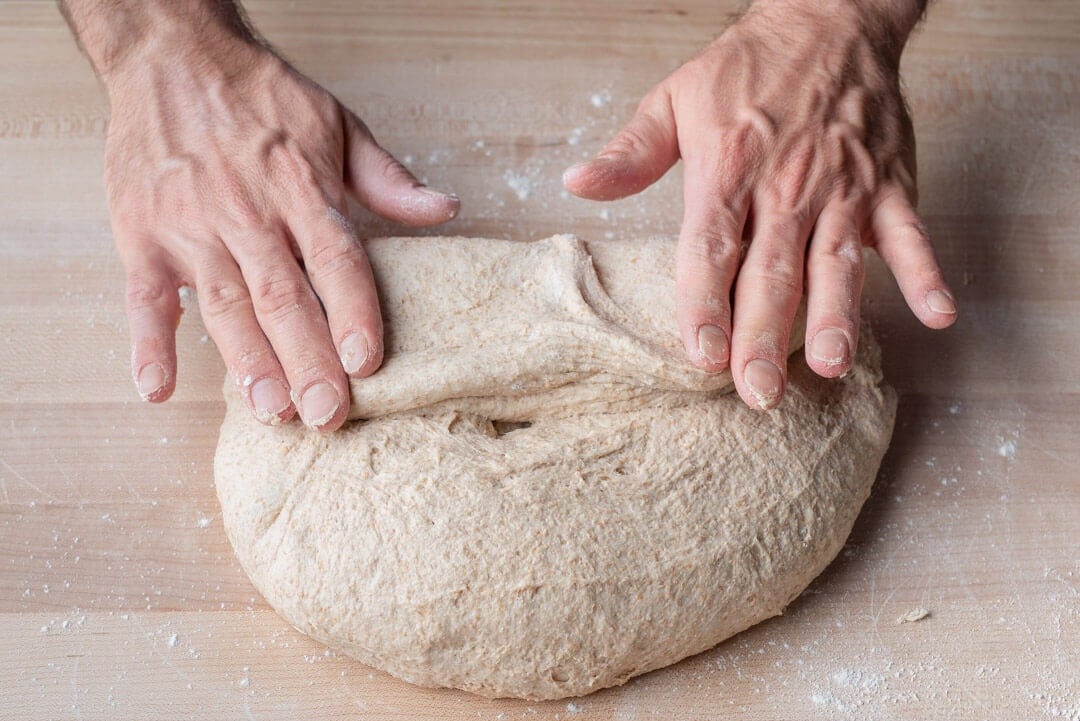
Lightly flour the top of your relaxed dough on the work surface. Use a bench knife and your hand and flip the round over. Fold the bottom up to the middle. Then, fold each side, left and right, over to the other to form an open envelope in front of you.
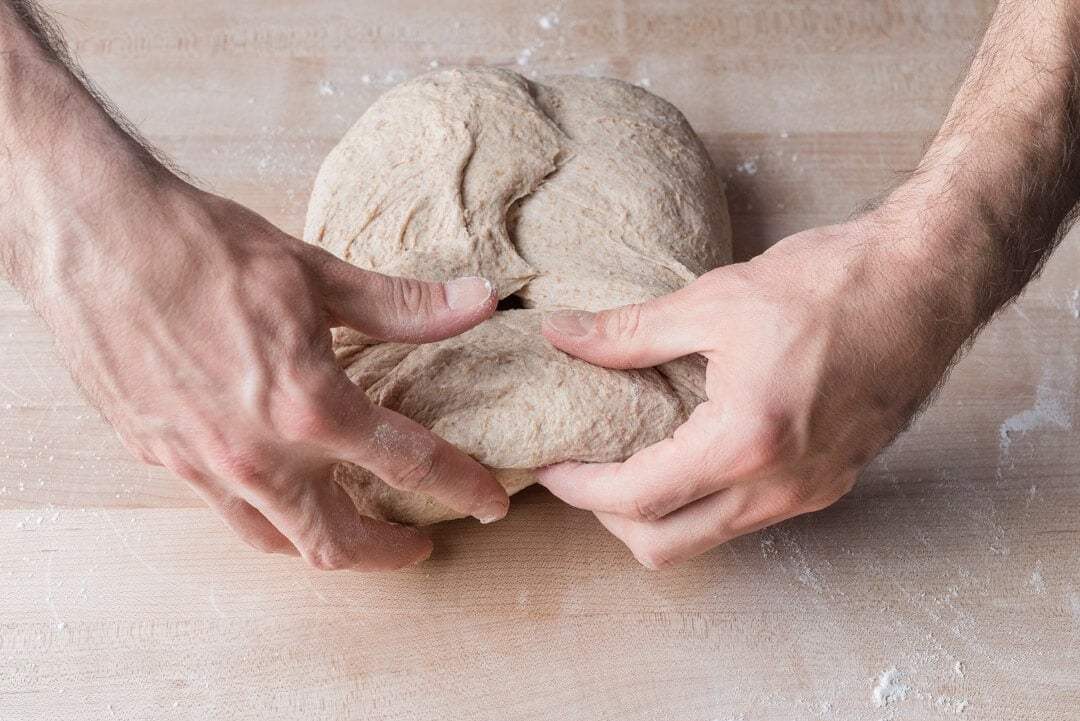
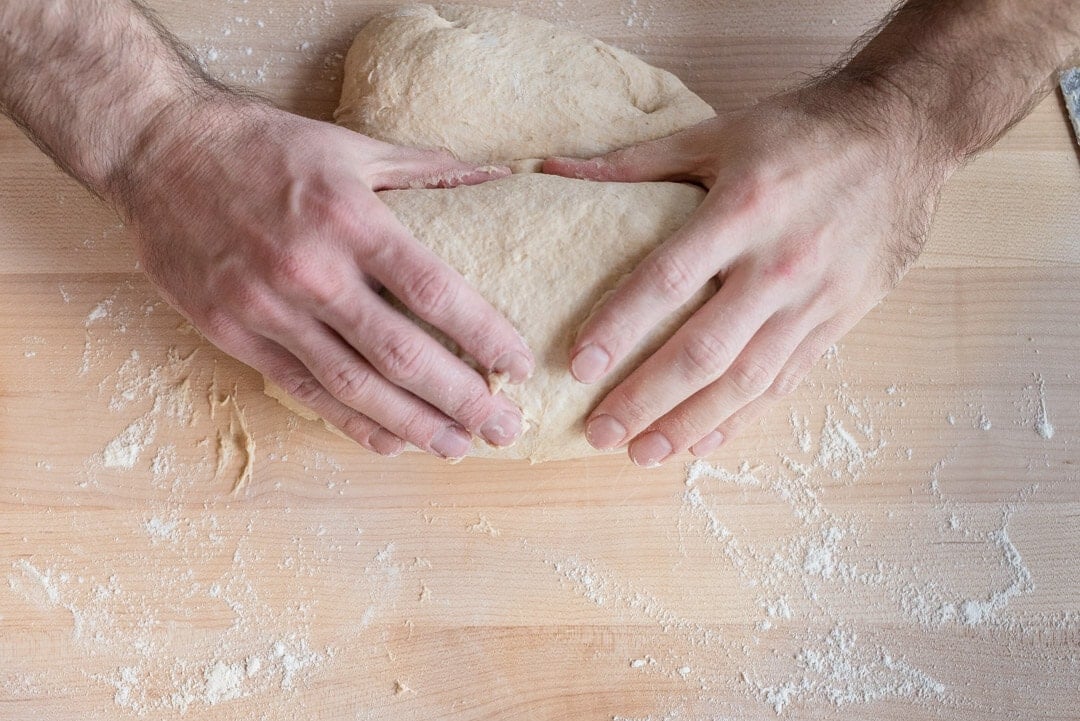
Then, grab the top and fold it up and down to just above the middle. Using both hands, grab the new top and gently roll it down into a long tube (imagine rolling down a beach towel or yoga mat).
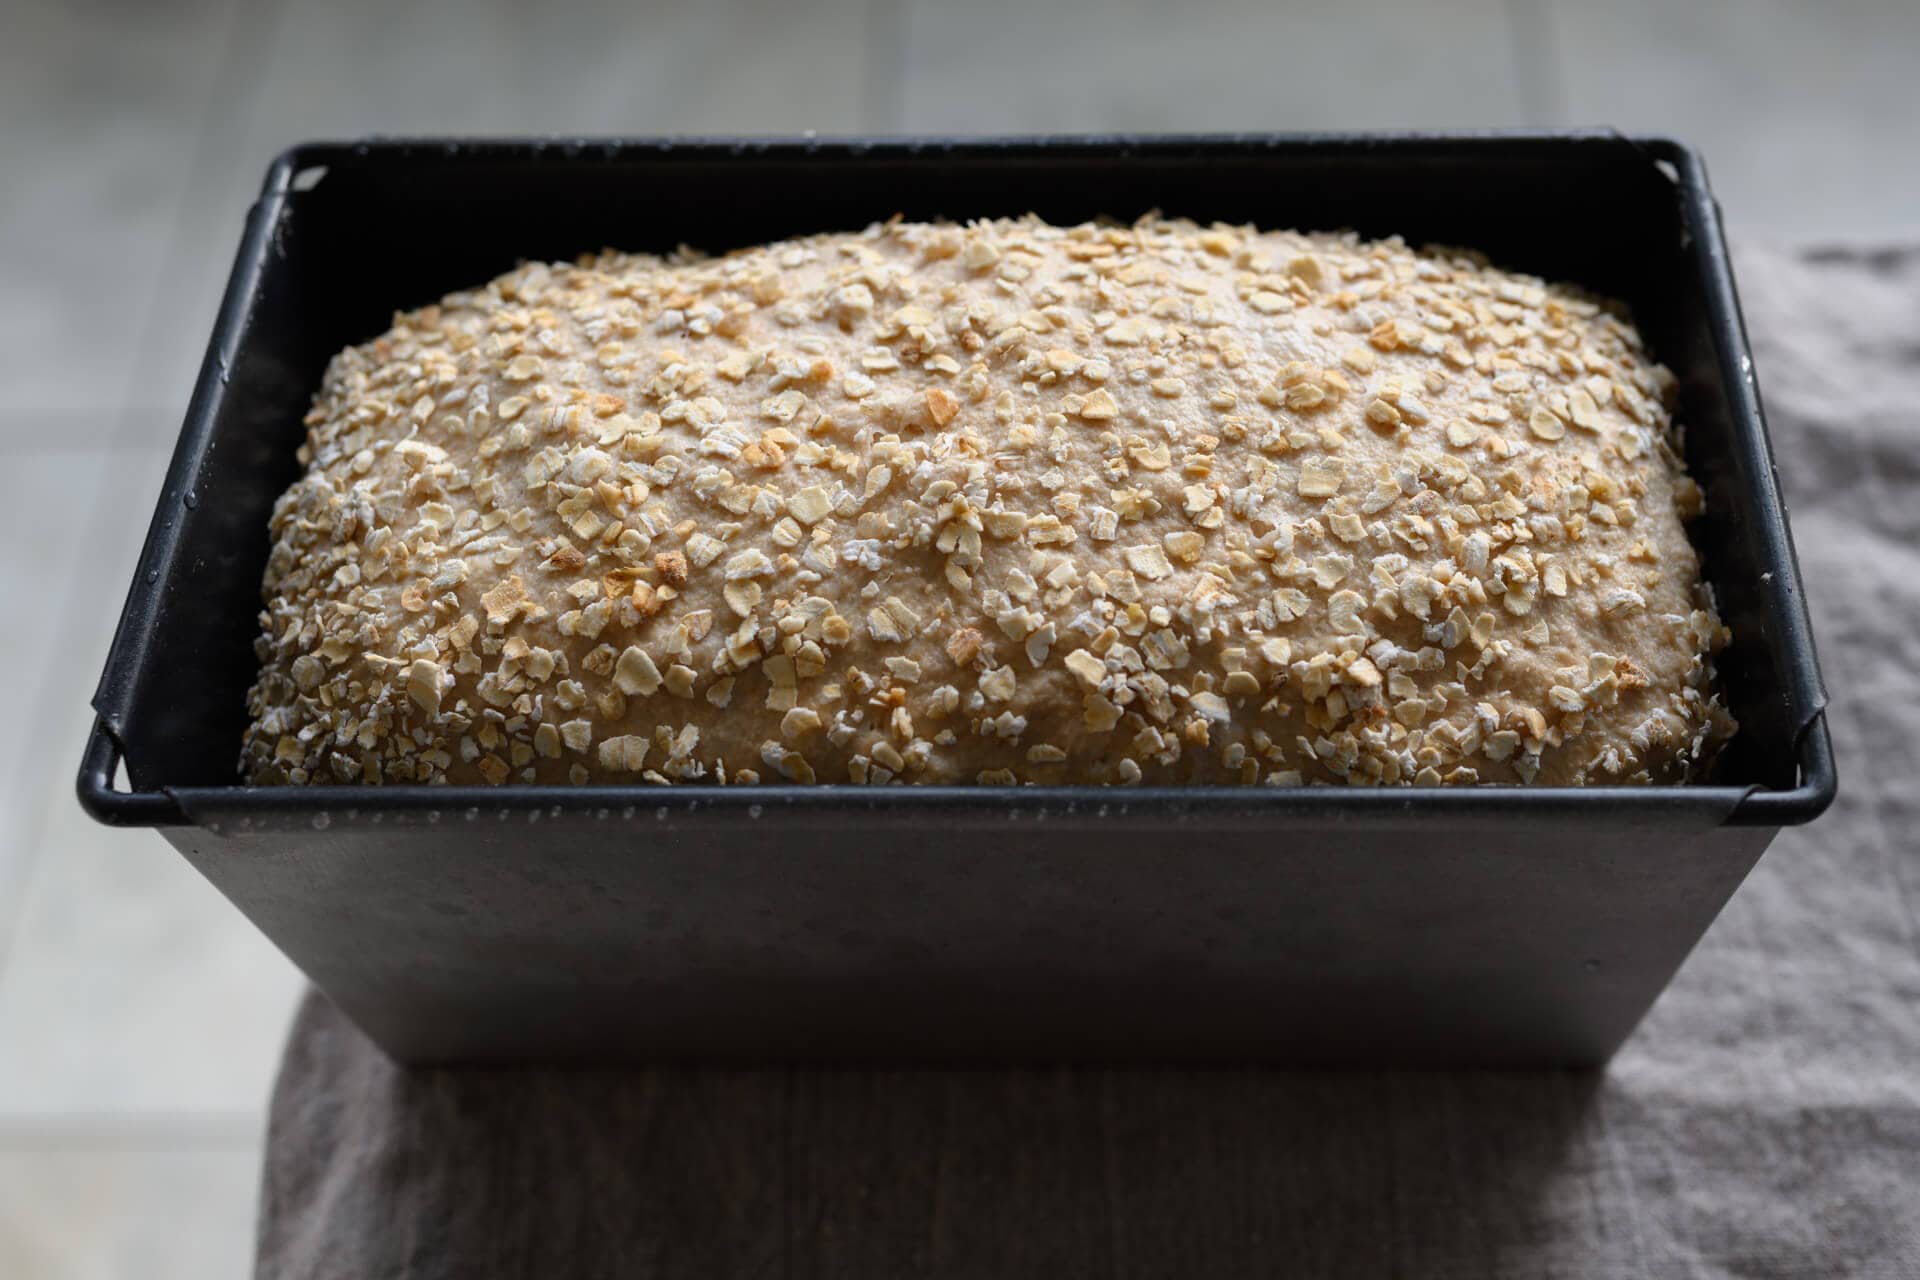
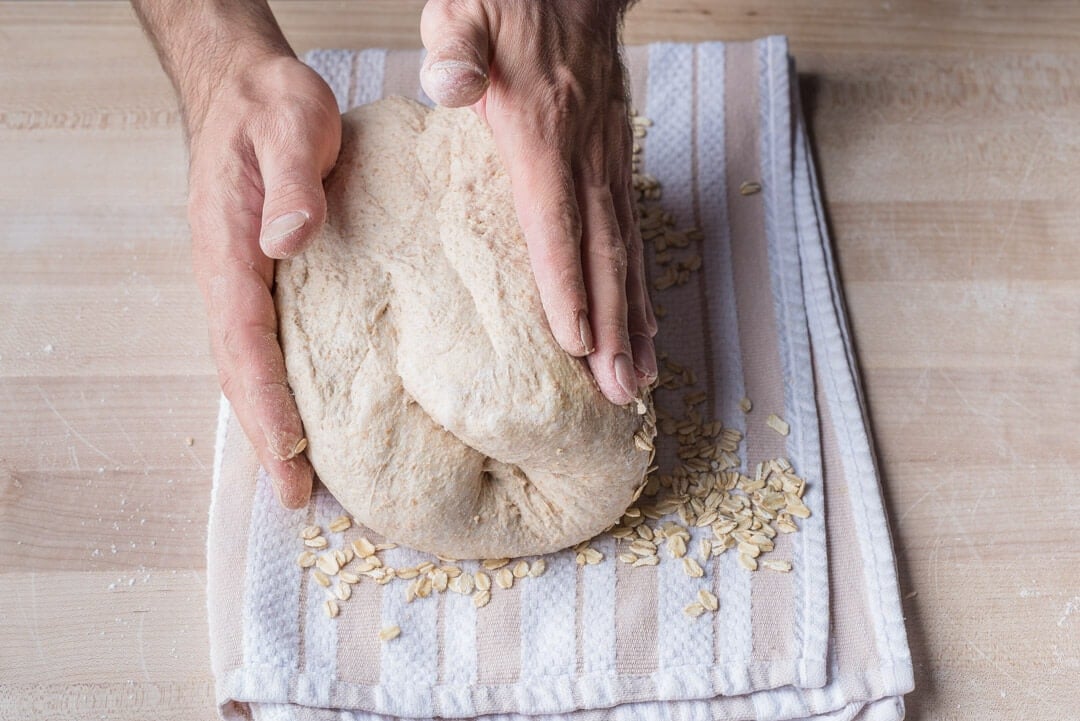
At this point, you can top the bread dough by rolling it on a towel spread with oats, seeds, or other toppings.
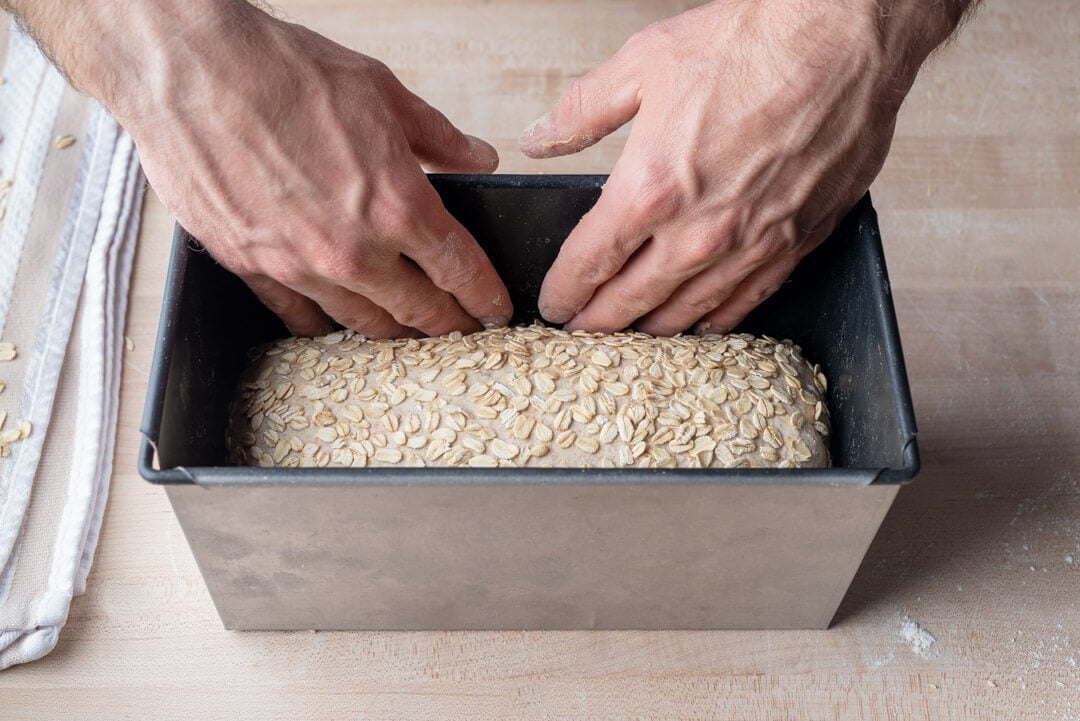
At this point, you should be able to drop the dough in, but if you have trouble, don’t fret; once you drop it in, use your fingers to tuck the dough down at the sides. You want a smooth top on the dough in the pan so it rises uniformly.
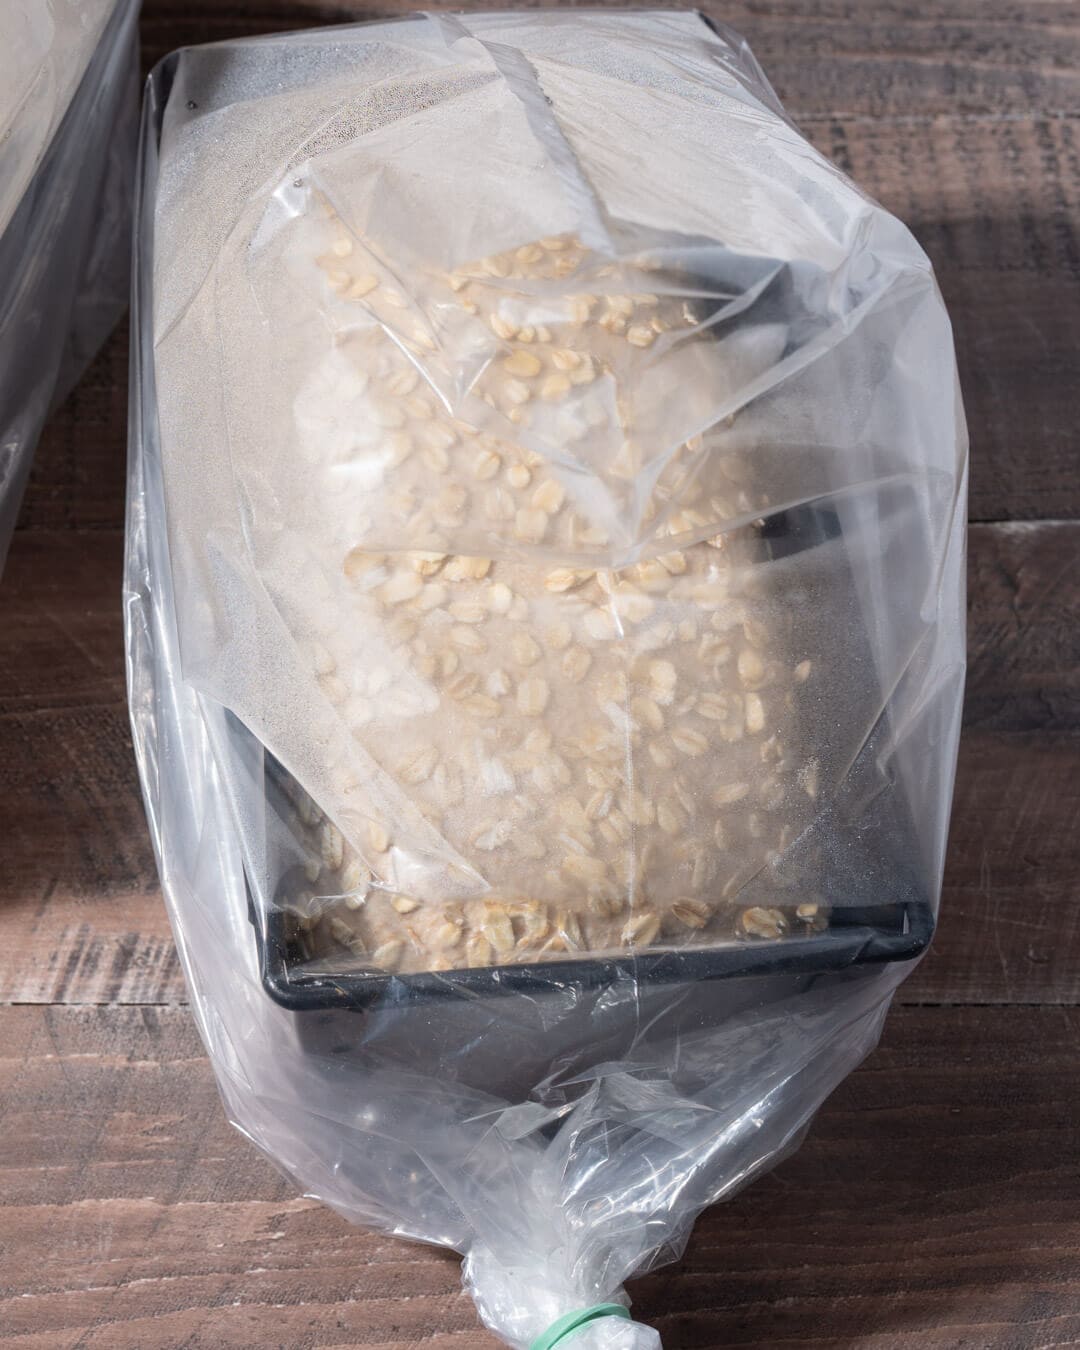
Finally, wrap the tin in food-safe plastic bags to proof overnight in the fridge, if desired. You want to keep these covered in the fridge to avoid a thick crust forming on the dough, inhibiting optimal rise.
How to Shape a Pan Loaf: Video
The following video shows me shaping my honey whole wheat barley pan loaf, which is scaled to 1400g.
Proofing and Scoring
The photo below shows how puffy, soft, and well-risen the dough is in my pan. When poked, the dough springs back slowly, not filling in the impression. This is a little past what I’d typically proof: a freeform hearth loaf.
Why?
Since the pan provides added structure, we don’t have to worry about the dough spreading when baking. I would have baked it much earlier if this were a hearth loaf.
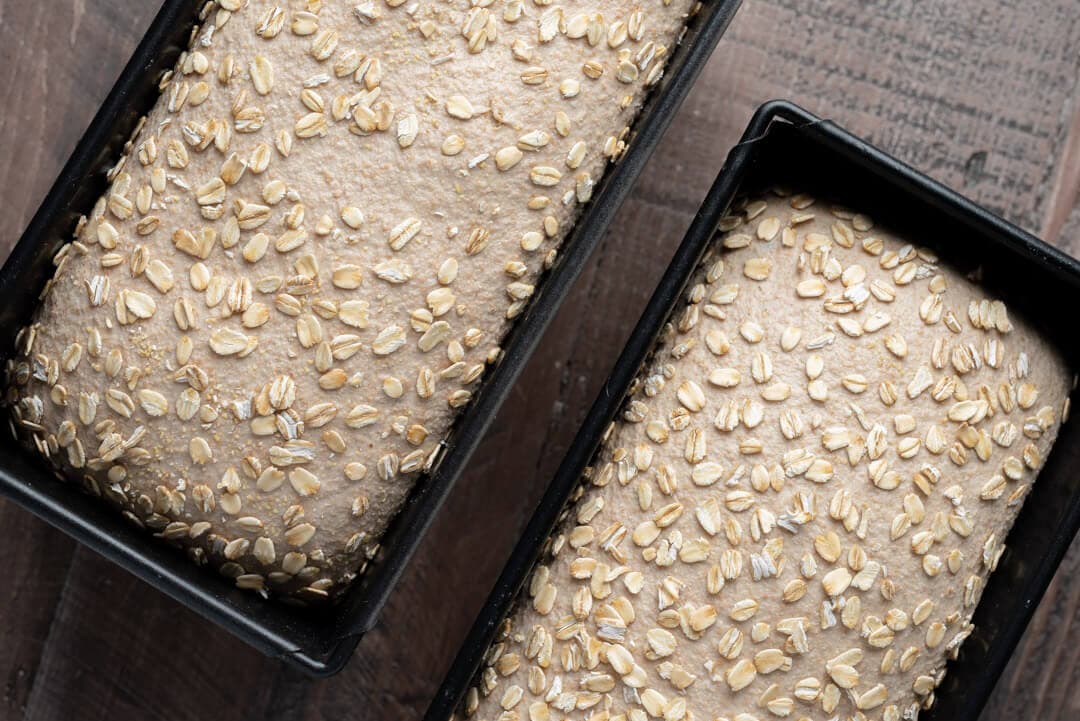
I prefer not to score pan loaves. If the fermentation is pushed to the limit, the bread will rise in the oven in a more subdued and controlled manner. With this proof, the loaf will not expand dramatically or rupture erratically in the oven.
What Next?
I hope this article on how to shape a pan loaf gave you a go-to way to get that soft dough into shape and into a pan. Now, it’s time to use these skills! I have a few sandwich loaf recipes where you can put all these new techniques to use right away:
- Pain de Mie (super soft sandwich bread)
- Whole Grain Wheat and Spelt Pan Bread
- Partially Whole Wheat Sourdough Sandwich Bread
- Honey Whole Wheat and Barley Pan Loaf
- Sourdough Sandwich Bread with Pre-cooked Flour
Or, head back to my beginner’s guide to baking sourdough bread to learn more steps in the bread-making process.
Happy baking!
