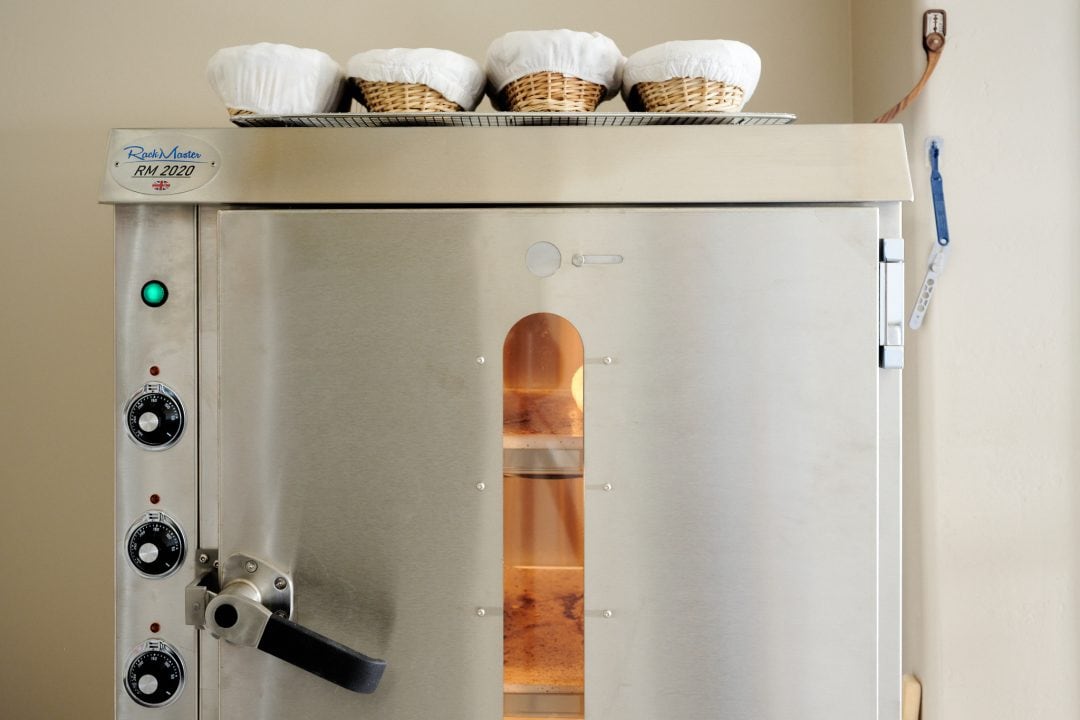
I’ve been using UK-based RackMaster bespoke baking tools for years. It started with their incredible bench scraper (the same one I still use to this day), then their loaf pans, and eventually, this RackMaster RM2020 Brick Oven. When I heard they were releasing this commercial electric oven, I knew one day I’d have it here in my baking space, ready to churn out loaf after loaf of sourdough bread.
It’s rare to receive a piece of equipment that not only meets your expectations, but surpasses them. The construction of this bread oven is thoughtful and to very high standards: Every hinge, clasp, seal, and button is exactly what it should be.
What’s more, the oven is incredibly simple. When you have equipment that gets used heavily daily, simple is exactly what you want—because simplicity ensures reliability, durability, and ease of use.
Note that Pleasant Hill Grain gave me a discount on the RackMaster bread oven, but with no expectation for this guide. I create these guides as a way to help other bakers who might also have—or are considering purchasing—this equipment and need a quickstart guide. As always, the opinions and information at The Perfect Loaf are my own.
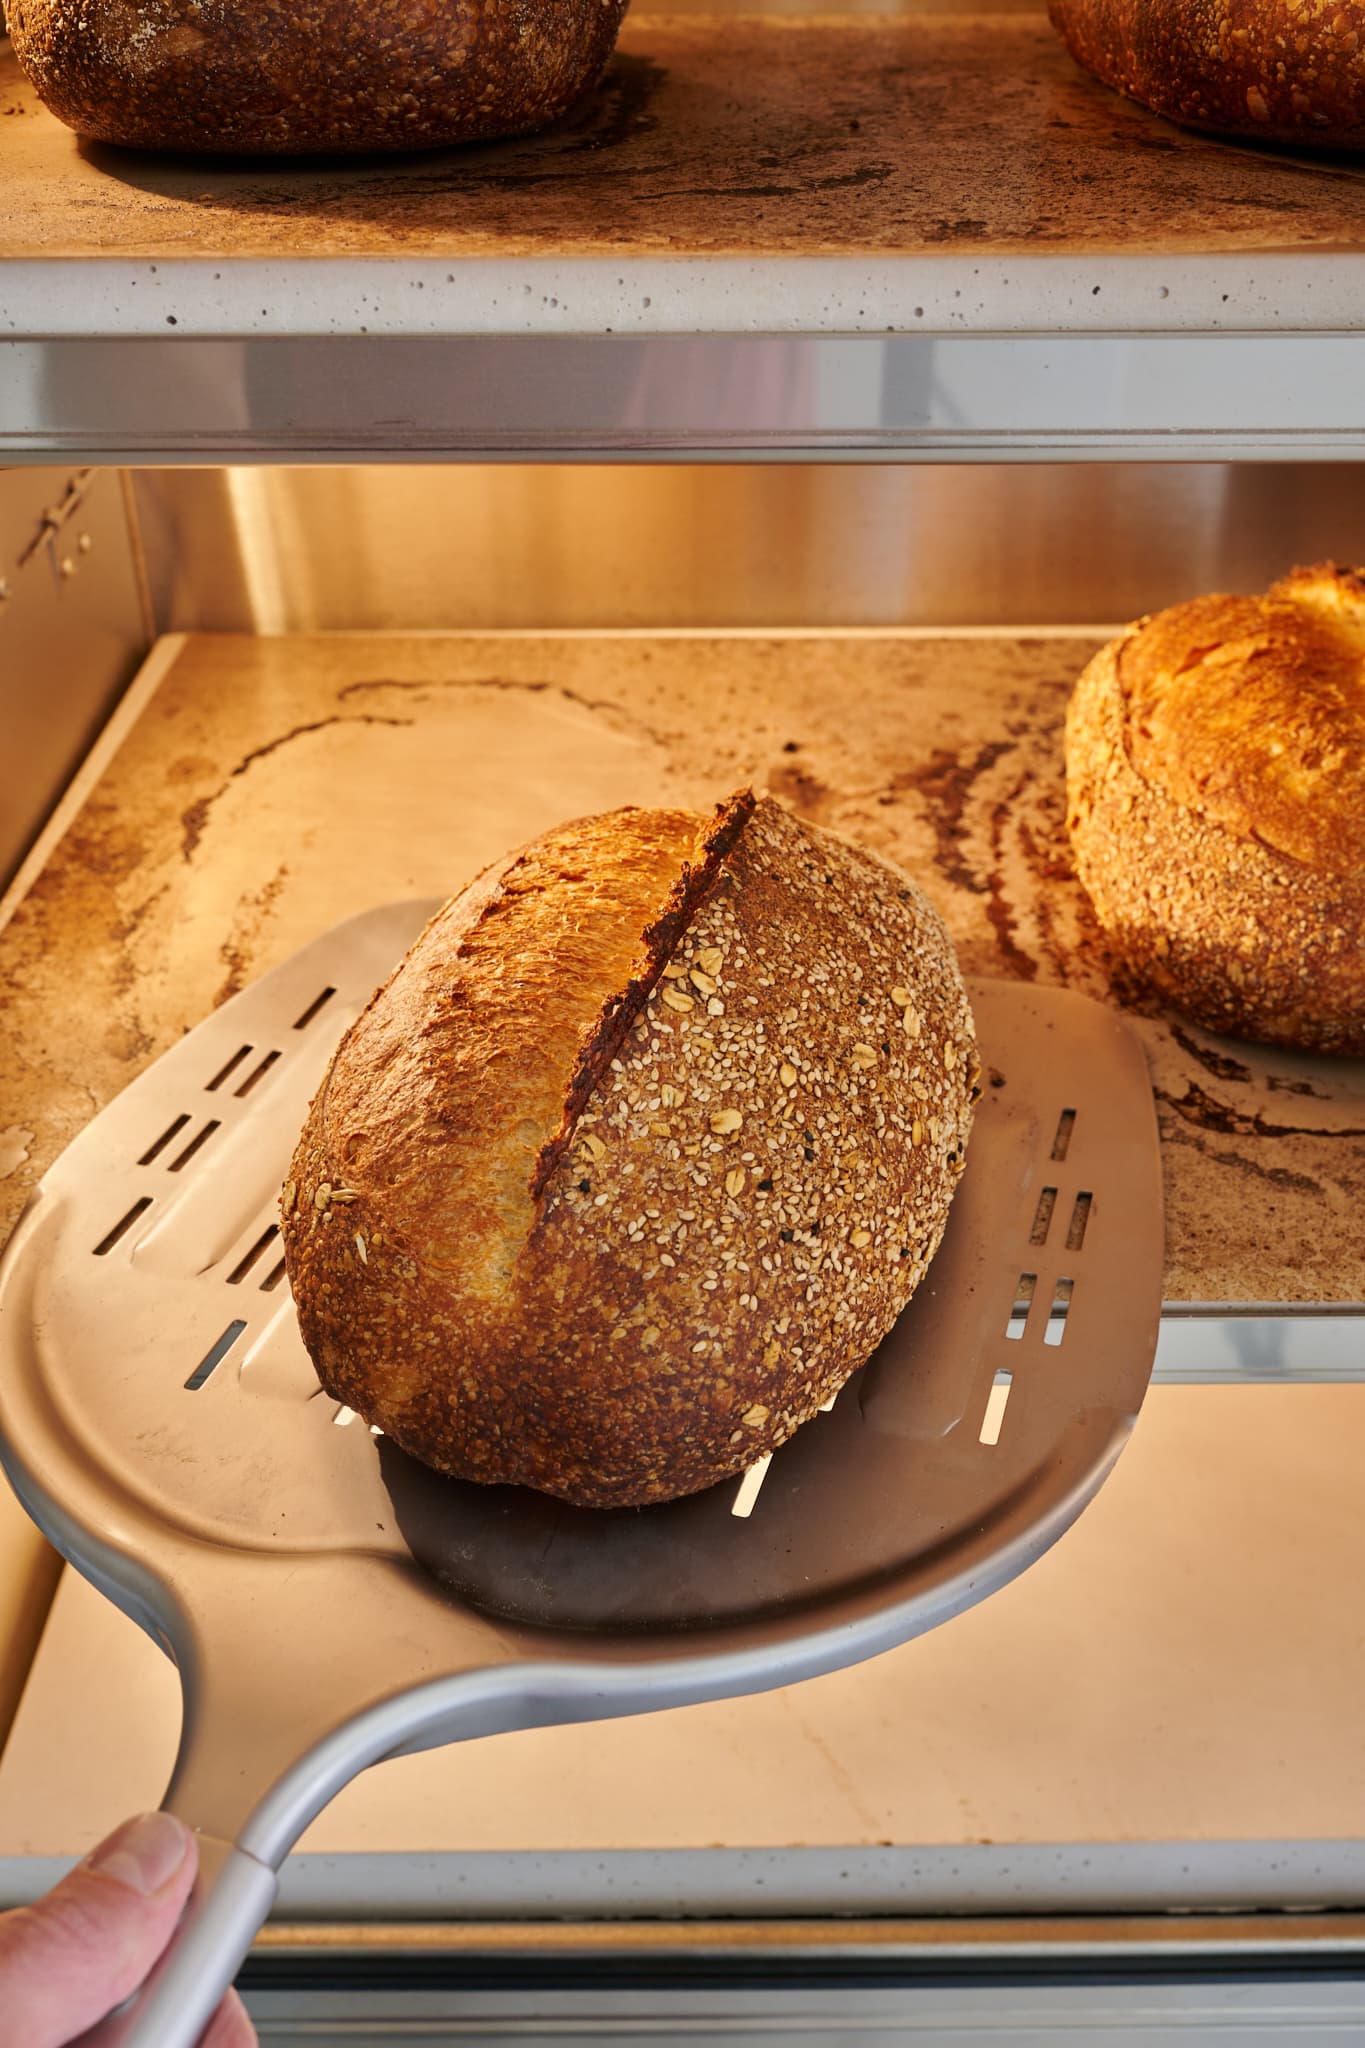
Perhaps the most important consideration when investing in a new piece of equipment is how it’ll impact your day-to-day workflow. It’s paramount to avoid introducing more potential points of failure or extra time for unforeseen maintenance and operation. Anything new should fit into your existing setup relatively seamlessly. Simply put, the RackMaster bread oven is a workhorse that’s simple to operate and requires very little maintenance.
That’s exactly what I look for in my bread-making equipment.
In this guide, I will go into what makes the RackMaster Bread Oven a great investment for any bread baker and show you how I use it here in my baking.
(Press play above to see me using the RackMaster oven.)
What is a RackMaster Bread Oven?
The RackMaster RM2020 Brick Oven, also called the RM2020, is a commercial electric bread oven made in the UK by RackMaster. It’s a fully-welded three-deck (shelf) oven designed specifically for baking bread dough (and great for many other things, too). It has simple dial controls for managing heat, a large viewing window that lets you see each deck, and a solid positive-latch closing mechanism that’s simple to use and extremely robust.
Real Quick: Do I Recommend The RackMaster Bread Oven?
After using the RackMaster bread oven for many months and countless bakes, I can highly recommend it to any baker. The high level of build quality, dead simple operation, reliability, and baking quantity flexibility (one can bake as few as two loaves or as many as 18 at once) make this oven perfect for home and commercial bakers alike.
Read on for how I personally use the oven here at home.
Simply put, the RackMaster bread oven is a workhorse that’s simple to operate and requires very little maintenance.
RackMaster Features (and How It’s Helped Me In My Baking)
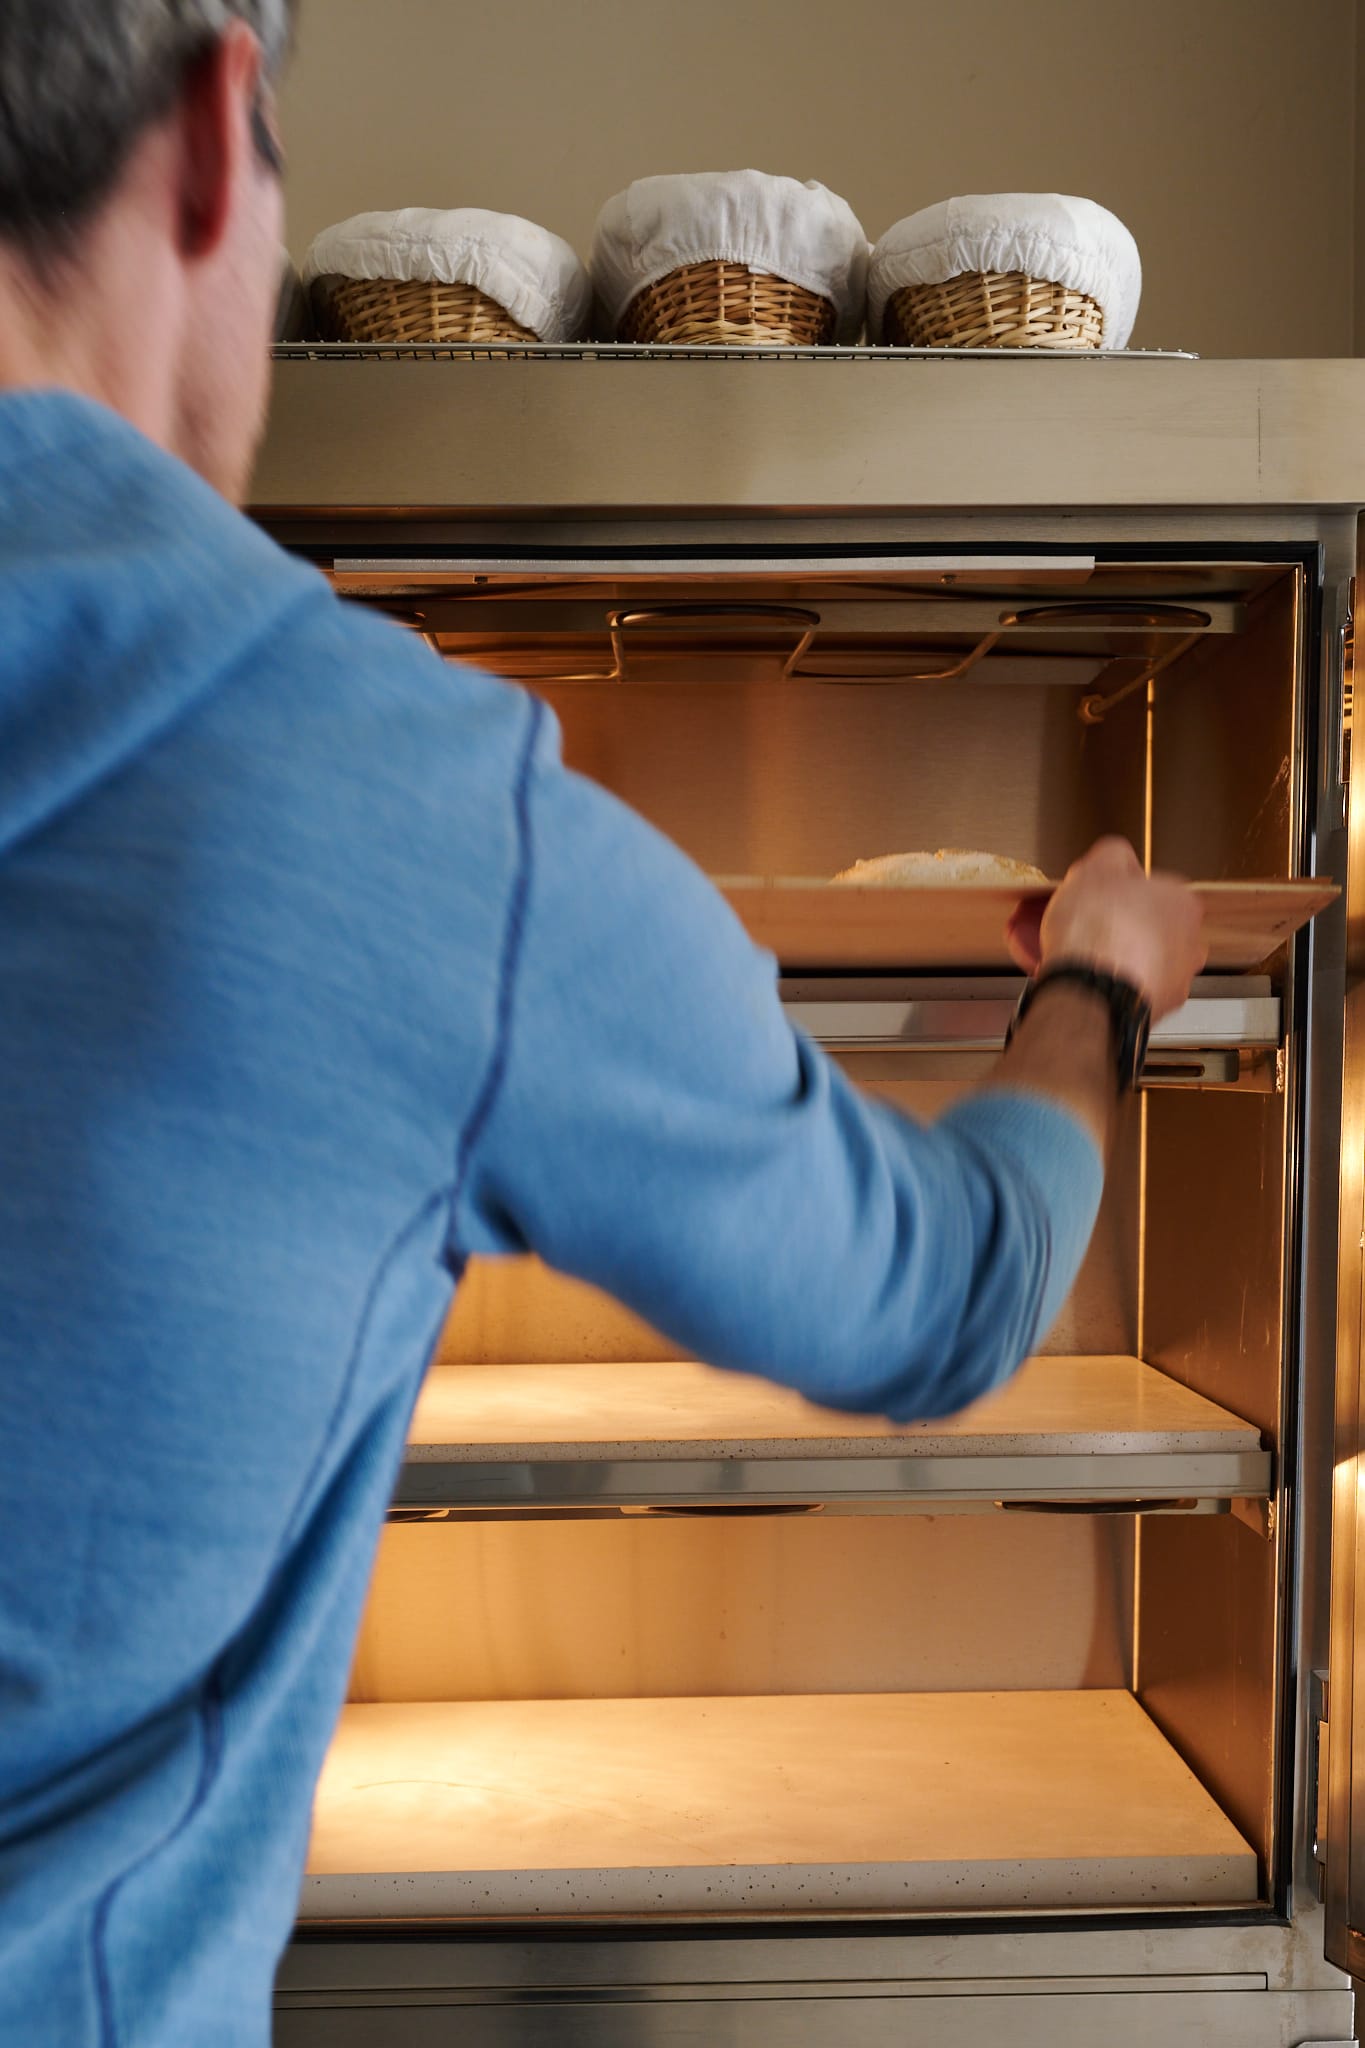
The RackMaster is very thoughtfully designed. Every component is well-engineered and robust, from the hinges that look like they belong on an aircraft to the positive-latch locking mechanism with an oversized handle (it’s so good!). Each component was designed with longevity and ease of use in mind.
The bread oven is easy to operate with no fiddly, expensive electronics (that’ll certainly break or fail over time) to get in the way. Analog turn dials control how hot the oven gets, a satisfying sliding shutter vents the oven of steam, and a big window allows you to check in on your baking bread.
Let’s look at my favorite features of this oven and how they have helped me bake sourdough bread in my kitchen.
The RackMaster 2020 bread oven:
- Is reliable. Simple controls with no electronics mean easy operation and fewer parts that break over time
- Has solid construction. Fully welded oven chamber traps steam effectively, meaning less time manually spraying steam into the oven
- Has ample baking space. Three 18 x 24-inch baking decks can hold up to six 600g freeform loaves per deck
- Can do small or large bakes. Each deck can be used independently for small bakes (just two loaves) or fully loaded (I’ve done up to 18 loaves!)
- Has active support and a community. RackMaster has a very active community of fellow oven owners, including Campbell McFarlane, the oven manufacturer himself, on Facebook and WhatsApp, where owners can ask questions if help is needed
What Kind of Power Does the RackMaster Require?
The RackMaster runs off typical 220V AC single-phase power (NEMA 6-20P cord plug and 6-20R receptacle), similar to larger household appliances in the USA and Europe, such as clothes driers. (If you have a Rofco bread oven, it uses the same power connections.)
RackMaster Buttons, Dials, Heating Elements, and Lights
The RM2020 has four temperature dials, a green button to control the lights inside the oven, and a sliding steam vent shutter.

Temperature Dials and Heating Elements
The analog temperature dials are in Celcius and can be set to 0°C (off), all the way up to 300°C (572°F). When the light above the dial is illuminated, the heating element is active—this is important because it has implications for how I use the oven. More on this later.
Each dial corresponds to one heating element (metal coil) inside the oven, from top to bottom. In other words, the top temperature dial controls the top heating element, the second from the top controls the heating element below the first deck, the third controls the heating element below the second deck, and the fourth controls the bottom heating element below the third deck.
| Heating Element | Details | Controlled By Dial |
|---|---|---|
| #1 (Top) | Only provides direct heat to dough baking on Deck 1. | Dial 1 |
| #2 (Below Deck 1, top deck) | Heats Deck 1(the stone) and anything baking on Deck 2 (direct heat to the dough). | Dial 2 |
| #3 (Below Deck 2, middle deck) | Like heating element #2—it heats both Deck 2 (the stone) and anything baking on Deck 3. | Dial 3 |
| #4 (Below Deck 3, bottom deck) | Heats only Deck 3 (the stone). Element is enclosed by the bottom of the oven chamber and the bottom deck. This element will retain the most heat when the door is opened because it’s enclosed. | Dial 4 |
Green Light Button
In previous versions of the oven, the green button turned on the main power to the oven, but this has since been changed to simply turning the lights on and off inside the oven.
Steam Vent Shutter
The metal steam vent shutter is a sliding hole cover. After baking bread for some time (usually 20 minutes), it’s important to vent the oven of steam so the crust can harden and color (similar to how I vent steam when baking bread in my home oven).
Baking Boards, Sheets, and Trays Included with the RackMaster
The RackMaster comes with several items packaged inside to help with baking.
Three reusable nonstick baking sheets
Similar to silicone sheets, these are thin, reusable sheets that help keep the oven stones clean. I always—always!—bake my bread dough on these sheets in the oven. Using these sheets helps keep the stones clean in case your dough has gooey inclusion, like with my Jalapeño-Cheddar sourdough bread.
These reusable nonstick baking sheets can be washed gently in the sink with soapy water.
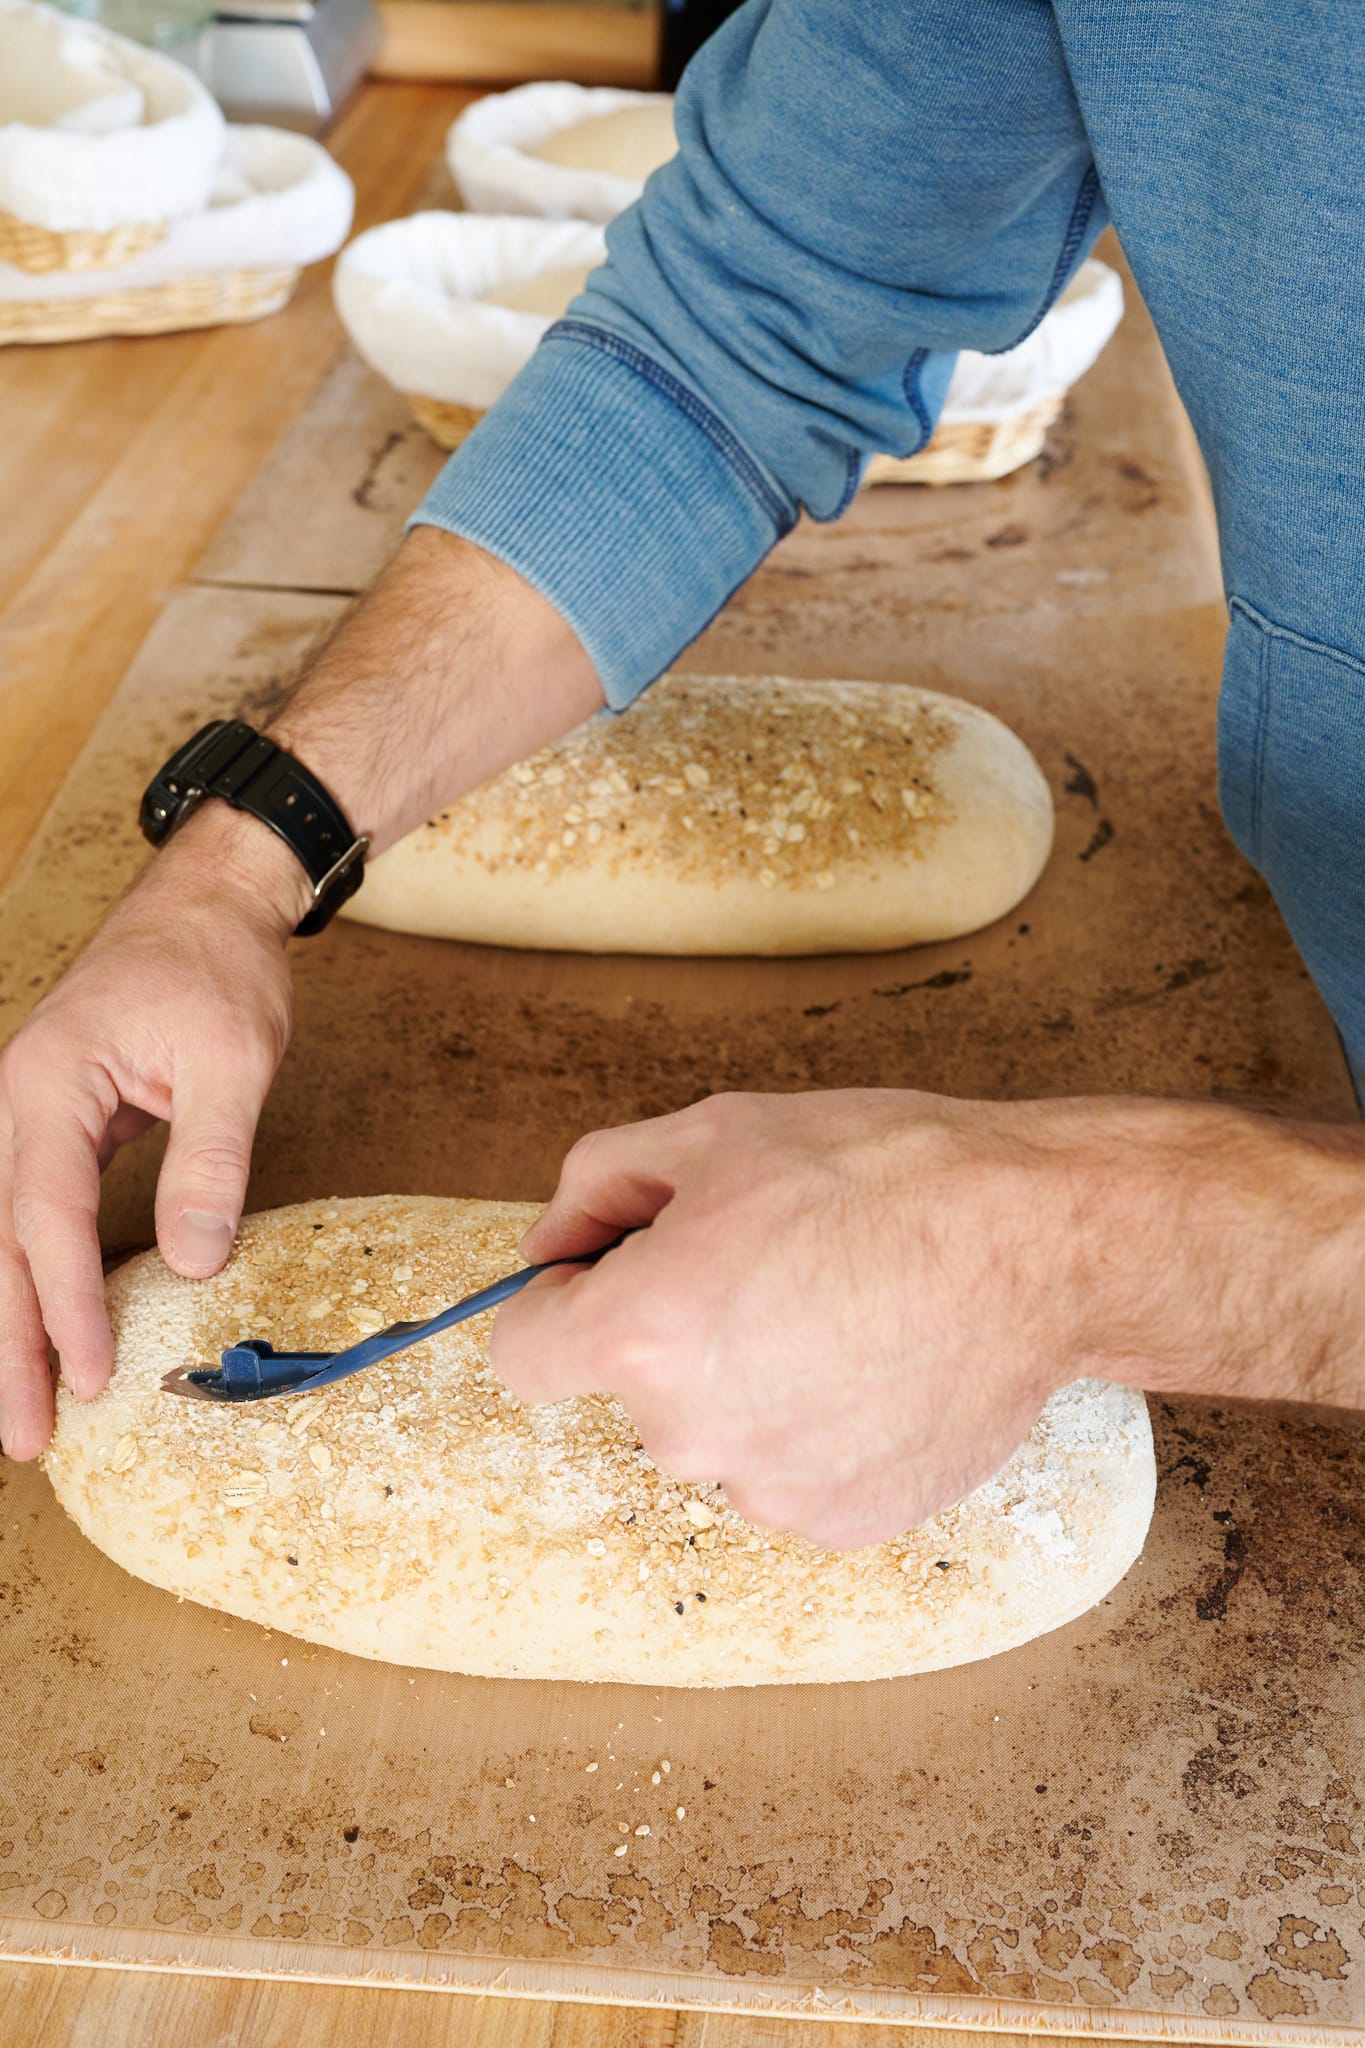
Three thin wooden peels (boards)
These wooden boards are useful for sliding dough on top of the reusable nonstick baking sheets into the oven.
Three uncoated aluminum baking trays
Three uncoated aluminum peeled lip trays are included with the RM2020. These trays are useful when baking buns, rolls, or pan loaves. When baking buns or rolls, use the included silicone baking sheets on the aluminum trays to create a nonstick surface that’s easy to clean up once you’re done baking. When baking any kind of enriched dough on the trays, I like to set the trays on wire racks in the oven to prevent the bottom of the bread from getting too dark. To save time when baking pan loaves, load your loaf pans onto the aluminum trays so you can slide several in and out of the oven at once.
Can I Bake With Other Baking Sheets or Loaf Pans?
Yes, you can use traditional baking sheets or any loaf pan (on top of the provided metal trays) in the RackMaster oven.
How Do I Preheat The Entire RackMaster Bread Oven?
The steps to preheating the entire RackMaster oven (all three decks) are simple:
- Slide the steam vent to the left so it’s closed
- Turn all temperature dials to 250°C (see below if you only use some of the decks)
- Allow the empty oven to heat for 2 hours
- Push the green button to turn the lights on inside (optional)
You will know the oven is properly preheated when the heating elements turn off (the light above the dial turns off, indicating this). To verify, use an IR thermometer to check the temperature of the top of the stone.
| Deck In Use | Turn On to 250°C |
|---|---|
| Deck 1 | Dial 1 and 2 |
| Decks 1 and 2 | Dial 1, 2, 3 |
| Decks 1, 2, and 3 (all decks) | Dial 1, 2, 3, and 4 (all dials) |
Keep in mind that the heating elements on the bottom of a deck (the ones right below a stone) are used to heat not only the stone itself (and therefore whatever is baking on top of it) but also to provide top heat to what is baking on the deck below.
Do I Have to Use All Three Decks When Baking?
No, you don’t always have to use all three decks. It’s possible to use each independently, and you can bake on one, two, or all three decks. For instance, if baking only two loaves of bread, I’ll preheat only the top deck (turning on dials 1 and 2 as described above). However, if I have a larger bake, I can preheat the top two decks, and to fully max out the oven, preheat all three.
See the preheating table above for instructions on heating one, two, or all three decks.
How To Best Orient Bread Dough For Baking
Each RackMaster deck measures 18 x 24 inches, which means they’re rectangular. This allows for many different orientations for placing dough, and ultimately, depends on the dough weight and shape of each piece.
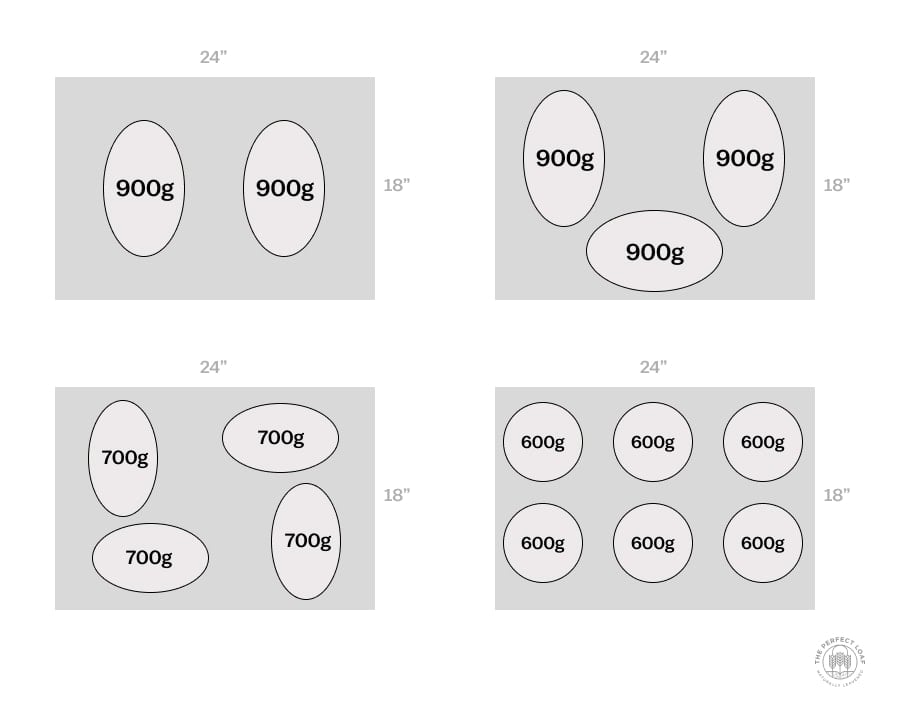
When baking only two loaves of bread, I use the top deck only and place the dough side by side (an “11” shape). If baking four loaves, which is my usual larger quantity, I’ll use deck one and deck two, with the dough, again, placed side by side on each deck.
If baking smaller boules, you can fit many more on each deck, and I’ve done up to six smaller pieces of dough.
Ultimately, you want to maximize deck real estate to bake as many loaves as possible without them touching during baking (which will cause the dough to have pale, soft spots at the point of contact).
If you have the custom-made RackMaster focaccia/pizza trays, English muffin/buns rings, or other accessories, they’re cut to fit perfectly on each deck.
When (and How) to Steam the RackMaster Bread Oven
When baking a fully loaded oven, with dough (especially high-hydration dough) on every deck, it may not be necessary to introduce additional steam with a sprayer. Baking dough releases moisture during the baking process, and with enough moisture inside the fully welded and tightly sealed oven, the oven will essentially steam itself.
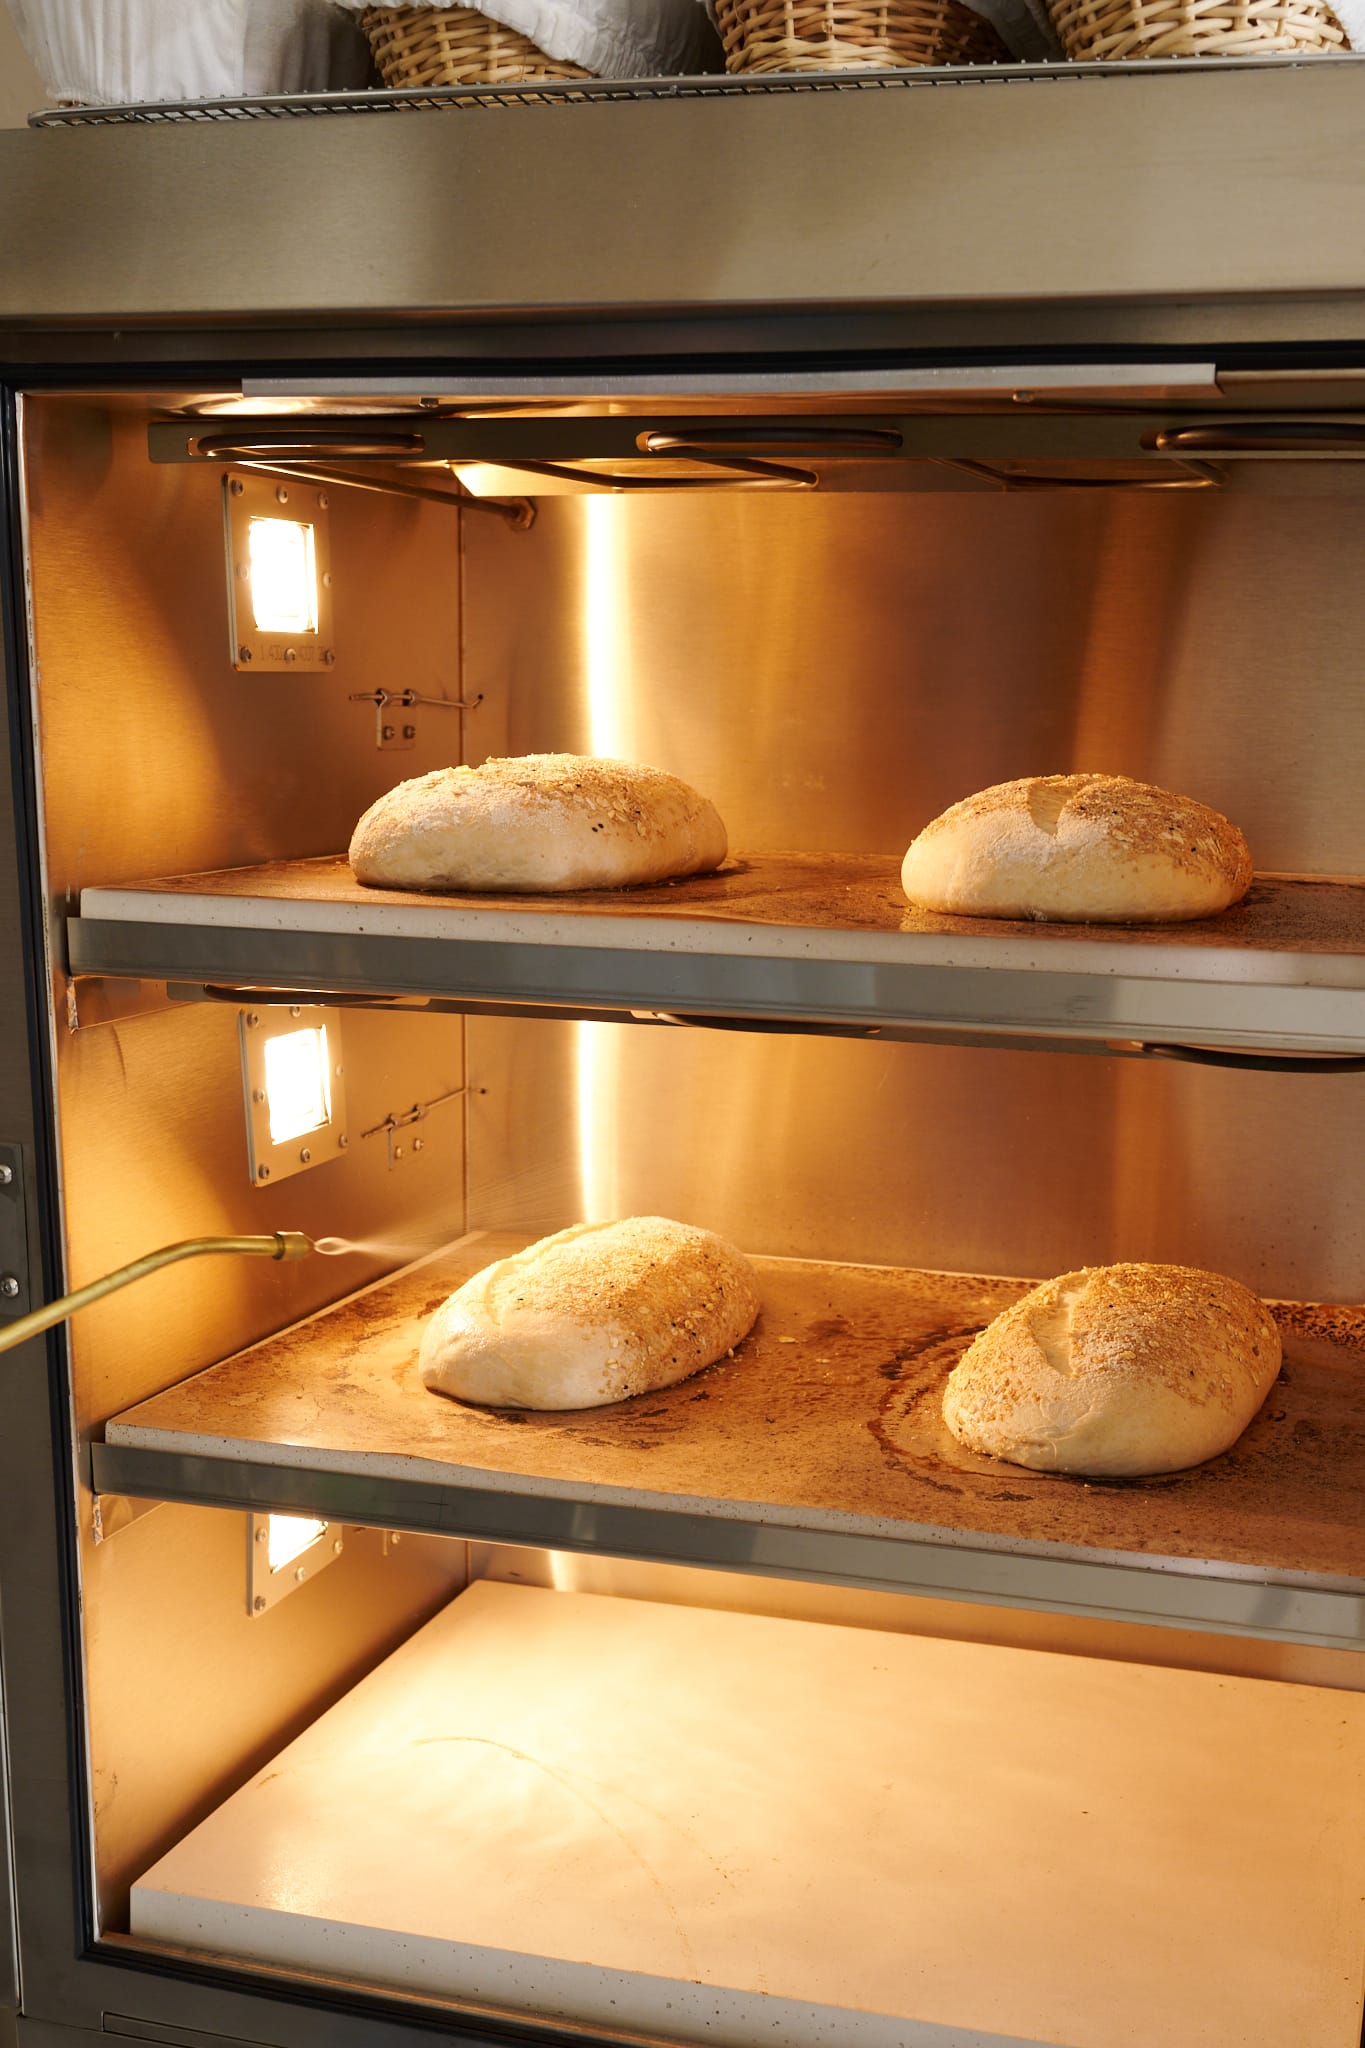
However, when baking less than six loaves of dough, I add steam into the oven to ensure the bread has a thin crust that’s crisp and shiny.
Steaming is simple: After loading your dough (sliding it on top of the nonstick sheets into the oven), use a pressurized water sprayer to spray water mist onto the dough and the far right wall of the oven. I spray water on each deck for 8 seconds, then quickly close the oven.
When steaming the oven, do not spray water on the light housing on the left side, which may crack.
It’s normal to see a little steam escaping from the oven during baking, and you might even see some very minimal condensation or dripping around the edges of the oven. I simply wipe this from time to time.
How to Vent Steam When Baking Bread
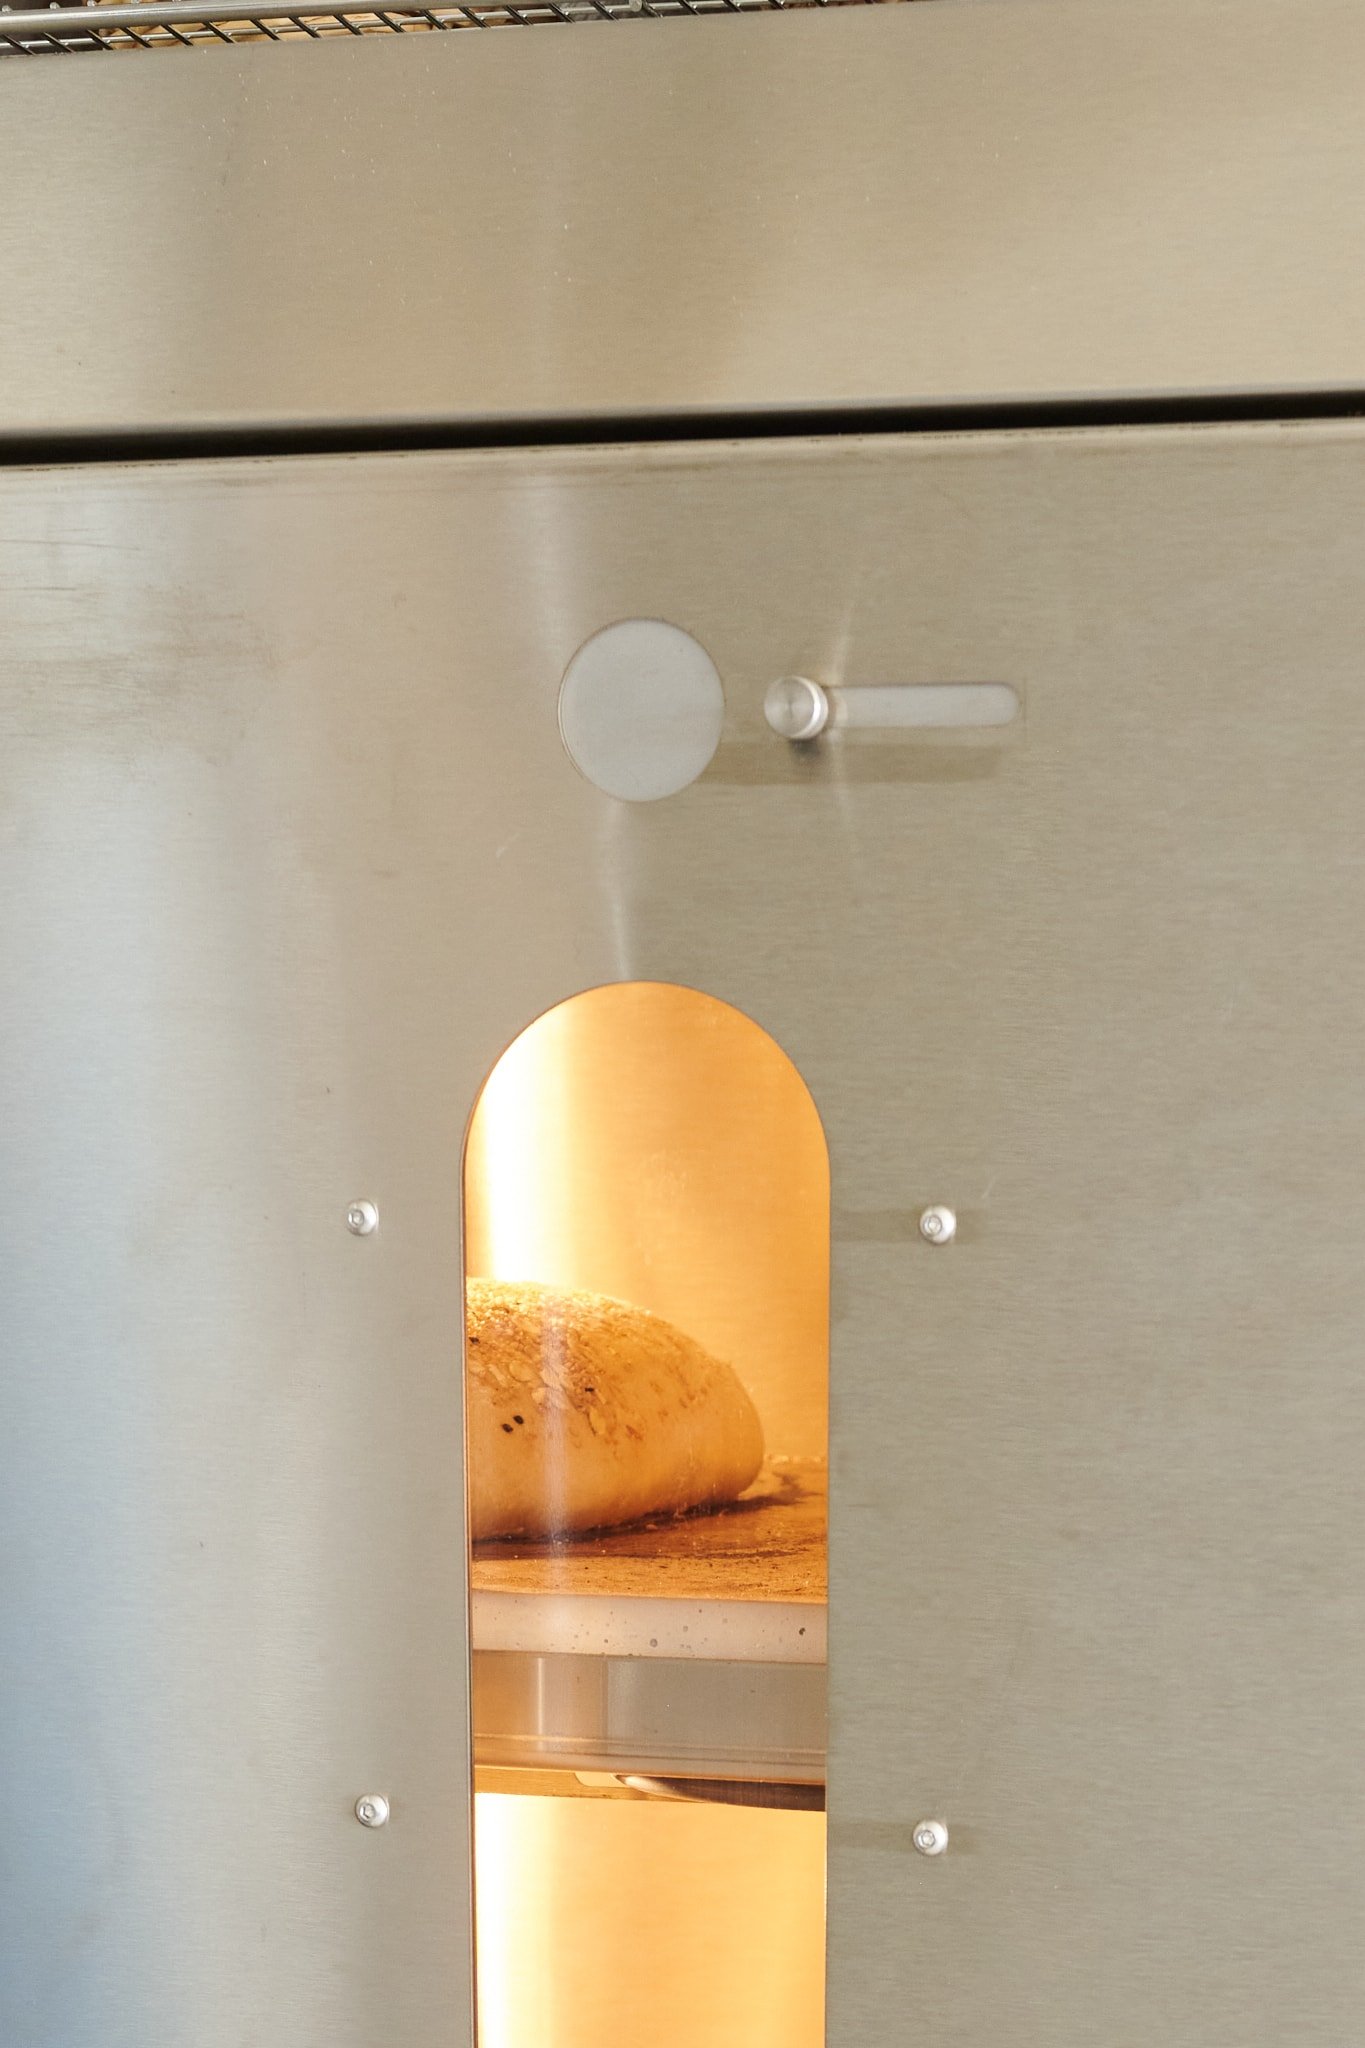
The RackMaster bread oven can be vented by simply sliding—with gloves, it’s hot!—the vent knob at the top middle of the oven. Doing so will allow the steam inside the oven to escape. This is essential once the baking dough has had enough time to expand fully, and needs to harden off and form a crunchy crust. Typically, this is after about 20 minutes of baking.
Note that a fully loaded oven will have significantly more steam trapped inside the chamber than an oven with only a few pieces of dough inside. This is because with more dough comes more water trapped inside. As baking progresses, the moisture migrates outside of the dough and helps steam the oven itself. Therefore, the more dough baked inside the oven, the more important it is to vent the steam when necessary (again, for me, this is usually 20 minutes into baking).
How to Bake Sourdough Bread in the RackMaster Oven: Start To Finish
As is the case in any oven, different baked goods require different baking temperatures and times. In the sections below, I’ll discuss baking the three common types of bread: Large hearth loaves, enriched buns, and pan loaves.
Below is a quick reference table for how I bake these different types of bread in the RackMaster oven. Note that these temperatures and baking durations may vary slightly based on the weight of the bread being baked, the pan used, and your baking altitude.
| Bread Type | Oven Temperature | Total Duration (Dough Weight Dependent) | Bake On Wire Rack? |
|---|---|---|---|
| Hearth loaves (700 grams to 1 kilogram) | 250°C (480°F) and 150°C (300°F) | 50 minutes | No |
| Enriched buns, rolls, croissants, or other pastry (on a sheet pan or provided metal trays) | 230C (450°F) | 25 to 35 minutes | Yes |
| Pan loaves (in Campbell tins or your own on provided metal trays) | 180°C (350°F) | 35 to 45 minutes | No |
Next, let’s go into detail on how to bake each type.
How to Bake Large Hearth Loaves
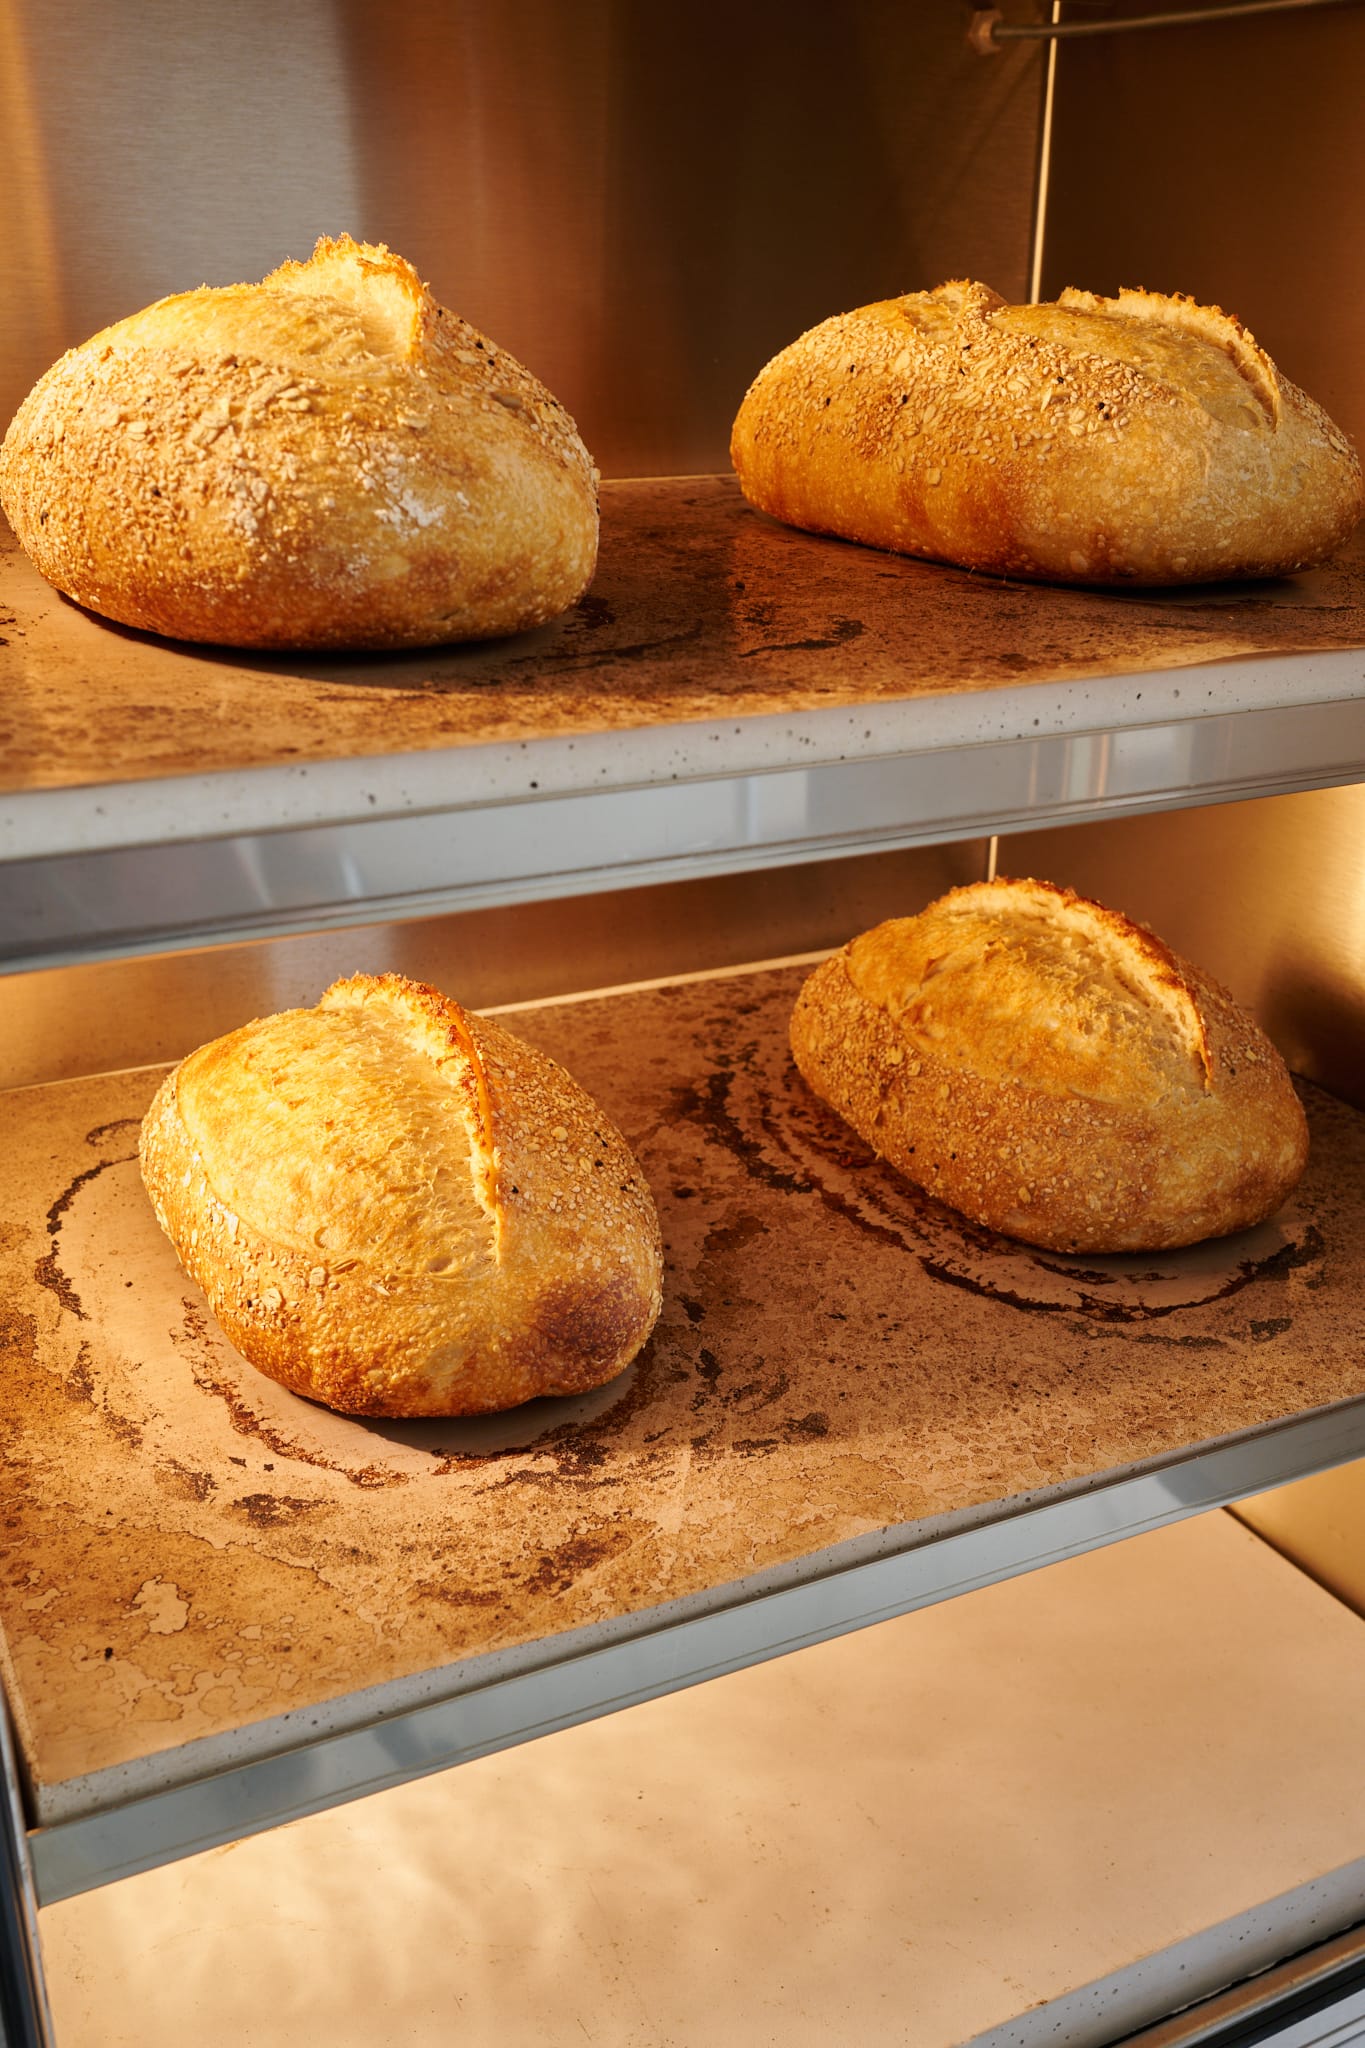
There are many ways to bake hearth loaves in the RackMaster oven, and this approach is similar to how I used my Rofco bread oven. Large hearth loaves (especially something like a miche) require a relatively high temperature for a lengthy period to ensure the loaf caramelizes on the exterior and fully bakes through to the middle.
These are the steps I follow when baking sourdough hearth loaves in the RackMaster 2020 Bread Oven:
- Preheat oven (door closed, vent shutter closed) to 250°C for 2 hours
- Once the stones are at 240 to 250°C, slide the dough into the oven on reusable baking sheets, and steam the oven
- Close the door, turn the temperature dials to 150°C, and bake for 20 minutes
- Vent steam (open vent shutter or open and close door quickly), turn dials up to 200°C and bake for 10 minutes
- Turn oven to 150°C and bake for 20 to 30 minutes until well-colored and a gentle squeeze (wearing oven gloves) reveals a crunchy crust
When the loaves are fully baked, remove them and the reusable baking sheets with a peel and let the bread cool on wire racks. If baking more bread, turn the dials back up to 250°C, close the steam vent, and let the oven return to temperature while you prepare more dough for baking.
This method works because I see the dials as on/off switches for the heating elements. I toggle them on and off depending on whether I actively want heat applied to the dough.
To prevent hardening the dough’s top and hindering its rise, I preheat the oven, then lower the temperature to 150°C (turning off the heating elements) after adding the dough. After 20 minutes, when I vent the steam and allow the dough to expand, I increase the heat to 200°C to set the crust and add color.
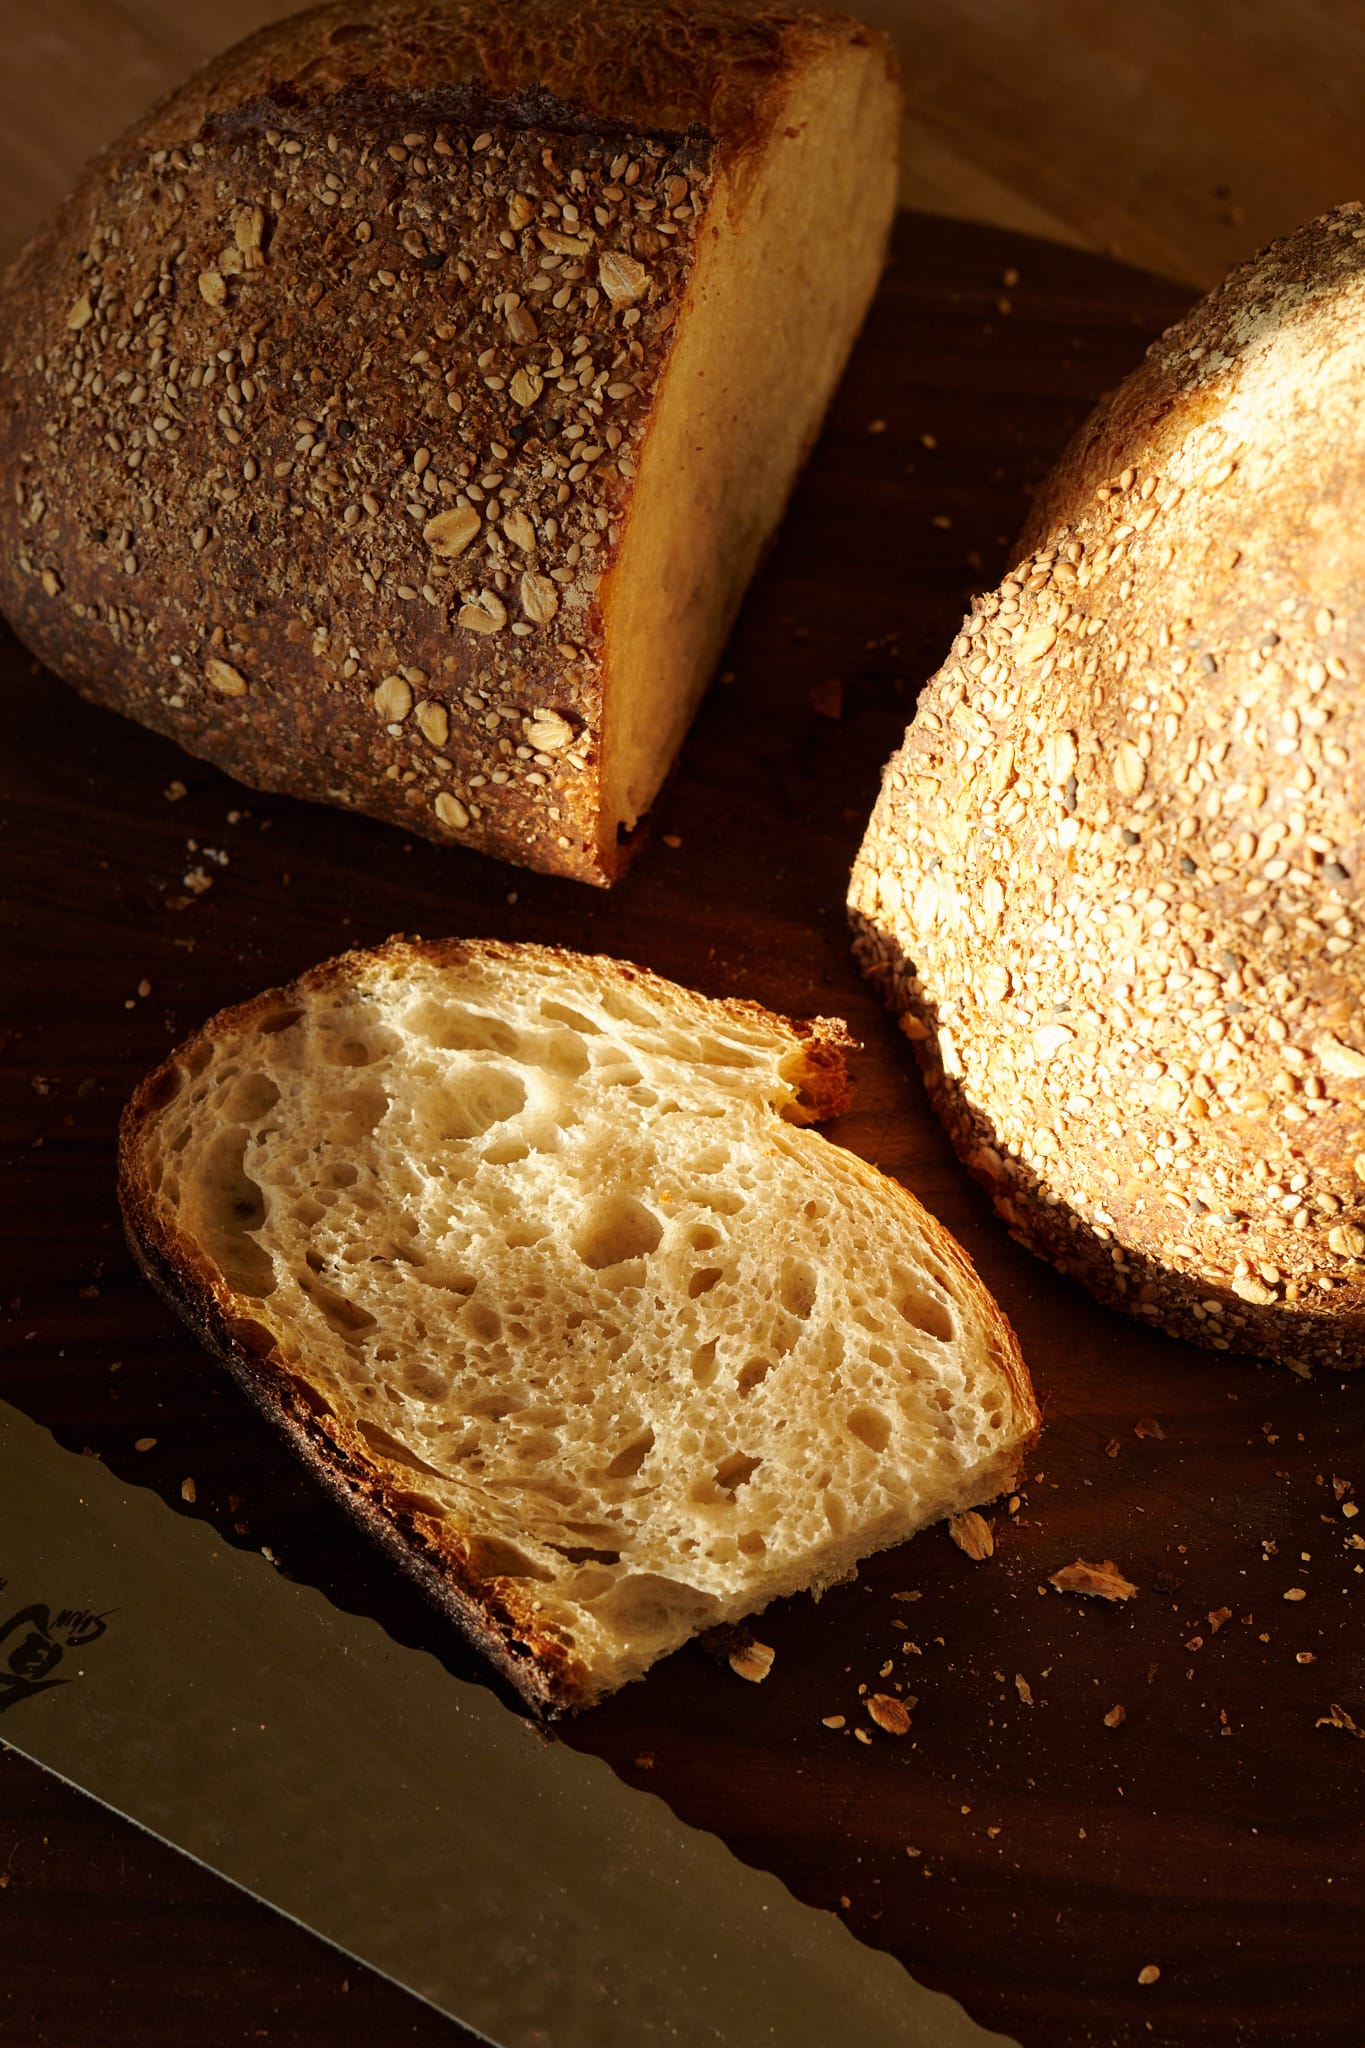
If you want bread with a thin crust, it might be more beneficial to bake at a higher temperature for a shorter time. See my guide to getting a thin crust on bread for more details.
How to Bake Enriched Buns or Rolls
Enriched (dough with fats, sugars, and eggs) buns and rolls require faster, hotter bakes to ensure they don’t dry out but still achieve a well-colored—and thin—crust.
In the RackMaster, I bake buns on the provided metal trays or sheet pans. To ensure the bottom of the buns don’t burn, I’ll place a metal cooling rack on the oven deck and bake with the pan on top.
Here are the steps to bake enriched buns or rolls in the RackMaster:
- Preheat oven to 230°C for 2 hours
- Once the stones are at temperature, slide in a metal cooling rack on top and then the dough on top of the rack
- If using an egg wash on the buns or rolls, steaming is unnecessary; if not, steam the oven
- Close the door and bake for 25 to 35 minutes until the rolls are well-colored and the internal temperature is around 93 to 95°C (200 to 204°F)
How to Bake Pan Loaves
Pan loaves need to be baked at a lower temperature for longer to ensure they fully bake through without burning on the top.
Here are the steps to bake pan loaves in the RackMaster:
- Preheat oven to 180°C for 2 hours
- Once the stones are at temperature, slide in the pan loaves on top of the provided metal trays or on baking sheets
- If using an egg wash on the pan loaves, steaming is unnecessary; if not, steam the oven
- Close the door and bake for 35 to 45 minutes until the internal temperature is around 95°C (204°F)
How To Bake English Muffins
Traditionally, English muffins are cooked on a griddle, but the RackMaster does an excellent job, especially if you’re using the Campbell English muffin rings and trays. With these, you can do 30 English muffins on each deck, for a total of 90 English muffins in one bake. They’re fantastic and give great color to the muffins.


Step by step how to bake English muffins in the Rackmaster oven:
- Preheat oven to 250°C for 2 hours.
- Once the stones are at temperature, slide in the pans with English muffin rings.
- Bake for 7 minutes.
- Carefully flip the pans and bake for 7 minutes to finish coloring the other side.
- Remove the pans to a work surface and remove the muffins to cool on a wire rack.
The recipe for these sourdough English muffins is in my cookbook, The Perfect Loaf.
The Bottom of My Bread is Burning in the RackMaster Bread Oven
If you find the bottom of your loaves are too dark, preheat the deck to a lower temperature, such as 230°C.
You might see this happen to dough baking on Deck 3 (the bottom deck) because the oven chamber and the stone enclose the heating element. In this case, when preheating, turn the bottom dial to 230°C instead of 250°C.
Other Useful Tools For The RackMaster Bread Oven
RackMaster Steel Cart
When purchasing the RackMaster bread oven, I highly recommend purchasing the custom-made steel cart that fits the base perfectly. It has casters, which makes moving the oven around very easy. It also has a built-in speed rack for holding the oven loading boards and other baking equipment (like Rackmaster baking trays for sourdough focaccia or rectangular pizza).
To get the cart when buying the RackMaster from Pleasant Hill Grain, select the Oven + Cart option.
High-Pressure Water Sprayer
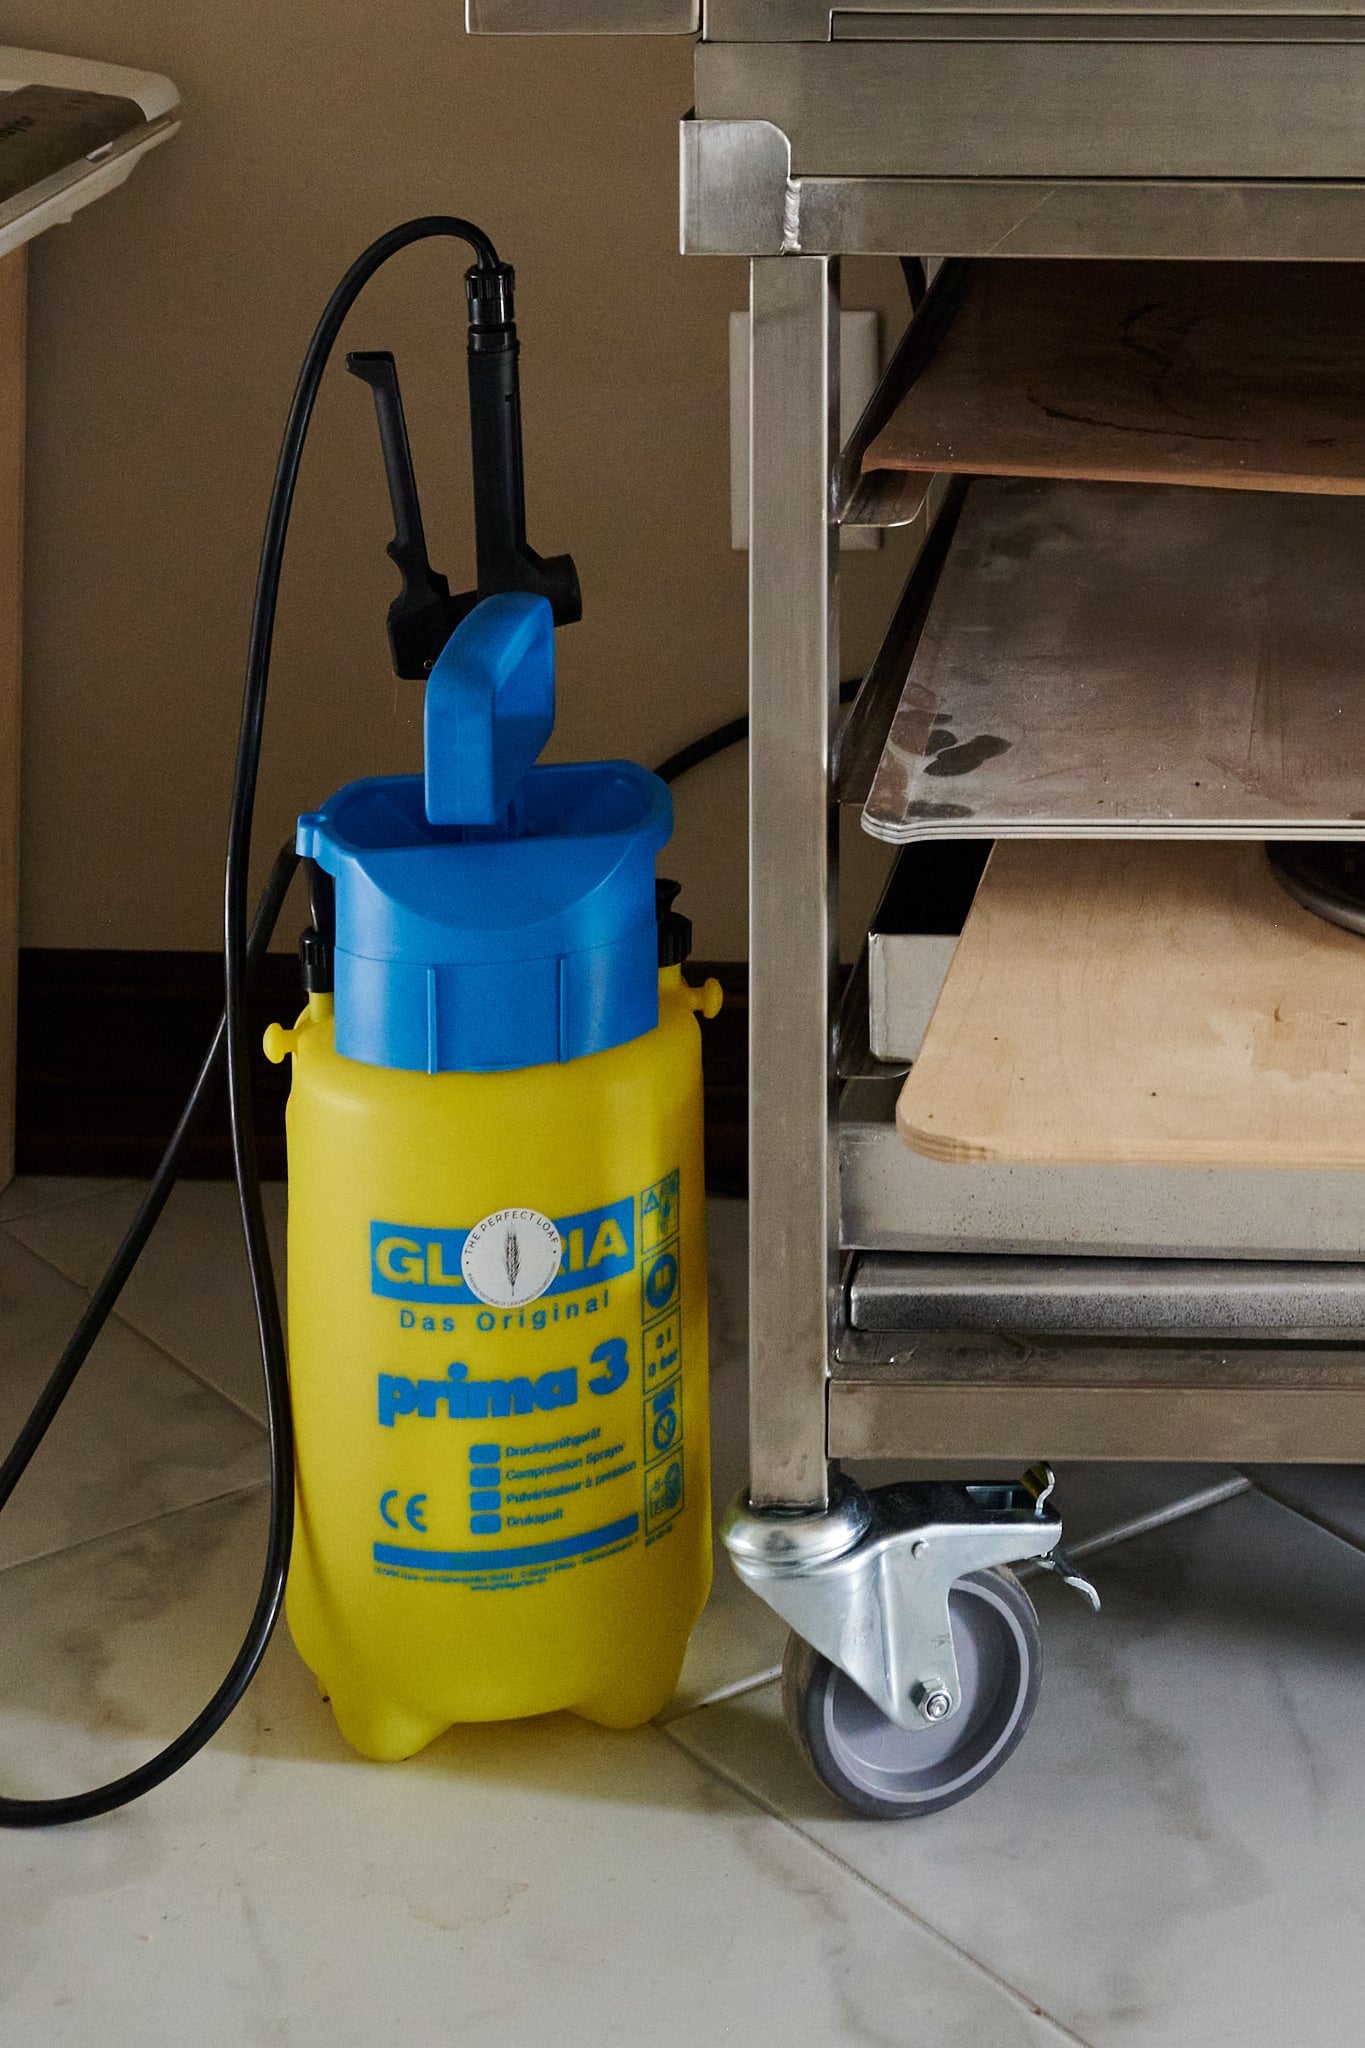
I’ve used this German-made water sprayer for years to steam my bread oven when baking bread, and it still looks brand new.
Fantastic Oven Gloves
These LANON liquid silicone gloves were recommended in the TPL Membership chat, and once I got them, I realized why all the bakers have them. They provide amazing heat insulation while still allowing for maximum dexterity.
Campbell’s (RackMaster) Nonstick Trays and Rings Kit
These trays are custom-made for the RackMaster and are perfect for baking anything that needs structural support, like focaccia or pizza. The rings are brilliant for English muffins (recipe for these in my cookbook!), buns, and rolls.
Get Campbell’s Trays and Rings Kit at Pleasant Hill Grain.
Baking Bread in the RackMaster Bread Oven Tips and Tricks
After Baking, Dry Your Proofing Baskets
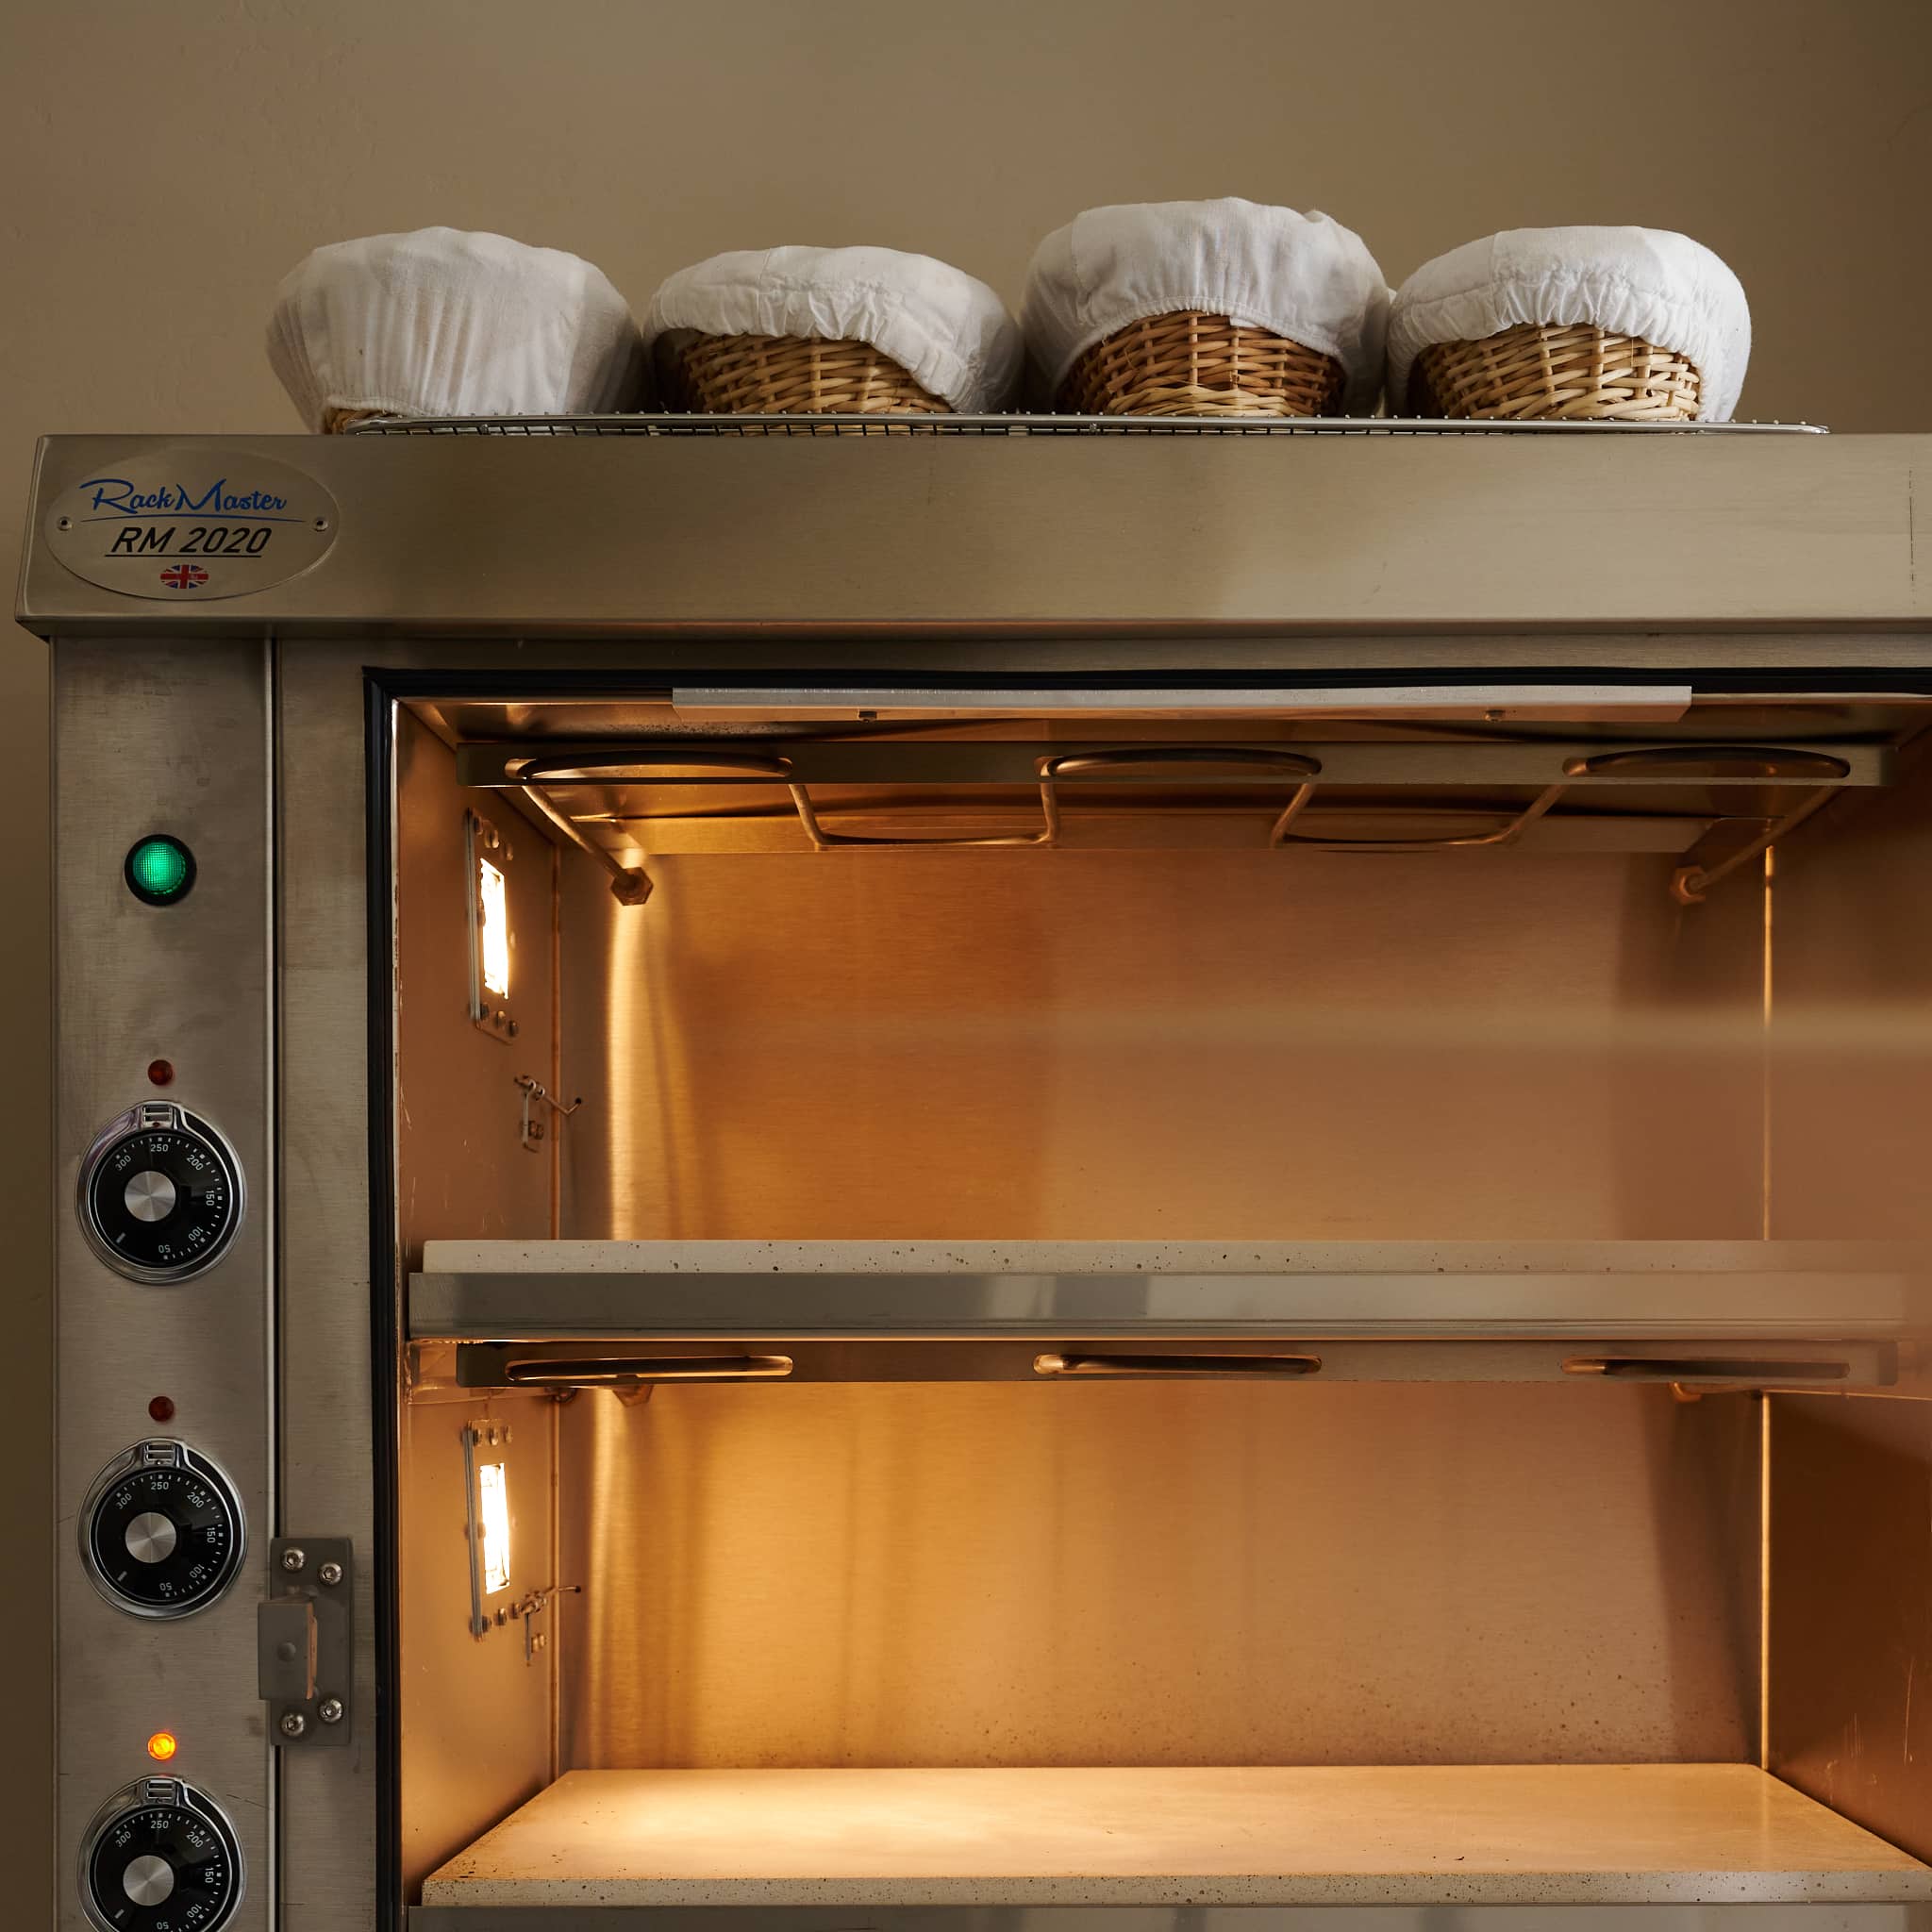
After you unload your dough and place it in the oven to bake, put your used proofing baskets on top of the oven. The residual heat from the oven will dry the baskets, ensuring they do not mold.
The top of the oven doesn’t get excessively hot, so there’s no worry about scorching the baskets, but if you’re concerned, place a metal cooling rack on top of the oven to hold your drying baskets or bannetons.
What’s The Difference Between the RackMaster and Rofco Bread Oven?
The Rofco B40 is a Belgian-made electric oven that’s been out for many years with little (to no) modifications. It’s a fantastic oven with a small footprint and can dutifully bake bread with little issue. I’ve had one for years, and performs incredibly well.
The RackMaster 2020 Bread Oven is a larger UK-made electric oven that’s relatively new, has larger baking surfaces, robust operating components, and supportive WhatsApp groups with the manufacturer and customers from around the world.
The table below outlines the key differences and similarities between these ovens.
| Specification / Feature | RackMaster 2020 | Rofco B40 |
|---|---|---|
| Number of decks | 3 | 3 |
| Dimension of each deck | 18 x 24” | 18.9 x 18.9” |
| Fully welded construction | Yes | – |
| Internal lights | 3 | 1 |
| Windows for all decks | Yes | No |
| Maximum temperature | 572°F (300°C) | 482°F (250°C) |
| Electrical requirements (Volts AC) | 230 | 230 |
| Price (oven only) | $7,499.00 | $3,795.00 |
Note: There are smaller Rofco ovens, and the B40 is the largest of their offerings.
Oven lighting
One important difference between the RackMaster and the Rofco is that the RackMaster has a light for every deck in the oven versus the single light at the top with the Rofco. While it may not seem significant, having a dedicated light per deck that’s protected and durable is a big step up from the Rofco’s single, exposed light at the top of the oven.
Should I Buy the RackMaster or Rofco B40 Bread Oven?
Both the Rofco and RackMaster are fantastic bread ovens. They’re built with the baker in mind and will help you bake bread at home, in a small commercial kitchen, or even larger scale with multiple ovens.
Of course, it’s possible to make fantastic bread in a home oven—I’ve made wonderful bread for many years this way!—but the RackMaster and Rofco make it easier to steam, and provide consistent, intense heat for maximum rise.
Additionally, these ovens are able to bake more efficiently because they are specifically geared toward bread-making. Additionally, due to the heat retention of their stones, you can bake larger quantities of bread with little reheating time between batches.
In the end, buying a RackMaster over the Rofco depends on whether you have the need, the space, and the budget. If you have both space and budget, I would recommend the RackMaster over the Rofco. If your space is small and/or your budget tight, the Rofco will still serve you well.
RackMaster Bread Oven FAQs
Steam is Escaping From My RackMaster Bread Oven. Is This Normal?
Yes, it’s normal to see a small amount of steam from the oven. If you see an excessive amount of steam pouring out after the door has been closed, be sure to check that the rubber seal around the oven opening isn’t kinked or broken.
Is It Normal For Water To Be Dripping From the Oven?
Yes, a small amount of condensation may build up at the corners of the front of the oven. Wipe this with a cloth as needed (rarely).
Can I Use Regular Parchment Paper in a Bread Oven?
Yes. I like to use unbleached parchment paper.
How Long Should I Preheat The RackMaster Bread Oven?
The oven will be fully preheated in 2 hours, though if you’re using only the first and second decks, I have had success baking after 1 hour and 30 minutes.
Can I Bake Baguettes in the RackMaster Bread Oven?
Yes, absolutely. You can bake longer baguettes up to about 22-inches if the dough is parallel to the oven door. Alternatively, you can bake shorter demi-baguettes, up to about 16-inches long, if placed orthogonal to the oven door.
What’s Next?
Simply put, the RackMaster has been a game changer for me in my kitchen. The impeccable build quality, thoughtful design, and dead simple use make it a no-brainer to recommend to any serious bread baker—if you have the space and the budget.
I’m looking forward to years of continued use with this oven and I know it’ll be more than up to the task.
My Beginner’s Sourdough Bread Recipe will be the perfect first loaf if you pick up a RackMaster!
Thank You
Thanks to Campbell McFarlane and RackMaster for making this incredible oven and providing support. Additionally, thanks to the North American RackMaster WhatsApp group and Facebook group for many conversations about tools, and bake times, and for helping me put together this guide.


