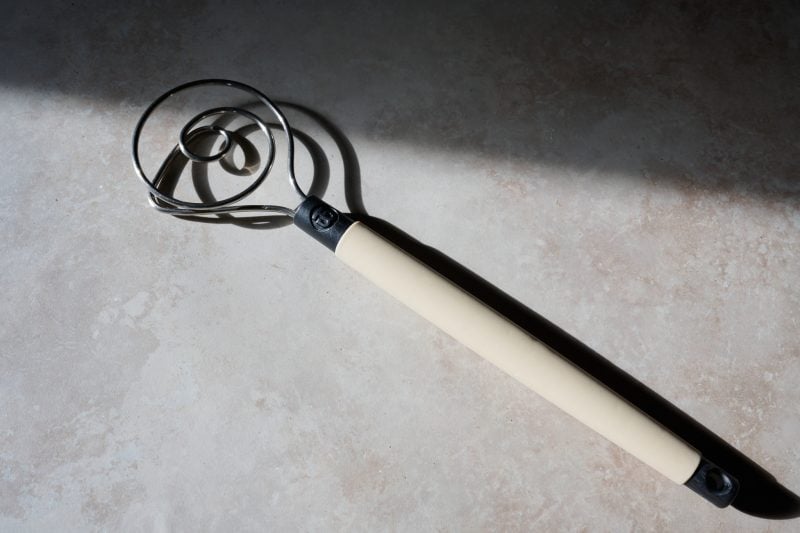
Keep your hands clean during mixing with this super strong whisk.
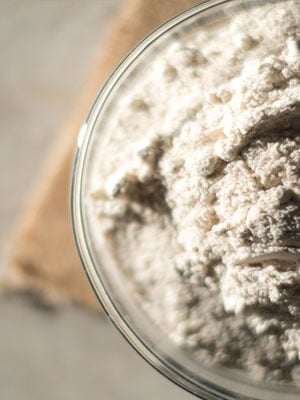
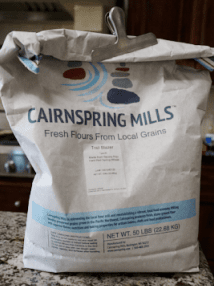
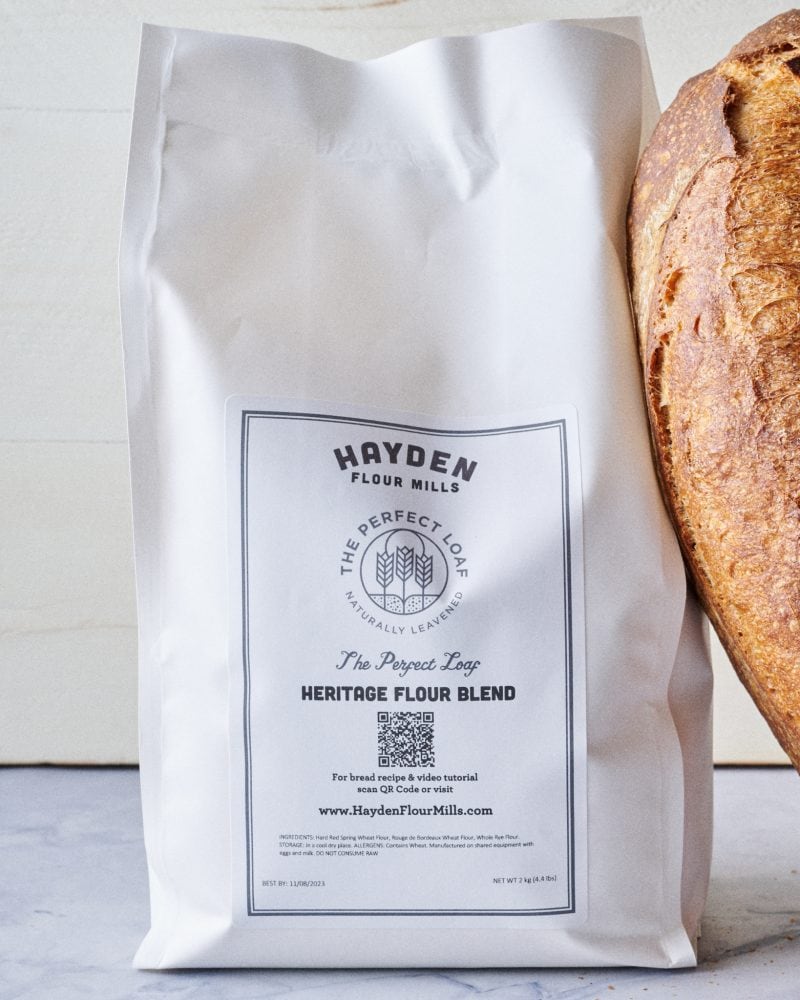
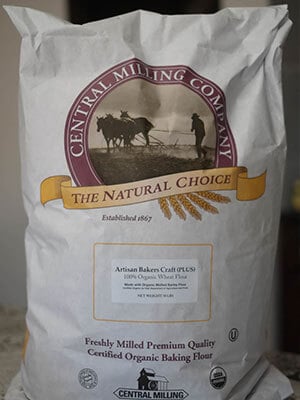
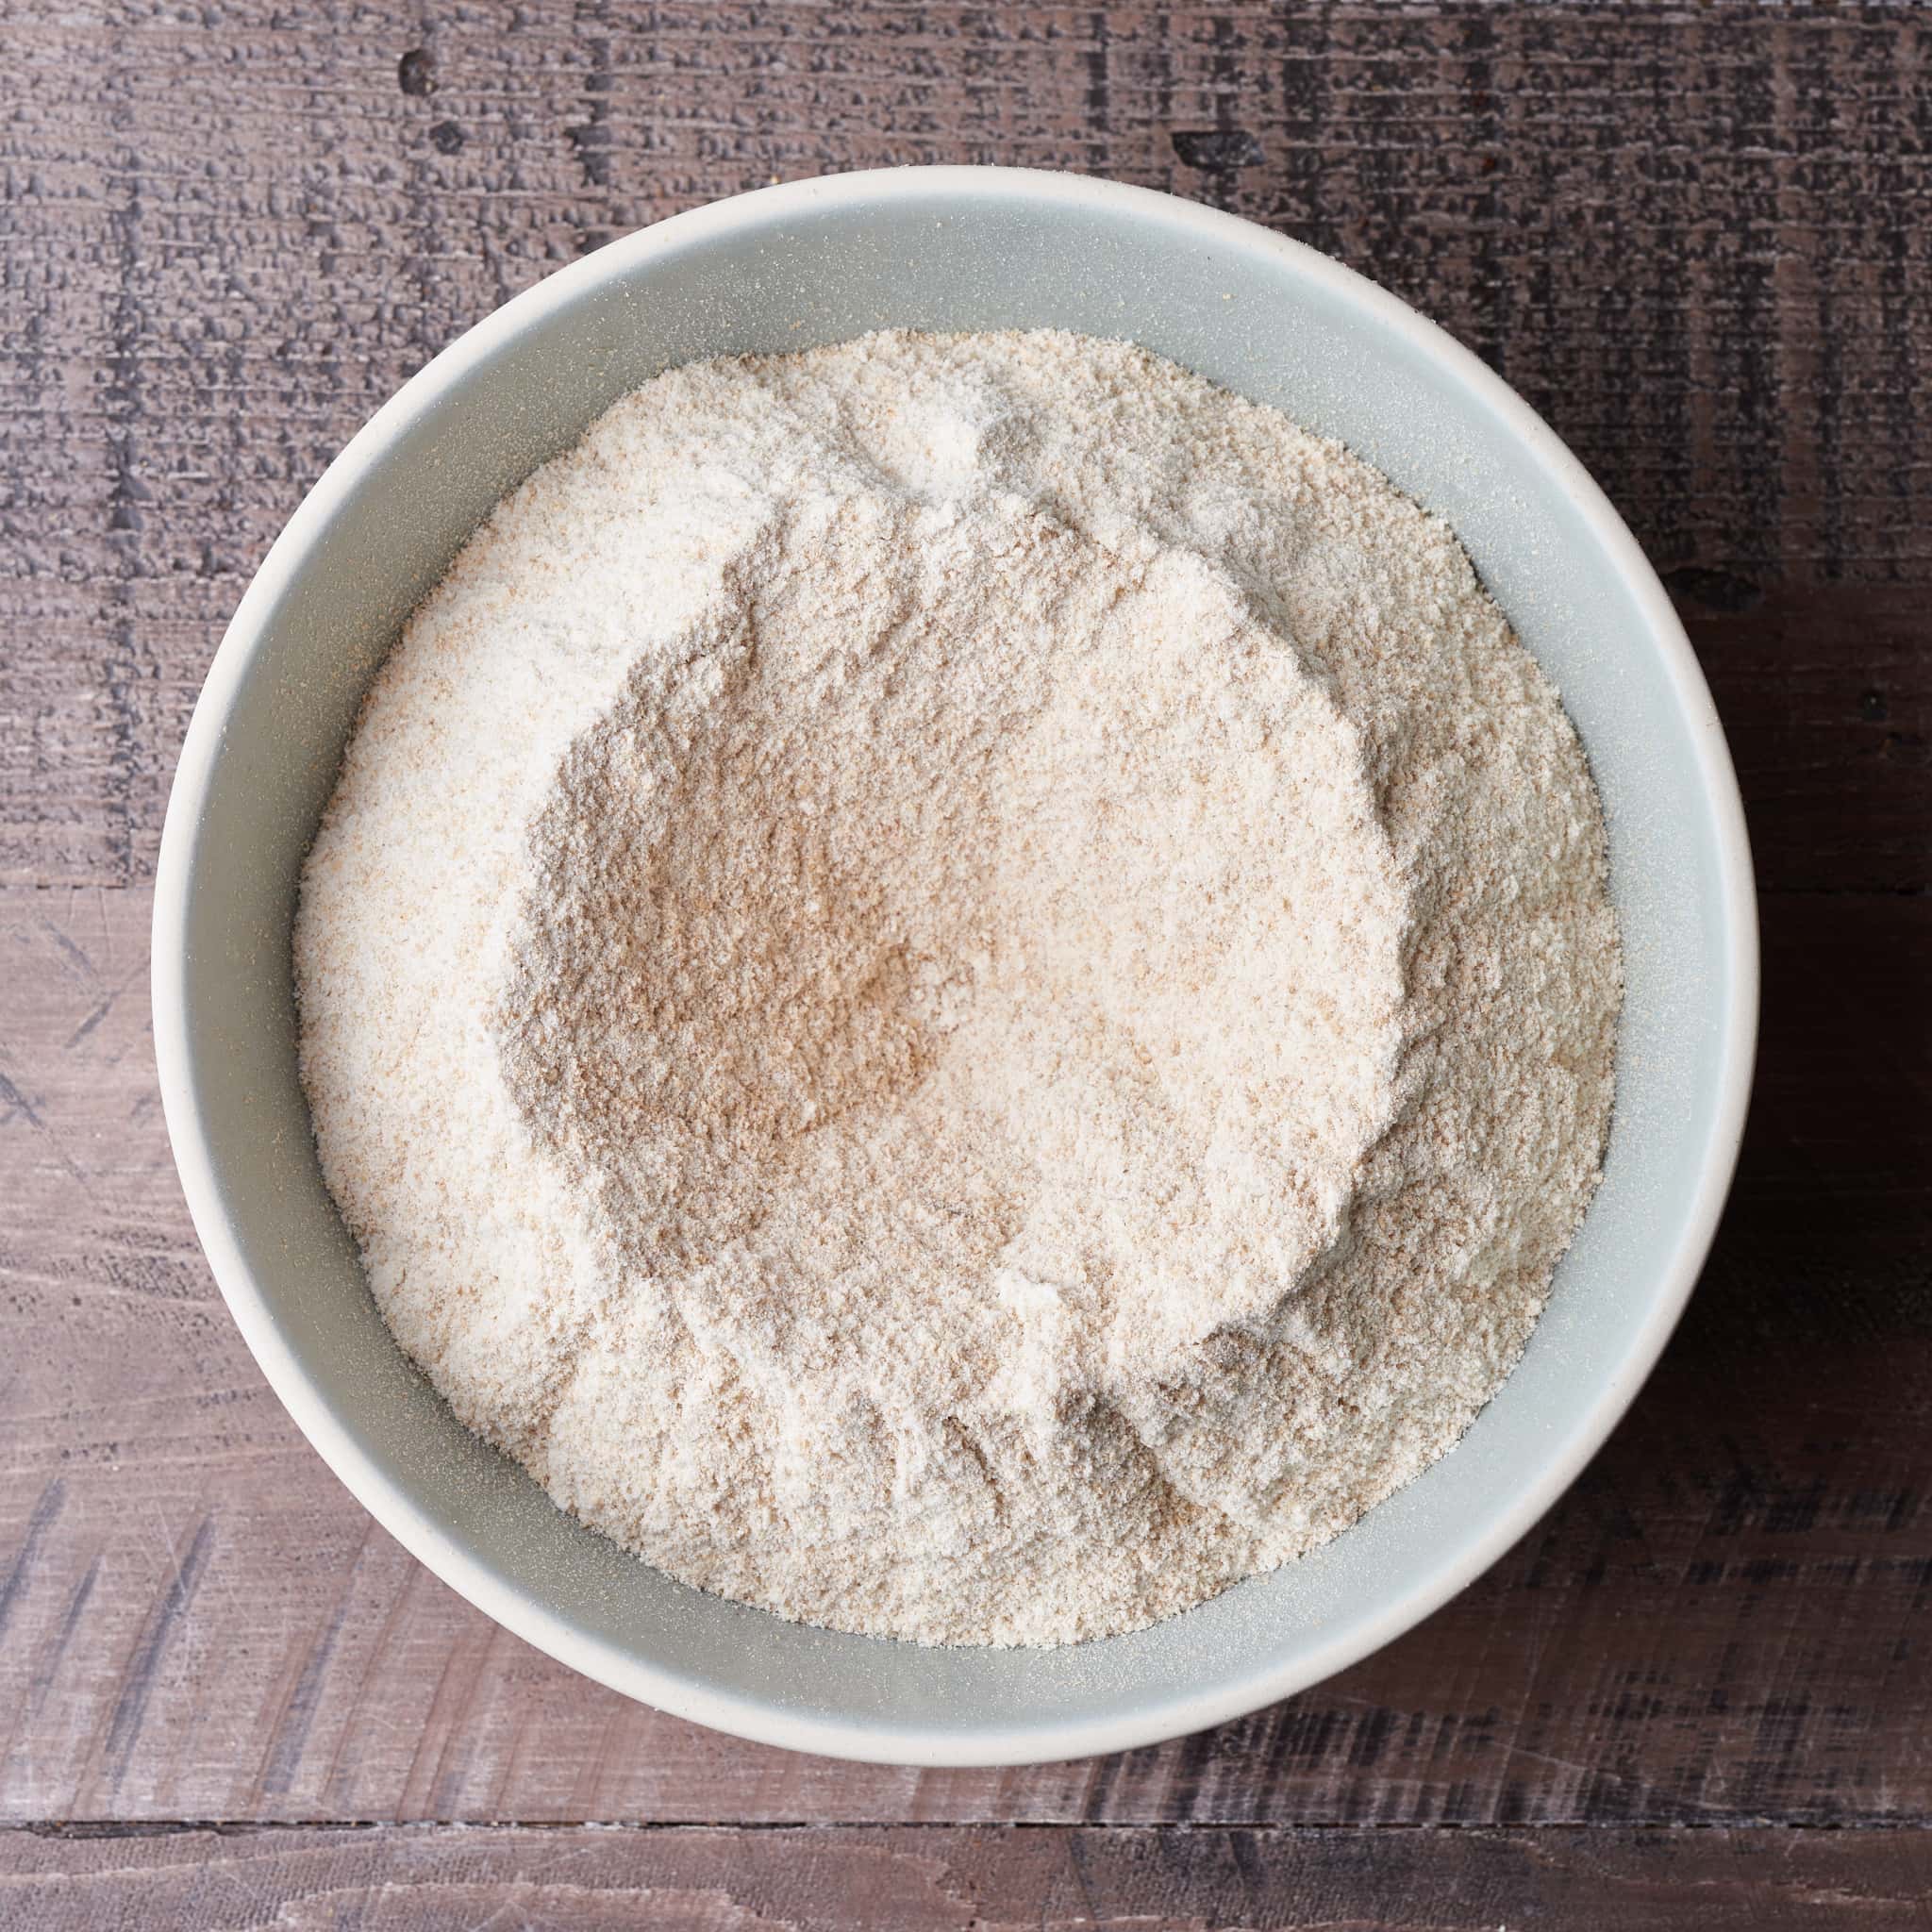
Flour and Grain
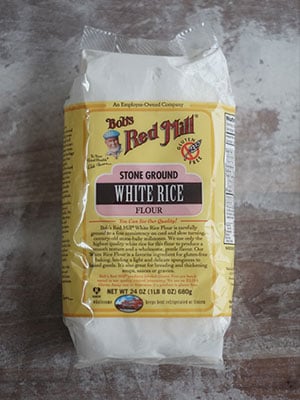
The list below are my most-used flours here at home, but look local first! There are many great farmers and millers scattered all over with incredible flour options.
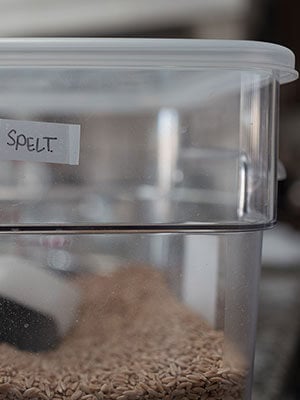
I use these to store all my flour (5lb bags)—just the best.
Grain Mills
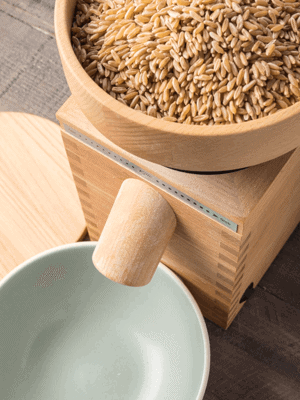
Below is a list of my favorite grain mills used to mill fresh flour in my home kitchen regularly. They are all built extremely well and are capable of producing excellent flour.
Hi, do you have a recommendation for a slicing guide? Mine is old and made of plastic – it has worked well for years but recently I accidently cut one of the guides. Also, I’m trying your pan de mie recipe (in a large pullman pan) and wondering if it will fit in my guide? Thanks! Love your site – have committed to a monthly donation because it’s so helpful.
Hey, Ellen! Unfortunately, I’ve never used a slicing guide! I’ve seen some heavy duty plastic looking ones in bakeries, but I’m not sure where they source those. I would say the Pullman loaf should fit, it’s a little smaller than a “standard” loaf of bread you might get from the grocery. Sorry I can’t be more help with that, I’ll keep my eyes out for one!
Thanks for the contribution, I really appreciate that!
Do you have a recommendation for baking steel vs a stone for baking sourdough loaves? Thank you for all the work you have put into this site! It has be a tremendous help to me on my baking journey.
Happy to help, David! I personally really like the Baking Steel (I have a link to it up above in my tools). It’s indestructible, fantastic for bread, and even better for pizza.
Great thank you! I want to try to bake loaves “open” and steam my oven the way you have written about. Read a lot of pros and cons about both steel and stones, but I have been cracking a lot of ceramics lately so have really been leaning towards the steel.
The baking steel was way too heavy for this 70.5 year old. I can handle the challenger bread pan but not the baking steel. A shame as it would work beautifully for any breads or pizza!
Hi again! I’ve been following your recipes for some time now, having great luck most of the time. BUT, here’s my common problem…the thick corn meal layer I put in my DO always burns and makes the house smell terrible. How can I fix that? I have the DO on top of a baking sheet on the middle rack in the oven, which has really helped the bottom crust of my loaves brown nicely.
Omit the corn. You could try bringing that rack up higher, or lowering the temp in the oven for the second half of the bake. Also, you could place the DO bottom inside the top after you remove it (when you stop steaming).
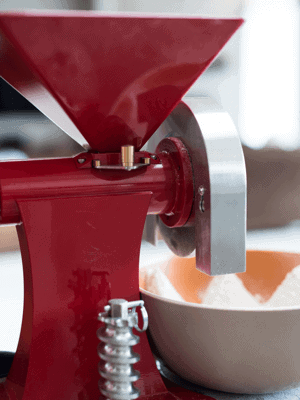
Maurizio, I’ve got a Komo XL right now but thinking about getting the GrainMaker 116 as well since I could use it for a variety of things. Could you speak to how fine the flour is coming out of the GM compared to your Komo? Thanks in advance for the advice!!
Hey, Jocelyn. In my opinion, the flour out of the GM 116 is the finest flour I’m able to produce in my home kitchen. It’s an excellent mill (it just takes more work to mill, which I like anyway!).
Hi Maurizio! I just purchased the Emile Henry bread loaf baking pan. It doesn’t have a top handle like the Le Creuset which makes baking gloves/oven mitts a necessity, rather than flat potholders. Is there a brand that you recommend? I have silicon ones but I can still feel too much heat through them when baking at such high temps. Thanks!!!!
Hey Maurizio, loving your site, and learning so much. I am shopping for a grain mill and looking at both the Komo hand mill and the Grainmaker Model #35. We do not make more than a small loaf or two a week, and I would prefer to grind flour on an as-needed basis. My priorities are ease of use, followed by price. Which hand mill do you think would be easier to use (and maintain) for a not-too-out-of-shape, over-50 couple? Thanks.
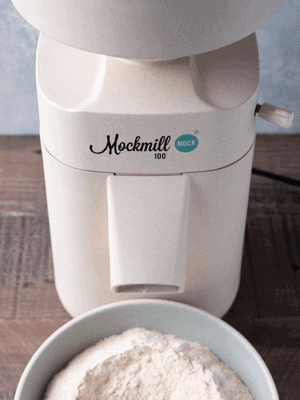
Hey there! The GrainMaker is an incredible mill, but do know it’s a fair bit of work to mill flour. I like to see it as a wonderful workout, but it is tiring. If you’re looking at an electric mill, the KoMo and Mockmill I have linked up in my tools are also really great mills and quite convenient. A touch of a button and you’ve got fresh flour 🙂
All of them are great options, but I’d go with the electric mills if you’re looking for easiest use.
Hey, Jon! I usually use a large ceramic bowl (it’s this Heath Ceramics bowl) with a 4.5″ height and 10″ diameter. It comfortably holds 1900-2000g of dough.
Hi Maurizio, I bake my loaves using a clay baking stone and cover (first 20 minutes) with a round clay cloche. I would love to source a large cloche top that would allow for baking 2 loaves at a time. The unfortunate challenge of a venting home oven! Thank you for all the great info!
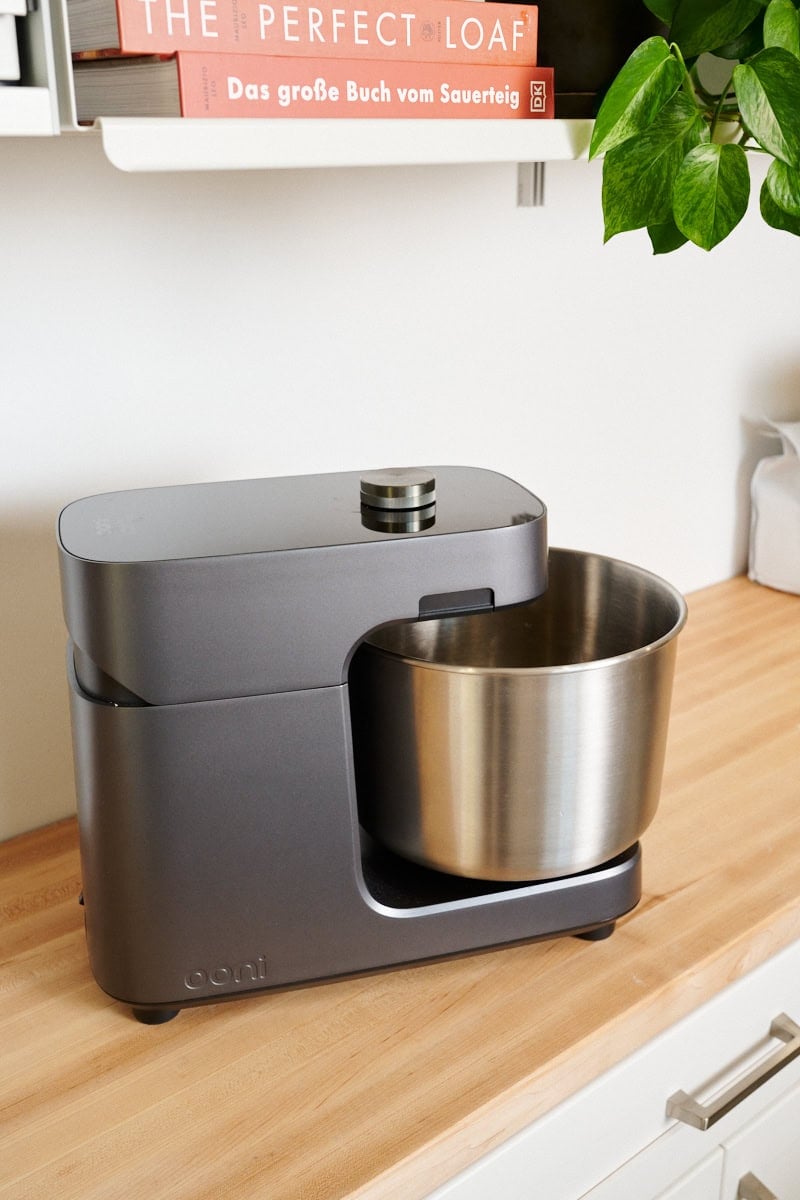
Which Kitchen Aid mixer do you use. I have a “Viking” mixer that came with our range when we bought it. It’s got a very powerful motor, but anything more than 500 g of flour, and the dough climbs up the hook or paddle and pushes dough where it’s not wanted. I like to make double batches of dough (1.5 Kg of flour) to make 1+ Kg loaves, that fill my combi-ovens for a good oven spring without a refrigerated final proof.
Thank you,
Peter Bovey
Hey, Peter! I’m actually working on a guide post covering my current KitchenAid, which is a really great mixer. Last year I upgraded to the new KitchenAid 8-Quart Commercial mixer and it’s been an absolute workhorse in my kitchen. I can’t recommend it enough. Be on the lookout for my guide, I hope to have it published soon!
Thank you, Maurizio. That is the model I was considering. Mixing by hand has become so time consuming that I’m ready to bite the bullet. I’m going through more flour each month than I ever thought possible. Your articles and techniques have made a huge improvement to my breads. Thank you, again!
Sincerely,
Peter Bovey
Happy to have helped, Peter! Here’s to many more awesome bakes in the future 🙂
The Kitchen Aid Commercial Mixers were out of stock till mid-January, so I got a Globe 8 qt. Mixer for close to the same price and OMG, what a difference it makes!!! Couldn’t be happier with the purchase which has allowed me to get my autolyse mix done in 2 minutes vs. 20 minutes mixing by hand.
Right on, Peter! Glad to hear you picked that mixer up. It’s definitely handy to have a mixer for larger bakes and enriched doughs. Have fun and happy baking!
@maurizioleo:disqus I looked this up and think it might be what I need as I keep ruining my standard kitchenaid’s sacrificial gear with enriched dough. One question though, do you need to always make a bigger recipe for this mixer to be effective or can it still manage a standard batch of chocolate chip cookies for instance?
And thank you so so much for sharing all your ideas and knowledge here.
Hey, Tori. Works perfectly well with smaller batches as well. You can even buy a smaller 5qt mixing bowl and it fits in the mixer! I use this KA with cookies all the time, in fact, I just did yesterday 🙂 Happy to help!
My husband is quite the baker after following you! Could you recommend your favorite oven mitts? I would love to get him some for Christmas!
Amazing! I so appreciate your reply. Our household (and neighbors) are definitely benefitting from all the knowledge you share that results in delicious food. Happy holidays!
Hi Maurizio! Love your site! The hyperlink to the wide mixing bowl is wrong, goes to the thermometer. Definitely interested in the bowl if you don’t mind up day the link! Thanks!
So happy to hear that, Charity! I fixed the link to the mixing bowls (here’s the link). It’s a set of three and they’re the best I’ve found in the kitchen (the larger 5-quart one is the one I mix dough in, the others are used for levain, soakers, etc.). Happy holidays!
I am purchasing for a friend that has been making sourdough bread, bagels, english muffins, etc for quite some time. She would appreciate baking one batch of bagels all together and/or two loaves of bread at a time. Is a baking steel the best way to go? It doesn’t seem like the Challenger bread pan would be big enough for the loaves of bread.
Maurizio – Love your site and all the recipes! I’ve made a bunch of them successfully so far.
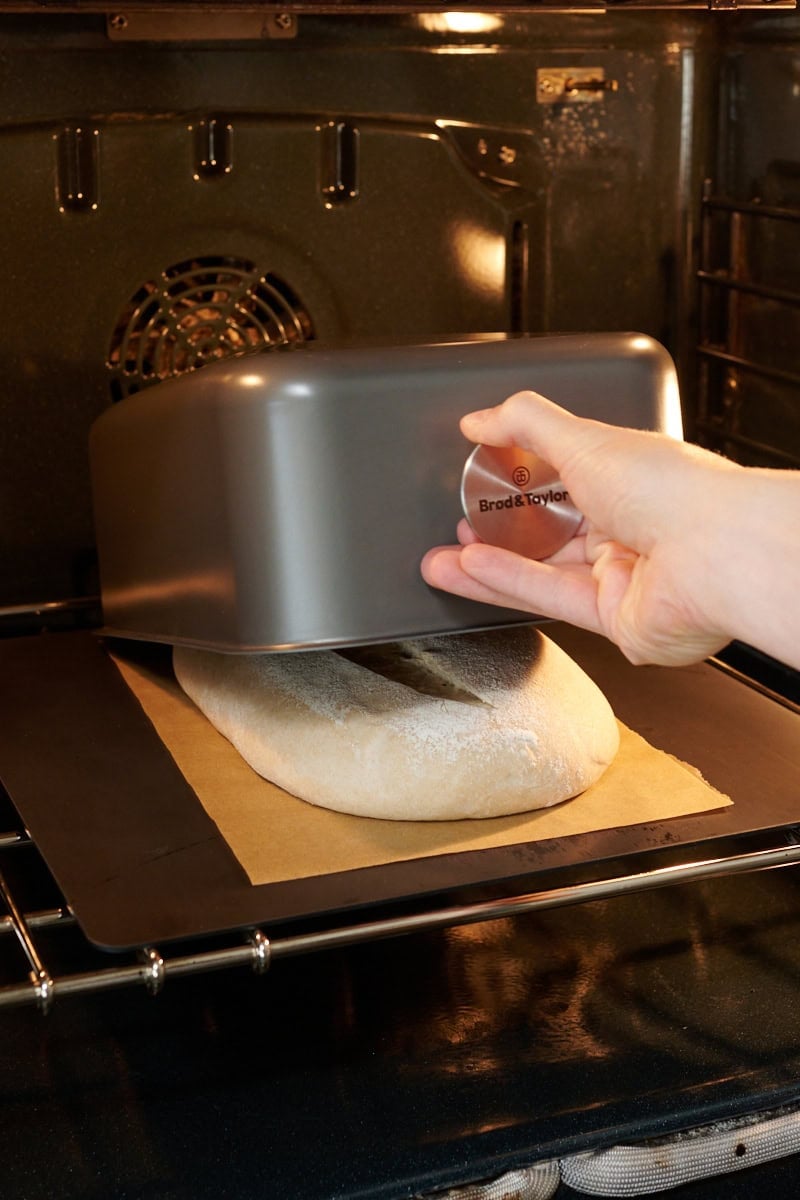
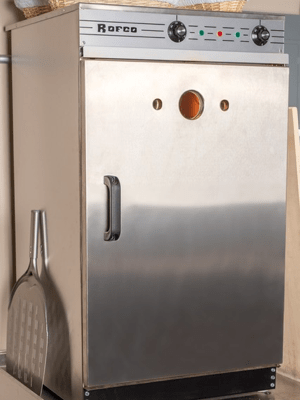
I’m thinking about getting the Brod and Taylor proofer you use, but I don’t know if it’s worth it. I currently follow your recipes and let the bread proof first on the counter and then overnight in the fridge. If I get the proofer, how will this change things or make them better? Would I use the proofer for proofing the bread during the initial rise on the counter and still have to put it in the fridge? Or would I be able to bake directly from the proofer to the oven? I hope this questions makes sense. Thank you!
Hey there! I use the proofer to keep my starter jar in 24/7 (to keep it warm and highly active), my dough in bulk, and also sometimes when proofing as well. It’s certainly a handy tool to ensure your starter and dough are kept at exactly the temperature you want, and it also helps to speed up fermentation if you need to (by increasing the temperature a few degrees here and there). You can definitely bake straight from the proofer to the oven, and I usually do this with pan loaves which fit nicely in the proofer. It’s not a mandatory tool whatsoever, but it definitely helps keep things consistent, on schedule, and it’s convenient. Temperature is important in baking!
Hey, Don! Thanks so much for the feedback, I really appreciate it. I’ve been working hard on the updates and it’s always a stressful thing 🙂 Happy baking!
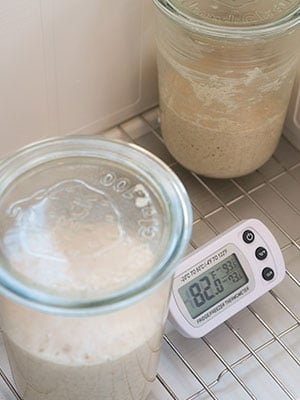
Hello! I just got the bread proofer you recommended and am wondering what temperature do you set it at? And do you fill the tray with water for humidity when there is your starter or dough in there? Thanks!
Hey, Anne! I keep it set to 23°C (73°F) — but that means my starter is actually a little warmer inside because it’s sitting alone in the middle at the warmest spot. When it’s cooler in my kitchen, I’ll bump it up to 24/25C. I do not use the water tray, I just keep my starter and dough covered. Happy baking!
Hey there! I’ve been meaning to do a post on that. What you see on my recipes pages is really the same as what I note during the process: times for each step, temperatures, how the dough is feeling (consistency). Then I note anything I’d change for the next time (usually temperature, levain %, time mixing, # of stretch and folds). Finally, tasting notes: sourness, grain flavor, fermentation flavor, etc.
Hi Maurizio!
Thanks for this site, your insta, and all the baking wisdom bombs you drop!
Question: when is the best time to incorporate larger ingredients into your bagel recipe? (ie chocolate chips or cheese and jalapenos) I’ve been doing it when I shape each individual bagel, but it is a bit time consuming. Can it be done with the initial dough build? Cheers
You’re very welcome, Ben! I’d likely add those mix-ins during bulk fermentation. After the first set of stretch and folds, spread the mix-ins over the dough in a thin layer. Then fold them into the dough gently at your next set.
Hi Maurizio, thanks for all the information brought together on your website – it is super-helpful!
I have now been baking about four months, sourdough being my first baking product, and getting reasonable but not exciting results.
I live in the UK, and bought a Pro-Cook cast iron casserole dish as a dutch oven. It is described as having “a robust tight fitting lid”, but I have now found that it has three small “pimples” around the lid, to prevent a full seal and allow steam to escape. How tight should the seam on a dutch oven be to bake good bread? Or is this a necessary safety feature to prevent pressure building up?
Your advice would be greatly appreciated…
Many thanks,
Steve.
Happy to help, Steve. It’s probably just fine. Ideally, you want no steam escaping, but a little bit will still be fine. If you find your crust comes out very dull, you could try placing an ice cube or two in your pot to the side of your dough to introduce more steam and help offset those holes.
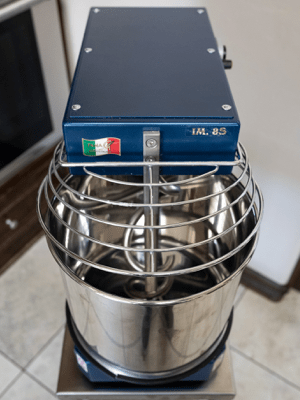
What is your advice on mixing times for a hobart mixer? I’m looking to change up my bread recipes and currently mix on 1 with a dough hook for 20mins after initial incorporation. I’d like to use only the starter, but find myself too nervous that I end up adding a little dry yeast to be safe. Thanks!
Hey, Stephanie. I have little experience with a Hobart (assuming planetary style), but I do have a KitchenAid a Haussler Alpha, and a Famag mixer here. I typically mix with the hook for 3 minutes sp1 and then 2-4 minutes sp2, but this is very contingent on the dough makeup: more water will mean more mixing, generally.
If you only have a single speed, you will certainly have to extend that mixing time, but it’s hard for me to say how much. Mixing is such a tactile thing! I have to feel the dough and make the call. The good thing is, if you under mix there’s always stretch and folds during bulk fermentation to correct 🙂
Hi Maurizio! Love your blog so much, thanks for sharing all of this amazing bread info. Quick question: I want to buy the baking steel for baguette & pizza, yet when I read about it at NYT’s Wirecutter site, they say this about it:
“If you want the best possible chance at creating a pizza with the black-spotted crust of a brick-oven Neapolitan pie, the ⅜-inch-thick Original Baking Steel is your best bet. It conducts heat better than any ceramic stone we tested, yielding pizzas with dark and puffy crusts. And unlike the FibraMent, this durable steel plate is safe to use under any broiler and on the grill. But even though the Baking Steel is our favorite for pizza, it gives off too much intense heat for baking bread and more-delicate baked goods, and it will scorch the bottoms of cookies or croissants. It also takes a lot of muscle to hoist this 23-pound slab of steel in and out of the oven.” https://www.nytimes.com/wirecutter/reviews/best-pizza-stone-and-baking-steel/
However, it seems that your baguettes, baked on the steel, turned out beautifully. They are obviously reviewing the Modernist Cuisine Baking Steel edition, the heavier thicker pricier one… What do you think?? Thank you!
Yeah, I’m with you on that one. The reusable plastic ones I have linked in my tools above last a loooong time, as long as you keep them clean. But cotton should work as long as your dough isn’t drying out excessively. My feeling is, they’ll probably be just fine for you! Try it out for a bake and just keep an eye on the dough to see how it’s going. Another few alternatives are Bee’s Wrap, and these silicone bowl lids.


733 Comments
Hi, do you have a recommendation for a slicing guide? Mine is old and made of plastic – it has worked well for years but recently I accidently cut one of the guides. Also, I’m trying your pan de mie recipe (in a large pullman pan) and wondering if it will fit in my guide? Thanks! Love your site – have committed to a monthly donation because it’s so helpful.
Hey, Ellen! Unfortunately, I’ve never used a slicing guide! I’ve seen some heavy duty plastic looking ones in bakeries, but I’m not sure where they source those. I would say the Pullman loaf should fit, it’s a little smaller than a “standard” loaf of bread you might get from the grocery. Sorry I can’t be more help with that, I’ll keep my eyes out for one!
Thanks for the contribution, I really appreciate that!
Hi Maurizio,
Do you have a recommendation for baking steel vs a stone for baking sourdough loaves? Thank you for all the work you have put into this site! It has be a tremendous help to me on my baking journey.
Happy to help, David! I personally really like the Baking Steel (I have a link to it up above in my tools). It’s indestructible, fantastic for bread, and even better for pizza.
Great thank you! I want to try to bake loaves “open” and steam my oven the way you have written about. Read a lot of pros and cons about both steel and stones, but I have been cracking a lot of ceramics lately so have really been leaning towards the steel.
The baking steel was way too heavy for this 70.5 year old. I can handle the challenger bread pan but not the baking steel. A shame as it would work beautifully for any breads or pizza!
Hi again! I’ve been following your recipes for some time now, having great luck most of the time. BUT, here’s my common problem…the thick corn meal layer I put in my DO always burns and makes the house smell terrible. How can I fix that? I have the DO on top of a baking sheet on the middle rack in the oven, which has really helped the bottom crust of my loaves brown nicely.
Omit the corn. You could try bringing that rack up higher, or lowering the temp in the oven for the second half of the bake. Also, you could place the DO bottom inside the top after you remove it (when you stop steaming).
Thank you, I will try ALL of these.
What size weck jars do you use?
There’s a link to them up in the tools area! I use the 3/4 liter ones for most things.
Maurizio, I’ve got a Komo XL right now but thinking about getting the GrainMaker 116 as well since I could use it for a variety of things. Could you speak to how fine the flour is coming out of the GM compared to your Komo? Thanks in advance for the advice!!
Hey, Jocelyn. In my opinion, the flour out of the GM 116 is the finest flour I’m able to produce in my home kitchen. It’s an excellent mill (it just takes more work to mill, which I like anyway!).
Hi Maurizio! I just purchased the Emile Henry bread loaf baking pan. It doesn’t have a top handle like the Le Creuset which makes baking gloves/oven mitts a necessity, rather than flat potholders. Is there a brand that you recommend? I have silicon ones but I can still feel too much heat through them when baking at such high temps. Thanks!!!!
Hey, Maria! I really like these excellent oven-safe gloves.
Hey Maurizio, loving your site, and learning so much. I am shopping for a grain mill and looking at both the Komo hand mill and the Grainmaker Model #35. We do not make more than a small loaf or two a week, and I would prefer to grind flour on an as-needed basis. My priorities are ease of use, followed by price. Which hand mill do you think would be easier to use (and maintain) for a not-too-out-of-shape, over-50 couple? Thanks.
Hey there! The GrainMaker is an incredible mill, but do know it’s a fair bit of work to mill flour. I like to see it as a wonderful workout, but it is tiring. If you’re looking at an electric mill, the KoMo and Mockmill I have linked up in my tools are also really great mills and quite convenient. A touch of a button and you’ve got fresh flour 🙂
All of them are great options, but I’d go with the electric mills if you’re looking for easiest use.
Hi Maurizio, I was curious if you could tell me what size vessel you use for bulk fermentation inside of your Brod & Taylor proofer?
Hey, Jon! I usually use a large ceramic bowl (it’s this Heath Ceramics bowl) with a 4.5″ height and 10″ diameter. It comfortably holds 1900-2000g of dough.
Hi Maurizio! Is this the same bowl you show in some instagram posts? With the orange interior? That looks like the perfect size for bulk!
Yes, that’s correct!
Hi Maurizio, I bake my loaves using a clay baking stone and cover (first 20 minutes) with a round clay cloche. I would love to source a large cloche top that would allow for baking 2 loaves at a time. The unfortunate challenge of a venting home oven! Thank you for all the great info!
Yes, i hear you! Finding tools like that are challenging, especially for covering two loaves! If you find one let me know, I’ll do the same 🙂
Which Kitchen Aid mixer do you use. I have a “Viking” mixer that came with our range when we bought it. It’s got a very powerful motor, but anything more than 500 g of flour, and the dough climbs up the hook or paddle and pushes dough where it’s not wanted. I like to make double batches of dough (1.5 Kg of flour) to make 1+ Kg loaves, that fill my combi-ovens for a good oven spring without a refrigerated final proof.
Thank you,
Peter Bovey
Hey, Peter! I’m actually working on a guide post covering my current KitchenAid, which is a really great mixer. Last year I upgraded to the new KitchenAid 8-Quart Commercial mixer and it’s been an absolute workhorse in my kitchen. I can’t recommend it enough. Be on the lookout for my guide, I hope to have it published soon!
Thank you, Maurizio. That is the model I was considering. Mixing by hand has become so time consuming that I’m ready to bite the bullet. I’m going through more flour each month than I ever thought possible. Your articles and techniques have made a huge improvement to my breads. Thank you, again!
Sincerely,
Peter Bovey
Happy to have helped, Peter! Here’s to many more awesome bakes in the future 🙂
The Kitchen Aid Commercial Mixers were out of stock till mid-January, so I got a Globe 8 qt. Mixer for close to the same price and OMG, what a difference it makes!!! Couldn’t be happier with the purchase which has allowed me to get my autolyse mix done in 2 minutes vs. 20 minutes mixing by hand.
Right on, Peter! Glad to hear you picked that mixer up. It’s definitely handy to have a mixer for larger bakes and enriched doughs. Have fun and happy baking!
@maurizioleo:disqus I looked this up and think it might be what I need as I keep ruining my standard kitchenaid’s sacrificial gear with enriched dough. One question though, do you need to always make a bigger recipe for this mixer to be effective or can it still manage a standard batch of chocolate chip cookies for instance?
And thank you so so much for sharing all your ideas and knowledge here.
Hey, Tori. Works perfectly well with smaller batches as well. You can even buy a smaller 5qt mixing bowl and it fits in the mixer! I use this KA with cookies all the time, in fact, I just did yesterday 🙂 Happy to help!
My husband is quite the baker after following you! Could you recommend your favorite oven mitts? I would love to get him some for Christmas!
Thanks so much!
So glad to hear that, Kelsey! I’ve tried so many oven mitts over the years, and these oven gloves are my current favorite for the kitchen!
Amazing! I so appreciate your reply. Our household (and neighbors) are definitely benefitting from all the knowledge you share that results in delicious food. Happy holidays!
Happy to help and happy holidays!
Hi Maurizio! Love your site! The hyperlink to the wide mixing bowl is wrong, goes to the thermometer. Definitely interested in the bowl if you don’t mind up day the link! Thanks!
So happy to hear that, Charity! I fixed the link to the mixing bowls (here’s the link). It’s a set of three and they’re the best I’ve found in the kitchen (the larger 5-quart one is the one I mix dough in, the others are used for levain, soakers, etc.). Happy holidays!
I am purchasing for a friend that has been making sourdough bread, bagels, english muffins, etc for quite some time. She would appreciate baking one batch of bagels all together and/or two loaves of bread at a time. Is a baking steel the best way to go? It doesn’t seem like the Challenger bread pan would be big enough for the loaves of bread.
Yes, I find the baking steel the best for that!
Maurizio – Love your site and all the recipes! I’ve made a bunch of them successfully so far.
I’m thinking about getting the Brod and Taylor proofer you use, but I don’t know if it’s worth it. I currently follow your recipes and let the bread proof first on the counter and then overnight in the fridge. If I get the proofer, how will this change things or make them better? Would I use the proofer for proofing the bread during the initial rise on the counter and still have to put it in the fridge? Or would I be able to bake directly from the proofer to the oven? I hope this questions makes sense. Thank you!
Hey there! I use the proofer to keep my starter jar in 24/7 (to keep it warm and highly active), my dough in bulk, and also sometimes when proofing as well. It’s certainly a handy tool to ensure your starter and dough are kept at exactly the temperature you want, and it also helps to speed up fermentation if you need to (by increasing the temperature a few degrees here and there). You can definitely bake straight from the proofer to the oven, and I usually do this with pan loaves which fit nicely in the proofer. It’s not a mandatory tool whatsoever, but it definitely helps keep things consistent, on schedule, and it’s convenient. Temperature is important in baking!
Just a HUGE thanks for the improvements in the site. Always good, but now great. Thanks!
Hey, Don! Thanks so much for the feedback, I really appreciate it. I’ve been working hard on the updates and it’s always a stressful thing 🙂 Happy baking!
Hello! I just got the bread proofer you recommended and am wondering what temperature do you set it at? And do you fill the tray with water for humidity when there is your starter or dough in there? Thanks!
Hey, Anne! I keep it set to 23°C (73°F) — but that means my starter is actually a little warmer inside because it’s sitting alone in the middle at the warmest spot. When it’s cooler in my kitchen, I’ll bump it up to 24/25C. I do not use the water tray, I just keep my starter and dough covered. Happy baking!
Hi, which lame do you use? The link doesn’t work at the moment.
Hey! I’m a big fan of these Mure & Peyrot bread lames.
Can you please let us know what things you notate in your bread log? I’m sure I’m missing something!
Hey there! I’ve been meaning to do a post on that. What you see on my recipes pages is really the same as what I note during the process: times for each step, temperatures, how the dough is feeling (consistency). Then I note anything I’d change for the next time (usually temperature, levain %, time mixing, # of stretch and folds). Finally, tasting notes: sourness, grain flavor, fermentation flavor, etc.
Thank you! After years of subpar loaves I’m finally taking it seriously in my quest for the perfect bake. Very much appreciate the info you share.
Hi Maurizio!
Thanks for this site, your insta, and all the baking wisdom bombs you drop!
Question: when is the best time to incorporate larger ingredients into your bagel recipe? (ie chocolate chips or cheese and jalapenos) I’ve been doing it when I shape each individual bagel, but it is a bit time consuming. Can it be done with the initial dough build? Cheers
You’re very welcome, Ben! I’d likely add those mix-ins during bulk fermentation. After the first set of stretch and folds, spread the mix-ins over the dough in a thin layer. Then fold them into the dough gently at your next set.
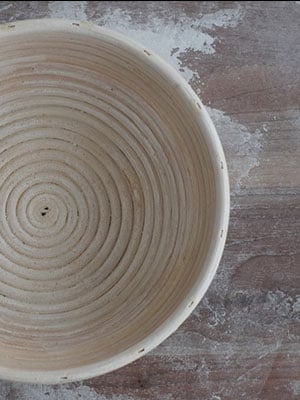
Where do you get your wicker proofing baskets?
I get my smaller round and oval baskets here, and my long, 14″ ones from sfbi.com!
Hi Maurizio! Do you use the 9″ or the 10″ bannetons for your Perfect Loaves??;-)
I’d go with the 10″ long baskets!
Hi Maurizio, thanks for all the information brought together on your website – it is super-helpful!
I have now been baking about four months, sourdough being my first baking product, and getting reasonable but not exciting results.
I live in the UK, and bought a Pro-Cook cast iron casserole dish as a dutch oven. It is described as having “a robust tight fitting lid”, but I have now found that it has three small “pimples” around the lid, to prevent a full seal and allow steam to escape. How tight should the seam on a dutch oven be to bake good bread? Or is this a necessary safety feature to prevent pressure building up?
Your advice would be greatly appreciated…
Many thanks,
Steve.
Happy to help, Steve. It’s probably just fine. Ideally, you want no steam escaping, but a little bit will still be fine. If you find your crust comes out very dull, you could try placing an ice cube or two in your pot to the side of your dough to introduce more steam and help offset those holes.
What is your advice on mixing times for a hobart mixer? I’m looking to change up my bread recipes and currently mix on 1 with a dough hook for 20mins after initial incorporation. I’d like to use only the starter, but find myself too nervous that I end up adding a little dry yeast to be safe. Thanks!
Hey, Stephanie. I have little experience with a Hobart (assuming planetary style), but I do have a KitchenAid a Haussler Alpha, and a Famag mixer here. I typically mix with the hook for 3 minutes sp1 and then 2-4 minutes sp2, but this is very contingent on the dough makeup: more water will mean more mixing, generally.
If you only have a single speed, you will certainly have to extend that mixing time, but it’s hard for me to say how much. Mixing is such a tactile thing! I have to feel the dough and make the call. The good thing is, if you under mix there’s always stretch and folds during bulk fermentation to correct 🙂
Hi Maurizio! Love your blog so much, thanks for sharing all of this amazing bread info. Quick question: I want to buy the baking steel for baguette & pizza, yet when I read about it at NYT’s Wirecutter site, they say this about it:
“If you want the best possible chance at creating a pizza with the black-spotted crust of a brick-oven Neapolitan pie, the ⅜-inch-thick Original Baking Steel is your best bet. It conducts heat better than any ceramic stone we tested, yielding pizzas with dark and puffy crusts. And unlike the FibraMent, this durable steel plate is safe to use under any broiler and on the grill. But even though the Baking Steel is our favorite for pizza, it gives off too much intense heat for baking bread and more-delicate baked goods, and it will scorch the bottoms of cookies or croissants. It also takes a lot of muscle to hoist this 23-pound slab of steel in and out of the oven.” https://www.nytimes.com/wirecutter/reviews/best-pizza-stone-and-baking-steel/
However, it seems that your baguettes, baked on the steel, turned out beautifully. They are obviously reviewing the Modernist Cuisine Baking Steel edition, the heavier thicker pricier one… What do you think?? Thank you!
Yeah, I’m with you on that one. The reusable plastic ones I have linked in my tools above last a loooong time, as long as you keep them clean. But cotton should work as long as your dough isn’t drying out excessively. My feeling is, they’ll probably be just fine for you! Try it out for a bake and just keep an eye on the dough to see how it’s going. Another few alternatives are Bee’s Wrap, and these silicone bowl lids.
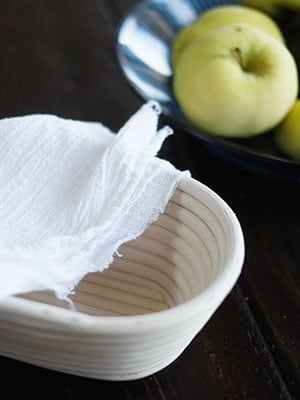
What is your experience with cotton bowl covers for letting your dough rise? I am always looking for alternatives to plastic…