
Hey there, new baker! My name is Maurizio, and I’m the baker here; welcome.
This new baker, start here page has a rollup of resources that’ll help you get baking sourdough bread quickly in your home kitchen. It begins with creating a sourdough starter from scratch (just flour and water!), your first sourdough bread, a few guides, and some of my favorite (and reader’s favorite) recipes.
Sourdough can be intimidating for new bakers, but it doesn’t have to be. With a few essential basics, you’ll be baking crusty and healthy loaves of bread in short order. And if you get stuck? I’m almost always lurking around here, answering questions and providing help—leave a comment, and I’ll get back to you.
Step 1. Create Your Sourdough Starter
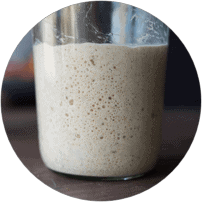
A sourdough starter is the most important aspect of baking sourdough bread at home, and without it, you’d have flour and water mixed. It takes a little care to keep it alive, but it’ll reward you with countless loaves of bread, pizza, and more.
It takes about 5-7 days to get a starter going from scratch, using only flour and water. But, of course, if you have a friend who is a sourdough baker, you can always ask if they’ll give you a bit of theirs to get going. If not:
Check out my guide to creating a sourdough starter from scratch →
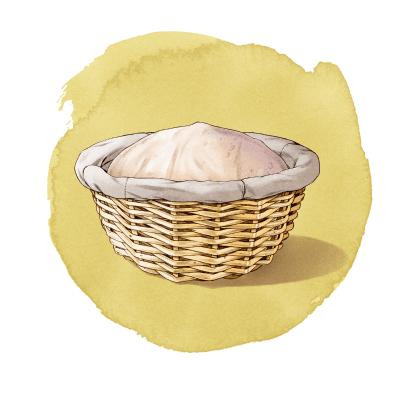
Step 2. Review the Baking Process
While your sourdough starter is starting up, review my eight steps to making sourdough bread. In this beginner’s guide, you can see a high-level view of each step of the bread-making process with detailed explanations of each step.
Read the Beginner’s Guide to Sourdough Bread →
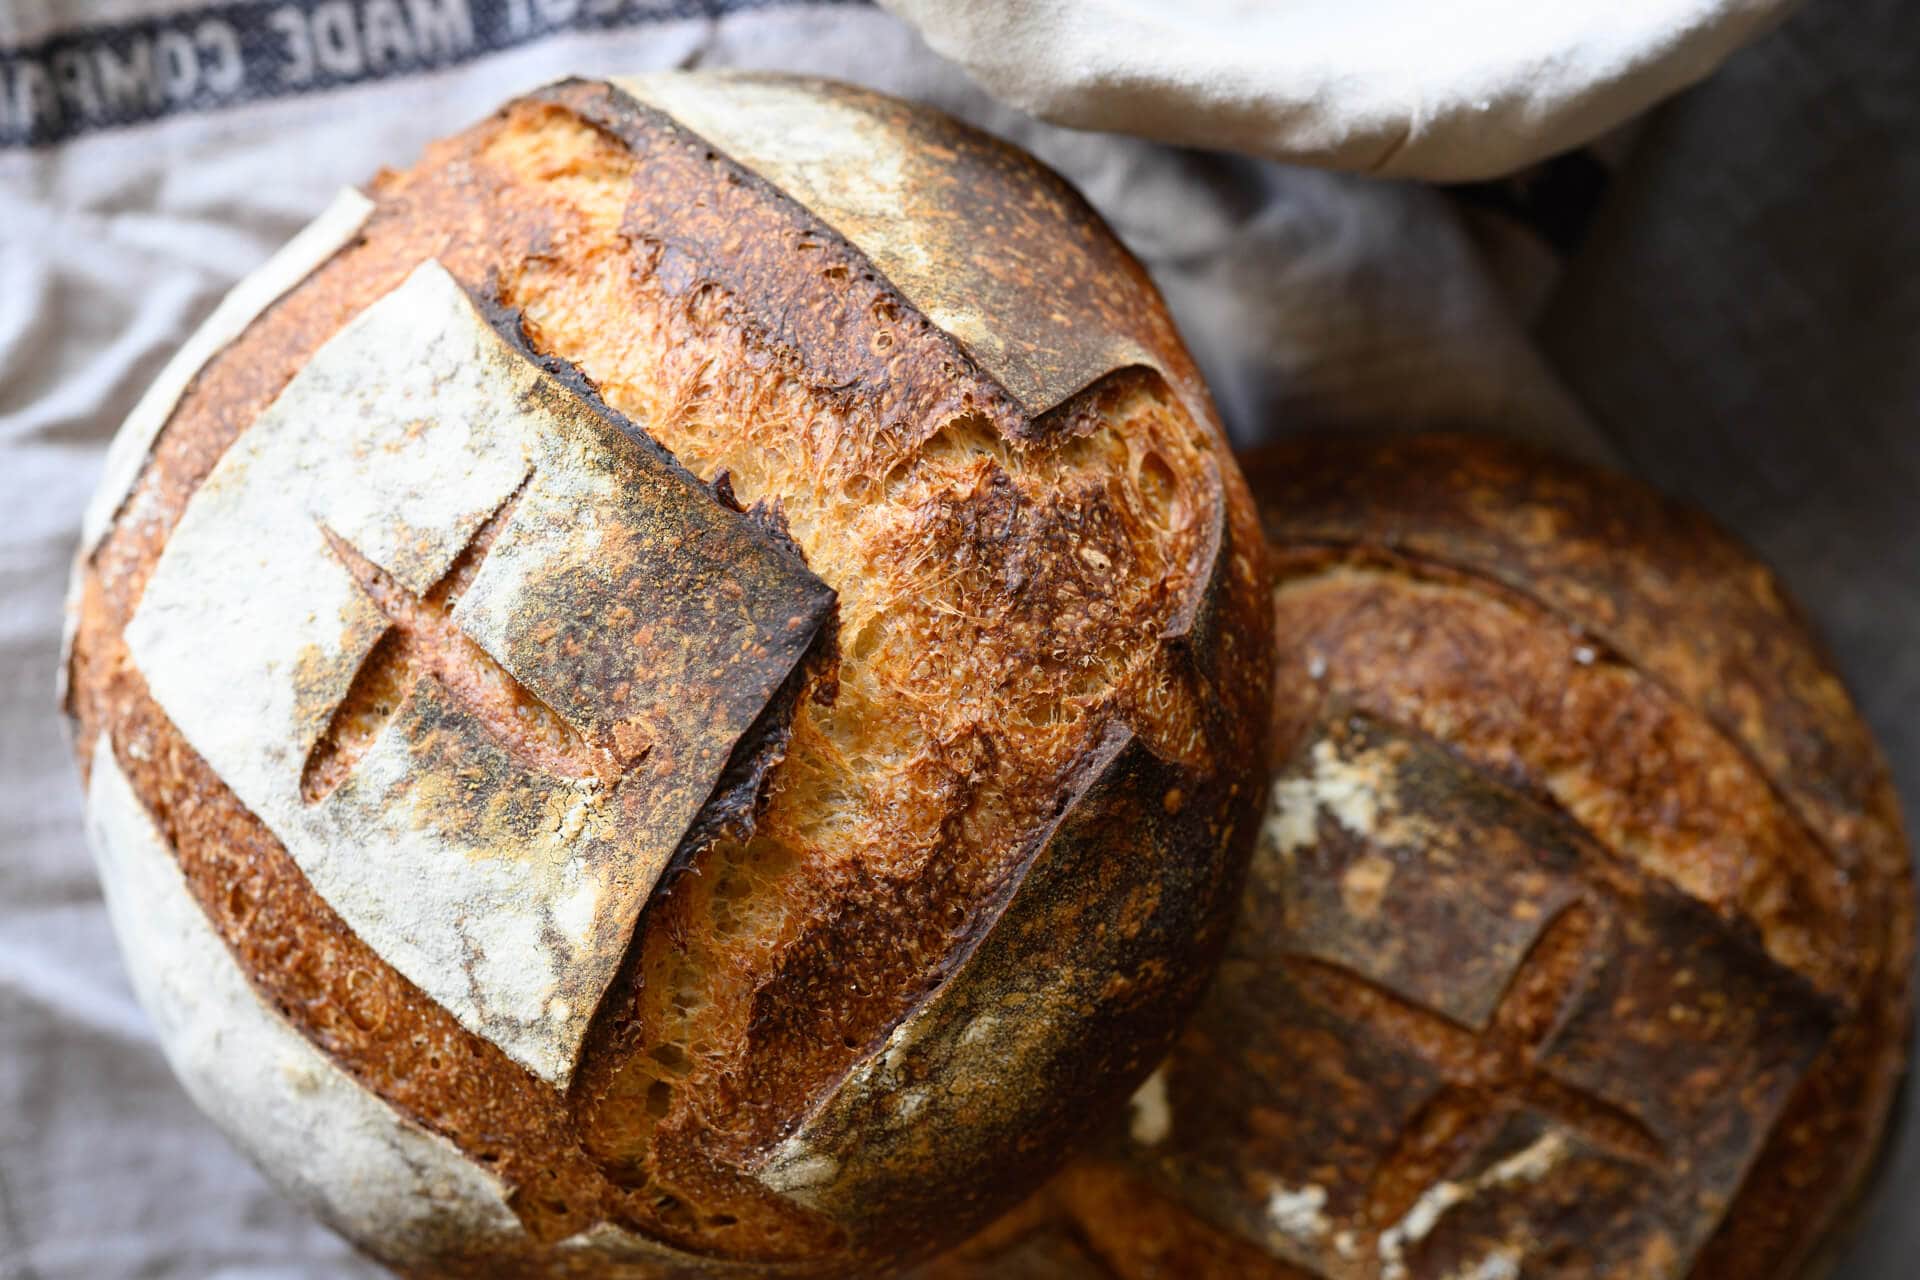
Step 3. Bake Your First Loaf of Bread
Here. We. Go!
Once your sourdough starter consistently shows the same signs of fermentation each day, it should be strong enough to bake a loaf of bread. I have two recipes here that are great introductions to baking sourdough at home.
Most Detailed Recipe: Bake my Beginner’s Sourdough Bread Recipe →
If you want a more condensed recipe that gets straight to baking, have a look at my simple weekday sourdough bread:
Easiest: Bake my Easy No-knead Sourdough Bread →
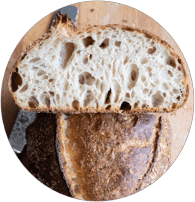
Step 4. Review More Baking Guides
Once you have that loaf of bread crackling on the counter as it cools, review more of my baking guides to increase baking consistency and confidence. These guides have in-depth tips on maintaining a sourdough starter (with video walkthrough), creating baking schedules around your busy work week, working with baker’s percentages (baker’s math) to scale up and down recipes, and numerous guides to shaping bread dough.
My Guides Page is a great place to bookmark and return to from time to time to review the basics and expand your baking toolset:
Explore my baking guides page →
Step 5. Use Your Sourdough Starter For Other Things

Because a sourdough starter requires fresh flour and water each day (or less if you’re keeping it in the fridge), we tend to have sourdough starter discard—don’t throw it away! Instead, I like to save up the discard in a container in the fridge during the week, then use this to make sourdough pancakes, sourdough waffles, and sourdough banana bread.
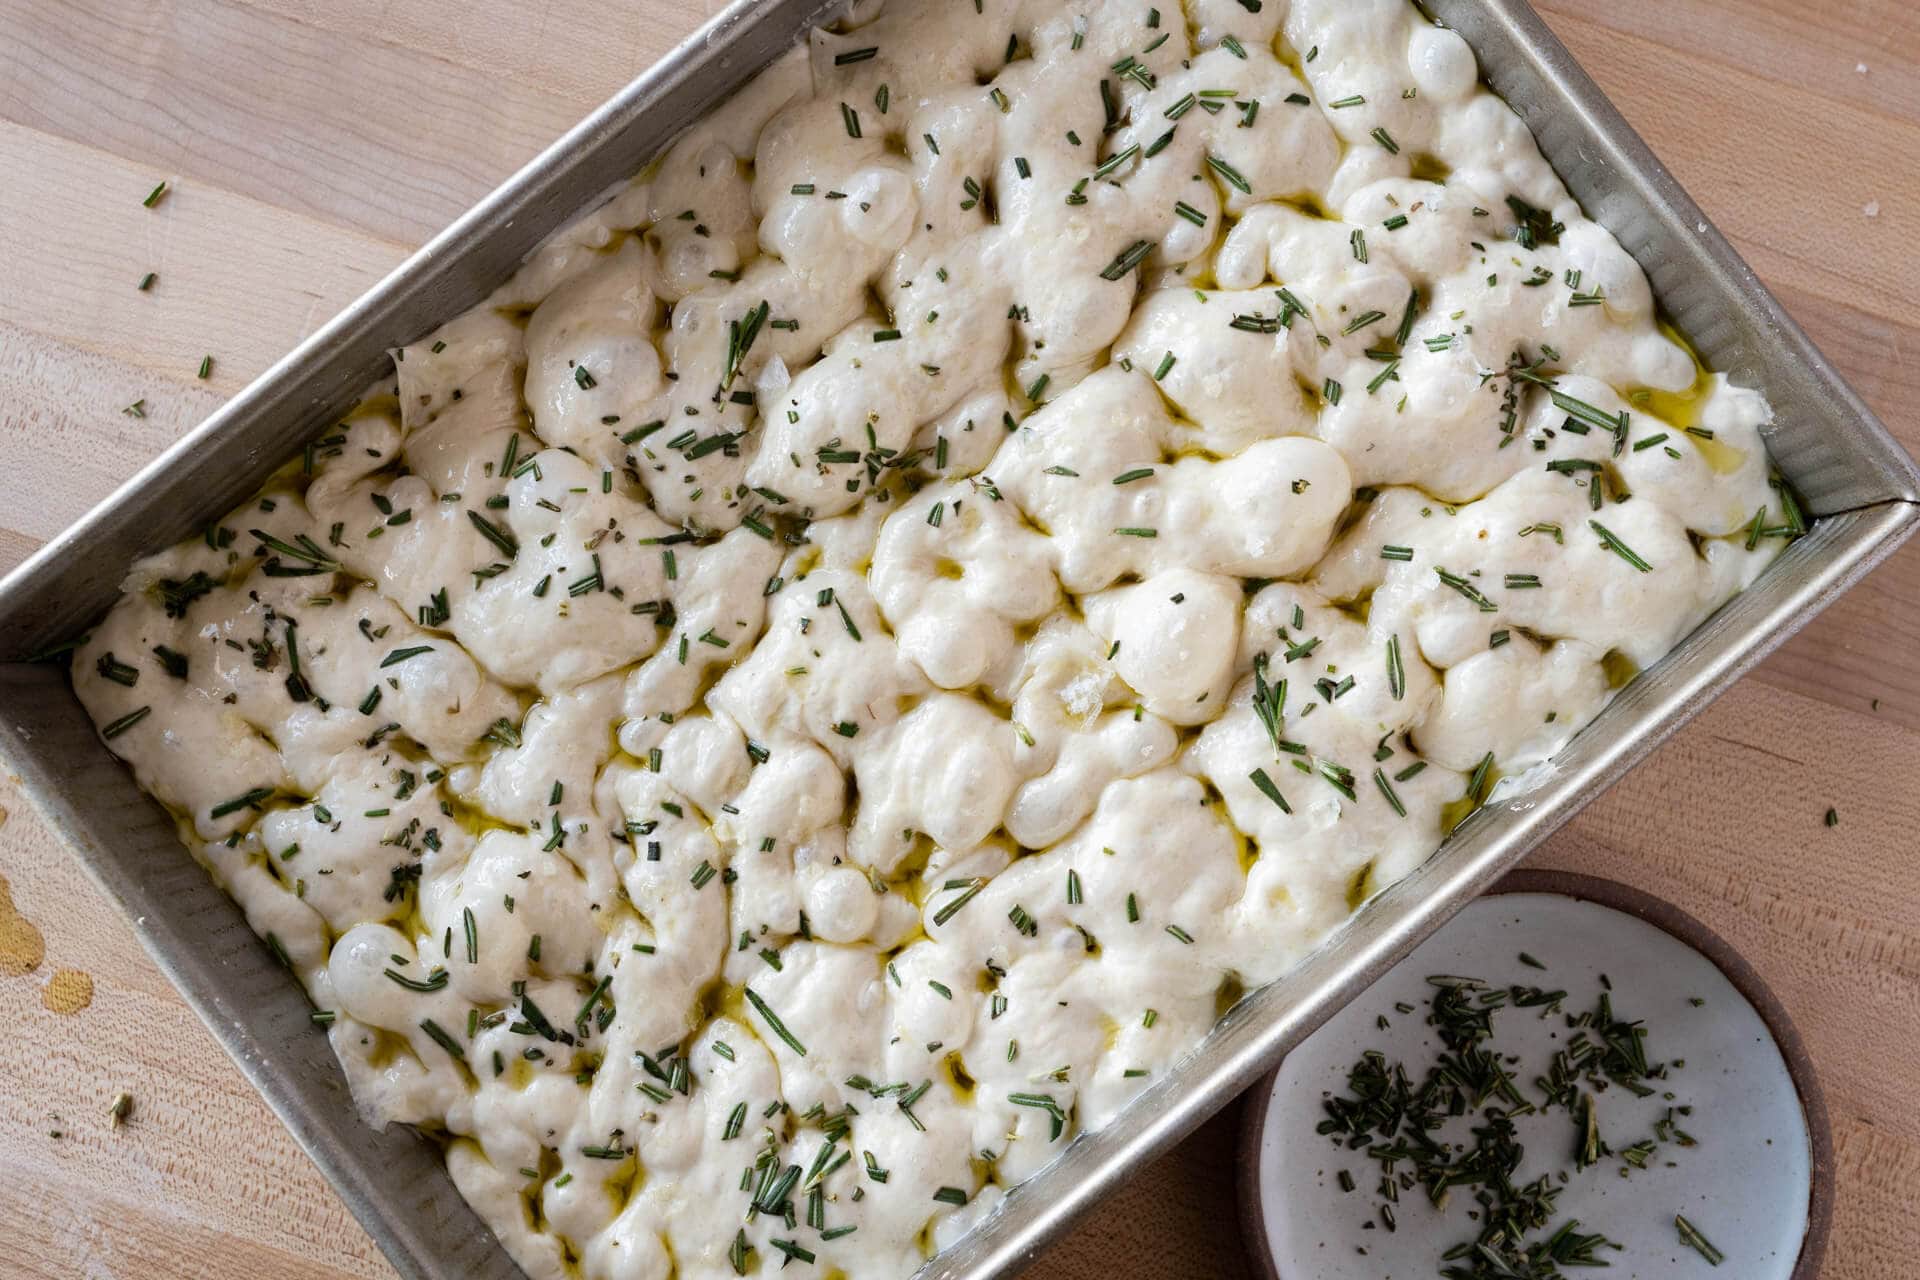
I’m also a huge fan of focaccia. This is one of the most-baked items in my kitchen, and my recipe couldn’t be easier. Use all of your sourdough starter discard one morning, and you’ll have fresh sourdough focaccia for dinner (and it’s an amazing canvas for any veggies in season!).
See my collection of sourdough starter discard recipes →
Step 6. Upgrade Your Baking Tools
One of the challenges of baking at home is consistency. It can be hard to bake consistently great loaves when the environment—our hectic home kitchens!—is always changing. I’ve collected my tried-and-true tools in one place, and they’ll help you make the bread easier and more repeatable in your home kitchen.
My top 3 recommended tools (read: if you’re going to buy anything, get these):
- A simple kitchen scale to accurately measure ingredients
- An instant-read thermometer to quickly and accurately measure dough temperature
- A foldable dough proofer to keep your dough warm and fermentation activity high
Explore all my favorite baking tools →
Step 7. My Top 10 Favorite Sourdough Recipes
- A Simple Weekday Sourdough Bread
- My Best Sourdough Bread Recipe
- Spelt, Rye, and Whole Wheat Sourdough Bread (50% whole grain)
- Fifty-fifty Whole Wheat Sourdough (50% whole grain)
- Sourdough Pizza
- Pain de Mie (super soft sandwich bread)
- A Simple Focaccia
- Whole Grain Spelt Pan Loaf
- Super Soft Sourdough Rolls
- Sourdough Cinnamon Rolls
Step 8. Join The 2500+ Member Community and Come Chat

Want to take your baking to the next level or get help with an issue you’re running into? Join the community here at The Perfect Loaf and get:
- Remove all ads from the website
- Instantly download my recipe archive and baking spreadsheets, plus other baking tools
- Join our private community to share photos, talk baking tips, tricks, and get help (I’m chatting there daily!)
- Access exclusive tool and flour discounts
- First access to live baking events
- And more!
Check out the baking community and membership →
Step 9. Experiment, Have Fun, and Happy Baking
One last note: don’t be afraid to experiment and have fun—after all, what’s the worst that can happen? No matter what comes out of your oven in almost every case, it’s perfectly edible and delicious. Some of my most significant baking improvements came from accidents that turned into opportunities for me to learn and grow as a baker.
Happy baking!

365 Comments
The problem I’m having, is in the proofing. I get good oven spring, but the final product is gummy and dense. I use the poke method, and this last loaf had just a slight indentation. But it still came out dense and gummy.
Any ideas on why
It sounds like perhaps your dough was slightly underproofed. There are a few indicators your dough could be under: explosive rise in the oven, dense spots in the interior with potentially scattered large holes, and a gummy texture to the interior. Finally, it’s possible the bottom of the loaf might be slightly bowed upward (like the letter “U” — the top will kind of dome).
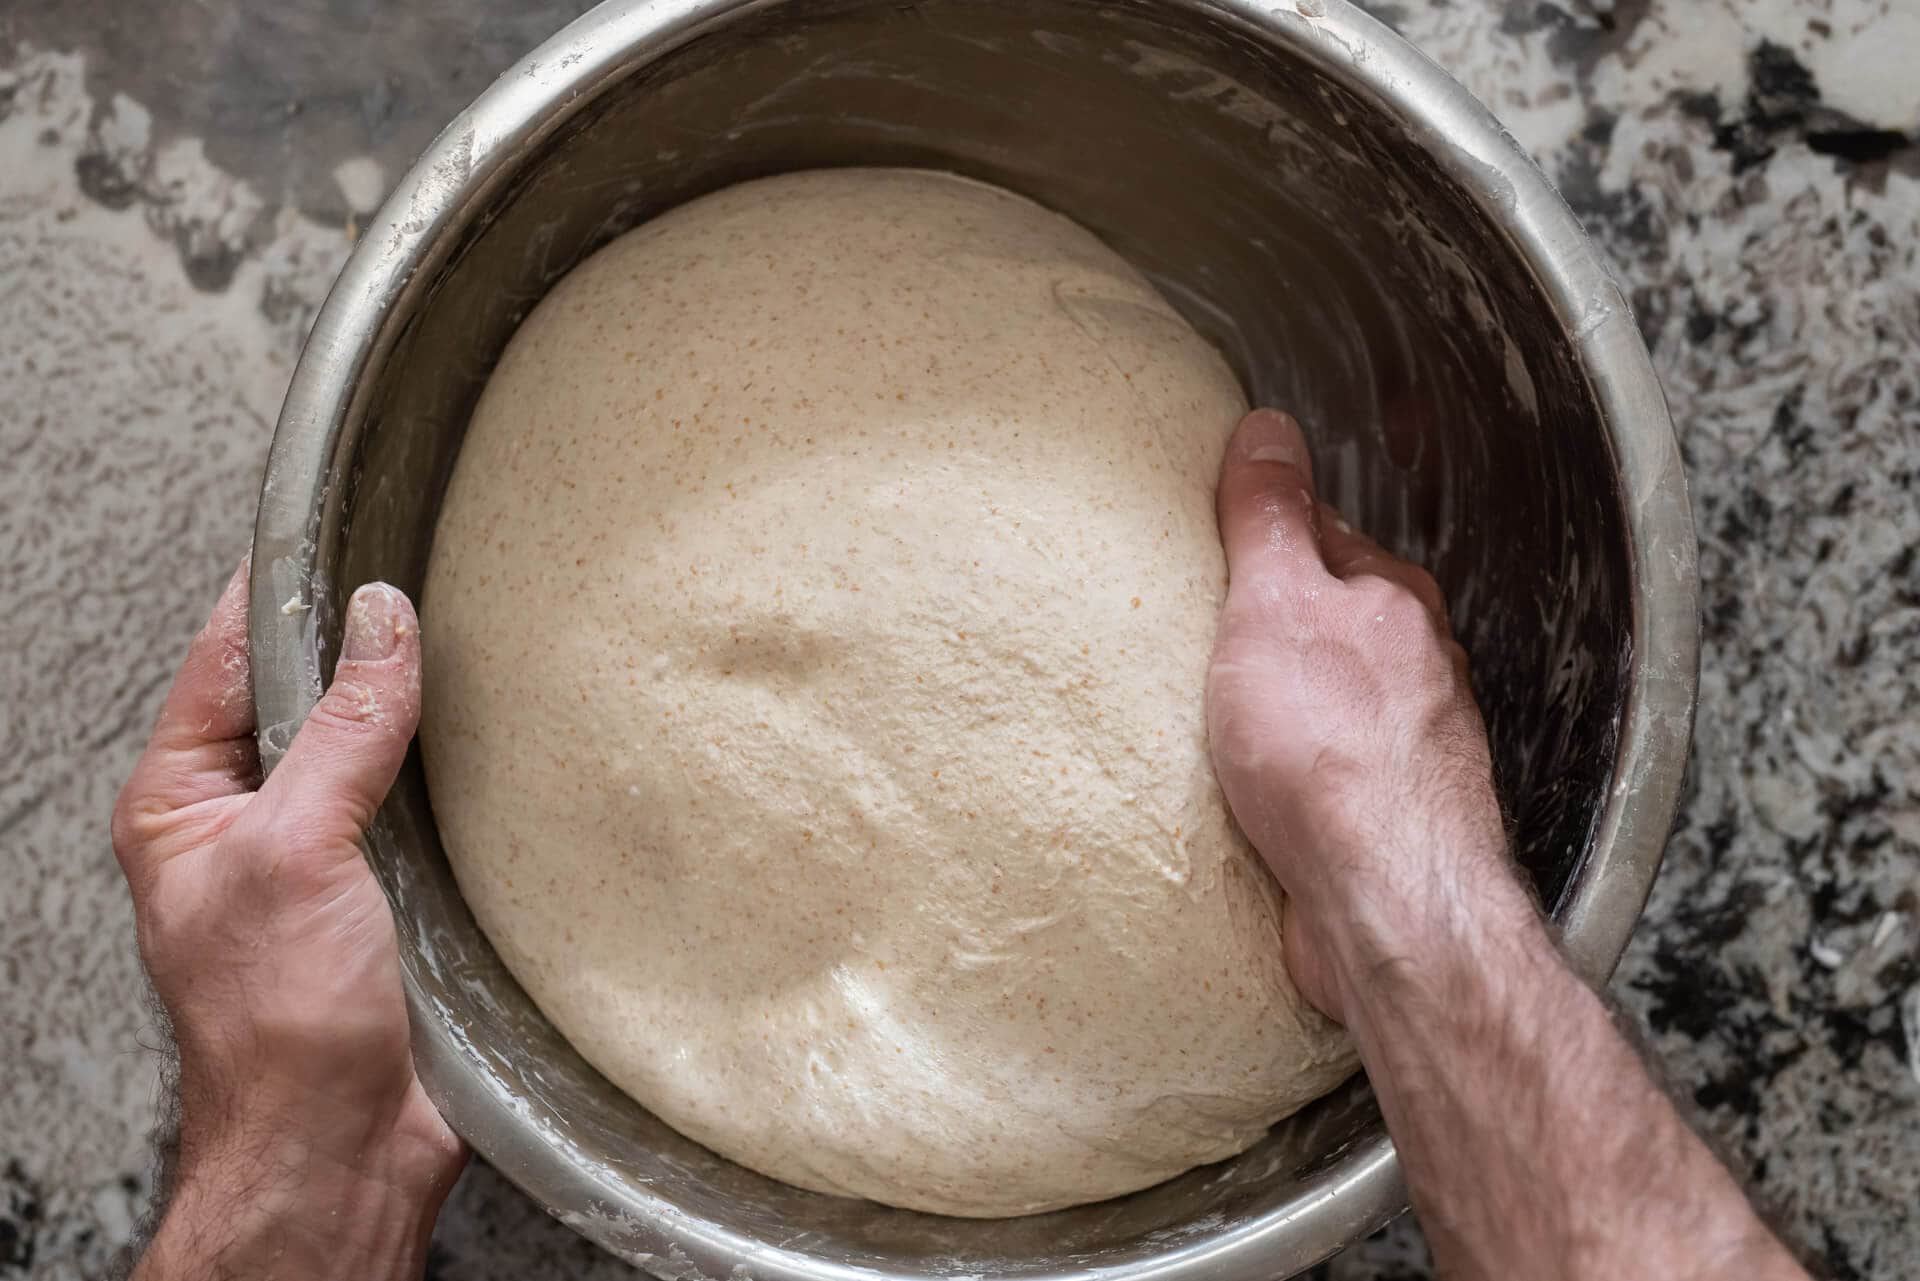
Make sure to build your levain from a starter that’s strong and mature (meaning it’s risen to it’s peak height before you take some to use). From there, bulk fermentation is very important! Make sure your bulk fermentation goes sufficiently far, you want the dough to look smooth, it should have risen considerably, and have bubbles here and there — it should look alive. If you tug on the dough a bit it should offer resistance to your tugging, it’ll feel stronger. Give the dough the time it needs in bulk fermentation! If you have to give it another 30m or hour to see these signs, do so. It’s important for this step to go sufficiently far for the dough to have enough fermentation activity before its proof.
Check out my guide to proofing for a bit more help, too:
https://www.theperfectloaf.com/guides/proofing-bread-dough/
What is the process for reactivate frozen sour dough starter?
I would let it thaw in the refrigerator overnight. Then, the next day if thawed, take it out to the counter and give it a feeding. From there, I’d keep feeding it on the counter. I talk about how I do that in my post on how I feed a sourdough starter.
Hi Maurizio
Why do recommend that the starter and the levain be covered loosely? Why do you want the gases to escape? I have read elsewhere that the gases are “flavorful” and you don’t want them to escape. Love your book and everything you do online. What a peerless resource. Thanks! Paul Attanasio
Hey, Paul! Yes, pressure will build in the jar. though I’ve never noticed any real danger there (One time my lid did pop off with a particularly large levain with lots of whole grains). Sure, the gases carry aroma and other things, but you’ll have to uncover it eventually. The most important thing is to ensure nothing gets inside (fruit flies love starter) and that it doesn’t dry out.
Do you prefer your recipe for focaccia in your book with levain or the one on your site without? I think I’ll go with the levain since you note you prefer your focaccia less acidic. Thank you for any clarification, I love your work, and learn much from you.
These days I almost always make a levain for my focaccia, just because it’s easy to do!
Thanks for getting my book and for the kind words, Anne 🙂 Happy baking!
I’ve made the initial recipe four times and today baked off the walnut/raisin recipe. In viewing your video on how to shape a batard, I see your resting dough is covered with blisters. I have never gotten that. This last dough Temp was 78.4 and I let it go another hour in the bulk fermentation phase, but it never got that “ripe” if that’s the correct term. While it tastes good, it doesn’t have an open crumb when you cut into it. It’s more like a regular yeast loaf. Appreciate any thoughts on what to change–thanks!
Hey, Bruce! Try letting your starter or levain ripen a bit more, I feel like it might be underproofing causing these issues. If you’re the Bruce in our community, post a few photos in the I Baked This channel so we can take a look!
thanks for the comments. I am in the community. I’ll find it and post my last bake.
Hi, I’m pretty new in this bread baking journey and love the breakdown of instructions in “The perfect loaf”. I attempted the everyday sandwich bread yesterday since peanut butter and banana sandwiches are an everyday occurrence in our household. The dough was very sticky which made the stretch and fold during the proof difficult. I ended up having to use a lot of extra flour during the shaping to be able to manipulate the dough at all and during the last proof the bread did not rise to the top of my Pullman. Any thoughts on troubleshooting are appreciated. Thank you!!
Hey there, Nadin! It sounds like your dough is most likely over hydrated—your flour likely isn’t able to take on quite a much water, and that’s ok! Try reducing the hydration by 5% and give it another go—the reduced water should bring strength to the dough and you’ll feel it immediately. Once you find a suitable hydration, you can try to push it back up (if desired), but as you do, take note of how the consistency of the dough changes: the dough will start to slacken out as you add more and more water, this means you’ll likely have to mix more upfront or add another set or two of stretch and folds during bulk fermentation.
Generally, with an increased hydration, you need to mix longer to develop the gluten in the dough to sufficiently support the water added, but this only goes so far. At some point, the flour you’re using just isn’t able to take on any more water and you’ll essentially have a weak and slack dough. It’s always best to start conservatively and work your way up with hydration as you feel out your flour. This is typically why I recommend holding back water during mixing, adding it in as the dough handles it.
Try to keep everything else as consistent as possible and let me know how the next attempt goes!
What I did, rather than divide recipes in half, I divided into thirds. That way can take a loaf to daughter, a loaf for granddaughters family,and a loaf to freeze. Everything worked well, had decent crumb, tho probably need to bulk proof a littl longer. I’m made plain bread, cranberry walnut bread, and am making bagels today and in morning, will cook them, which reads like a challenge . . .I actually put Asiago cheese in 1/4, dried blueberries in 1/2,and 1/4 plain. Now in bulk rise. Will prep to bagels in 2 more hours. I’m hoping the additions do not pose problems. We will see in morning .
So far,success is wonderful! Have had so little success in past few months. It may be magic, but your recipes work for me. I do leave out the second water in mixing. It is really, really humid here.
Great ideas here, Barbara!
Hello! Today is day 5 for my starter. It’s going well so far. Is it safe to use discard now? Or is it best to wait until after day 7-10?
Once you start seeing the same consistent rise and fall of your starter each day, it’s okay to use discard.
Hi Maurizio – I am a new member and have been studying your cookbook. I noticed that the recipes typically result in two loaves. I would like to produce only one loaf at a time. If I cut the recipe in half, do I need to make any adjustments?
Hey, Maria! Thanks so much for joining the membership, really appreciate your support. You can absolutely halve any recipe here and make just one loaf, no problem at all. No adjustments necessary.
Thanks Maurizio. My bread went from good to photo worthy. The 3 things that made a difference were using a Ph meter, using Hayden Mills Perfect Loaf flour and learning to handle the dough by watching your videos again and again.
Now on to panettone. (:
Amazing to hear that, Tony! Panettone is another beast, good luck and definitely report back how things are going. I’ll be diving into that more this year.
Tony, what pH meter do you use/recommend?
What difference does it make if the starter formula is 1:5:5 vs. 1:2:2. (starter: flour: water)
Or is the difference in the rest of the formula – ie the total flour and water used?
The less ripe starter you carryover at each feeding, the slower it will ripen.
Hello Maurizio
I am allergic to eggs what should use instead of eggs and in india we have only 2 flours whole wheat which is stone ground and all purpose flour
What is bread flour ?
Hi Panchal – baker here in India as well. You can use all-purpose but you also get bread flour through some online vendors. Check amazon.in.
You can try using vegan subs for eggs, a “flax egg” works well! “Bread flour” is what high protein white flour is typically referred to as in the USA, this is flour around 12.7% protein and higher.
I just started my sourdough starter on 2/18/23. I just discovered your page & I’m already learning so much, I even bought rye flour. I too am from New Mexico so it’s been hard to keep my kitchen warm during the day when I’m at work or even at night when I’m sleeping. I was told to submerge my starter in warm water, but the problem with that is it gets cold pretty fast. I put a towel around it yesterday and it helps a little, but the only activity I see is tiny little bubbles. I can’t keep my heater on high all day every day, my apartment is usually between 72-75 degrees. Would you possibly have any suggestions for me?
Hey, Alex! Great to hear from a fellow New Mexican. Yes, it’s hard to keep things warm in the winter. Check out my guide to this, though, lots of tips here: https://www.theperfectloaf.com/how-to-bake-sourdough-bread-in-winter/
Why is my sourdough bread so heavy after baking?
It sounds like perhaps your dough was slightly underproofed. There are a few indicators your dough could be under: explosive rise in the oven, dense spots in the interior with potentially scattered large holes, and a gummy texture to the interior. Finally, it’s possible the bottom of the loaf might be slightly bowed upward (like the letter “U” — the top will kind of dome).
Make sure to build your levain from a starter that’s strong and mature (meaning it’s risen to it’s peak height before you take some to use). From there, bulk fermentation is very important! Make sure your bulk fermentation goes sufficiently far, you want the dough to look smooth, it should have risen considerably, and have bubbles here and there — it should look alive. If you tug on the dough a bit it should offer resistance to your tugging, it’ll feel stronger. Give the dough the time it needs in bulk fermentation! If you have to give it another 30m or hour to see these signs, do so. It’s important for this step to go sufficiently far for the dough to have enough fermentation activity before its proof.
Check out my guide to proofing for a bit more help, too:
https://www.theperfectloaf.com/guides/proofing-bread-dough/
Cannot sign in with this email: [email protected]
Where are you trying to sign into, Robert?
Can you make sourdough bread starter using gluten free flour instead of white?
Yes, absolutely!
Once dough is ready for overnight proofing, can it be frozen for, say, a week?
That’s a long time… And the freezer is very stressful. It would probably work, but I don’t know how close to optimal quality it would be!
Hi, I was wondering if it possible to get one on one help for perfecting sourdough? I’ve been at it for a few months, I follow all the groups, etc. I’m in CO at high altitude and even with suggestions still cannot get a good loaf. They aren’t terrible, but they sure could be better. I just need some direct counseling – willing to pay!
Hey Makenzie! Have you considered joining the membership here? There’s lot of us (me included) chatting in our community chat, it’s real time and lots of help there!
Here’s a link to the membership if you’re interested.
But in the meantime, check out my guide to high-alt baking, which will also help!
Hi, My name is Debra. I just ordered your cookbook! But it won’t be arriving till Jan 16th. And I am excited to get started making bread. My question is I have a sour dough starter kit.. can that be used in the beginner’s recipe? And would I need to adjust anything in the recipe because I’m using a sour dough starter kit?? I do plan on making my own starters after I use the kit. ( the kit was a Christmas gift, along with 2 new loaf pans, flour, and a new ceramic bowl). Thanks for taking the time to read my message. I can’t wait till your book arrives so I can begin to bake and always have fresh bread on Hand!!
Hey, Debra! Yes, you can use your kit. Just be sure the starter is fermenting well each day (it should rise each day and have a sour aroma hours after feeding it). Use my sourdough starter guides as a place to learn about all this until my book comes!
Hi Maurizio, Love your book but unfortunately I did not receive the extras that were suppose to come with pre ordering. Would I please be able to have you send them to me. Many thanks, Helen.
Hey, Helen! Please send me an email 🙂 Thank you for ordering my cookbook!
Hello, in my country it is difficult to find specific flour such as “artisan bread flour”. We only have all purpose wheat flower, of course whole wheat too. Can i use AP flour for your recipes?
Yes, those will work. Just pay attention to the hydration of the dough, flour here in the USA tends to be much stronger than other parts of the world and can handle a higher hydration. I’d hold back some of the water I call for when mixing, then add it in slowly as the dough looks like it can handle it.
I’ve been a member of the Perfect Loaf for years and also have your beautiful new book! Congrats and I wish you continued success. My starter is coming up on her 5th birthday and she’s been wonderful, except I struggle with basic sourdough loaves. I follow your Best SD recipe in a Dutch oven. My last effort was typical — crust was very tough and huge air pockets in the crumb. It’ll be good for thanksgiving stuffing, but not where I’d like it to be. Any tips would be appreciated! Thank you!
Thank you so much Peter! I really appreciate your membership and the kind words.
It sounds like perhaps your dough was slightly underproofed. There are a few indicators your dough could be under: explosive rise in the oven, dense spots in the interior with potentially scattered large holes, and a gummy texture to the interior. Finally, it’s possible the bottom of the loaf might be slightly bowed upward (like the letter “U” — the top will kind of dome).
Make sure to build your levain from a starter that’s strong and mature (meaning it’s risen to it’s peak height before you take some to use). From there, bulk fermentation is very important! Make sure your bulk fermentation goes sufficiently far, you want the dough to look smooth, it should have risen considerably, and have bubbles here and there — it should look alive. If you tug on the dough a bit it should offer resistance to your tugging, it’ll feel stronger. Give the dough the time it needs in bulk fermentation! If you have to give it another 30m or hour to see these signs, do so. It’s important for this step to go sufficiently far for the dough to have enough fermentation activity before its proof.
Also, feel free to email me over photos of your loaves or post to our Discord chat—lots of us there daily helping to diagnose issues!
I did the levain yesterday for the Simple Sourdough recipe. Today the levain looked great after the 12 hours. I measured it and it wasn’t 220 grams as the recipe says. Is that normal?
Yes, totally normal to come in a bit lower than 220g, that’s totally fine. Just scrape out as much as possible and proceed!
Please can someone tell me how should the levaine should look like before adding to the autolyse? I am doing the best sourghdough recipe from the book.
Cynthia—it should look bubbly, a little loose and broken down, with a sour aroma. It should have also risen some! It’ll look just like your starter when it needs a feeding.
Thank you!!!!
I saw King Arthur selling a fresh starter and also some people selling starters on Etsy.
What’s the difference between making my own and buying one?
Both will work! I recommend making your own only because you get a feel for feeding it each day, and it also feels good to make something like this from scratch! But buying also works, no problem.