

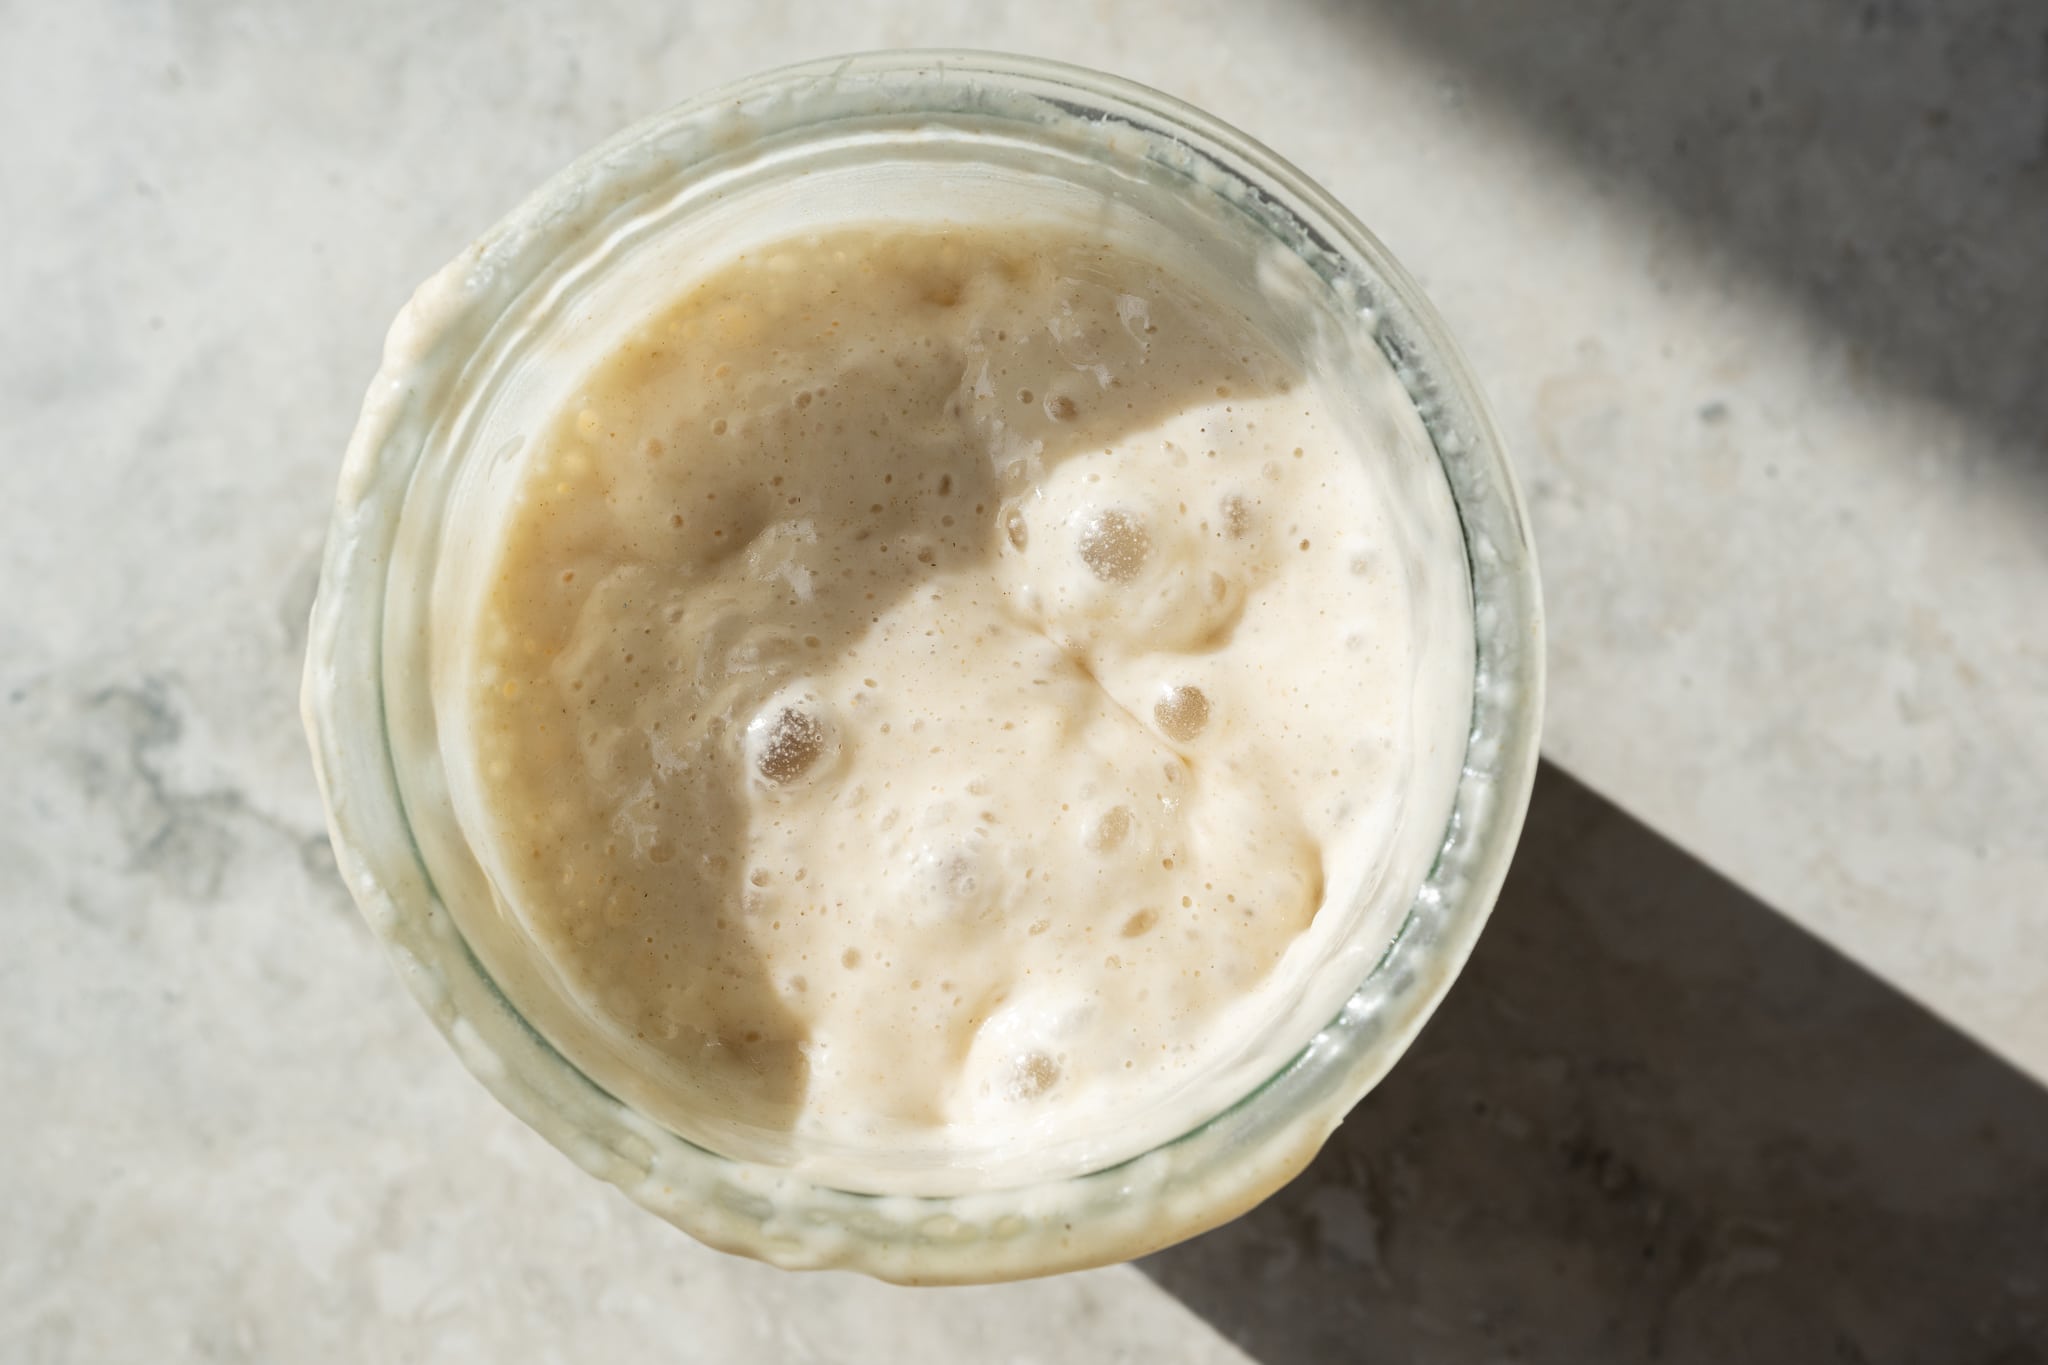
The Summer, simultaneously one of my favorite times of the year (strawberries, blueberries, tomatoes!) and my most dreaded.
It’s the time of year when temperatures kiss 100°F (37°C) here more days than I’d like to admit. As these blistering days set in, our baking slowly becomes unstable before we realize what’s happening. This usually culminates in an over-proofed loaf, a nudge to exit complacency and elicits reflection. If you’re like me, the idea—nay, the drive—to bake bread is still present even in the hottest part of summer, but even if we’re lucky enough to have an air conditioner, we must adapt and learn how to bake sourdough bread in summer to avoid a sticky, run-away dough headed toward the land of the over-proofed.
If you’re reading this post during the winter, see my post on baking in the cooler months →
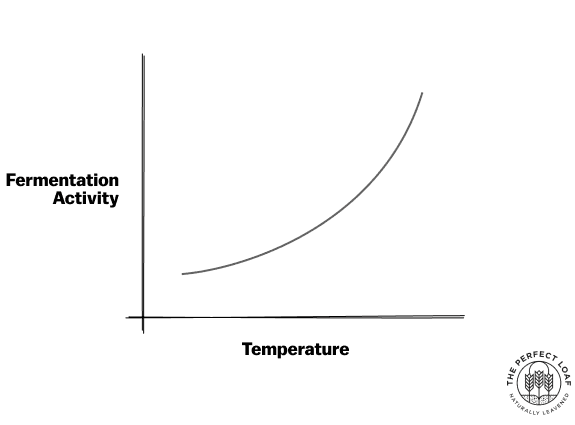
Temperature is a critical component of baking bread, and it’s one of those factors (and more like an ingredient) that needs careful attention at each step. Temperature dictates the pace of fermentation as the bacterial and wild yeast which make up our sourdough starter change their metabolic activity depending on the temperature.
If temperatures in the kitchen and the dough are too low, fermentation is slowed dramatically. On the other hand, if the ambient temperature swings too high, it can mean a sourdough starter that’s overly active, acidic, and needs refreshment earlier.
These are the first things I do when baking sourdough bread during the summer:
- Keep a bottle filled with water in the fridge for mixing, using ice as necessary.
- Keep my sourdough starter mild with timely refreshments.
- Keep an eye on the final dough temperature and adjust it down if necessary.
- Reduce a recipe’s pre-fermented flour percentage to slow fermentation.
Next, let’s look at each of them in detail. But why is it hard to bake bread during exceedingly warm temperatures?
Why is it hard to bake sourdough bread in the summer?
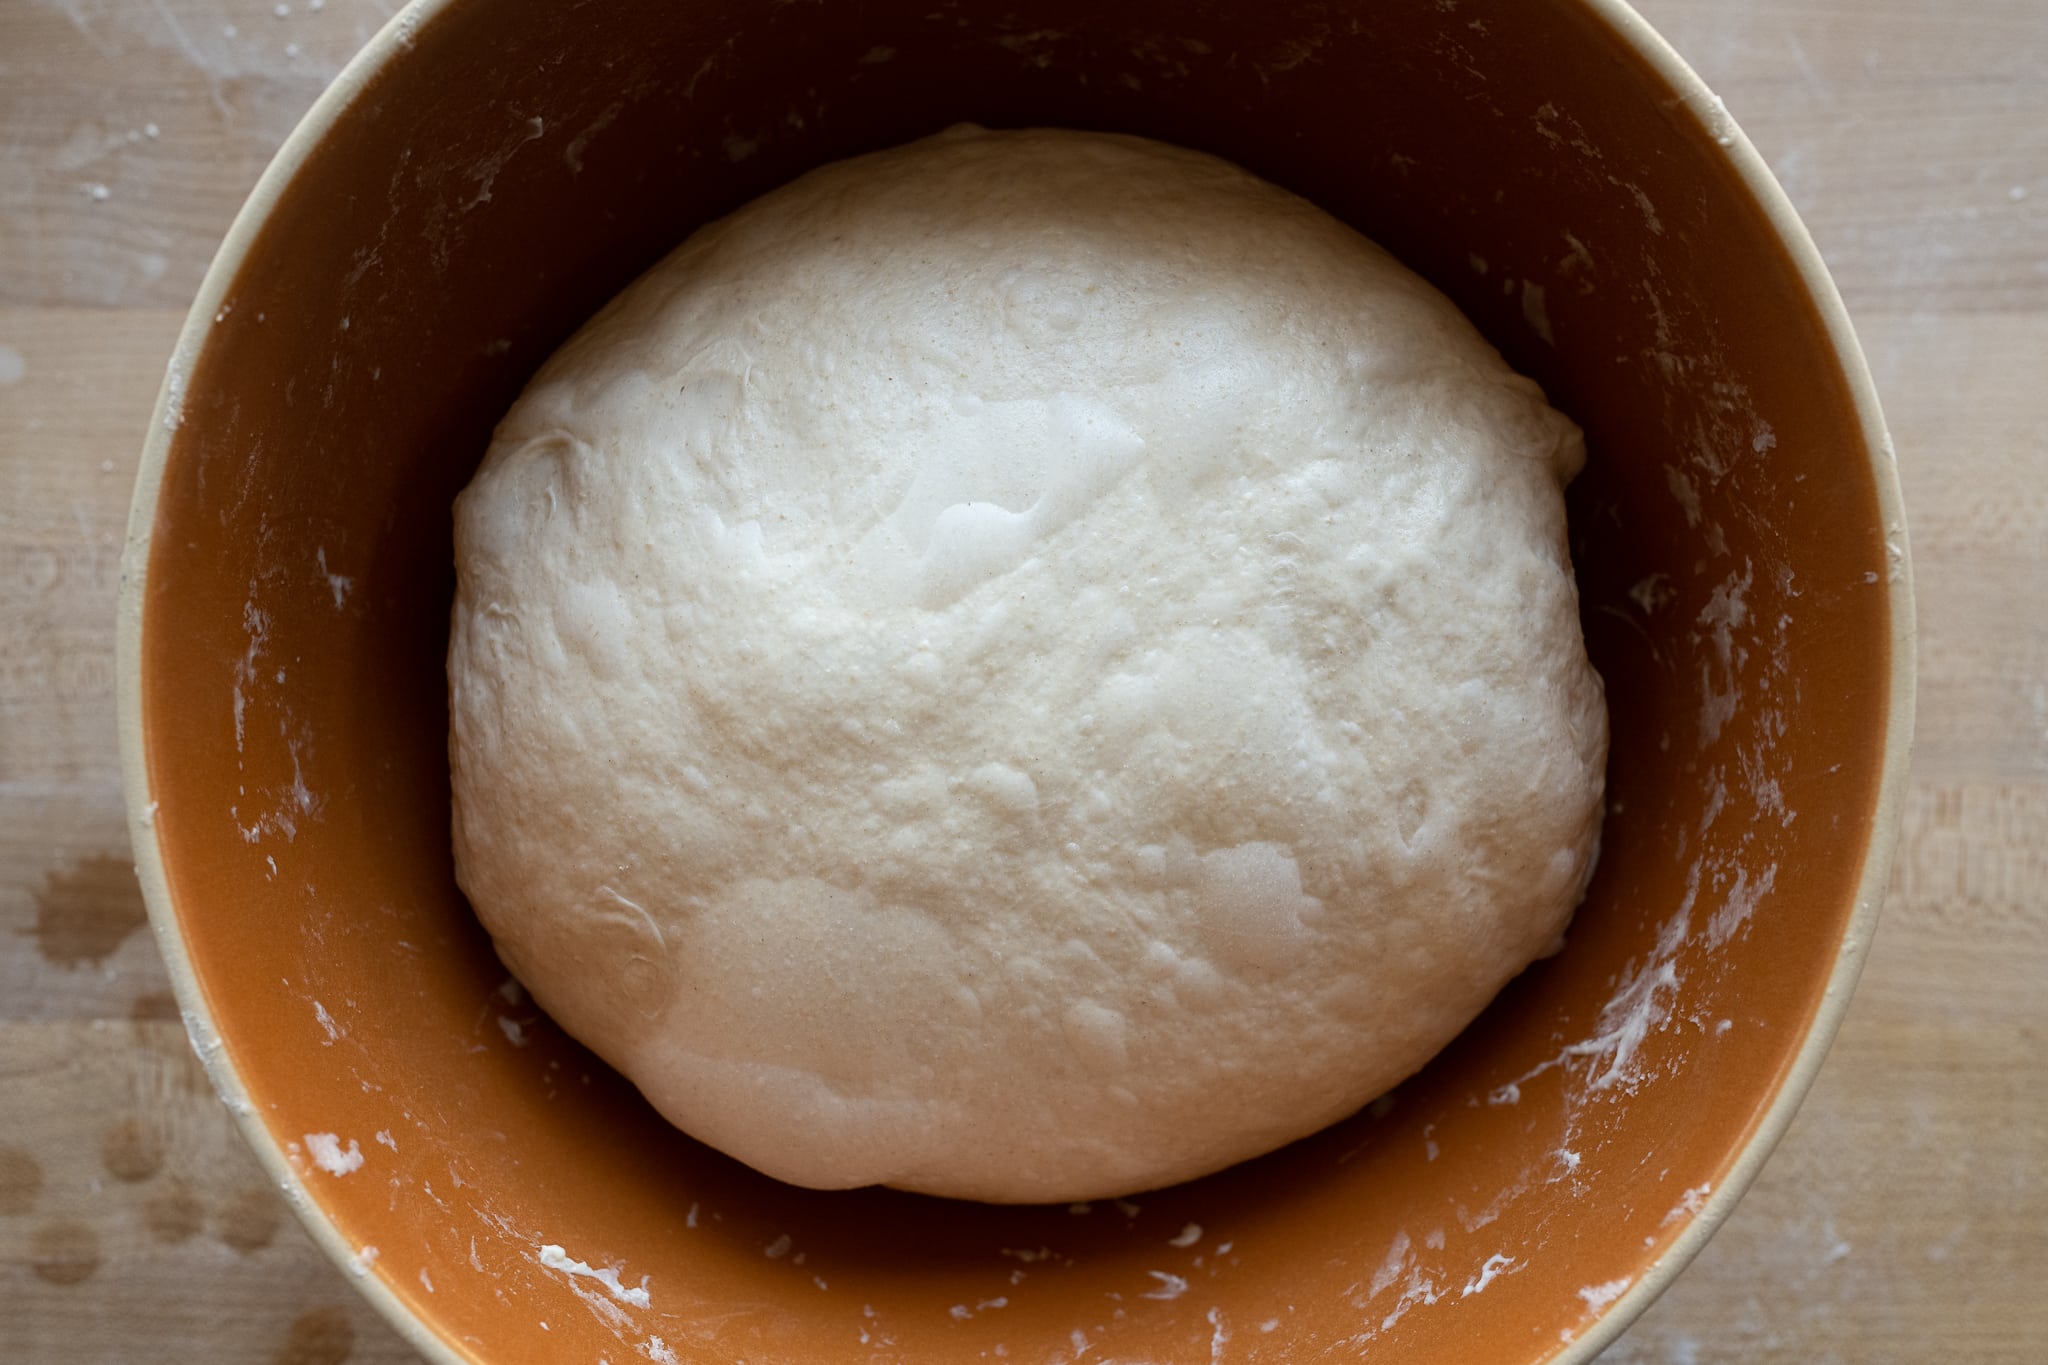
If you’re a frequent reader here, you’ll know how important dough temperature is and why we should pay attention to it during baking: temperature sets the stage for fermentation as warmer temperatures mean increased fermentation rates, and cooler temperatures mean a sluggish starter and likely final dough as well. During the summer, high temperatures will usually lead to sticky, excessively gassy, and eventually, over-proofed dough—sometimes without us even realizing why.
Further, all of the above is exacerbated if your recipe has high hydration, especially if you’re working with a high percentage of whole grains or freshly milled flour.
What are the signs of over-proofed dough in the summer?
It might be odd, but the first place I look for when the dough gets close to over-proofing is the underside of the dough in the bulk fermentation when I dump it to divide. The dough will have an extremely porous look and sticky texture. It reminds me of those old-school natural bath sponges. So, when I dump my usual weekly sourdough bread recipe to begin dividing, if I see that texture, I know I need to step back, consult my notes, and check the time and temperatures.
Let’s look at a roundup of signs that will help us diagnose an over-proofed dough.
Keep in mind that the following signs of over-proofing can also be related to other factors (such as high dough hydration, insufficient dough strength, or excessive enzymatic activity), but in general, here are some signs a dough might be over-proofed:
- excessively sticky dough during preshaping and shaping.
- excessively gassy dough at the end of bulk fermentation.
- a loose dough and sticky texture when shaping.
- excessive spreading when baking.
- lack of oven spring.
- a tight crumb (usually tight but still very porous—no dense spots).
- possibly an increased sour flavor.
Diagnosing an over-proofed dough can be challenging at times, and it’s something we talk about oven over on our Discord channel for TPL Members. But using the cues listed above, it becomes a little easier to piece together the puzzle of determining when the dough is under or over-proofed.
How do I tell when my dough is sufficiently proofed in the summer?
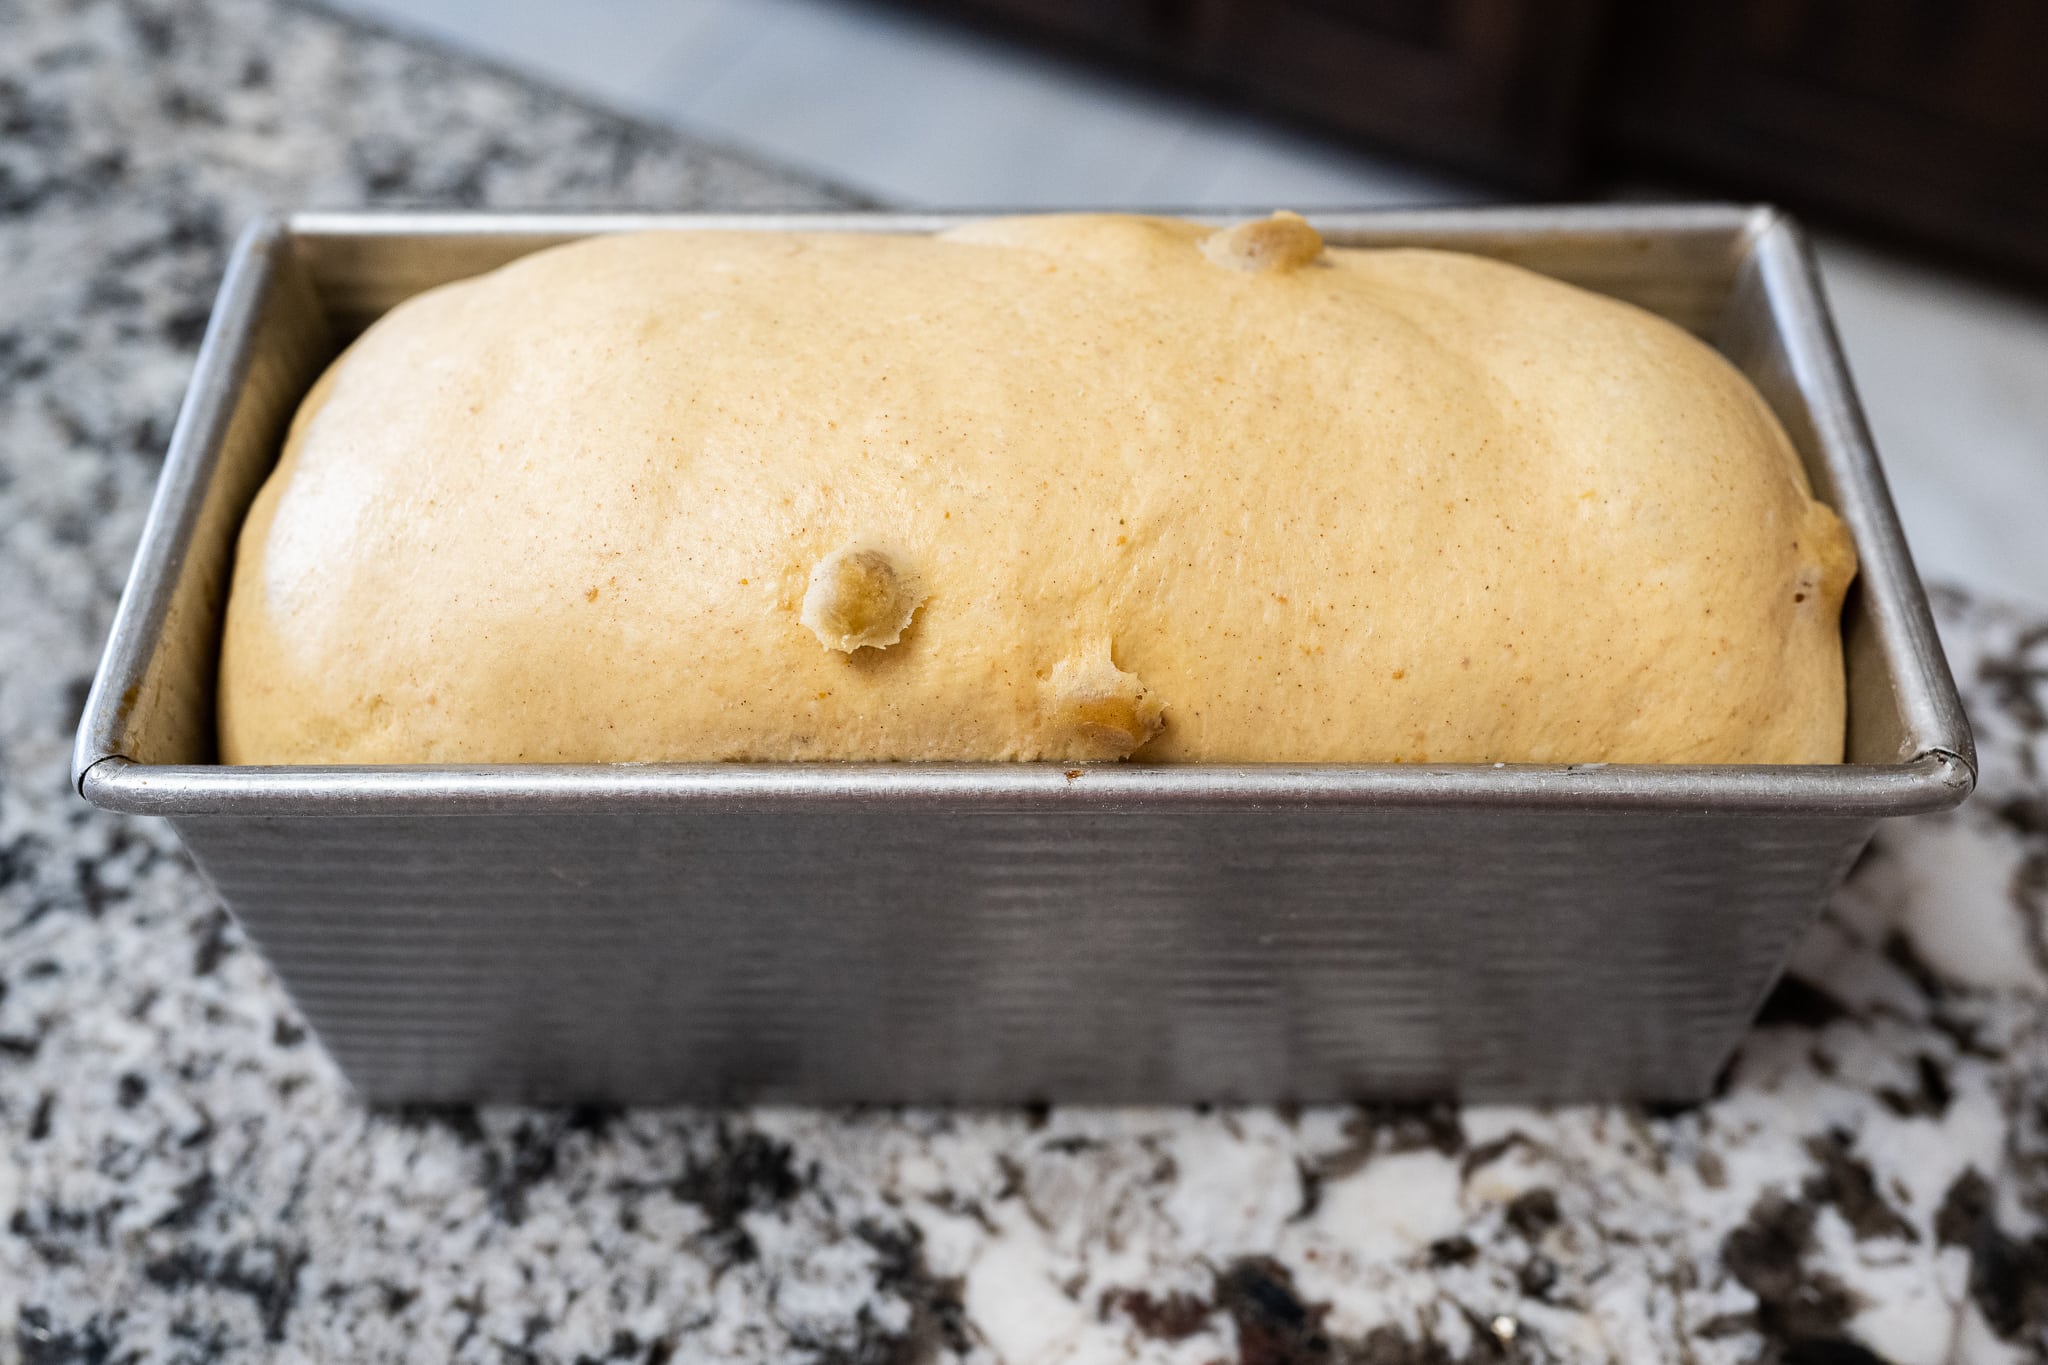
I always like to gently poke my dough in a few spots to try and determine its proof level. While the dough poke test is less accurate for cold-proofed doughs due to its tightening effect, it still gives you a good idea of how far along a dough is and when it needs to be baked. For the ambient-proofed (direct) dough, it becomes a much more reliable litmus test.
Poke the dough, and if the indentation:
- springs back very fast; it still needs time to proof
- slowly springs back; bake the dough soon
- stays depressed, bake immediately
You’re looking for the dough to feel airy and light but still with a measure of elasticity and spring left in each poke.
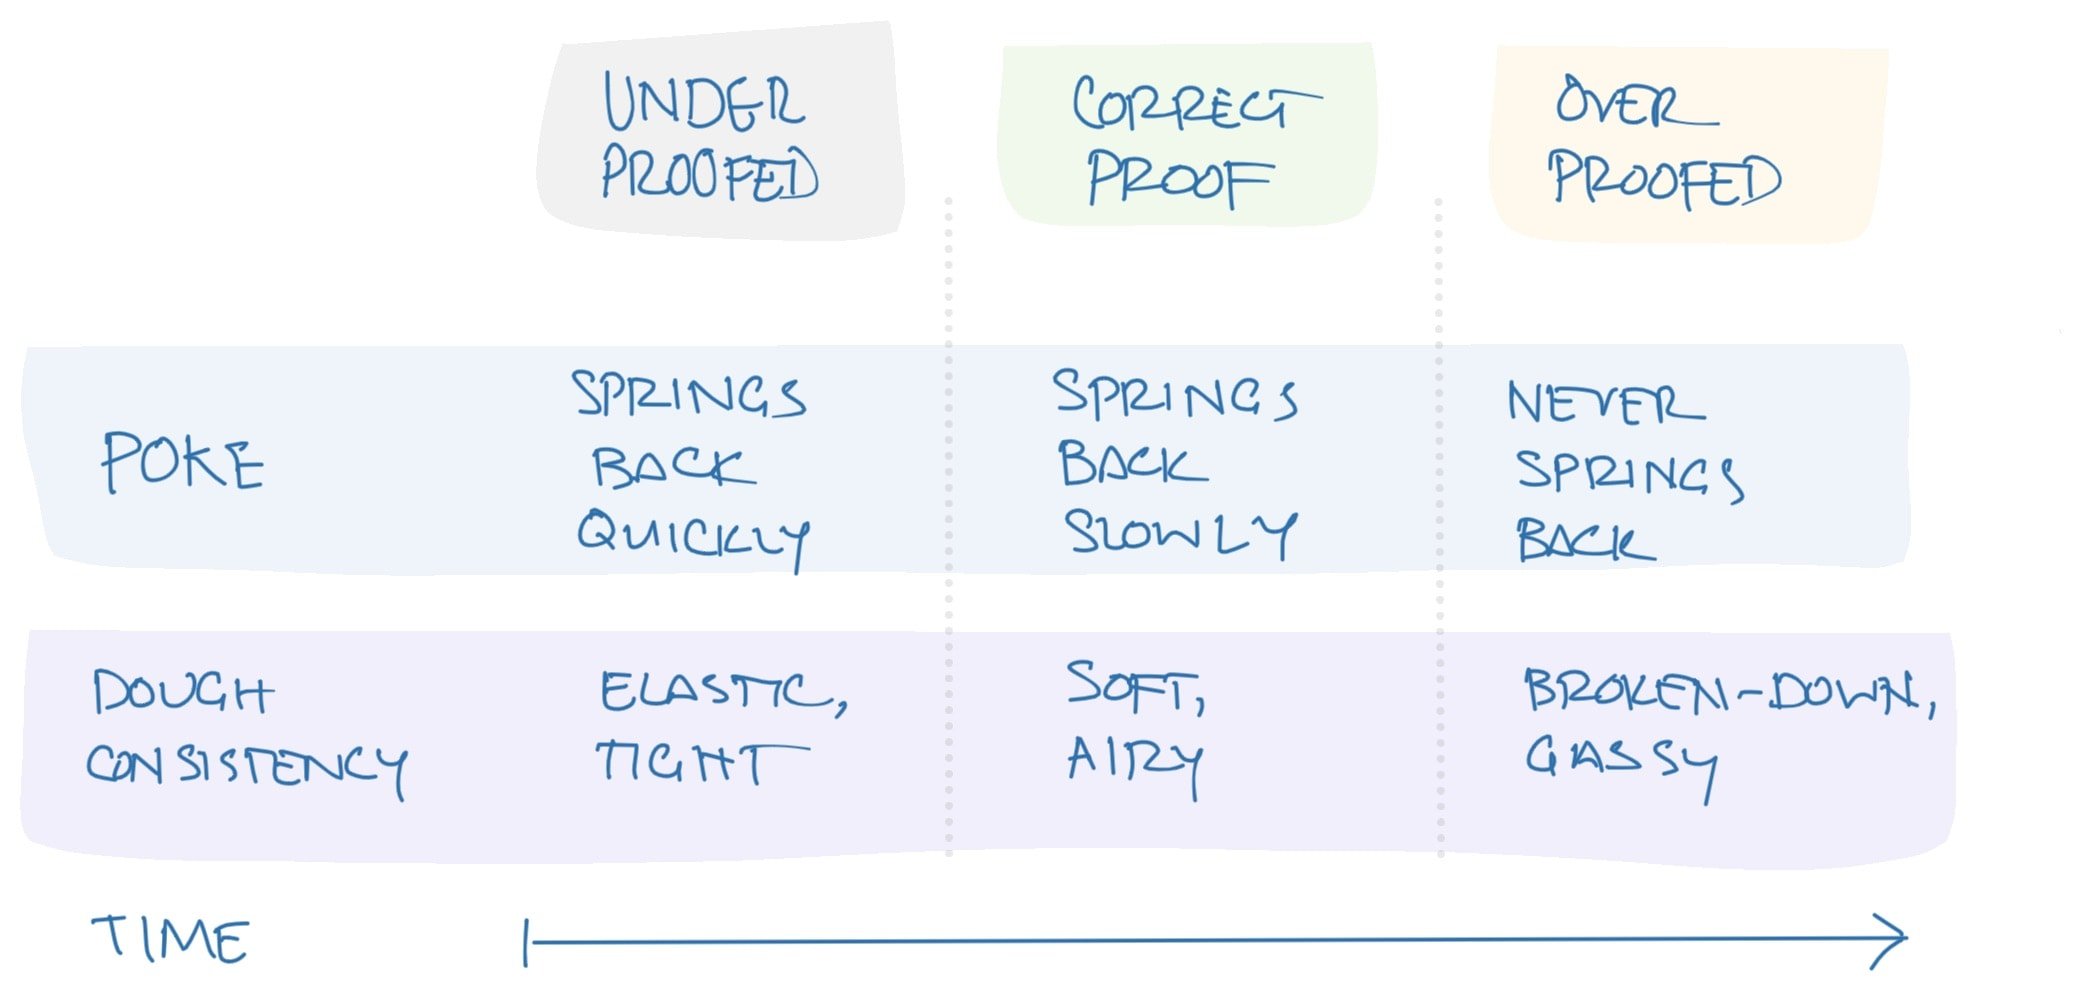
As I mention in my guide to proofing bread dough, in the heat of the summer, I often like to err on the side of underproofing. Not a significant shift, mind you, but just a little earlier. When the dough gets into the oven and begins baking, it might be farther along than you think.
My top 3 tips to bake sourdough bread in summer
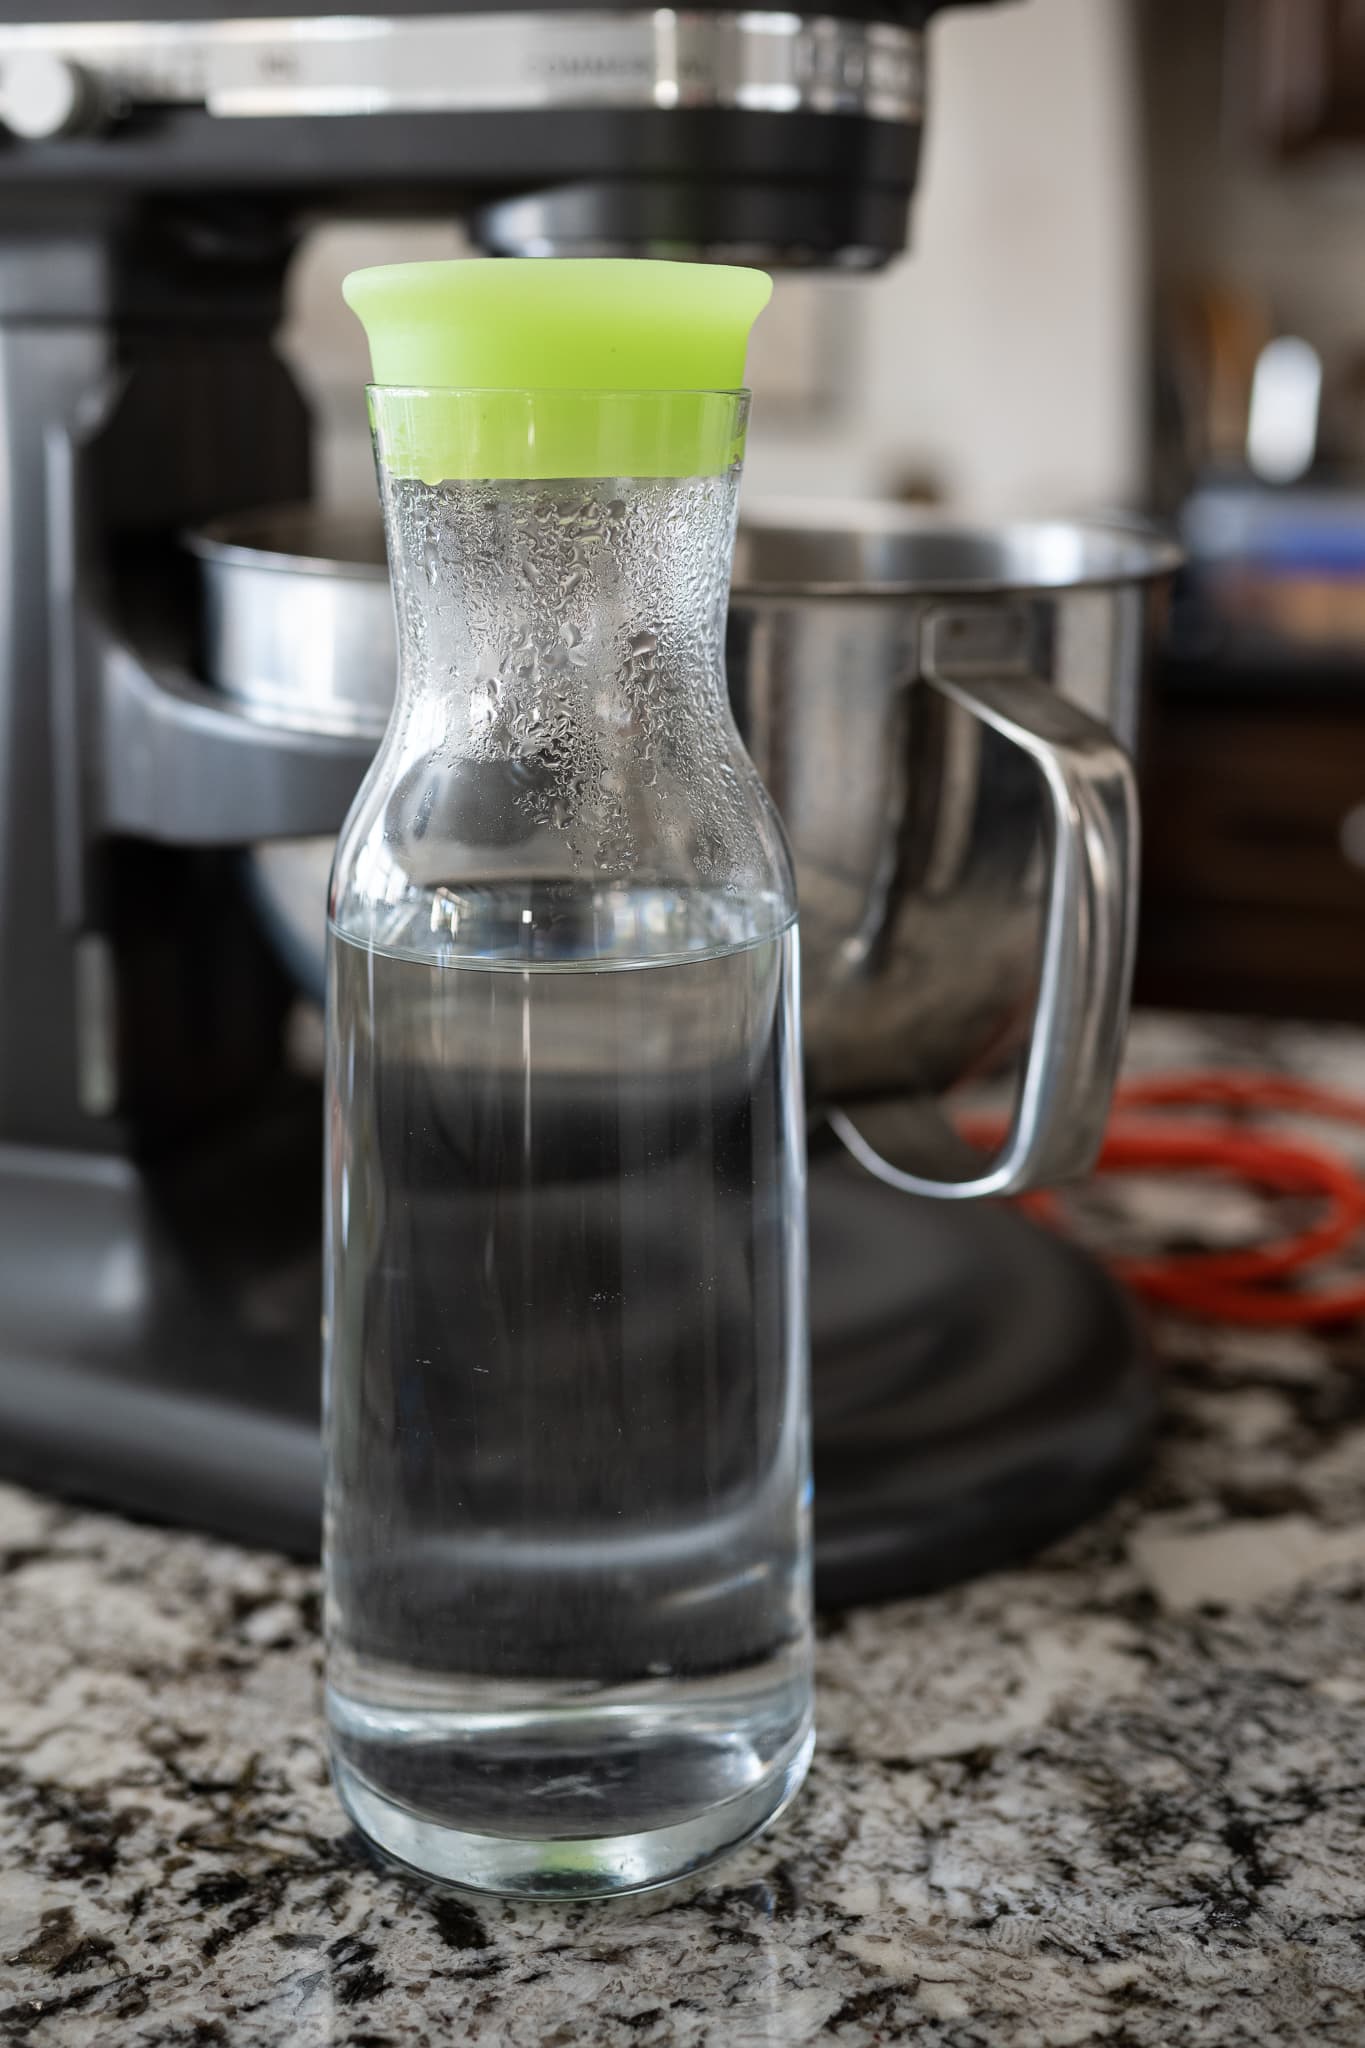
Once summer temperatures set in and I notice my dough fermenting faster or failing to rise in the oven as it once did in the cooler months, I’ll focus on the following three things first.
1. Use ice-cold water when mixing
Using cold water when mixing and kneading is my number one method for combating the heat when baking sourdough bread in the summer. While this might seem an obvious first step, it’s always my first approach to cooling my dough quickly. I keep a large bottle of water in the fridge and grab this when mixing.
Pour some cold water into your mixing bowl when on the kitchen scale, then combine with some room temperature water until the temperature is a few degrees below your desired dough temperature (DDT). Remember that this water will have room-temperature flour added, but you also need to account for any increase in temperature from a mechanical mixer.
If your dough is set to spend significant time in autolyse, consider this time period: the dough will slowly warm if kept at warm room temperature during its rest, so cooler water might be called for.
Use cold water or even ice to cool your dough when mixing.
Keep a large bottle of water in the refrigerator and use it with ice to cool your dough to a few degrees below the desired dough temperature.
2. Keep sourdough starter mild and use before overly ripe
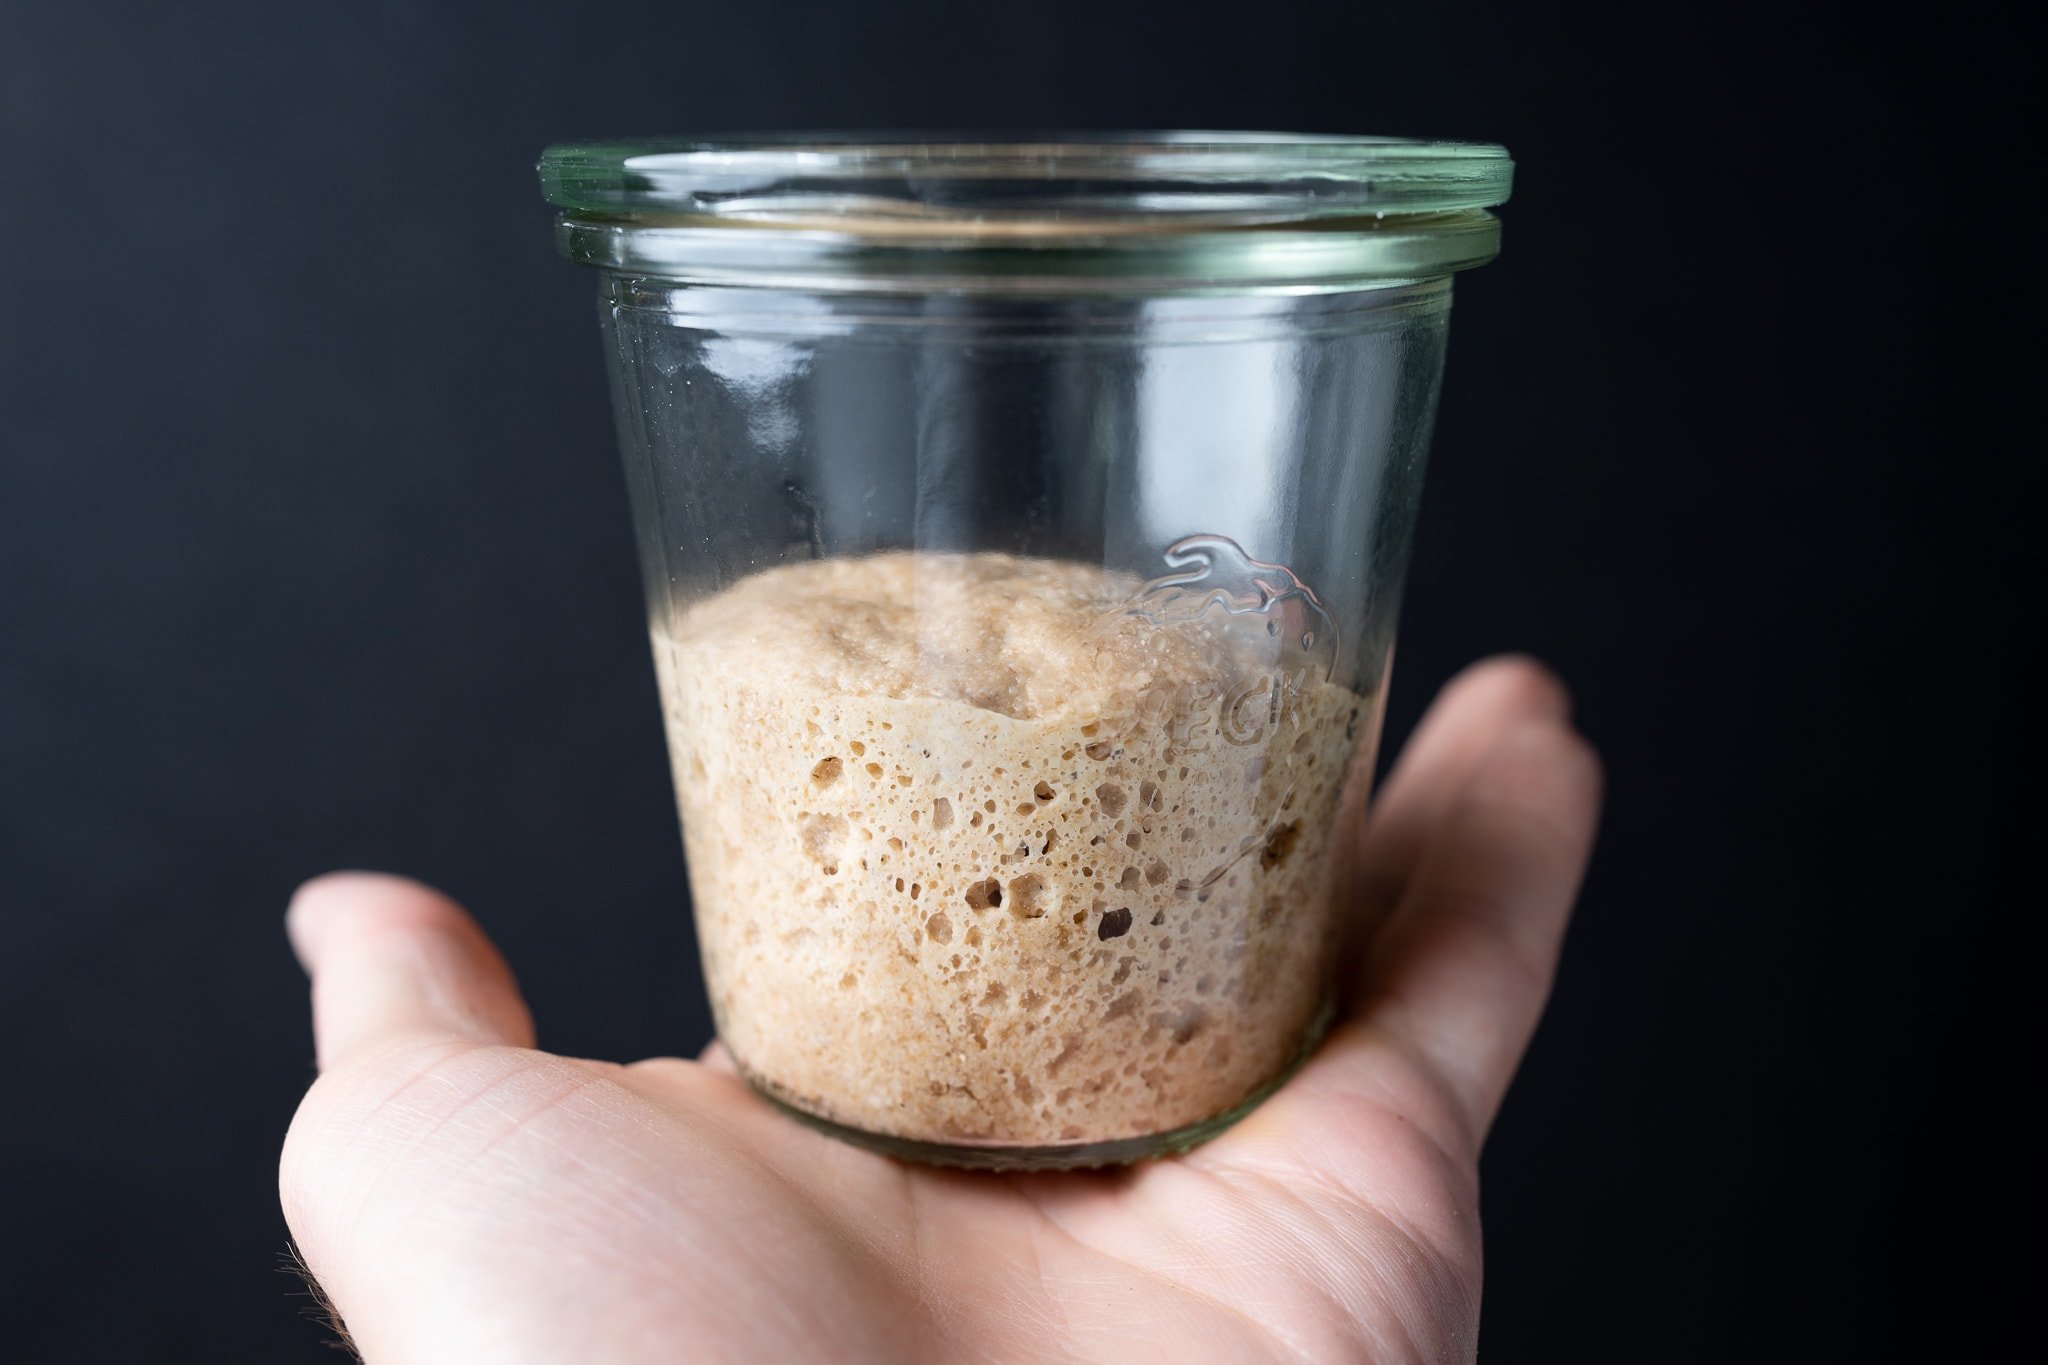
Keeping your sourdough starter mild and in control is of utmost importance in the summer. Fermentation is the cornerstone of great sourdough bread; it all begins with your sourdough starter.
In my experience, using a sourdough starter that’s overly acidic means the dough will be extra active and, assuming other factors, can lead to a final loaf that’s extra sour tasting with reduced leavening capacity. The greatest risk here, though, is that the dough will have too active of a fermentation rate and lead to overproofing.
Tips to keep sourdough starter mild
The following tips are a roundup of things I do during the summer to help combat warm temperatures in the order of preference.
- Switch to a clean jar more often. My starter jar gets inundated with excess starter, despite my best efforts to keep it clean. This “extra” starter ends up simply becoming carryover at each feeding.
- Reduce starter carryover. In the summer, my first approach to dealing with warmer temperatures is to reduce the starter I carryover to ensure it needs a refreshment only once every 12 hours. This might mean dropping my 20% carryover to as low as 2-5% (to total flour weight) in peak summer.
- Use cooler water. Similar to how using cooler water for your mixing can help, using cooler water to refresh your starter will slow its activity and buy you more time between feedings before it gets overly ripe.
- Reduce whole grain percentage. I will slowly back off the percentage of whole grains in my starter to reduce total acidity (keeping pH higher).
- Switch to a stiff starter. In my experience, a stiff starter is more resilient to warm temperatures. It has a wider window for ripeness and seems still usable, even if a little over-ripe. This is a drastic change, though, and is near the end of my solutions.
- Add a small percentage of salt to the starter. As a last option, you can use a very small amount of salt in each refreshment to help temper fermentation. I would start very low, perhaps at 0.5% to total flour, and work up to 1.5% salt (in my experience).
All of the above steps can help you keep your sourdough starter milder. Pick and choose the ones that align with your baking goals and help bring stability and control to your starter.
Keep your sourdough starter mild.
Pay attention to how your sourdough starter is ripening each day to keep it milder: refresh it more often, reduce the carryover percentage (seed or inoculation), use cool water, reduce whole grains, and even use salt in drastic cases.
Recommended reading: How I Feed My Sourdough Starter →
3. Reduce pre-fermented flour percentage
The amount of pre-fermented flour—typically a levain here on this site—is the jumping-off point for any recipe. It’s the inoculant for dough, the small bit of yeast and bacteria added to raw flour and water to start fermentation. The larger the mass of this levain or sourdough starter, the faster the dough will ferment.
Think about it this way: the larger the preferment, the higher the number of yeast and bacteria microbes we add to our dough. The more microbes, the higher the fermentation rate.
Adjusting this part of the recipe does affect the formula you’re following, though, and it should only be done after other measures have been attempted.
Reduce a recipe’s pre-fermented flour percentage
To slow fermentation, reduce the pre-fermented flour in a recipe, effectively reducing the number of bacteria and yeast cells added to a dough.
Recommended reading: What’s the Difference Between a Sourdough Starter and a Levain? →
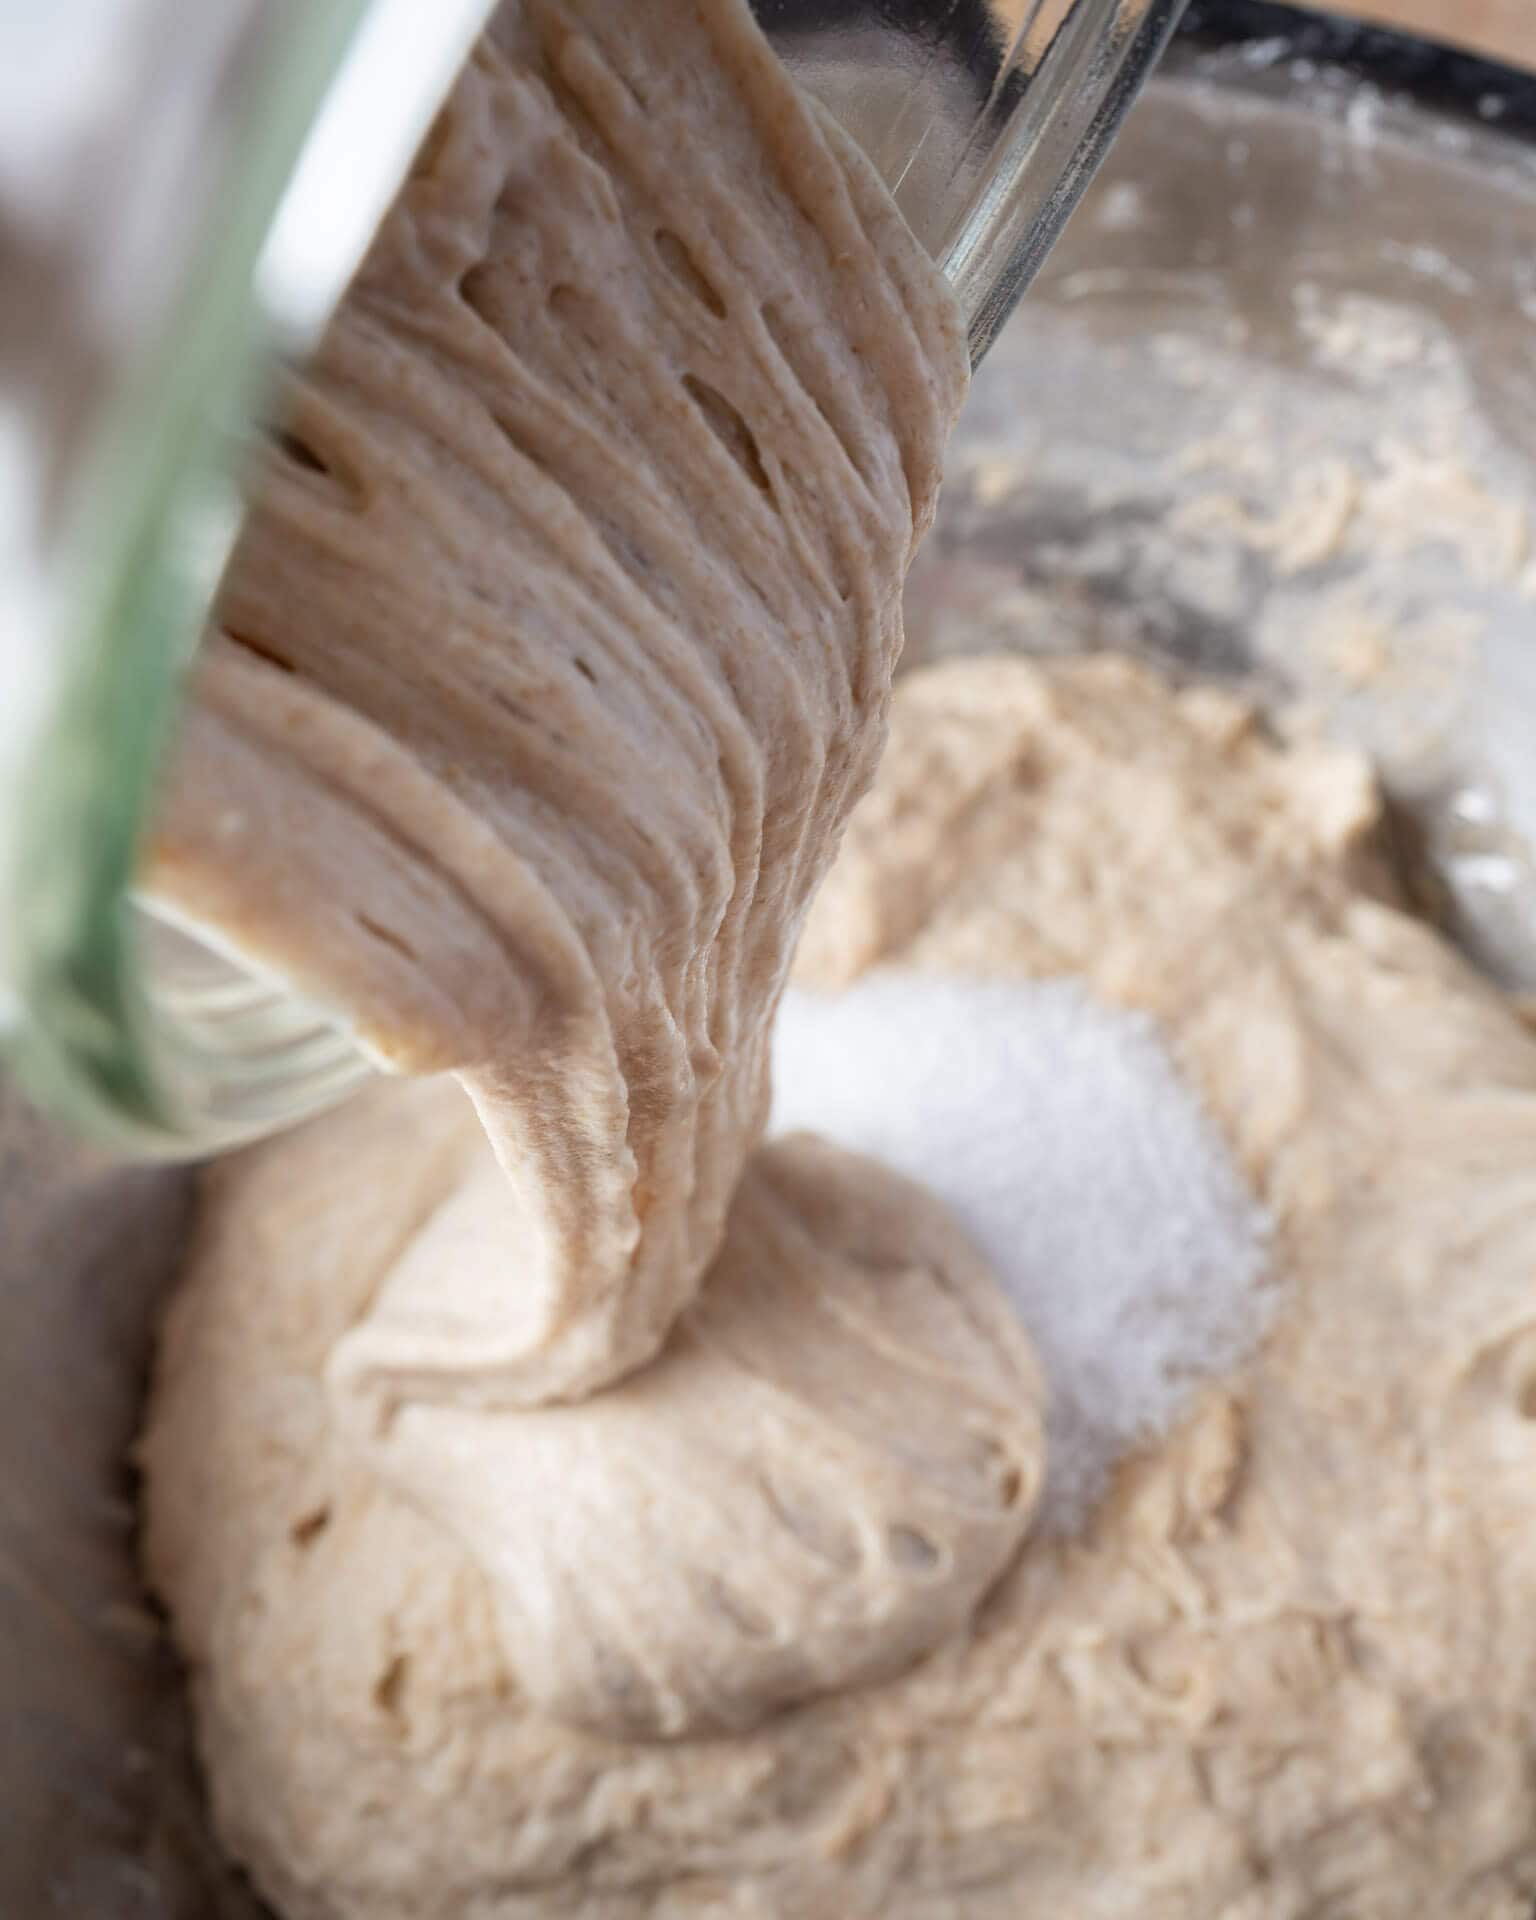
A few more suggestions on how to bake sourdough bread in summer
Focus on the final dough temperature
Usually, you won’t see drastic temperature swings from cool on one day to blazing hot on the next (Although, here in the Southwest of the USA, night temperatures are usually very cool with scorching day temperatures.). Much like the frog in a warming pot, the gradual shift from spring to summer doesn’t seem to register with us as we bake day-to-day. The final dough temperature of our regular bakes starts to change a degree or two over a week, and slowly, the delta widens as outside temperatures increase.
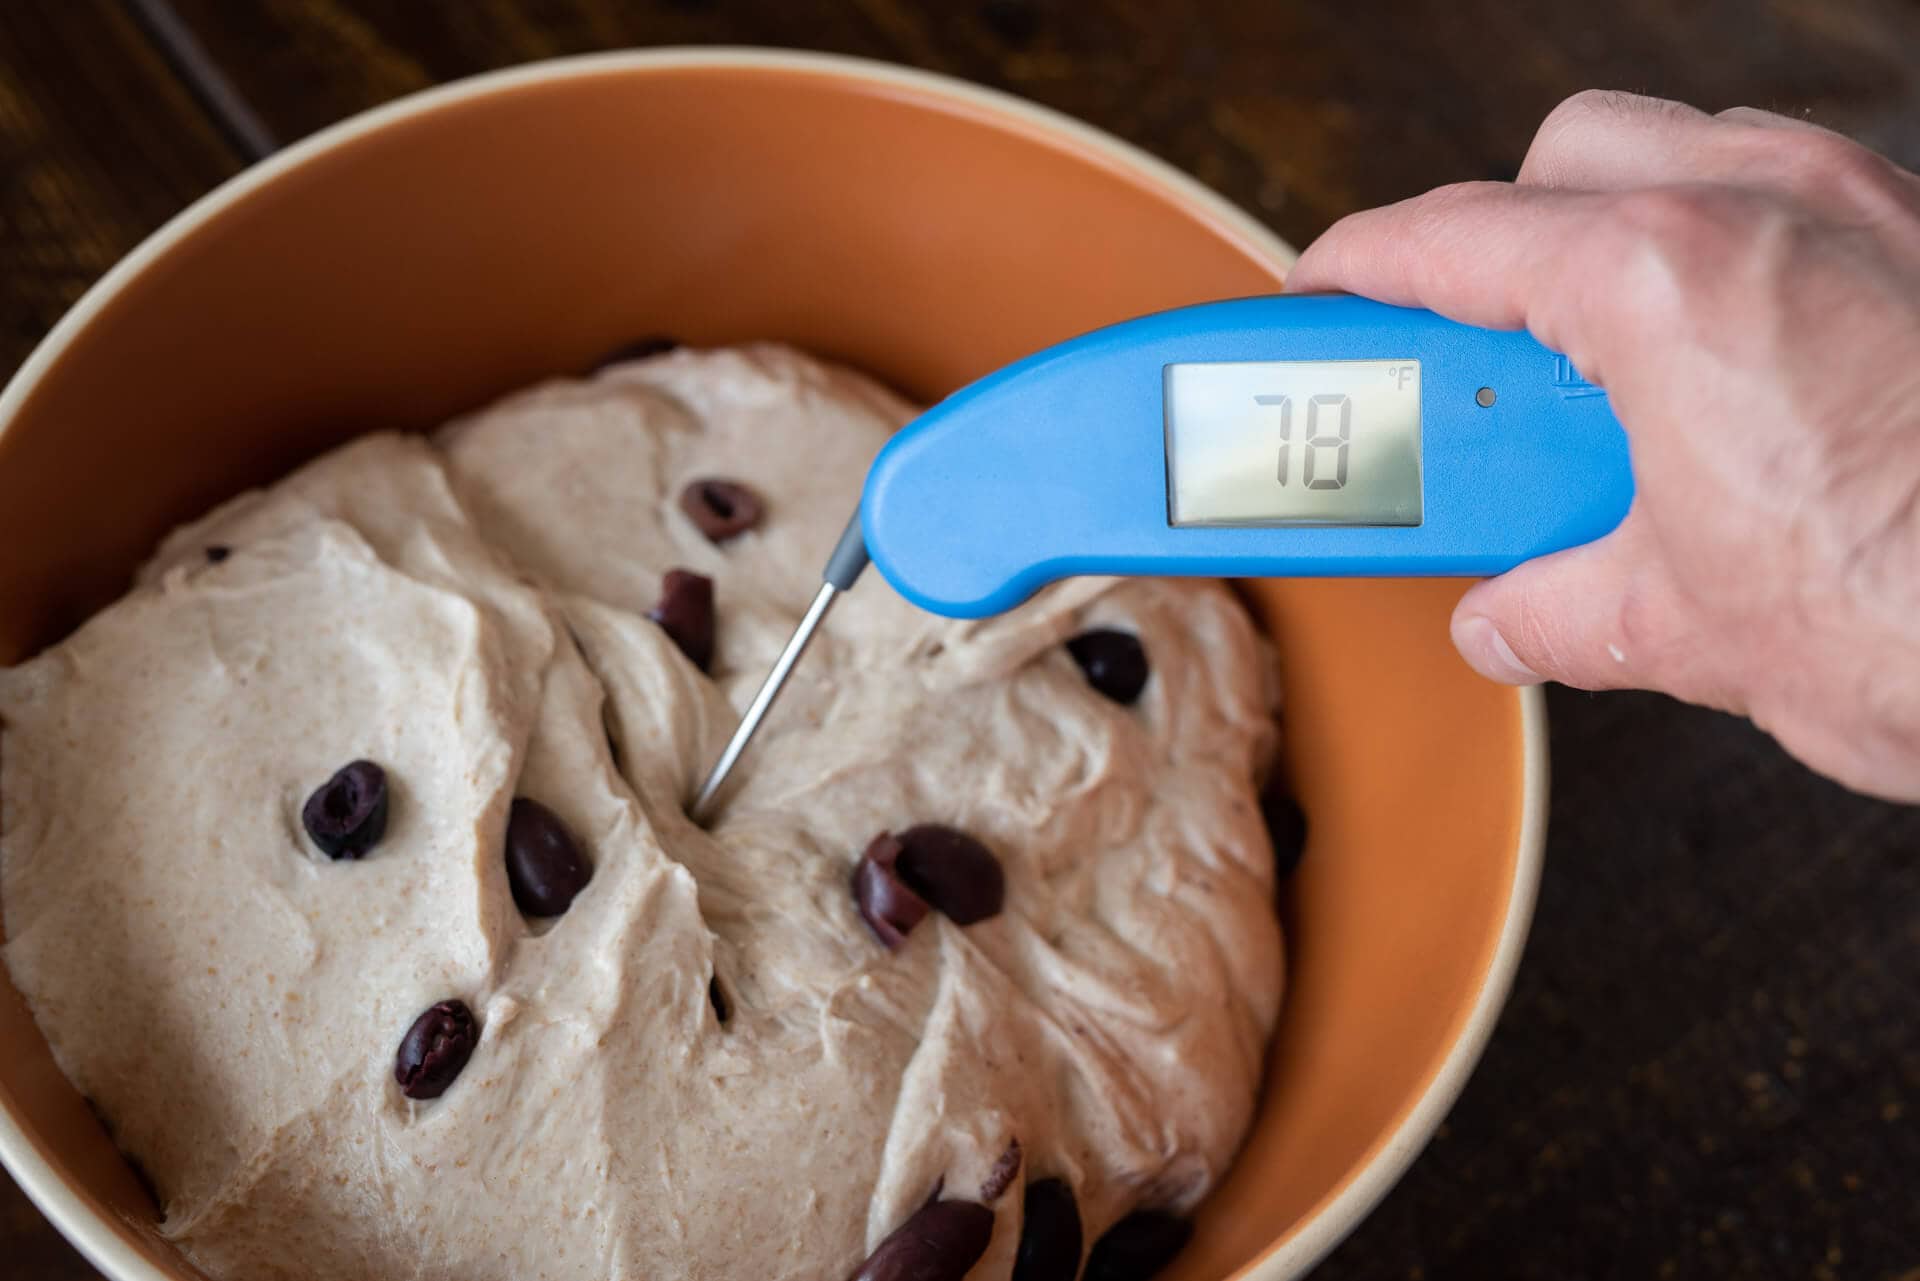
Continuous monitoring of our dough is always the first step (you take your final dough temperature, right? 🙂). With continuous monitoring, you’ll notice your FDT slowly creep upwards as the ambient temperature in your kitchen moves commensurately.
As the temperature hike inevitably sets in, counter it by using cooler water for mixing—that’s always the first step. Next, let’s look at that and a few more.
Recommended reading: An Introduction to Baker’s Percentages →
Reduce dough hydration
Reducing the total dough hydration can help bring strength and stability to a dough, especially as temperatures (and humidity) increase. A dough that’s overly wet and warm can quickly lose stability and become difficult to handle. In addition, more water might also mean increased fermentation activity.
I would start by dropping the dough hydration by 2%, increasing this percentage as necessary. For example, if a recipe calls for 76% water to total flour, drop this down to 74% and do a trial bake. Use baker’s percentages to adjust your formula to ensure the recipe retains its original intention.
Put your bulk fermentation container in the refrigerator
To cool the dough at the end of mixing and before the first set of stretches and folds, place your covered bulk fermentation container into the refrigerator for 15 to 30 minutes. This isn’t enough time to fully chill the dough, but it’s enough to cool the container and take the edge off.
Be sure to keep an eye on the dough, so it doesn’t go in the other direction and dramatically cool. The time in the refrigerator depends on your bulk fermentation container: it might take longer to cool if it has high insulating properties or a short period if it’s thin-walled (such as a plastic tub). For example, the thick ceramic bowl I typically proof my dough inside can easily handle a 30-minute chill before the dough temperature inside drops drastically.
Watch the work surface temperature
When I mix by hand, I typically slap and fold (knead) my dough for several minutes at the end of incorporating all the ingredients. Because this technique involves working the dough on a work surface (my kitchen counter), keep an eye on the temperature of the surface itself. We can’t easily change our work surface temperature up or down, but if you expect to have several minutes of work surface contact, cool the mixing water a little more than usual to offset any expected warming.
General suggestions when baking in the heat of the summer
A few last tips for baking sourdough bread in the summer:
- Be sure to store your flour properly when it’s warm in the kitchen. Keeping your flour, especially whole grain flour, cool in the freezer can help prolong its lifespan.
- Watch where you place your dough during bulk fermentation: near a window that gets overly warm or under an air conditioner vent can have adverse (or desired) effects on the dough.
How to bake sourdough bread in summer FAQ
Why does my dough feel sticky in the summer?
It might ferment faster than expected due to increased ambient and final dough temperatures.
Why does my dough overproof in the summer?
Warmer temperatures mean increased bacteria and yeast fermentation activity. With sourdough, an excessively acidic dough resulting from increased fermentation will degrade gluten structure and lead to more spreading in the oven, less rise, and a potentially more sour flavor.
What’s next?
Given that it’s likely quite warm in your location as you’re reading this, perhaps a quick sourdough galette with peaches and blueberries is in order. Or an easy no-knead sourdough bread that requires little but results in a lot?
Is there anything I missed in this how-to bake sourdough bread in summer guide? Also, if you have a burning (😅) question about baking in the summer that I didn’t address in this guide on how to bake sourdough bread in the summer, please leave a comment below!


43 Comments
Than ks, makes perfect sense.. my basement is 5 & 1/2 degrees cooler than my kitchen. It is comfortable & I get exercise.TGC
Win win, Tom 🙂 happy baking!
Thank you Maurizio for all this information. I am so frustrated with my sandwich loaf bread since warm temps. The crust has been separating from loaf. I have lowered hydration and lessened the time of bulk ferm. I will, per one of your tips try putting in fridge before first S & F and see if that will solve the issue.
Hey Anita. I think you’re on the right track here, usually when i see crumb separating from the top crust it’s pointing to dough that’s overproofed (either it went too long in bulk, or in the final proof—or a combo of the two).
Do enjoy your recipes & helpful comments. Retired for 23 years cuts into our budget, so joining your group
isn’t in the cards. But I find suggestions very helpful. My least successful baking is Hot dog & Hamburger buns. Trouble shaping probably has to do with over- or under-proofing. Both the Hot Dogs & Hamburgers are a bit larger than your suggestions & I screw it up each time. Eventually I will get ti.
TGC
No group required, Tom—glad the free stuff is earning its keep! For the buns: since yours are larger than mine, they’ll need more proof time than the recipe states, so lean on the poke test instead of the clock. Gently press a floured finger in and if it springs back slowly and leaves a slight indent, they’re ready. You’ll get it.
Than ks, makes perfect sense.. my basement is 5 & 1/2 degrees cooler than my kitchen. It is comfortable & I get exercise.TGC
Than ks, makes perfect sense.. my basement is 5 & 1/2 degrees cooler than my kitchen. It is comfortable & I get exercise.TGC
Summer baking Are we keeping the same bulk fermentation temps 78?
Good question! 78°F is still the target, but in summer the challenge flips: your kitchen may already be there (or past it) without any help. If you can hold 78°F, great. If your kitchen runs warmer, either shorten bulk or cut your levain percentage back a bit to keep the timeline manageable. Watch the dough, not the clock.
Also, there’s nothing wrong with dropping the FDT to 76°F, too, this will help keep your dough in check. In the high summer here, I’ll often drop my temps for this reason.
my starter has usually been fed whole grain organic. but lately when I make a levain from it and use all white bread flour vs a mix of whole grain, it does not ferment. what's going on?
It’s fermenting, Scott, just more slowly than you’re used to! Whole grain flour brings more enzymes, minerals, and wild yeast food to the party, so a whole-grain levain ripens fast. Switch to all white flour and that activity drops. Give it a few more hours, bump the temperature a bit, or increase your seed starter percentage and it’ll get there.
Very timely advice Maurizio, I was just marveling at the super-charged sourdough activity of summer! My questions: if one persists in using a fair amount of whole grain flour, would it help to do more kneading at the mixing stage (slap and fold) and keep the stretch and folds, and bulk fermentation, to a minimum? Also, if the dough seems super-charged, perhaps one could do a same day bake rather than using the overnight retard?
Yes, Georgiana. More development at the mix means you can keep folds (and handling) minimal, which helps when whole grain doughs are racing in the heat. And if the dough is supercharged, a same day bake is a fine call. Or, if you want the retard for flavor and scheduling, just cut bulk a little short before it goes into the fridge. Cutting your levain percentage back is another good lever here.
When you refer to higher kitchen temperatures, how high is that? With AC our home is around 73
F and humidity at 40%.
At 73°F you’re in great shape, Percy, and no problem there. When I say higher temps, I mean kitchens pushing into the high 70s and 80s (common here in New Mexico without AC running hard). The number to really watch is your final dough temperature, not the air: if your dough is coming off the mix at 78°F or so, you’re right where you want to be.
You referred to dough temps, and asked if we are checking our temps, but you didn't say what the temp should be? I am sure you have it on your site somewhere but I'm going to go ahead and ask here? What should the dough/levain temp be? and what temp should the center of a baked loaf be? thank you!
I did go back and find a link!
Love your posts..,am just learning.
Is there another flour you would recommend (I could buy from a Healthfood store) other than Rye to make a starter from scratch? I am very allergic to rye (and not great w gluten either).
Could I also use 00 flour instead of unbleached all purpose? Thnk u!
Thank you! I would use whole grain whole wheat flour instead 🙂
I live in Florida where it’s always hot save for those 60-70 degree days, and humidity can hit 100%.
I use a lot of freshly milled flour which is oh so sticky, however I now think that humidity is being absorbed into the dough and flour, which yields a wetter dough. Every time I see your doughs they look more cohesive and stiffer than mine though I use high quality ingredients.
What is the average humidity in your region? How much water would you recommend backing off in Florida? Just today I tried backing off 5% on the everyday load however it’s still quite sticky due to the amount of freshly milled flour. This must be due to compounds present in the fresh flour?
Humidity here is usually around 35%, much different from you. Yes, absolutely reduce the water during mixing if you need to. Hold some back and only add it if the dough feels like it can handle it.
Even up in Wisconsin, we’ve had a couple weeks of consistent 90°F or more, which is making my starter and bulk proof go crazy. One of the strange side effects of this has been my proofing basket liner getting super highly saturated after my overnight proof, followed by the dough spreading quite a lot before I go to score it.
Is this something you have seen in instances where dough temp has risen too high during bulk? In three years of baking sourdough, this has never happened to me except over the last couple weeks. It still results in tasty bread, but the crust ends up being an ugly pale brown without the nice blistering, crispy texture that I’m aiming for.
I’d love to hear your thoughts!
Hey, Chris! I would probably try dropping the hydration of the dough. When temps rise (and also humidity), dough can quickly run away from you and get out of control. Dropping the hydration will help rein things back in. I personally have not seen wetness like this, but it’s super dry here in NM!
Denver here. Hot hot. Hot!
Used your guidelines for last batch (mix Fri/bake Sat)
Much lower hydration (70% – usually I’m 80-82%}, much denser starter
Stayed on top of folds (didn’t daydream into long intervals)
Dough seemed much sturdier, less slack
Lots of rise in fridge. Great bake!
Can’t figure out how to post pics, but this time I used mix of white and black sesame on top,.
Creates a speckled top. A family member called it the ‘hedgehog loafs” cause it looks like that salt and pepper hedgehog.
15% Spelt, 5% Red Fife (both from Moxie in Boulder. Super chewy!
Yes, super hot down here in ABQ, too! Sounds like you’re right on track there with your dough, that’s fantastic. I love a mix of sesame like that also, I do it often. I just love the flavor… even if a bit messy when cutting in the kitchen 🙂
I don’t have a way to post pics here just yet, only in our community chat!
This tip made me wonder about the *why* and *how*: “Reduce whole grain percentage. I will slowly back off the percentage of whole grains I have in my starter to reduce total acidity (keeping pH higher).”
Can you say more about how whole grain percentage impacts the pH of the starter? (or point me to some reading on the subject?)
Thanks for this really thorough post. I had a big fail due to baking on a heat wave day. It’s nice to have some ideas for how to manage that next time, and it’s nice to know I’m not alone!
Right on, sounds good Will! Higher whole grains could allow the starter/levain to become more acidic because the increased bran and germ in the flour will help buffer acidity, which allows bacteria to function for longer more optimally. There are other conditions that will affect this as well, but that’s one thing!
I don’t bake more than once a week and because of gluten intolerance issues associated with mainstream, commercial products, must use an expensive, more digestible, non-hybridized, organic flour. In that vein, I’m playing with maintaining only 60 grams of “pasta madre” starter made with rye and kept refrigerated to minimize everything associated with maintaining a starter. There is a limit to uses for discard and you can dry only so much before that too, becomes excessive. I dry both discard and ripe starter as backups. They both work very well and if vacuum packed and frozen should last indefinitely – like commercial yeast.
I’m using only 30g as an inoculate for a normal 100% hydrated, whole-wheat starter. It reactivates quickly when fermented at room temperature (~75°F) and feeding it every 12 hours while building it up to the required amount needed for the bake with little to no discard – that requires a little simple math and some flexible timing. The rye inoculate produces plenty of hefty whole wheat starter on the second day by mixing time.
If I produce a little too much starter, I either discard some, reduce the amount of flour and water called for in the recipe, or I totally ignore it and use it all. Sourdough is very forgiving and always produces great results. I’m not after perfection – just flavorful bread with a good shelf life. My approach is easy: K-I-S-S. The CA gold miners, “Sourdough’s,” in 1849 didn’t have any scientific baking knowledge and did just fine baking their Dutch oven loaves in a campfire.
I’d like some kitchen temperatures as a reference instead of the ambiguous “fairly warm” and “quite hot”, which I can’t be sure how to translate to my climate, lol. Lately my working counter –in northern Mexico– has been hovering around 82-85F with humidity 35%-50%. Now that summer is almost over, it will change dramatically, especially without central heating. After I get my oven fixed, I will know better how well I like your weekday sourdough recipe– the first try was good, but got burnt on the bottom due to a faulty thermostat. Like someone has said, in baking, nearly all your mistakes are edible, and this attempt was delicious. I had to take a break from sourdough since last December, but the bit of starter in the freezer perked up like it was happy to see me! Now I’m ready to try artisan style bread instead of only the sandwich variety I’d been baking.
For me, I treat “warm room temp” somewhere around 76-78F. I don’t typically like to go too high above 82-84F with my starter or dough, in general, I find it quickly leads to over proofing, especially in the summer. If temps are below 74F, then I can expect things to be quite sluggish!
Hi SD community, I`m trying to create my first starter with Bob`s Redmill Dark Rye flour. On day 1. In a one quart mason jar, I mixed 100gm of flour and 125 gm of water using a good scale that tartars the container. I`m questioning on how thick this mixture is. It is most pasty. Is this OK? In Florida with AC set to 76 degrees. Thanks…
Sounds totally fine, Don! 76F is a great temp to get it going as well.
No one ever recommends just storing your starter in the fridge, because the common knowledge is that you need 2-3 days to refresh it. In my experience though, I’ve had good results using it directly from the fridge, as long as it’s been fed recently. For instance, I might take my starter out of the fridge and feed it Friday night, then realize I won’t have time to mix my dough on Saturday, so put the starter back in the fridge after 4-6 hours, and leave it for a day or two. At that point, I don’t notice a huge difference in the starter’s quality once it’s warmed back up.
Thanks for sharing your findings, Ian! I’ve heard from some bakers their starter works pretty well straight from the fridge, as long as it wasn’t neglected in there for too long, like you mentioned. For me, though, my starter doesn’t perform well when it’s been in the fridge even for a few days—it requires room temp time to get up to what I consider full strength.
That’s kind of the beauty with sourdough, each culture is different! We get to know it, what it can do, the flavors it imbues, and each is unique in its own way.
Happy baking!
Since the summer heat reached Washington State as well, I had to change my baking routine too. I feed Sir Bobby Farts-Alot every Sunday, let him partially rise, and then tell him “Sorry dude, you gotta stop” and stick him in the fridge for the rest of the week. I feel mean, but I want to keep him alive.
When I’m ready to bake, I take out 10g of Bobby in the morning, let that come to room temp, then feed it at noon with 15g RT water and 18g flour (freshly milled white wheat& rye & King Arther bread flour in about equal amounts). By 10 pm this has nicely risen; I remove 5g that I feed again with the same amounts. (The rest I set aside in the fridge for my next cookie dough). In the morning, I feed the total amount in the jar with 20g water & 20g flour mix as well as 1 tsp of milled Munich or Vienna lager beer grain from the brewery store for extra maltiness. Plus, it tends to tighten Bobby up to a stiffer consistency. At 75F this will take about 2.5 or 3 hours to almost triple, and that’s when I use it. I use about 50g of what’s in the jar; the rest goes in the “cookie” dough in the fridge. So far, this regimen has worked fine for me. (Note: I micro-feed because I micro-bake one loaf a week at 400g total flour.)
The other change this summer has been trying to wean myself from baking in the Challenger Pan! OH NO, THAT is a killer! Pan breads don’t come out crusty enough and the pizza stone still needs to heat up more than I’m willing to heat up the house for free-style baking; and besides — I can’t keep the moisture in the oven even with an extra pail of water & ice cubes. But I have a toaster oven that will make it as crunchy as I want–after it’s cut, and on my plate 😉 I’m just glad that I can still buy flour and beer to make tasty bread, so I’m not complaining. The cold rainy weather will return eventually. I never thought I’d say this: I miss the WA rain. 🙂
Yes, up to a point. The dough does need to have enough bulk fermentation time to ensure fermentation gets going in earnest before things are brought to a halt in the fridge. If the dough is really moving quickly, you can definitely cool it in the fridge to get control, but I would probably only do it after 1-2 hours in bulk, minimum.
Ah, bummer! Well, that’s ok, it happens to use all. Easy modification for next time, just give it a little more time in BF. Keep at it!
Another useful tip (at least for me) to cool down the dough. Great time for tangzhong, oatmeal, mashed potato… Incorporate it cold directly from the fridge.
Thanks for a super advice
You’re very welcome, Freddy!
Thank you for this advice. I have been experimenting with preventing over-fermentation myself. I had all the classic signs. What is the DDT, desired dough temperature? I am in the North Valley of Albuquerque and it has been hot as well as unusually humid this summer, as you know.
Yes, it’s been very hot (and humid, now!). There’s no set DDT for all recipes, but for more white flour recipes, I usually shoot for 76-78F. For recipes with more whole grains, and especially freshly milled, I like to go a little lower, 75F.