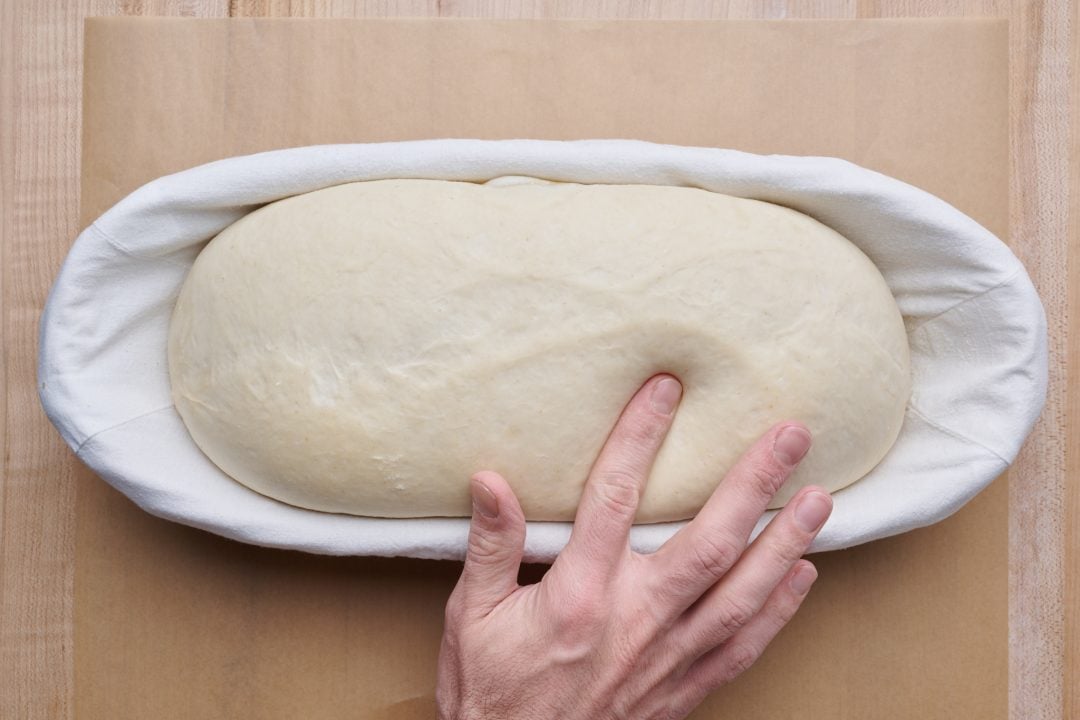
Proofing bread dough is the baking step where the shaped dough is left to ferment and rise for some time before it’s finally baked in the oven. As a result of this fermentation, the dough will gain volume, relax outward, and build additional flavor. Determining when to stop proofing and begin baking can be challenging. The baker must draw on their baking experience and evaluate the dough’s visual and textural signs.
But there are a few tools at a baker’s disposal to help determine when bread dough is ready to bake. The dough poke test is one of these tools and will ultimately help you avoid underproofing or overproofing your sourdough bread dough. Let’s look at how to use the dough poke test most effectively.
Be sure to read to the end of this guide for instances where the poke test is not completely accurate (though still useful).
What is the dough poke test?
The dough poke test is a technique performed during the proofing step of the bread-making process that helps you determine when your sourdough bread dough is ready to bake. Gently press your finger into the dough on the top. If the dough springs back quickly, it’s underproofed. If it springs back very slowly, it’s properly proofed and ready to bake. Finally, if it never springs back, the dough is overproofed.
| Proof level of dough | Poke test result |
|---|---|
| Underproofed | Springs back quickly |
| Properly proofed | Springs back slowly, not completely filling back in |
| Overproofed | Never springs back |
An example dough poke test
Let’s look at an example of the poke test. The images below have the same base formula (a variant of my Beginner’s Sourdough Bread) at various proofing stages. While it’s hard to show this in images, the dough on the far left is under proofed, the middle dough is properly proofed, and the dough on the right is overproofed.
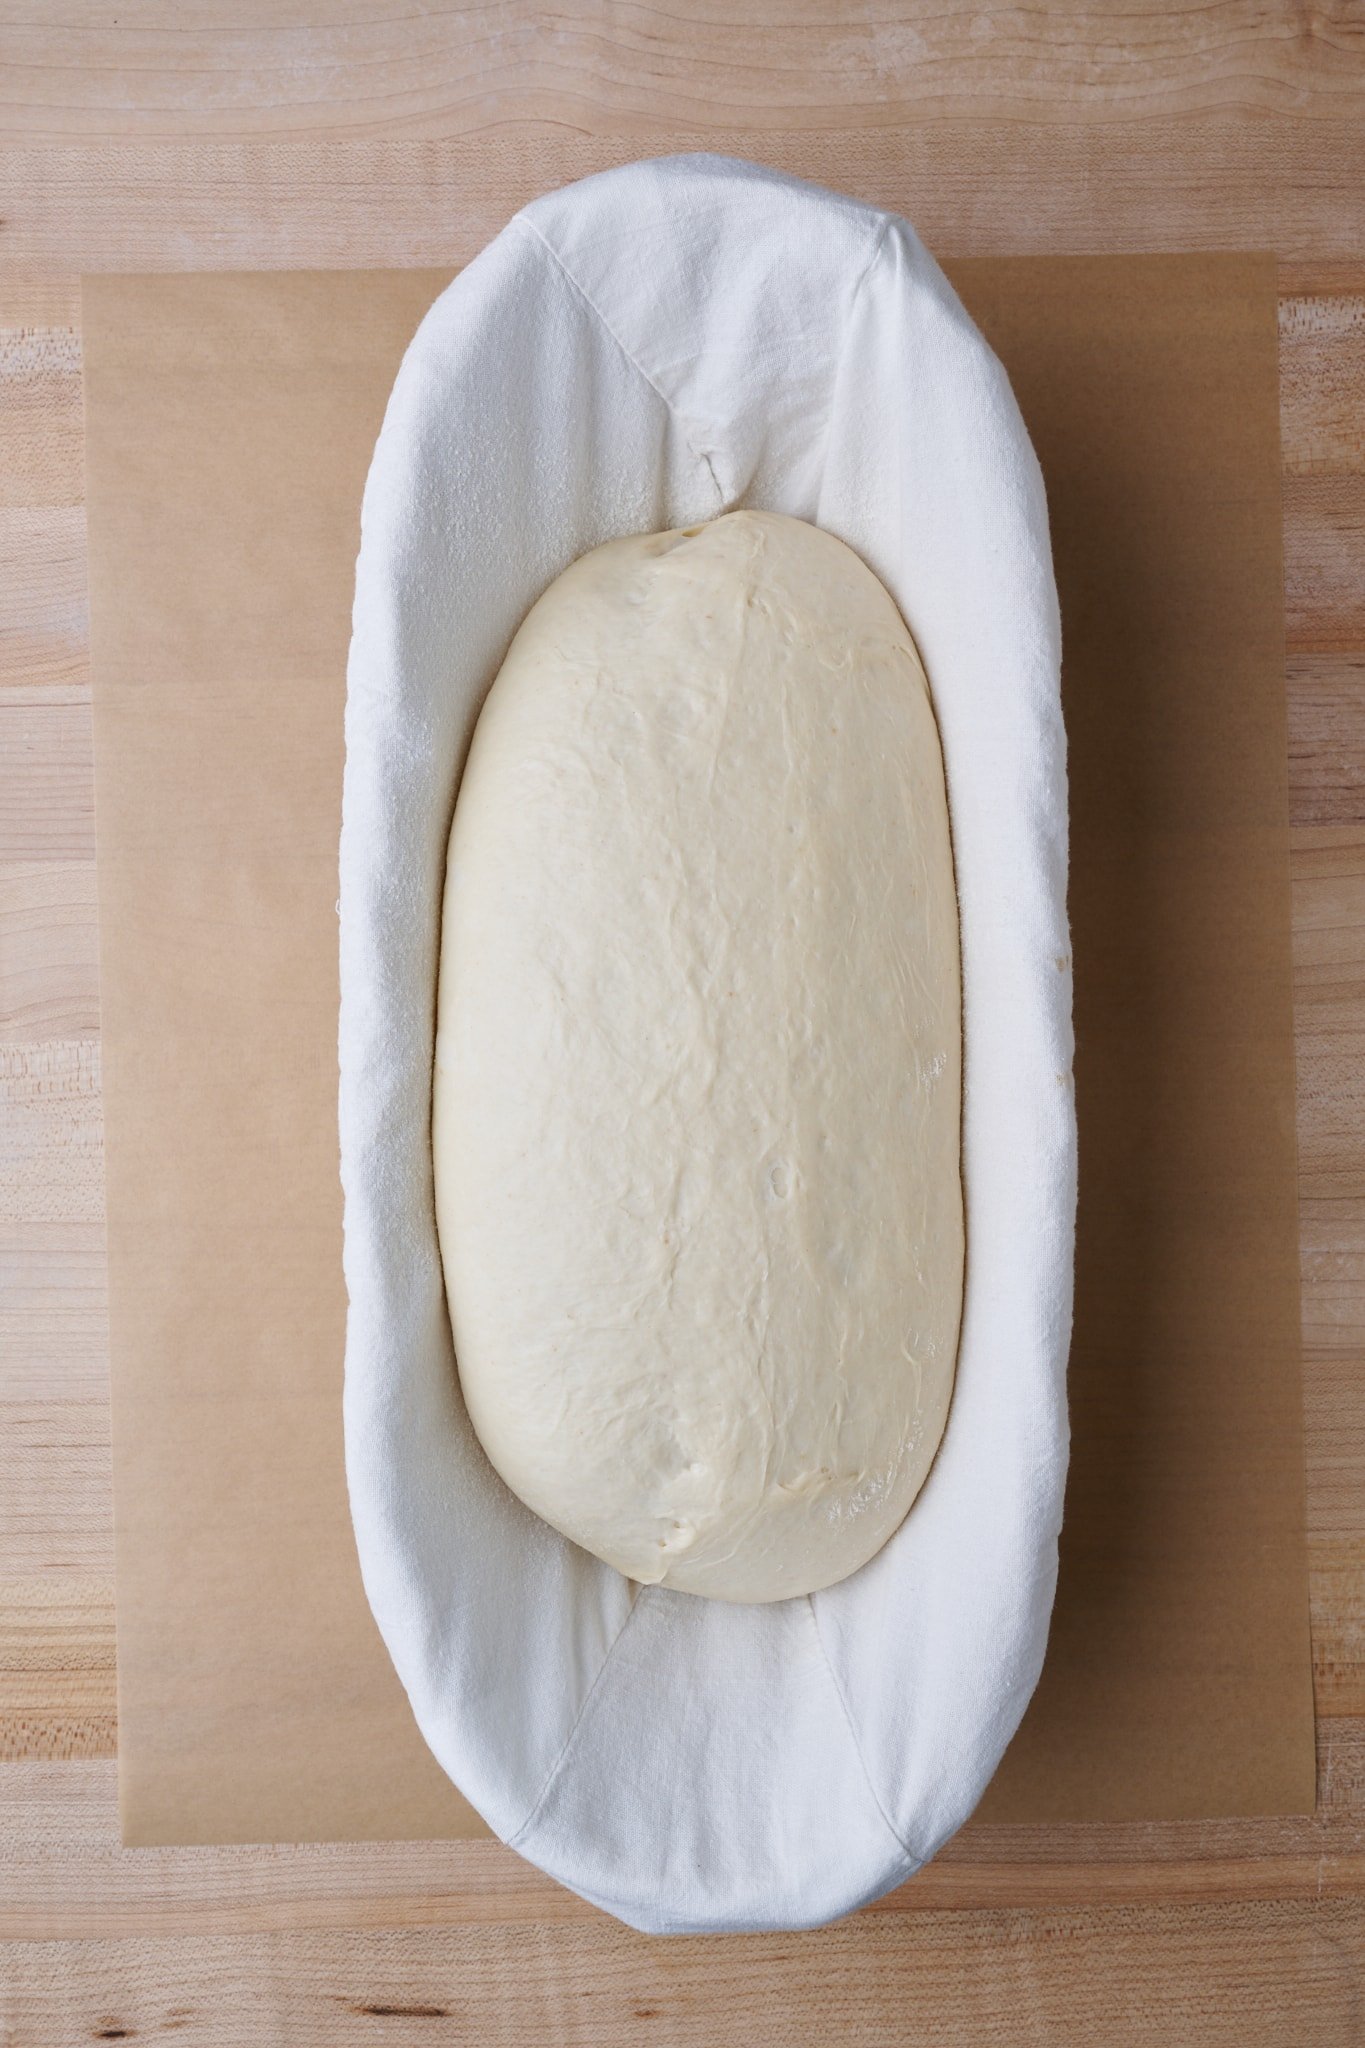
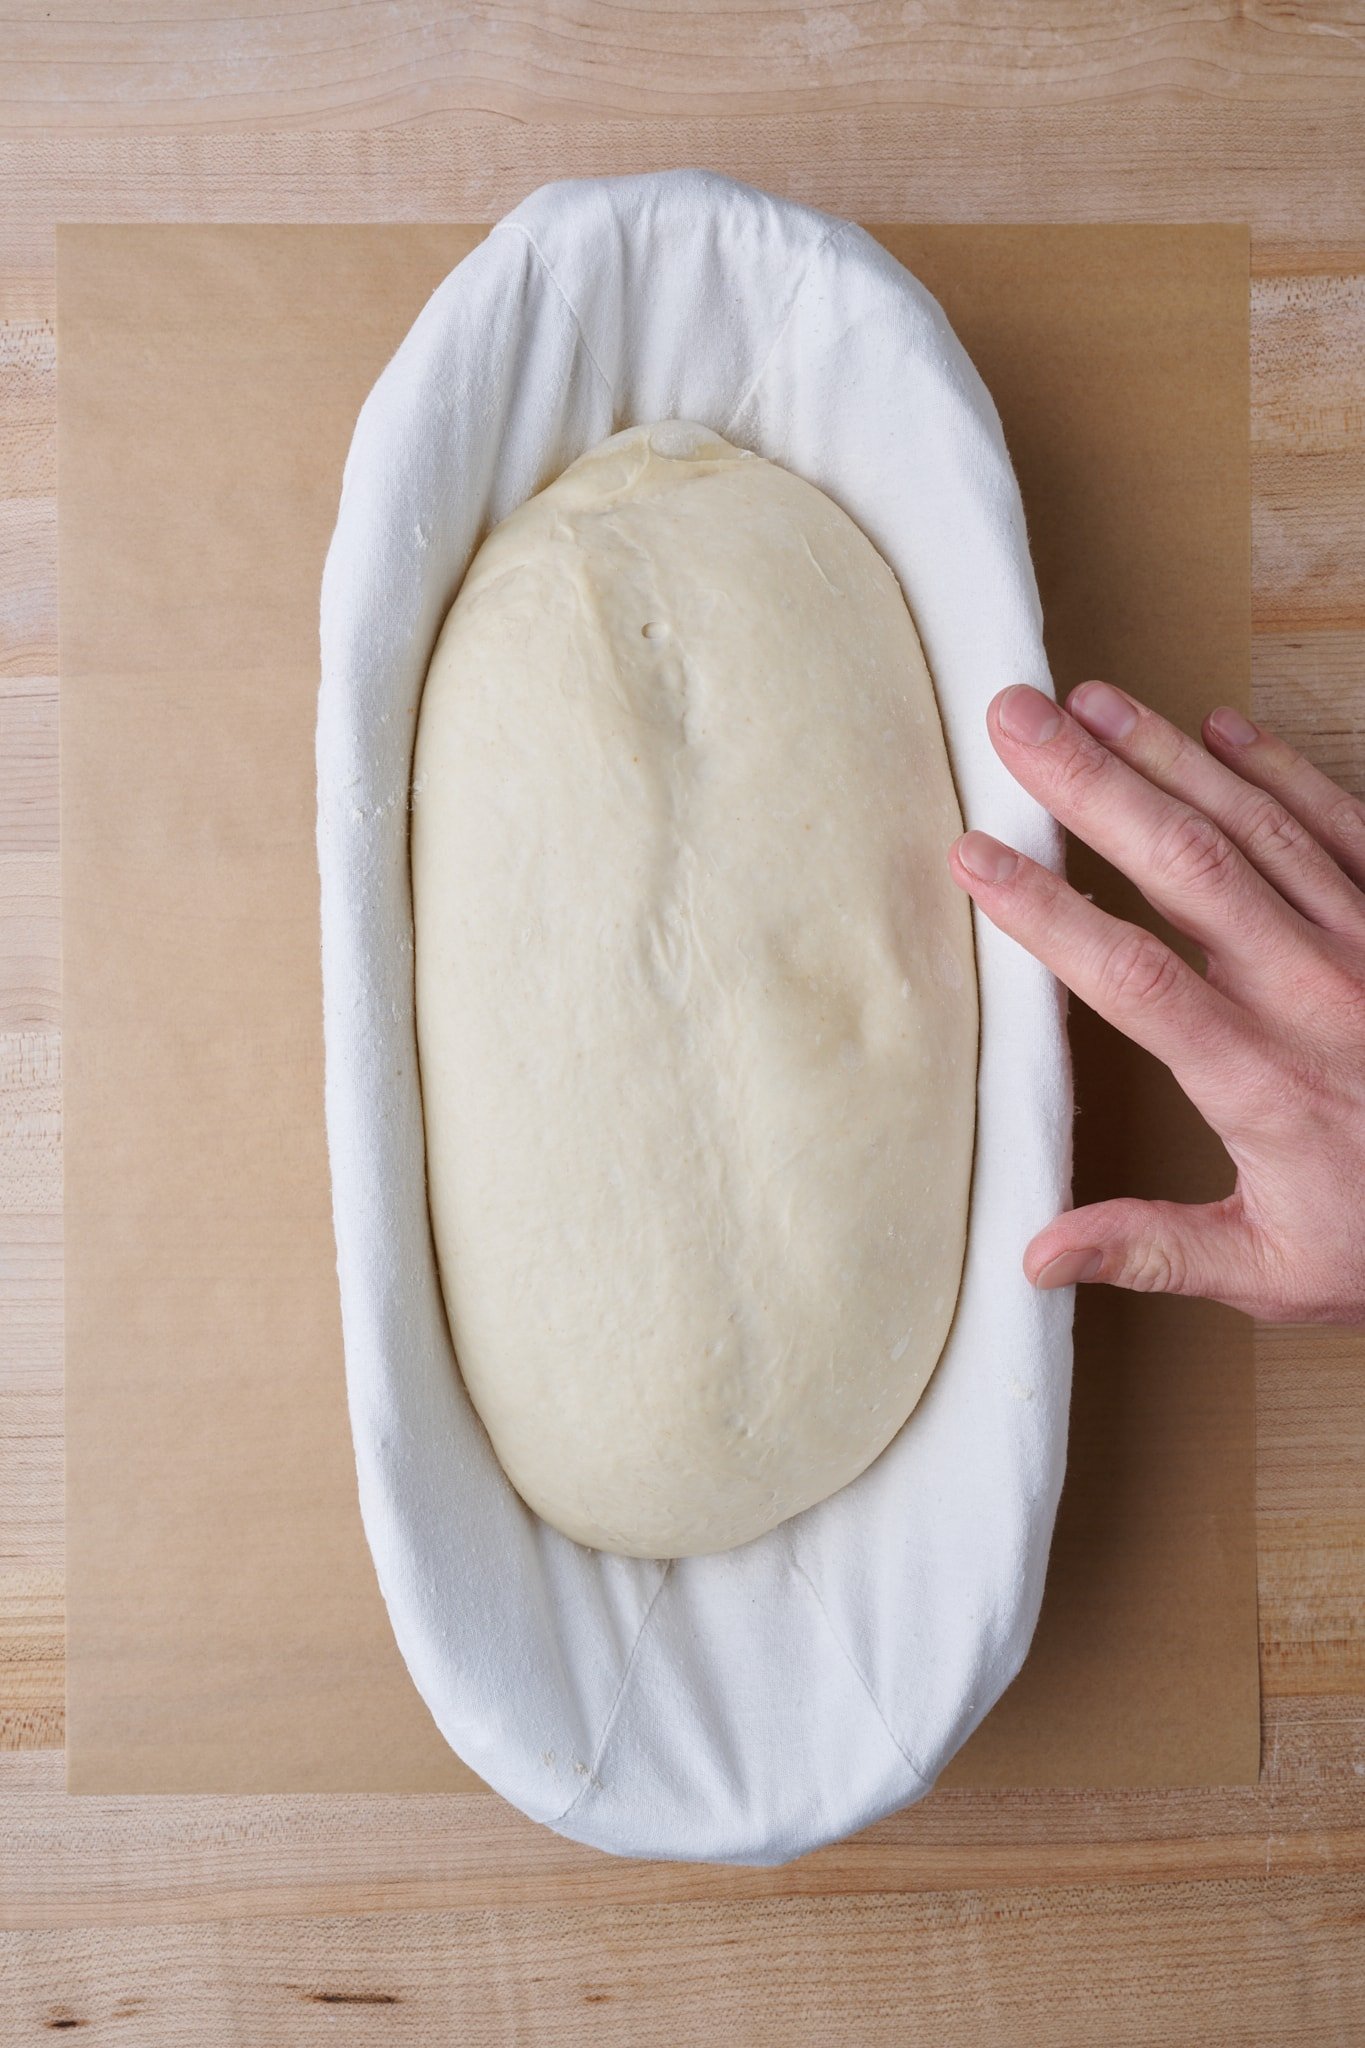
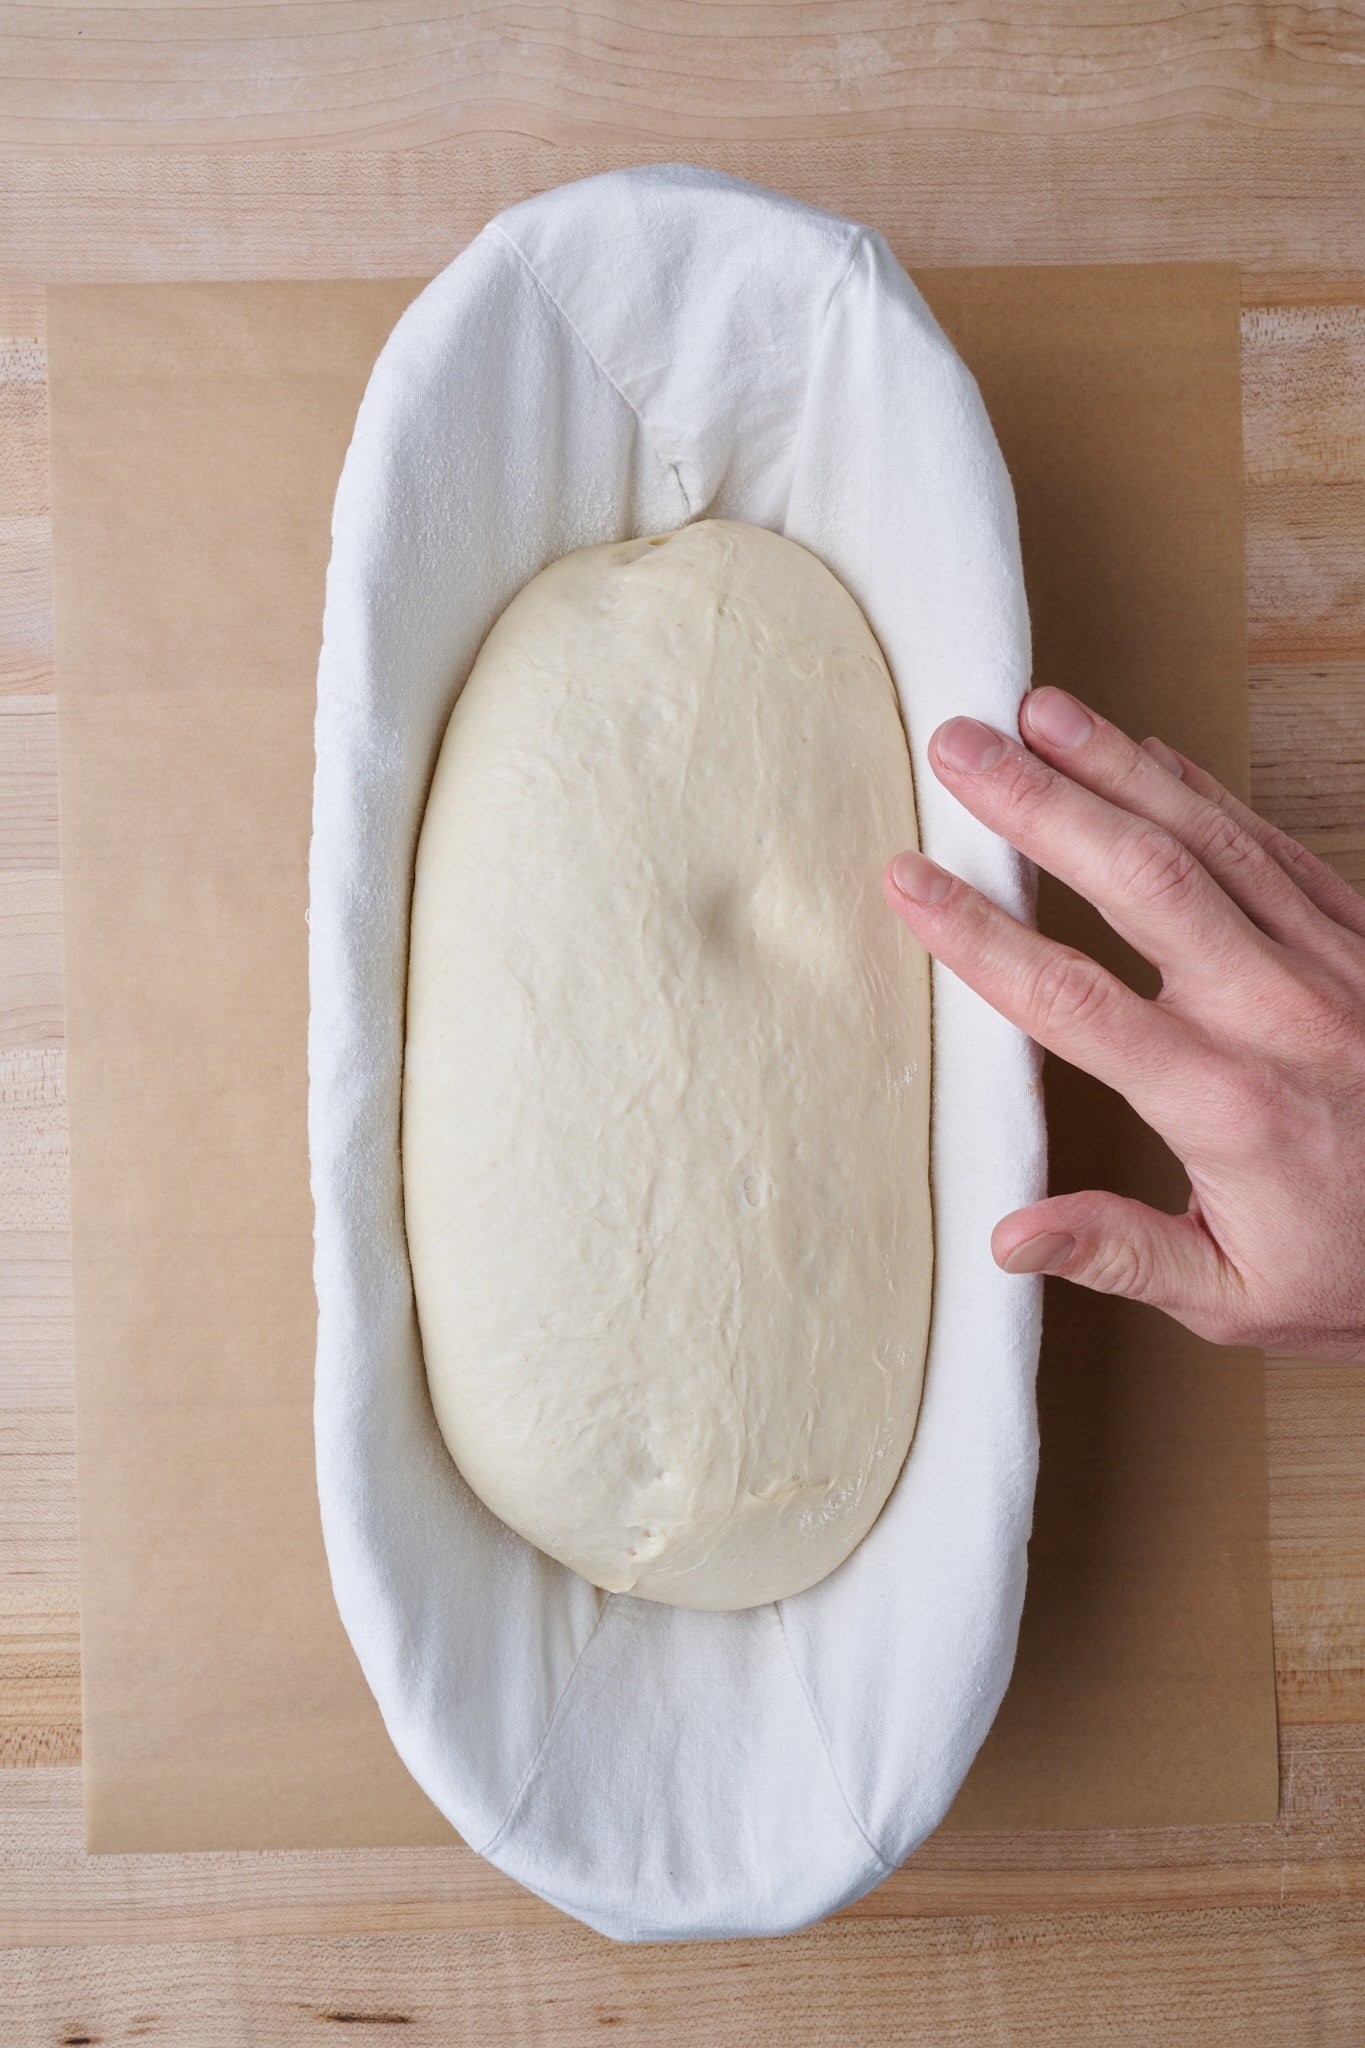
Next, let’s relate the proof level of these doughs to their visual and textural characteristics and how they pass the poke test.
Note that these characteristics may be slightly different if you have a highly hydrated dough or a dough with a high percentage of low-gluten flour (such as rye flour or even einkorn in some cases)—more on this below.
| Dough Proof Level | Dough Texture | Dough Rise and Aeration | Poking the Dough (Poke Test) |
|---|---|---|---|
| 🚫 Underproofed | Tight in basket | Little rise and dense; very elastic | Springs back quickly |
| ✅ Properly Proofed | Relaxed and soft | Airy and light, yet still elastic and cohesive | Springs back very slowly |
| 🚫 Overproofed | Excessively soft and over-relaxed | Excessively risen; potentially large bubbles with thin membranes; weak dough structure | Never springs back (or only slightly) |
Watch me perform the dough poke test
There’s no substitute for watching the dough spring back when performing the poke test. Here’s a video where I show a few pieces of bread dough and how the dough poke test can help you determine its proof level.
How to know if bread dough is fully proofed
To determine if bread dough is sufficiently (fully) proofed, I use a combination of my intuition and baker’s experience plus the poke test. When working with a recipe, use the recipe as a guideline, then change the proofing duration as necessary, knowing that if the dough temperature is warmer, proofing will happen faster. Then, as the dough nears the end of proofing, use the poke test to determine the right point when the dough needs to go into the oven.
Is the dough poke test always accurate?
There are a few instances where I find the poke test inaccurate. And while the test may be inaccurate in these instances, I still find it valuable to help assess the fermentation level in the dough. In general, poking is a good way to get additional insight into how the dough is fermenting.
Suppose you often proof the dough in the refrigerator, using high percentages of whole grains or ancient grains with different protein qualities. In these cases, I still recommend poking the dough near the end of proofing. Over time, you’ll build up your baking intuition when working with these doughs, calibrating your version of the poke test to the doughs you often work with in your kitchen.
In general, poking is a good way to get additional insight into how the dough is fermenting.
Poke test on dough cold from the refrigerator
When the dough is retarded in the refrigerator (proofed at a cold temperature), the dough is cold and, therefore, firmer and tighter than dough proofed at room temperature. Using the poke test on cold dough usually results in a poke that springs back quickly. This fast spring back might lead you to believe the dough is underproofed when it might be properly proofed (or even overproofed) when it might be perfectly fine.
Poke test on dough with a high hydration
When the dough has a very high hydration pushing the limits of what the flour can handle, sometimes a poke test will display little spring back. Adding a high percentage of water will cause the dough to be more extensible and less elastic, which, when poked, might not show the same quick spring back.
Poke test on dough with a high percentage of whole grains or low-quality protein
Similar to when poking a dough with a high hydration, dough with a high percentage of whole grains or lower quality protein (Here, “low quality” concerns the bread-making process, that is, protein that results in a loaf with ample volume and interior openness) will sometimes show sluggish spring back.
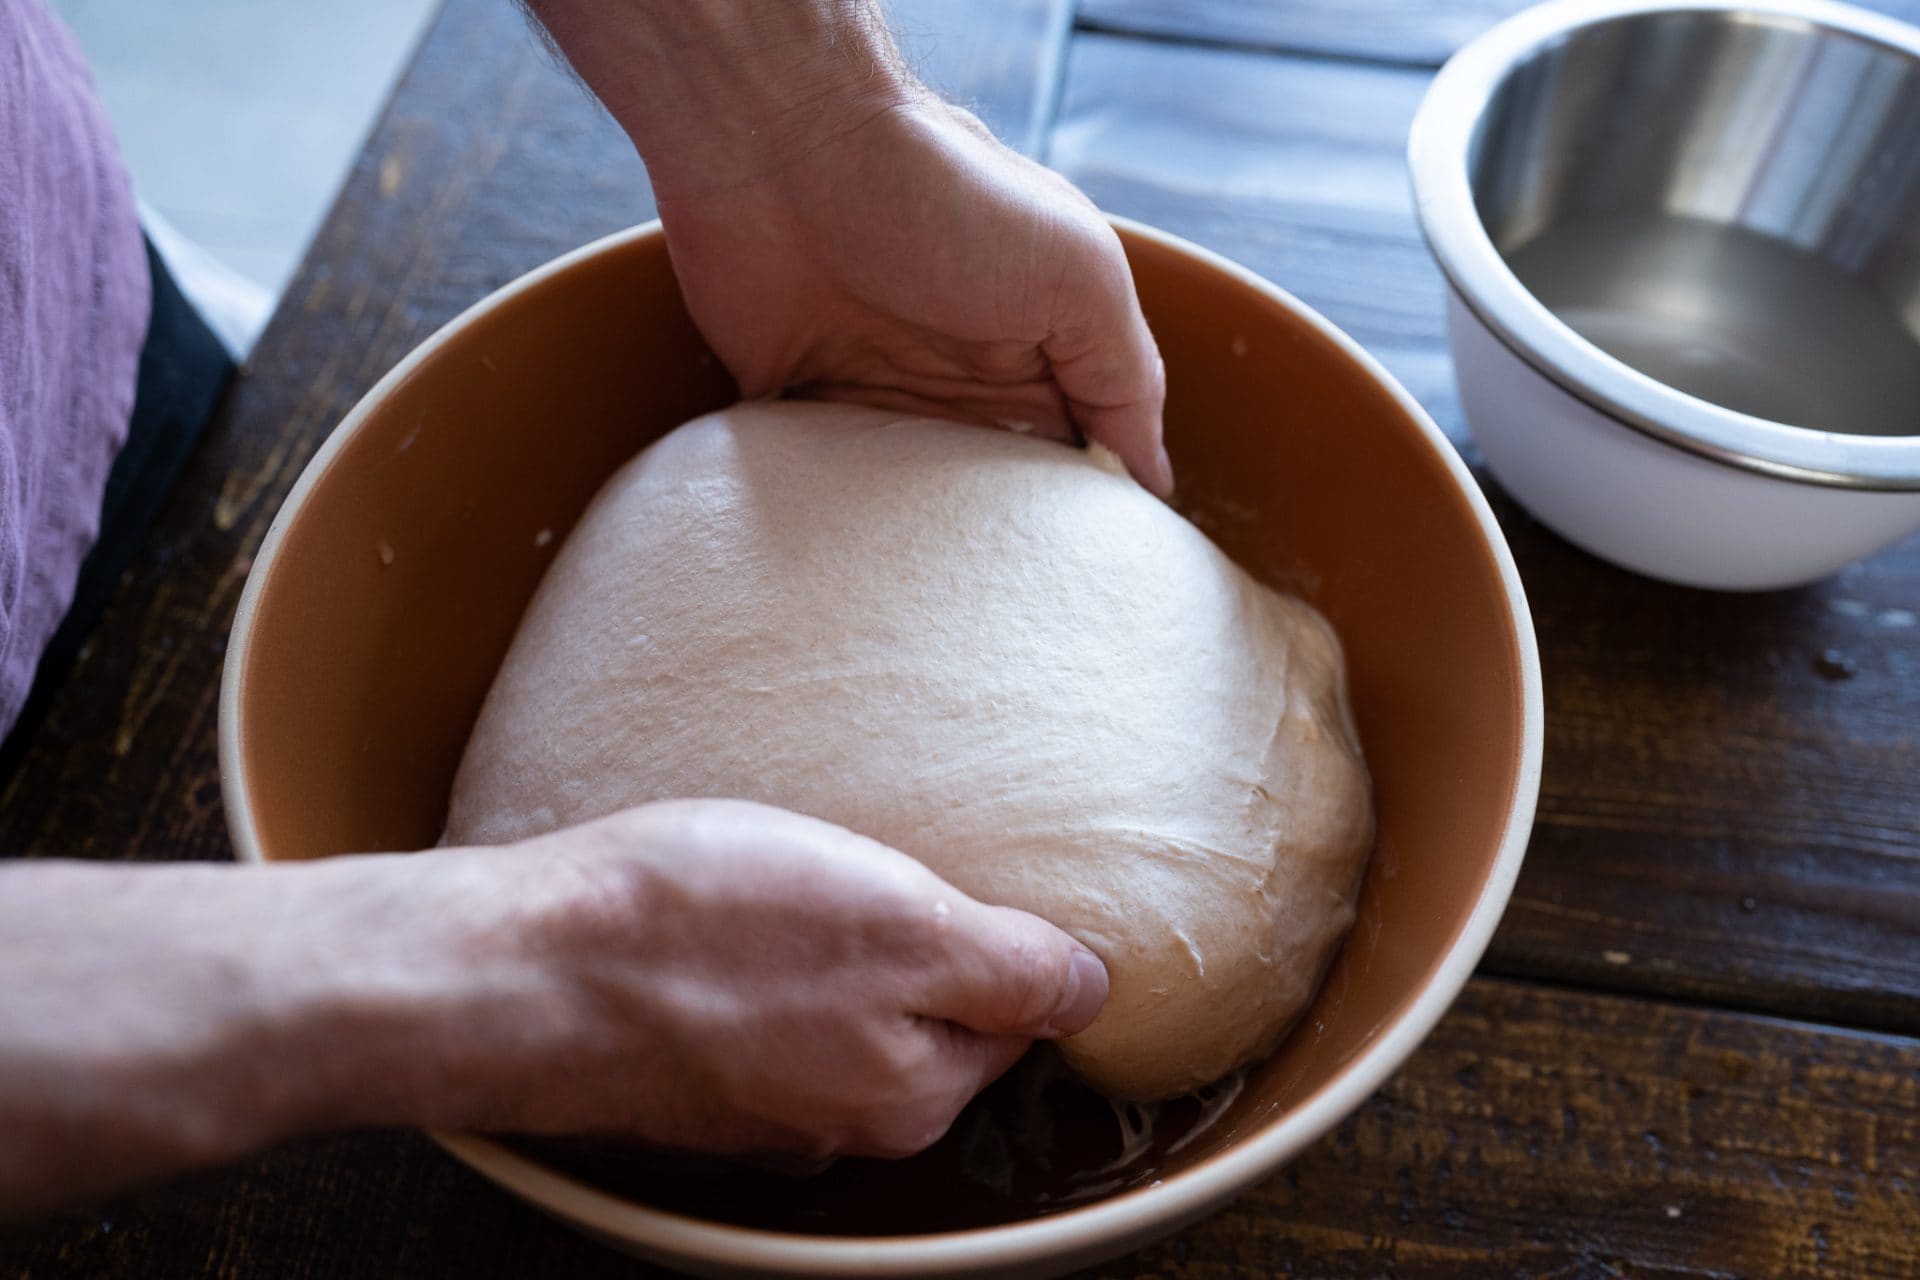
Does the poke test work during bulk fermentation?
The poke test refers to poking the dough when the dough is proofing, just before baking. So while technically poking the dough during bulk fermentation isn’t the “poke test,” I recommend poking, feeling, and observing the dough at all times! Poking the dough during bulk fermentation won’t show the same spring-back nature of the dough in proofing, and it’ll be more sticky and weaker.
How does the bread dough poke test work?
Poking proofing bread dough helps asses the gluten integrity in the dough and how much gaseous expansion has occurred. Especially with sourdough bread, as proofing progresses, gluten slowly breaks down, causing a reduction in elasticity (strength) in the dough—and this is a good thing, to a point.
Poking the dough early in the proofing step will show a finger press that springs back quickly due to the high elasticity of the dough. As proofing continues, the dough undergoes more and more fermentation, reducing its elasticity, and so poking the dough at various points during proofing shows a finger press result that starts with a fast spring back (underproofed dough) to a slow spring back (properly proofed dough) to a press that never springs back (overproofed dough).
In addition, as proofing progresses, the fuel (sugars) needed for fermentation begins to deplete, poking the dough in later stages of proofing will rupture and collapse bubbles in the dough filled while fuel sources and bubble gas pressures were high.
Dough poke test frequently asked questions
Is the dough poke test accurate when bread dough is cold?
The cold temperature makes the dough tighter and more elastic when kept in the refrigerator. Using the poke test on the cold dough will show a finger press that will quickly spring back, leading you to believe the dough is underproofed when it might be properly proofed or overproofed.
How can I stop my finger from sticking to the dough when doing the dough poke test?
To keep your finger from sticking to the dough and make it nonstick, dip it in flour or water before performing the poke test.
What’s next?
Like other aspects of baking, the poke test is one tool that can help you build up your baker’s intuition in determining when a bread dough is sufficiently proofed and ready to be baked. Yes, it has instances where it can be inaccurate, but poking the dough is generally a good thing! It helps you determine what’s happening below the surface of the dough, and over time, you’ll begin to build up what passing the poke test means for the dough you most often work with in your home kitchen.
Now that you have a firm grasp of the poke test and its usefulness look at my ultimate guide to dough proofing for a deeper look at the entire proofing process (including some important things to look out for!).


