
In this guide on how to divide and preshape bread dough, I’ll outline two steps in the bread-making process that sometimes get overlooked but are critical to setting the stage for successful shaping.
Dividing and prehaping is the step in the baking process after bulk fermentation, where you divide the dough into pieces and loosely gather each piece into a form that will help facilitate final shaping. It’s called preshaping because it’s the step right before you shape the dough into whatever your end loaf will be.
Real quick: Dividing and preshaping bread dough:
- Splits dough into smaller pieces per a recipe
- Adds strength to the dough
- Prepares the dough into a form for easier and more consistent final shaping
- Creates a tighter, uniform surface on the dough
What is Dividing Bread Dough?
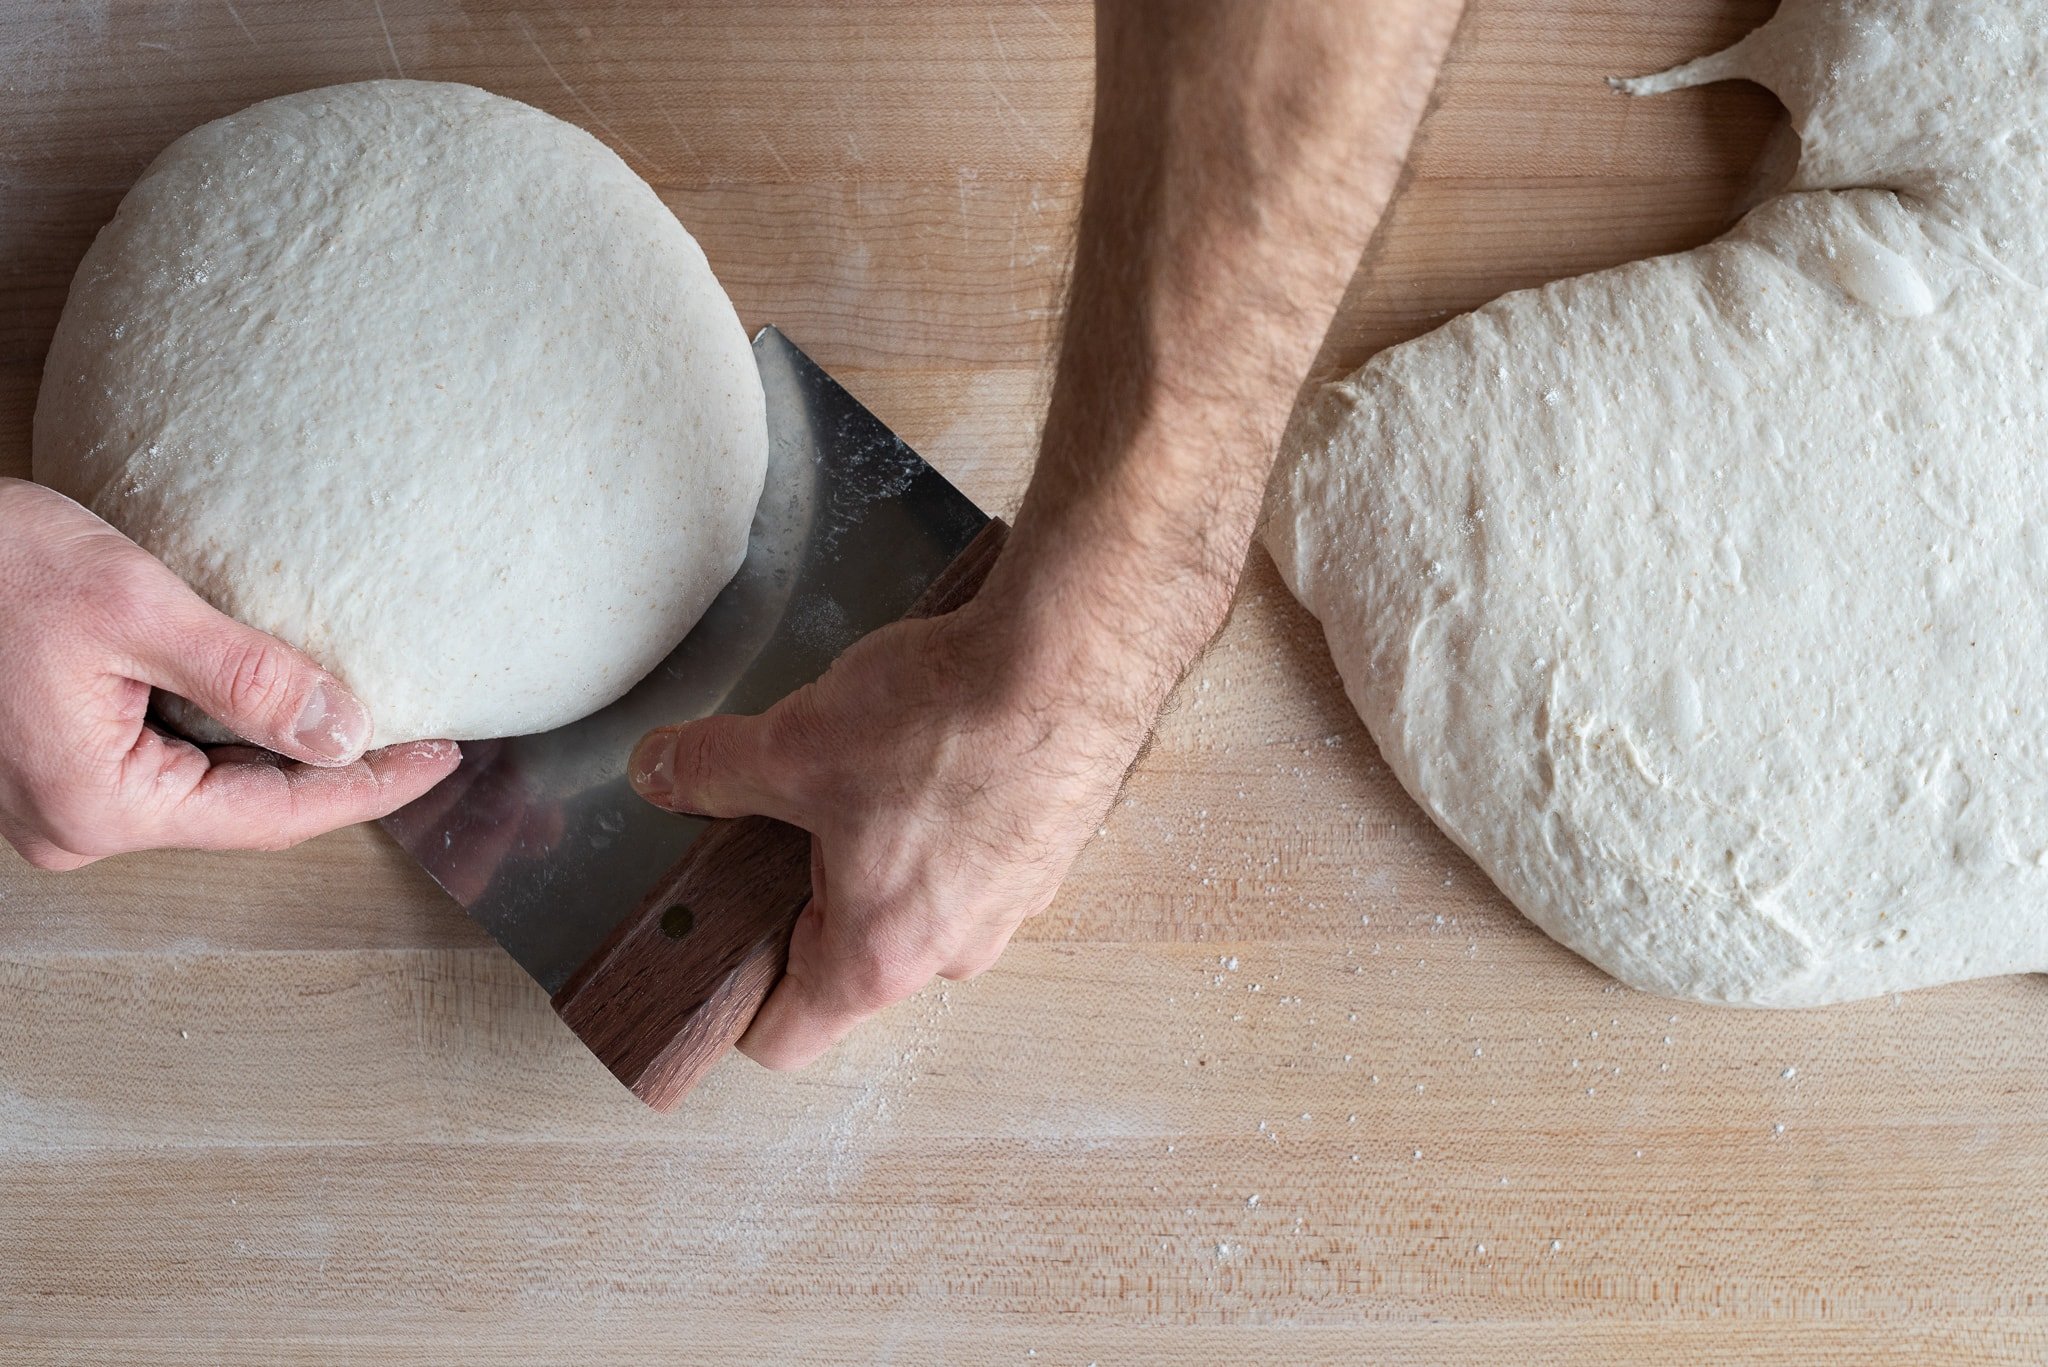
When bulk fermenting dough that makes for more than one loaf, there comes a time when you have to transform that single, large dough into smaller pieces, each a loaf on its own. Dividing is the step where that large dough is cut into pieces, each weighing the amount specified in the recipe.
If a recipe is only for a single loaf, of course, it will not be divided. Instead, the dough will be preshaped (or even shaped) directly after bulk fermentation.
What is Preshaping Bread Dough?
After dough is divided into smaller pieces, preshaping it transforms it from disorganized pieces into smooth shapes (usually round) that will make final shaping easier and more consistent. Preshaping is an optional step, and it’s usually skipped if the dough is strong and orderly enough to proceed directly to shaping.
Besides helping to shape, I like to think each time I round and tuck the dough when preshaping as adding in a little extra strength, like a single stretch and fold. It’s a place where you can also correct for a dough that might be a little too slack but giving it a strong preshape with several rounds and tucks, giving it a strong outer skin of dough that will help keep it in form while shaping and into proof.
Do I Need to Preshape My Bread Dough?
No, it’s not mandatory to preshape bread dough, and in some cases, it might not make sense at all. This is all related to dough strength: if your dough is strong enough and doesn’t require any help getting into its final form, no preshape is needed.
A good example is when I’m baking my sourdough miche. Because it’s a single, large piece of dough, there’s no dividing. It’s also typically strong enough to skip the preshape (although not always) and shape it directly.
The important thing is to be flexible. If the dough feels very strong coming out of bulk fermentation, either because you’ve mixed it to great development, given it many sets of stretch and folds, its hydration is on the lower end, or all of the above, skipping preshaping might make sense.
How To Preshape Bread Dough
Before starting to preshape, step back and assess your dough at the end of bulk fermentation: is it slack and weak looking (a good sign of this can be the edge where the dough meets the container is flat and has no definition (convex) at all)? Or does it look like it has well-defined edges, is smooth, and on the stronger side?
If the dough is on the weak side (perhaps it required more mixing or kneading), go into preshaping knowing you might want to impart additional strength by preshaping more aggressively. If the dough is smooth and strong (as seen in my video below), you can be gentle with fewer movements.
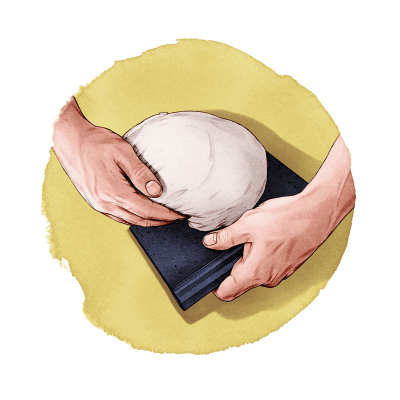
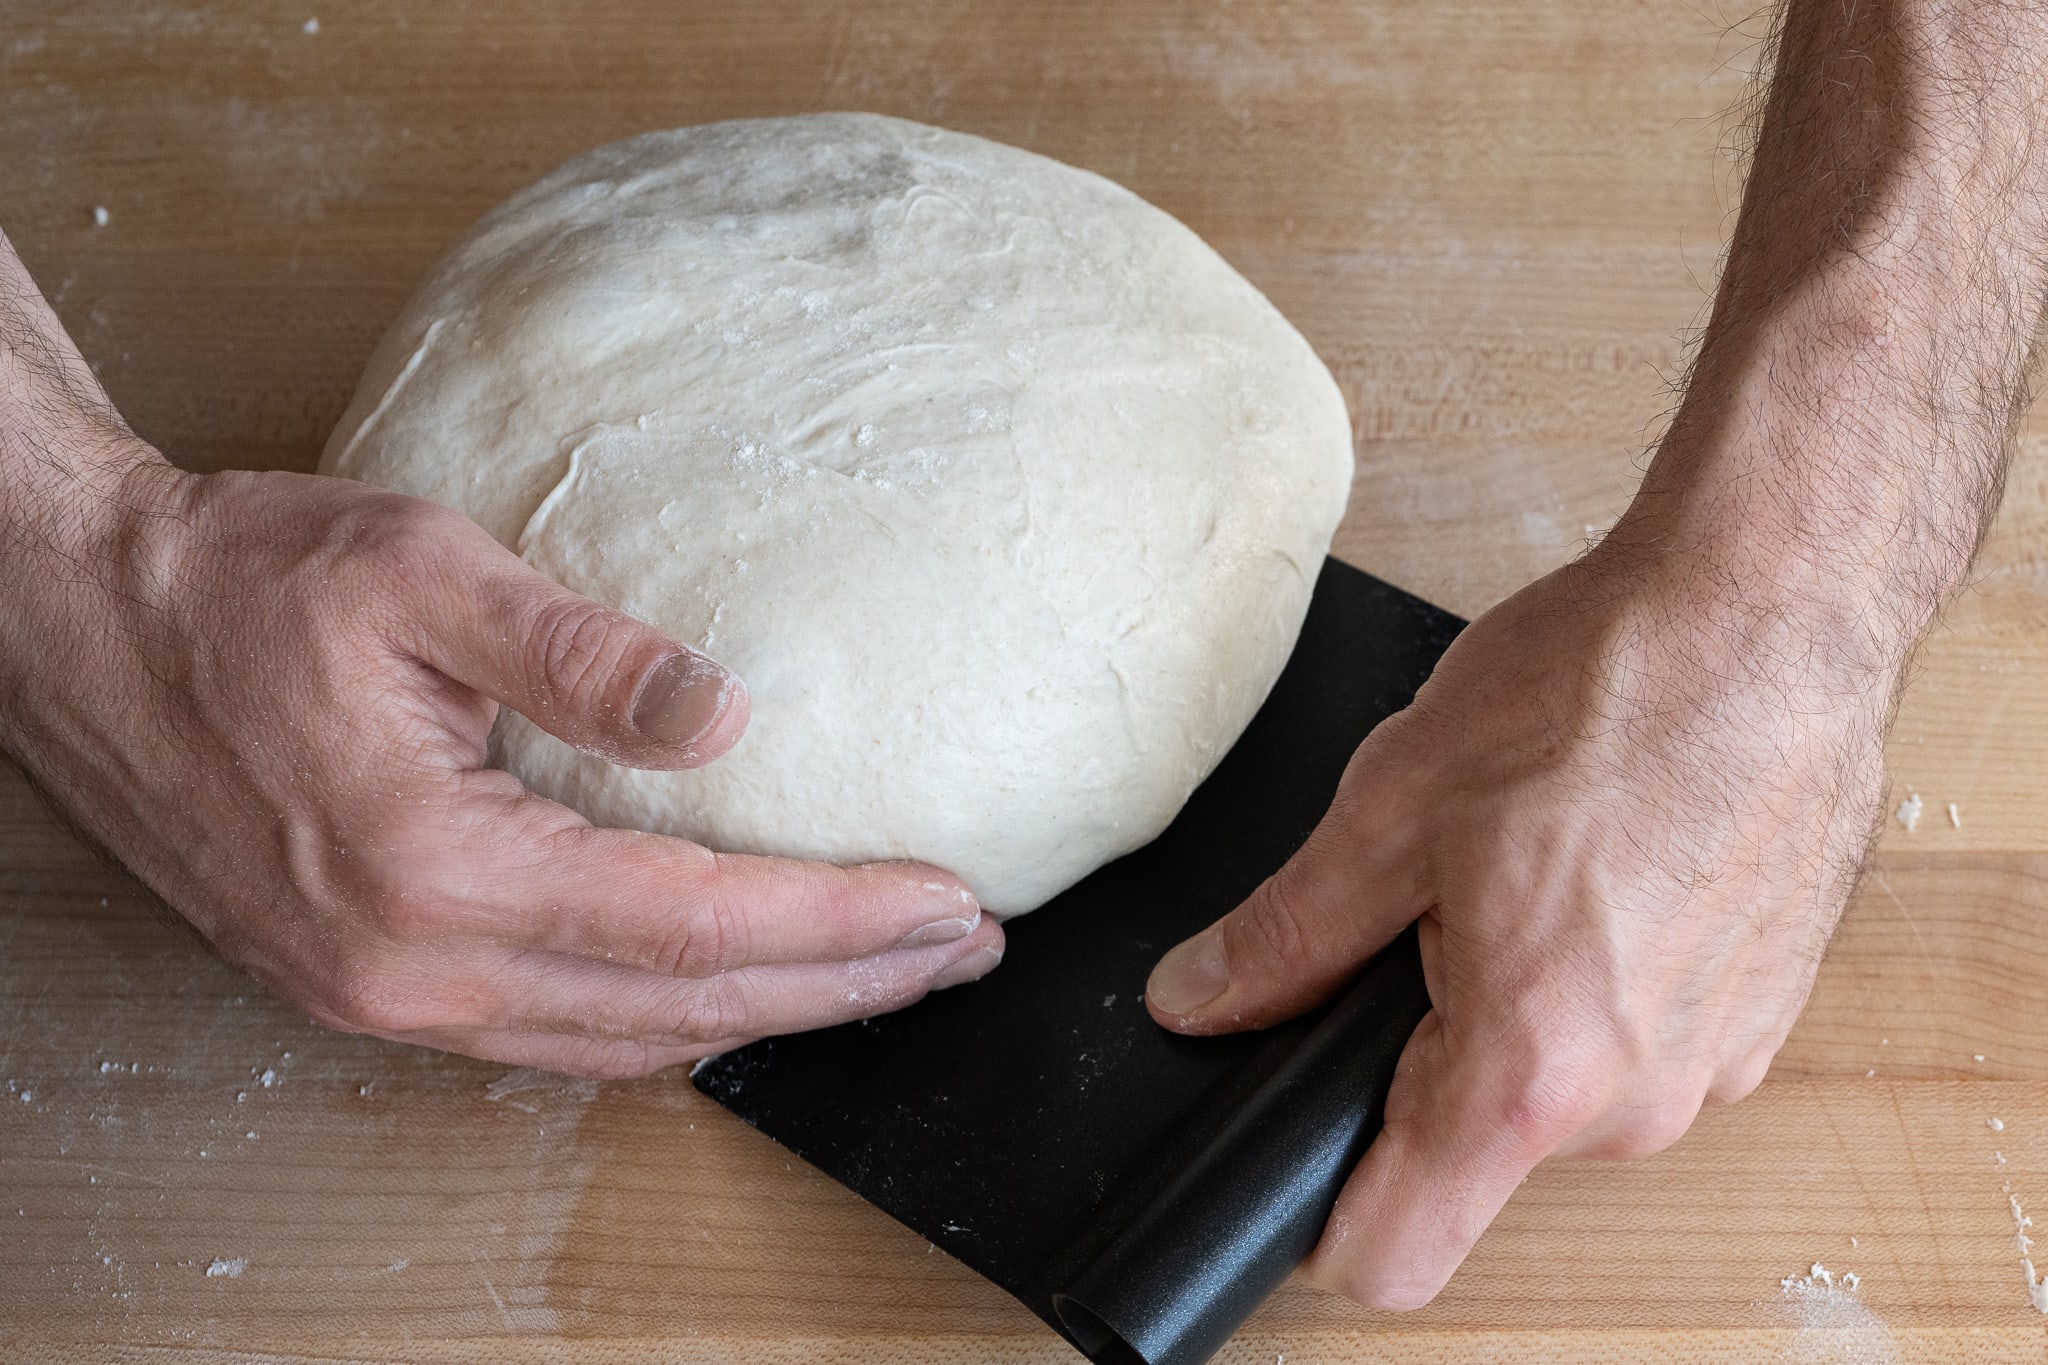
Using your bench knife at a shallow angle with the work surface, push the dough while at the same time using your wet hand to tuck it under itself, creating tension. It’s a fluid motion, pushing and slightly rounding with your bench knife while using your free hand to continue the rounding motion while tucking the dough slightly under itself.
One thing you’ll begin to learn with time is how to push, tuck, and pull the dough to keep it in a mostly round shape. It’s easy to get a side of the dough “stranded” and hard to incorporate back in to keep the round symmetrical. The best way to keep everything together is always to remember to slightly tuck the dough under itself as you’re pushing and rounding.
Let’s take a look at how to preshape bread dough with a video (and some explanation along the way).
Video: Watch How I Preshape Dough
The following video shows me preshaping a recent bread dough at about 70% hydration. As I mention in the video, the dough is rather strong, and you can see the result: very little effort and manipulation to get it into a gathered up round ready for its bench rest.
See my YouTube channel for more bread videos.
Why is My Dough Tearing During Preshaping?
If you find your dough is tearing or breaking apart when preshaping, you might be forcing the dough or overly tightening it.
Why is My Dough Too Sticky to Preshape?
If you find your sourdough bread dough is too sticky when you are dividing and preshaping, it might be because it’s over hydrated, under strengthened, or under proofed. The majority of the time, I see this because the dough needed less water or more kneading upfront (or stretch and folds during bulk fermentation). Next time, try either reducing the water in the mix (which will bring strength to the dough), knead for longer, or give it more strengthening during bulk fermentation.
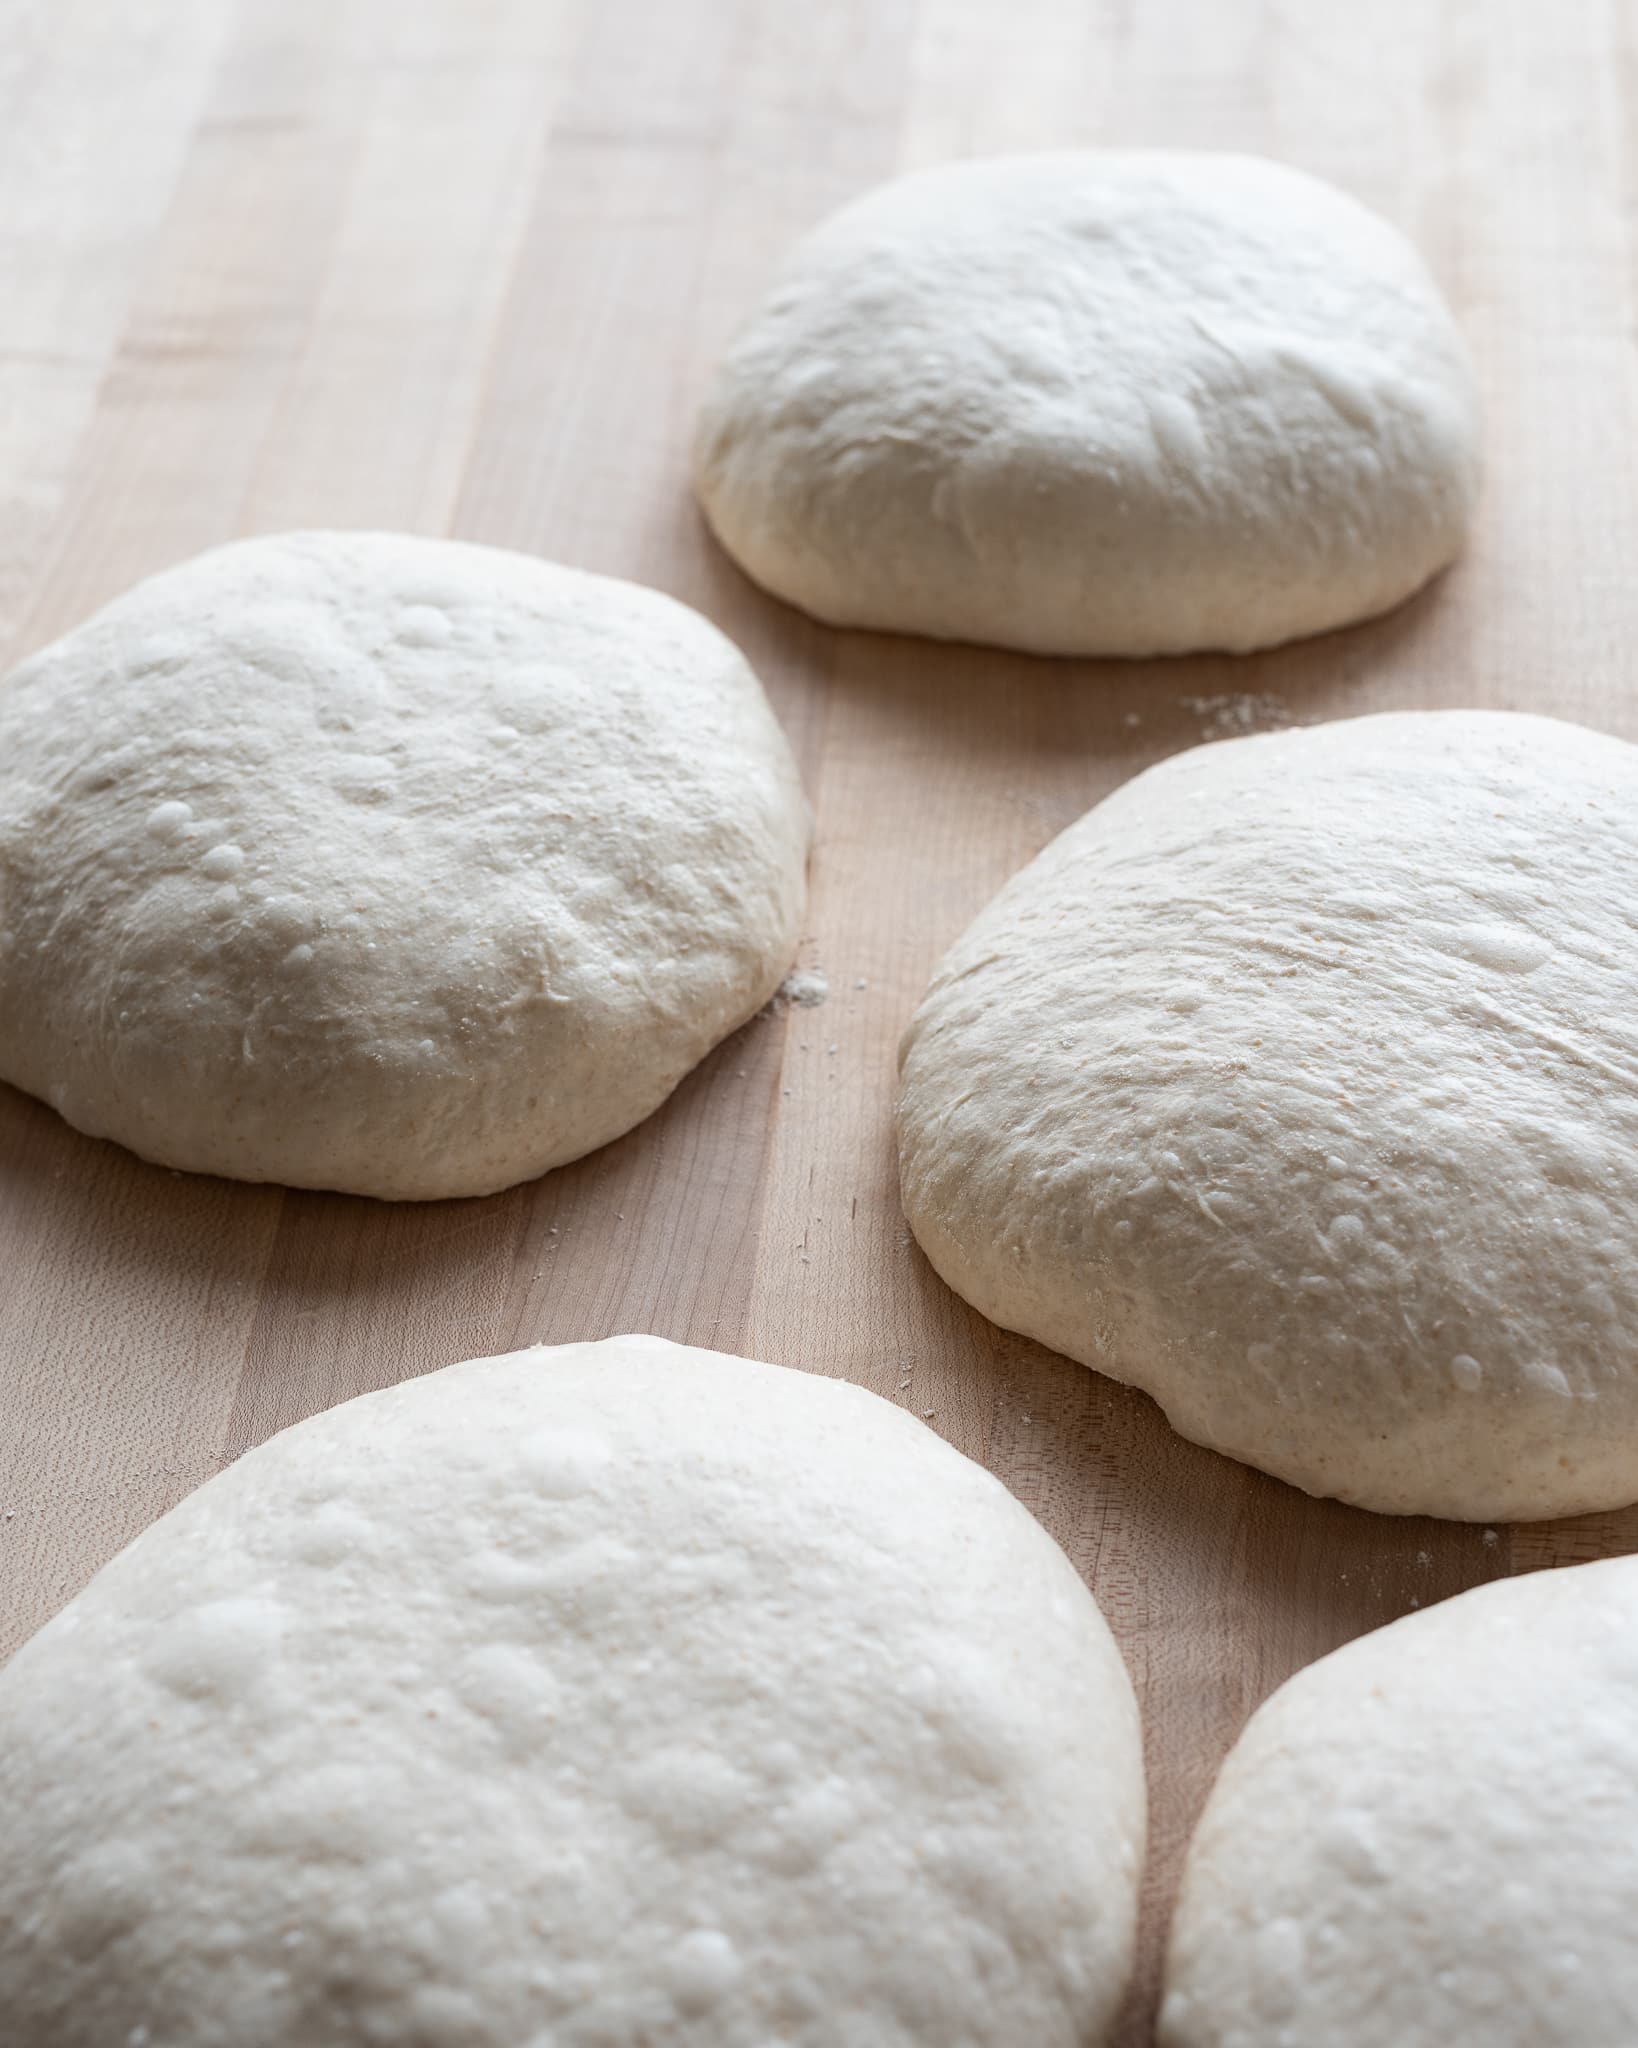
After your dough is preshaped, the next step is the bench rest.
What is a Bench Rest?
A “bench rest” is the time right after the dough is preshaped up until the time when the dough is shaped. During this time, the dough relaxes and spreads on the work surface. This relaxation is important: if you tried to shape your dough right after preshaping, it would likely be too taut and strong, tearing as you forced it into shape.
Giving the dough some time to rest allows the gluten to relax, making it easier to shape the dough into its final form (e.g., a batard, boule, etc.). And the amount of time to allow the bench rest can vary. Let’s talk about why the duration is important.
How Long Should I Bench Rest My Bread Dough?
The exact duration of time you let the dough rest after preshaping isn’t as important as the state of the dough when you go to shape. You want the dough to have relaxed outward to some degree. It shouldn’t be a flat pancake on the work surface (and if so this would mean your dough went into preshaping under strengthened), and it shouldn’t be so tight and gathered into a ball you can’t stretch the dough and perform final shaping.
The goal is to give the dough enough bench rest time to relax outward enough to make shaping possible without tearing or forcing the dough. For a typical sourdough bread recipe at moderate hydration (like my Beginner’s Sourdough recipe), I’d expect the bench rest to be around 30-40 minutes, depending on how tight you preshaped the dough.
What’s Next?
Now that you’ve mastered preshaping bread dough, look at the ultimate guide to shaping bread dough, the next step in the process.
Or, head back to the Beginner’s Guide to Sourdough Bread to look at all 8 steps to making the best bread at home.

10 Comments
I wonder how to handle all the bubble surfacing after the first rounding? I dont want too many big pockets on the surface and get burnt at the end nor big irregular holes inside the bread?
Thanks in Advance!
Mitzu's mom
Hey Dody! Thanks so much for the feedback, means a lot and happy to have been a help! I love using water instead of flour at this stage 🙂 So much cleaner and easier, IMO. Sounds like you’re on the right track! Keep at it.
You’re very welcome! It’s very hard to over work the dough by hand, but if you’re doing it during preshaping, just pinch it together or do your best to keep a consistent and smooth skin on the outside of the dough and try your best to limit interaction from then on out.
Hi! Thank you so much for all these guides and videos! They help a ton. Quick question, I’ve noticed when pre-shaping my dough isn’t as tight as yours and at the end of the 30 min bench rest it ends up almost flat, very no matter what the water percentage I work with is. Thanks for the help!
You’re welcome, Patricia! That’s usually due to under strengthening. Give the dough a longer kneading time or add in more stretches and folds during bulk fermentation to impart additional strength before you get to that point!
A great article. Thank you.
I would add that when baking with doughs made with wheats with lower levels of glutenin the dough will never develop any strength no matter what the baker does. These doughs only have very light kneading and pre-shaping and shaping is liable to break the gluten structure down. Sonora would be a flour like that in your neck of the woods. Perhaps some of the re-emerging heirloom land races too. (Perhaps Spelt as well.) Here in the UK I bake a lot with heritage flours the taste is stunning, but they only tolerate hydration at 60-65%. So much flavour was lost with the Green Revolution development of modern Commodity flours and slow fermentation is only part of the flavour story.
You’re welcome, Kevin, and great comments. You’re spot on there with the flour variety/specifications being a very important component as well. In the end, it does all come to this!
So glad to hear that! Thanks. Yes, I’ve been trying to provide a nice set of core guides to help any baker to hopefully fill in any questions and gaps they might have in the process! Happy to hear you’re finding them useful. Happy baking!
Hi Maurizio,
I just took your yummy Sunflower Sesame Sourdough out of the oven, can’t wait for it to cool!
I have a question: during the bench rest after the pre-shaping I noticed the dough was starting to dry out and decided to cover it. Some recipes ask for the dough to be covered, others like yours not. Is there a reason for not covering it?
Does it have to do with how long is the bench rest? Thanks 😉
Awesome, Laura! It’s such a delicious bread. I like to leave them uncovered to actually dry the skin on the dough just a tiny bit. I find it helps make shaping a little easier (less sticky). However, if you’re doing a long bench rest or you have a draft in your kitchen (AC or heater can do this), covering is the way to go. And for sure, the longer the rest, the higher chance you might need to cover the dough. I usually dont, even when going 40 minutes, unless the AC is on. Happy baking, Laura!