

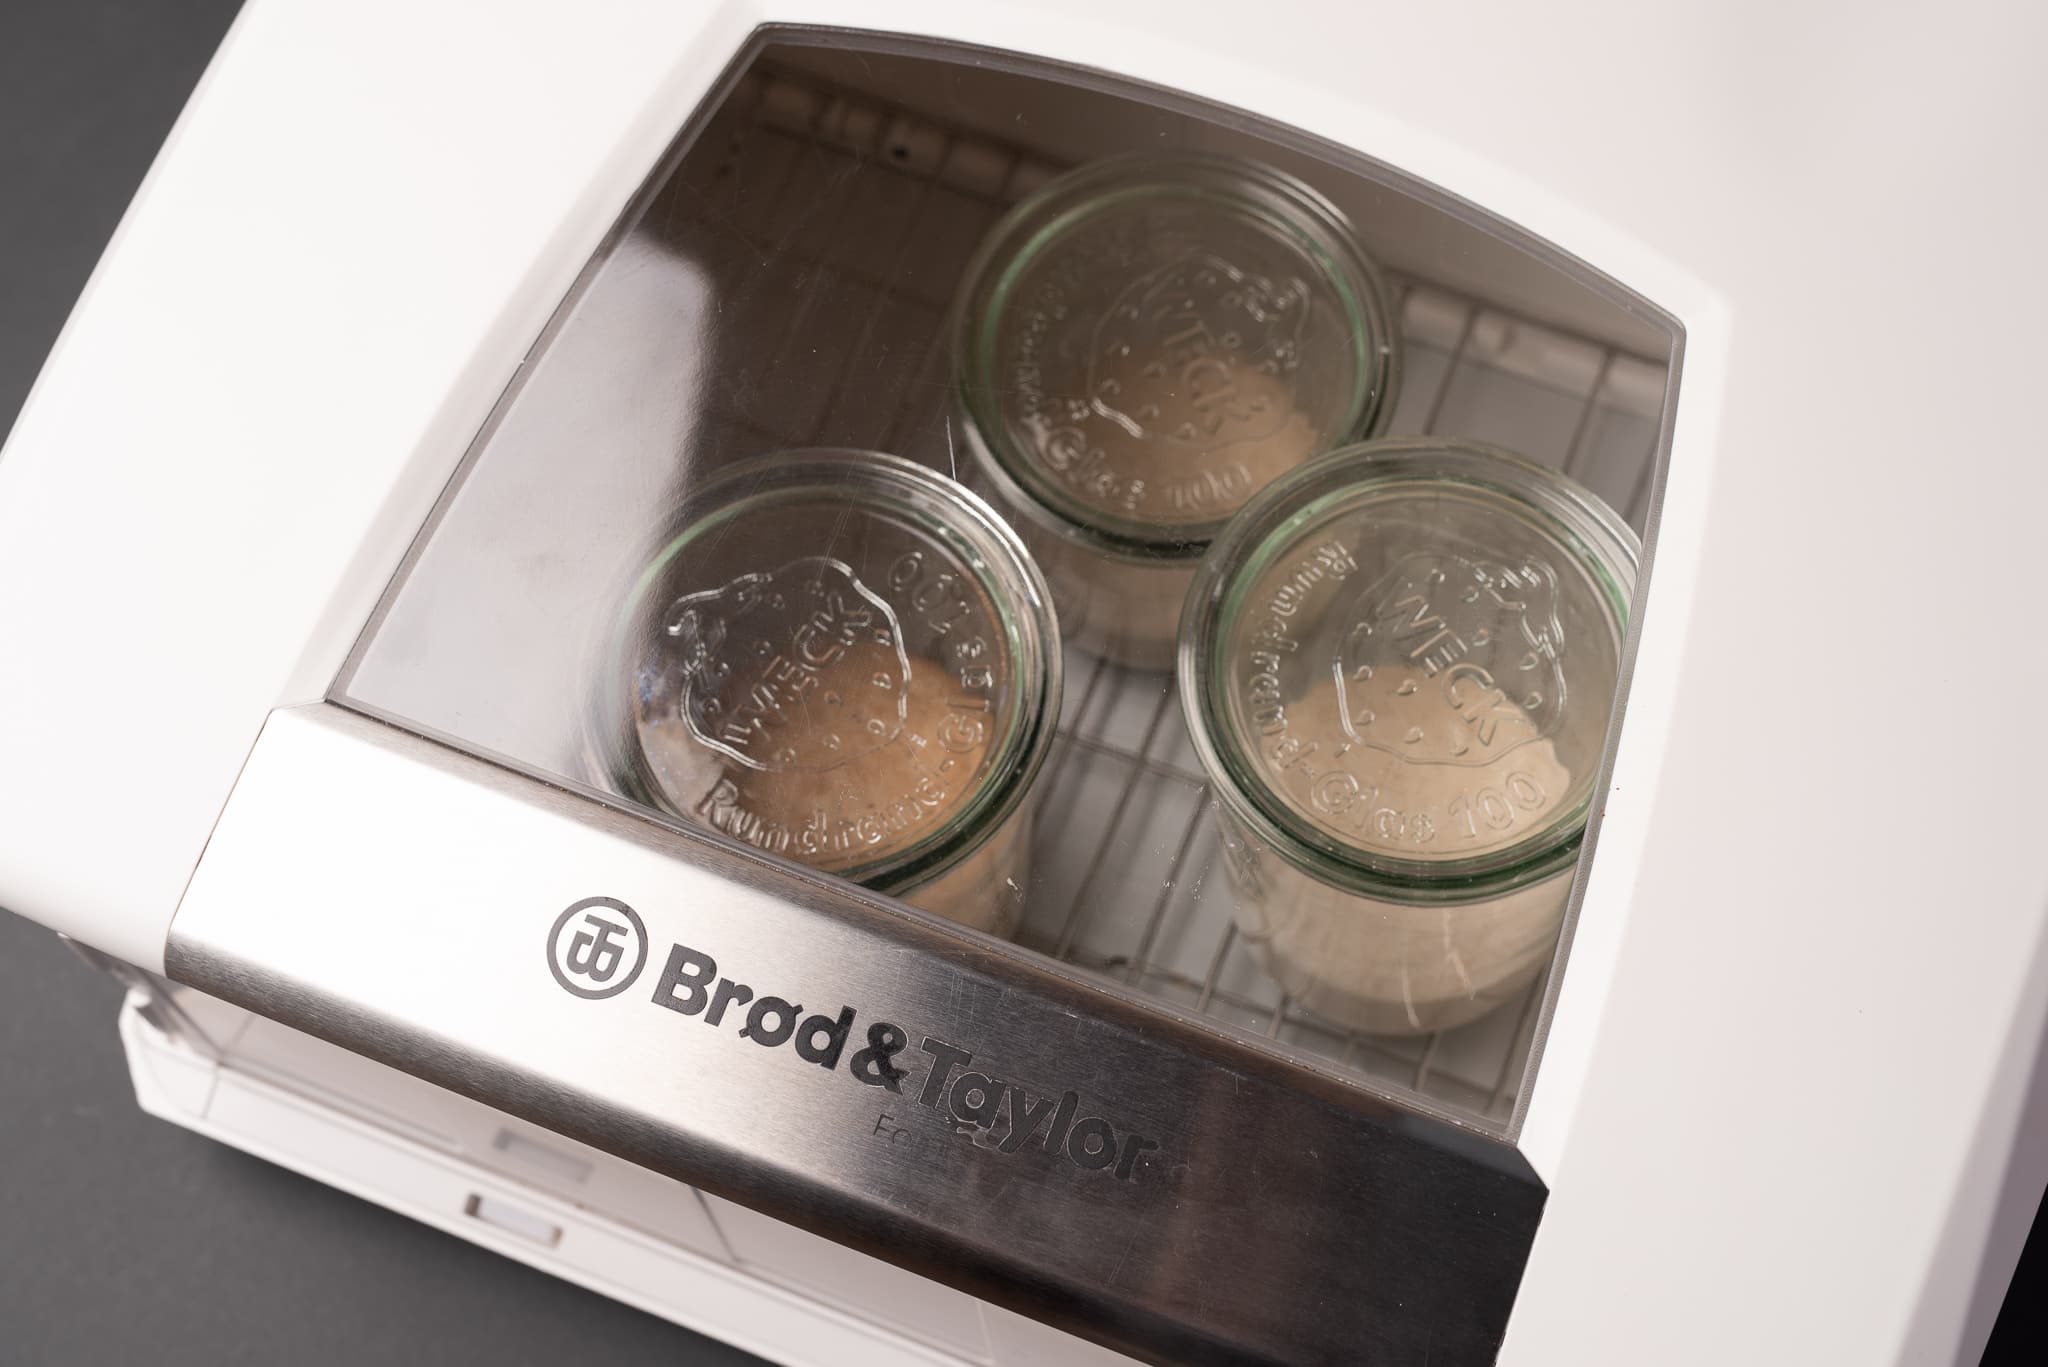
In my early day of baking sourdough bread, I didn’t quite appreciate the importance of temperature and its impact on the entire process. Not only does temperature set the pace and vigor of fermentation, but it can also have a profound effect on the flavor and texture of your final loaf of bread. In this article, I’ll outline how to use the Brød and Taylor dough proofer to help keep your sourdough starter strong, keep your bread dough warm during bulk fermentation and proof, and a few tips and tricks I’ve picked up along the way.
Temperature is one of the most important things to pay attention to in bread baking.
Overall, the monitoring and control of temperature in bread baking will help increase your baking consistency. By using a compact proofing chamber, we have more control over the dough’s environment. This stable microclimate is repeatable, and predictable and lets us take one of the variables out of the bread-baking equation.
Before we dive in, I want to say thanks to Brød & Taylor for sponsoring this post. I reached out to them for clarification on a few aspects of the proofer after receiving several emails from bakers who received a new proofer over the holidays. Many of their comprehensive replies (with lots of delicious thermodynamics, engineering, and scientific details—yes, I’m one of those types 🤓) have made their way into this article.
Let’s first start high level, and go over what the Brød and Taylor proofer can do.
What is a dough proofer?
A dough proofer is an apparatus that helps you maintain a warm temperature for your starter, levain, and dough. The Brød and Taylor dough proofer will only warm your dough; it doesn’t have a cooling element (that’s what a dough retarder is for). But this is fine because most of the time, as home bakers, we’re looking for a way to warm our dough rather than cool—and this is especially true when baking sourdough bread in the winter.
How does the Brød and Taylor dough proofer work?
The proofer has a large metal heating surface at the unit’s bottom. When you choose a temperature through the controls at the side, this plate heats the box’s interior using thermal radiation until it reaches your desired temperature. Radiative heat is the energy emitted by matter in the form of photons or electromagnetic waves. Think of it like having a pan over, but not touching, a fire (but not that hot, of course).

When you select a temperature for the proofer, it will begin heating until the interior reaches that temperature, and it will keep it there until you change the temperature or turn the unit off. It maintains the temperature by cycling on and off the heating plate. If the chamber’s temperature dips below the target, the unit will begin heating once again until it reaches the desired temperature.
You might wonder if the heating plate turning on and off to maintain temperature would result in temperature fluctuations in your dough. In practice, this isn’t the case. Because the container is held above the heating plate with no direct contact, there won’t be sufficient direct heat transfer in the small bit of time the plate is heating (if the container were placed directly on the plate, that might be a different story).
An important point about the proofer: the temperature inside the proofer (the air filling the chamber) will not be precisely the same as the temperature you set on the control unit at the side. Why? Because the proofer was designed and calibrated to ensure the objects (jars, bowls, etc.) on the wire rack will be at the target temperature. Which is the goal in the end.
Let’s look at general use cases for the Brød and Taylor dough proofer.
How to use the Brød and Taylor dough proofer
First, it’s important to set up your proofer to use it as a dough proofer and not a slow cooker. This means you’ll want to insert the metal rack into the base of the proofer (as you can see below). This rack will hold any jars and bowls and keep them up off the heating plate at the bottom (which is what you would do when using it in slow cooker mode).
Having a proofer doesn’t mean we can ignore the dough’s final dough temperature—which is still as important as ever.
From there, the proofer is extremely easy to operate: select your desired temperature using the control panel on the unit’s side. If your kitchen is cooler than the temperature inside the proofer, it will begin heating until the objects in the proofer reach your desired temperature.
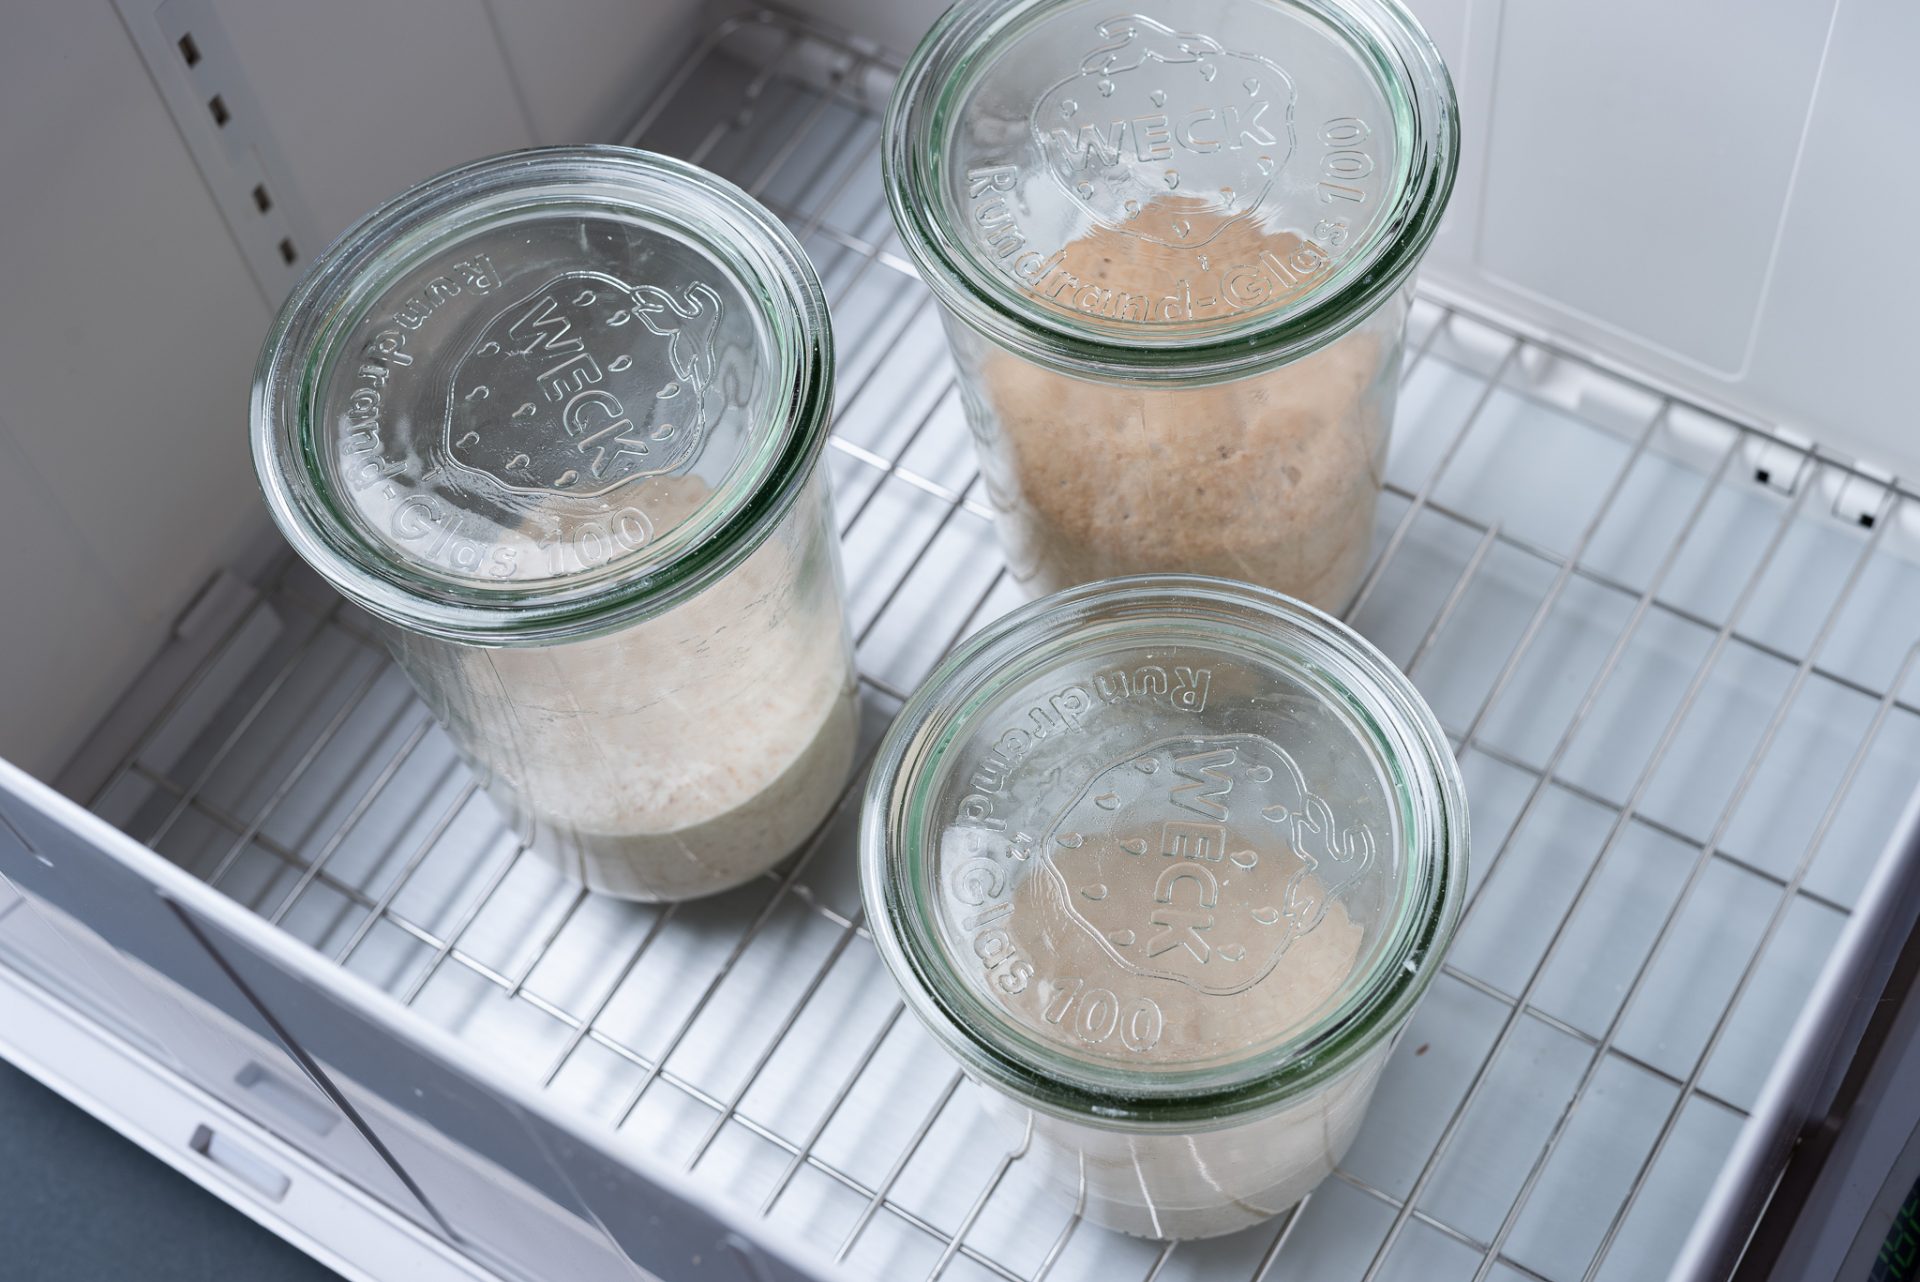
The proofer was designed to heat with increased intensity in the center of the unit’s rectangular base versus the edges. This is because it is designed to use the included water tray (more on this in a moment). I rarely use the water try, but regardless, I always cluster my jars and bowls in the middle of the proofer, as you can see above.
Next, let’s talk about the included water tray.
Should I use the included water tray?
The proofer comes with a small, rectangular tray filled with water and placed at the bottom of the unit. As I mentioned earlier, the proofer has a slightly warmer temperature in the dead center of the base. Warming the center a few degrees higher than the edges facilitates water evaporation from the tray. The evaporated water will increase the humidity in the proofer (which can help prevent your dough from drying out), but it does more than that: it also increases the proofer’s heating effectiveness. Water vapor carries thermal energy more efficiently to any object inside the proofer.
This is perhaps the single most common question I receive: Should I use the included water tray inside the proofer?
The choice is up to you, the proofer works extremely well whether you use the water tray or not. I personally don’t use it (for a few reasons I’ll go into soon), but know that it does perform two functions:
- Increase the humidity in the chamber to keep your dough from forming dry patches
- Improve the heating efficiency inside the chamber
Because the proofer was designed to use the water tray, it was also calibrated in that use case. If you do not use the water tray, expect a 2° drop in dough temperature if you have any containers uncovered.
However, if you do not use the water tray and cover your dough (this is what I do), the drop in temp will be offset by the heat retained by the cover.
To sum up: should I use the included water tray?
The choice is up to you, and the proofer will work well either way. Choose one of the following:
- If you use the water tray, keep your dough uncovered.
- If you do not use the water tray, keep your dough covered.
This leads me to discuss whether I keep my dough covered or uncovered when in the Brød and Taylor dough proofer.
Do I cover my dough container when in the proofer?
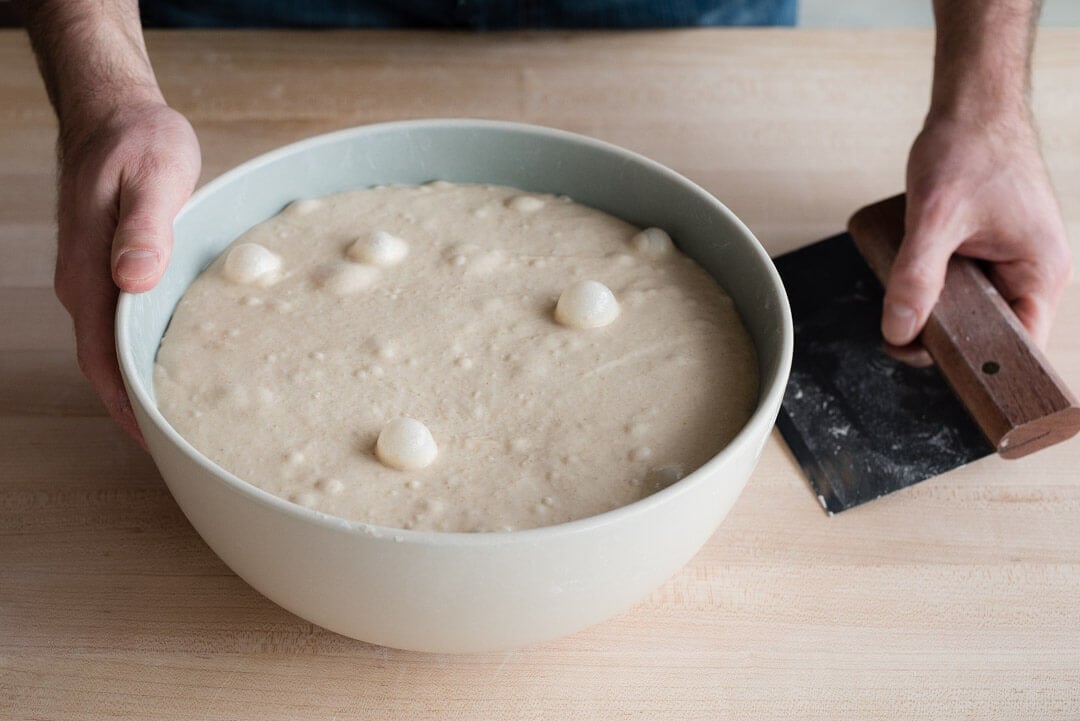
First, let’s talk about covering containers, another common question I receive about the proofer. Yes, I keep my starter, levain, and dough containers covered at all times when inside the proofer (I use these reusable covers). I primarily do this because it’s extremely dry here where I live, and I’m always covering things to avoid a skin from forming on my dough (it drying out). But it’s also because I do not use the included water tray.
If you choose to use the water tray at the bottom of the unit, you won’t need to cover your dough for shorter periods of time, but if I were doing a long ferment, say 12 hours, I would still choose to cover my dough.
One caveat: I would likely choose not to cover my dough in the proofer if I set the temperature at the high end, say anything at or above 80°F (26°C). Why? In that case, the heating element would heat the vessel and the dough to such a high degree the dough would likely be much hotter than expected.
To sum up: should I keep my dough container covered?
Keep your dough covered if:
- You are not using the included water tray.
- Your fermentation time is longer than 12 hours.
What temperature should I set the proofer to?
No single temperature is best for all situations, but I do have a set of go-to temperatures. You might want to adjust the temperature higher or lower: if it’s frigid in your kitchen, when it’s only maintaining your sourdough starter, when you’re making a warm and fast levain, or if your dough recipe calls for a lower final dough temperature. With each of the temperatures discussed below, remember that I keep my containers covered at all times and do not use the water tray, so I set the Brød and Taylor dough proofer to be about 2-3° below the temperature I’m targeting for my dough.
Below is a quick table of the temperatures I keep each item at while fermenting, arrived upon through testing over the many years I’ve had the Brød and Taylor proofer. Remember that you should always follow the prescribed temperatures in any formula you’re following (e.g., many of my whole-grain loaves call for a lower final dough temperature).
| Item | Temperature Controller Setting on Proofer (not using water tray) | Temperature inside container (dough) |
|---|---|---|
| Sourdough starter | 75°F (24°C) | 77-78°F (25-26°C) |
| Levain | 75°F (24°C) | 77-78°F (25-26°C) |
| Mostly-white bread dough (in bulk fermentation container) | 76-77°F (24-25°C) | 78°F (26°C) (my ceramic bowl tends to prevent the dough from getting excessively warm) |
| Whole grain bread dough (in bulk fermentation container) | 73°F (22°C) | 75°F (23°C) |
Let’s take a look at these three different situations in more detail.
What temperature should I keep my sourdough starter at?
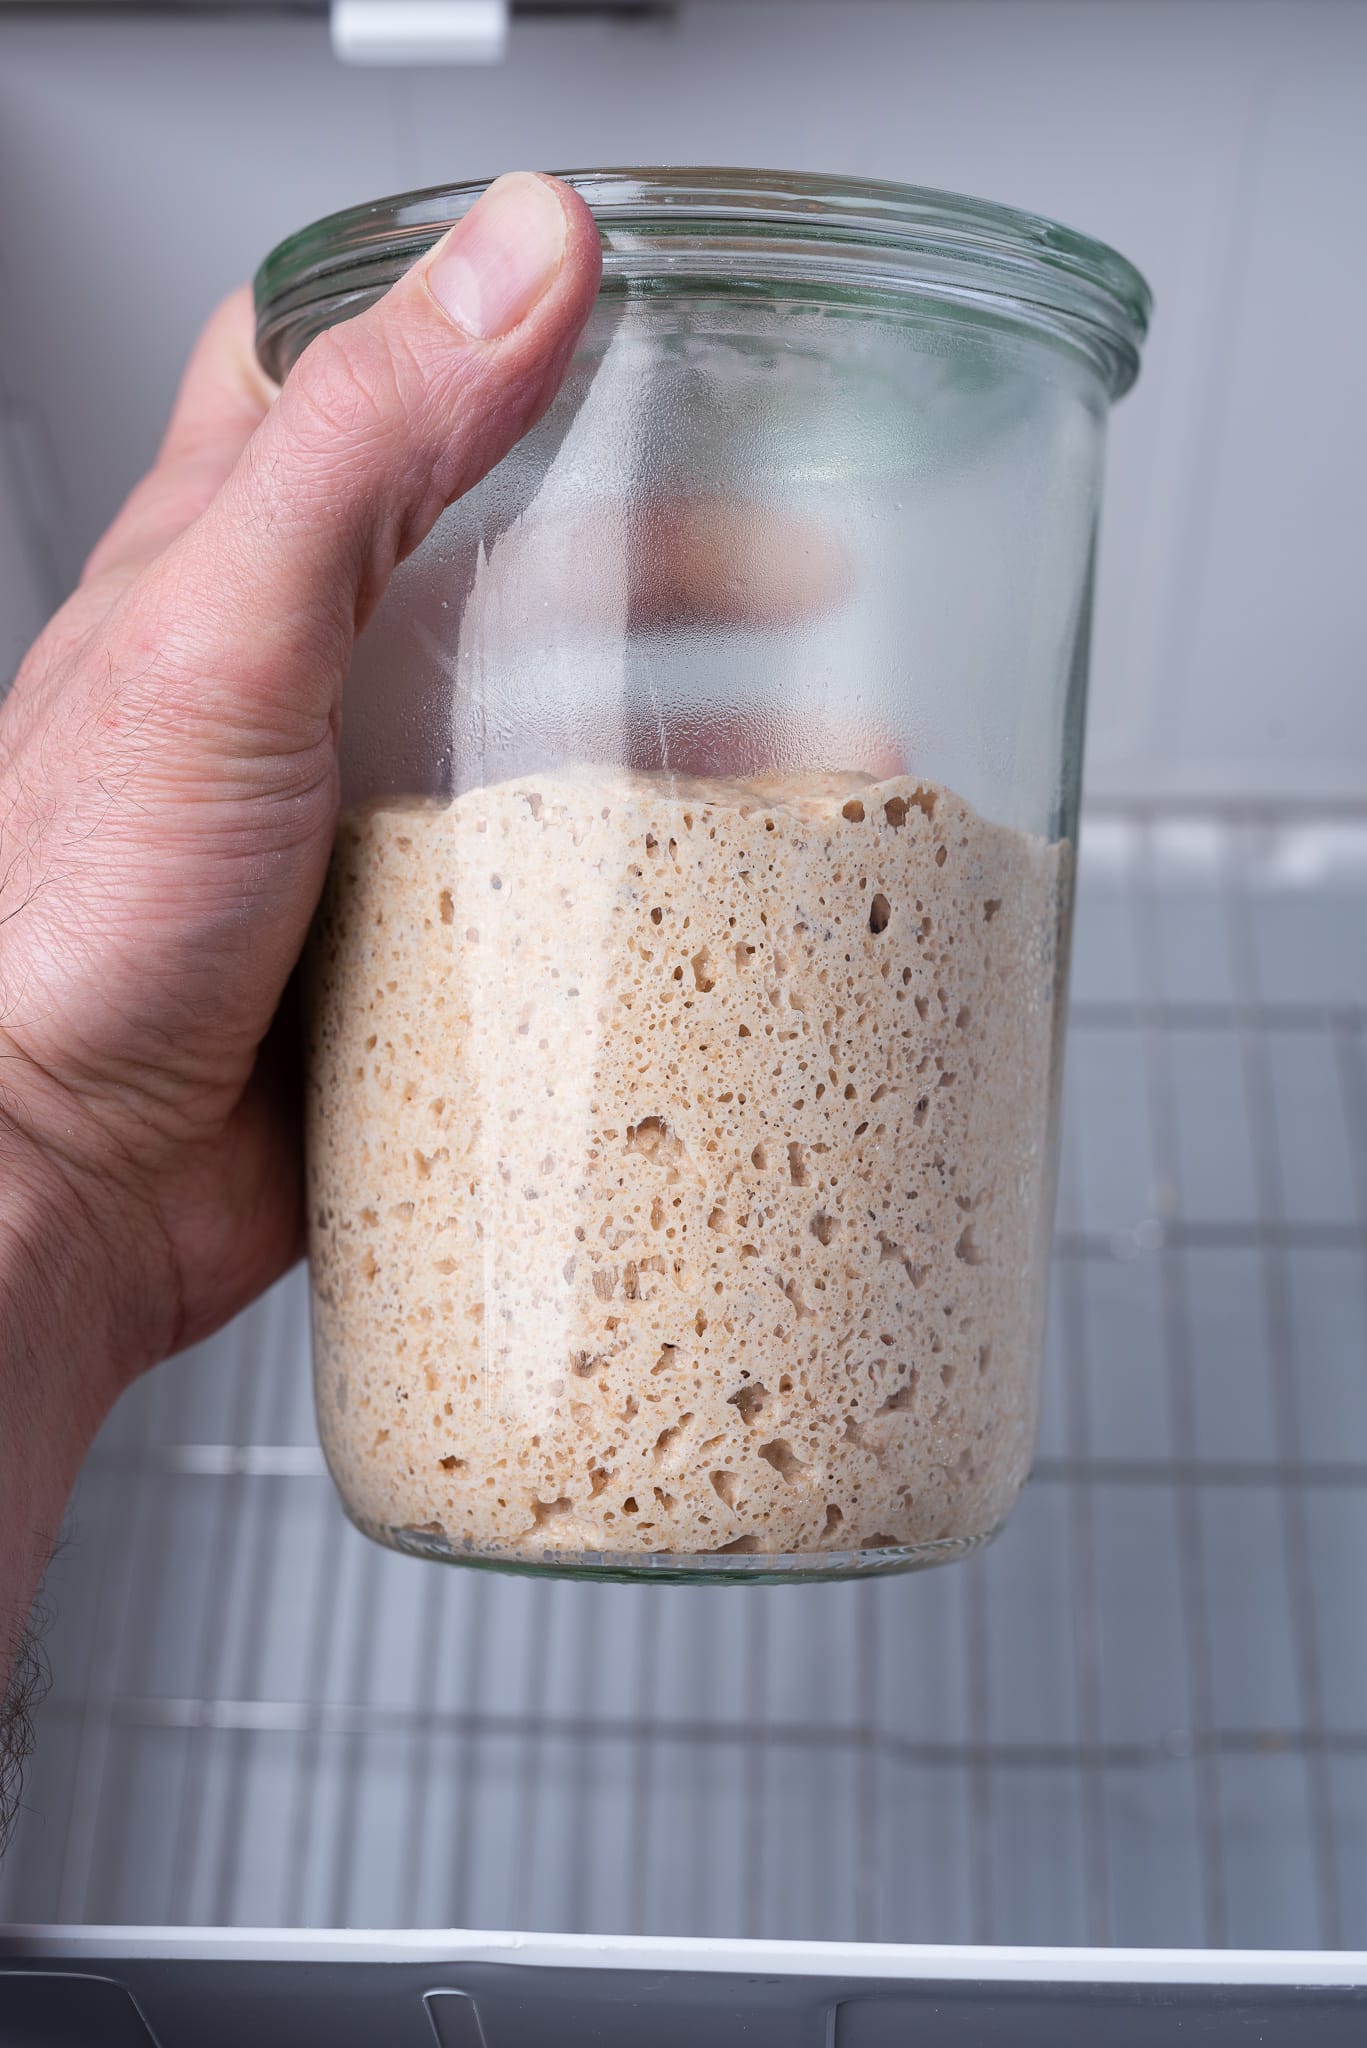
I keep my Brød and Taylor dough proofer plugged in and running 24/7 in my kitchen pantry. I always have it running at 75°F (24°C). At this temperature, and following my sourdough starter maintenance routine (10-20g ripe starter carryover, 100g flour, and 100g water), I refresh once in the morning and once at night.
This temperature and refreshment ratio results in a starter that’s vigorous and ready for creating a levain or using my starter in a bake directly.
What temperature should I keep my levain at?
Like my sourdough starter, I usually keep the Brød and Taylor dough proofer set to 75°F (24°C) when my levain is ripening. Because I almost always shoot for a levain final temperature of 78°F (26°C), and I don’t use the water evaporation tray, this works out very well.
What temperature should I keep my bread dough at?
When I place my large ceramic bowl or large bread tub in the proofer, I usually bump the temperature up to 76-77°F (24-25°C) on the control panel. The larger dough mass usually benefits from a little extra heat (especially when baking bread in the winter). I’ll monitor the dough’s temperature through bulk fermentation, turning the proofer down 1-2° if necessary.
In some cases, I want my final dough temperature to be on the lower side. This is usually when I’m working with a mostly whole grain recipe or one that has a majority of the flour freshly milled. Through experience, I’ve found keeping the dough at a slightly cooler temperature keeps the dough over-proofing. For a whole wheat dough recipe, I usually set the proofer to 73°F (22°C).
Using the proofer to rapidly warm the dough
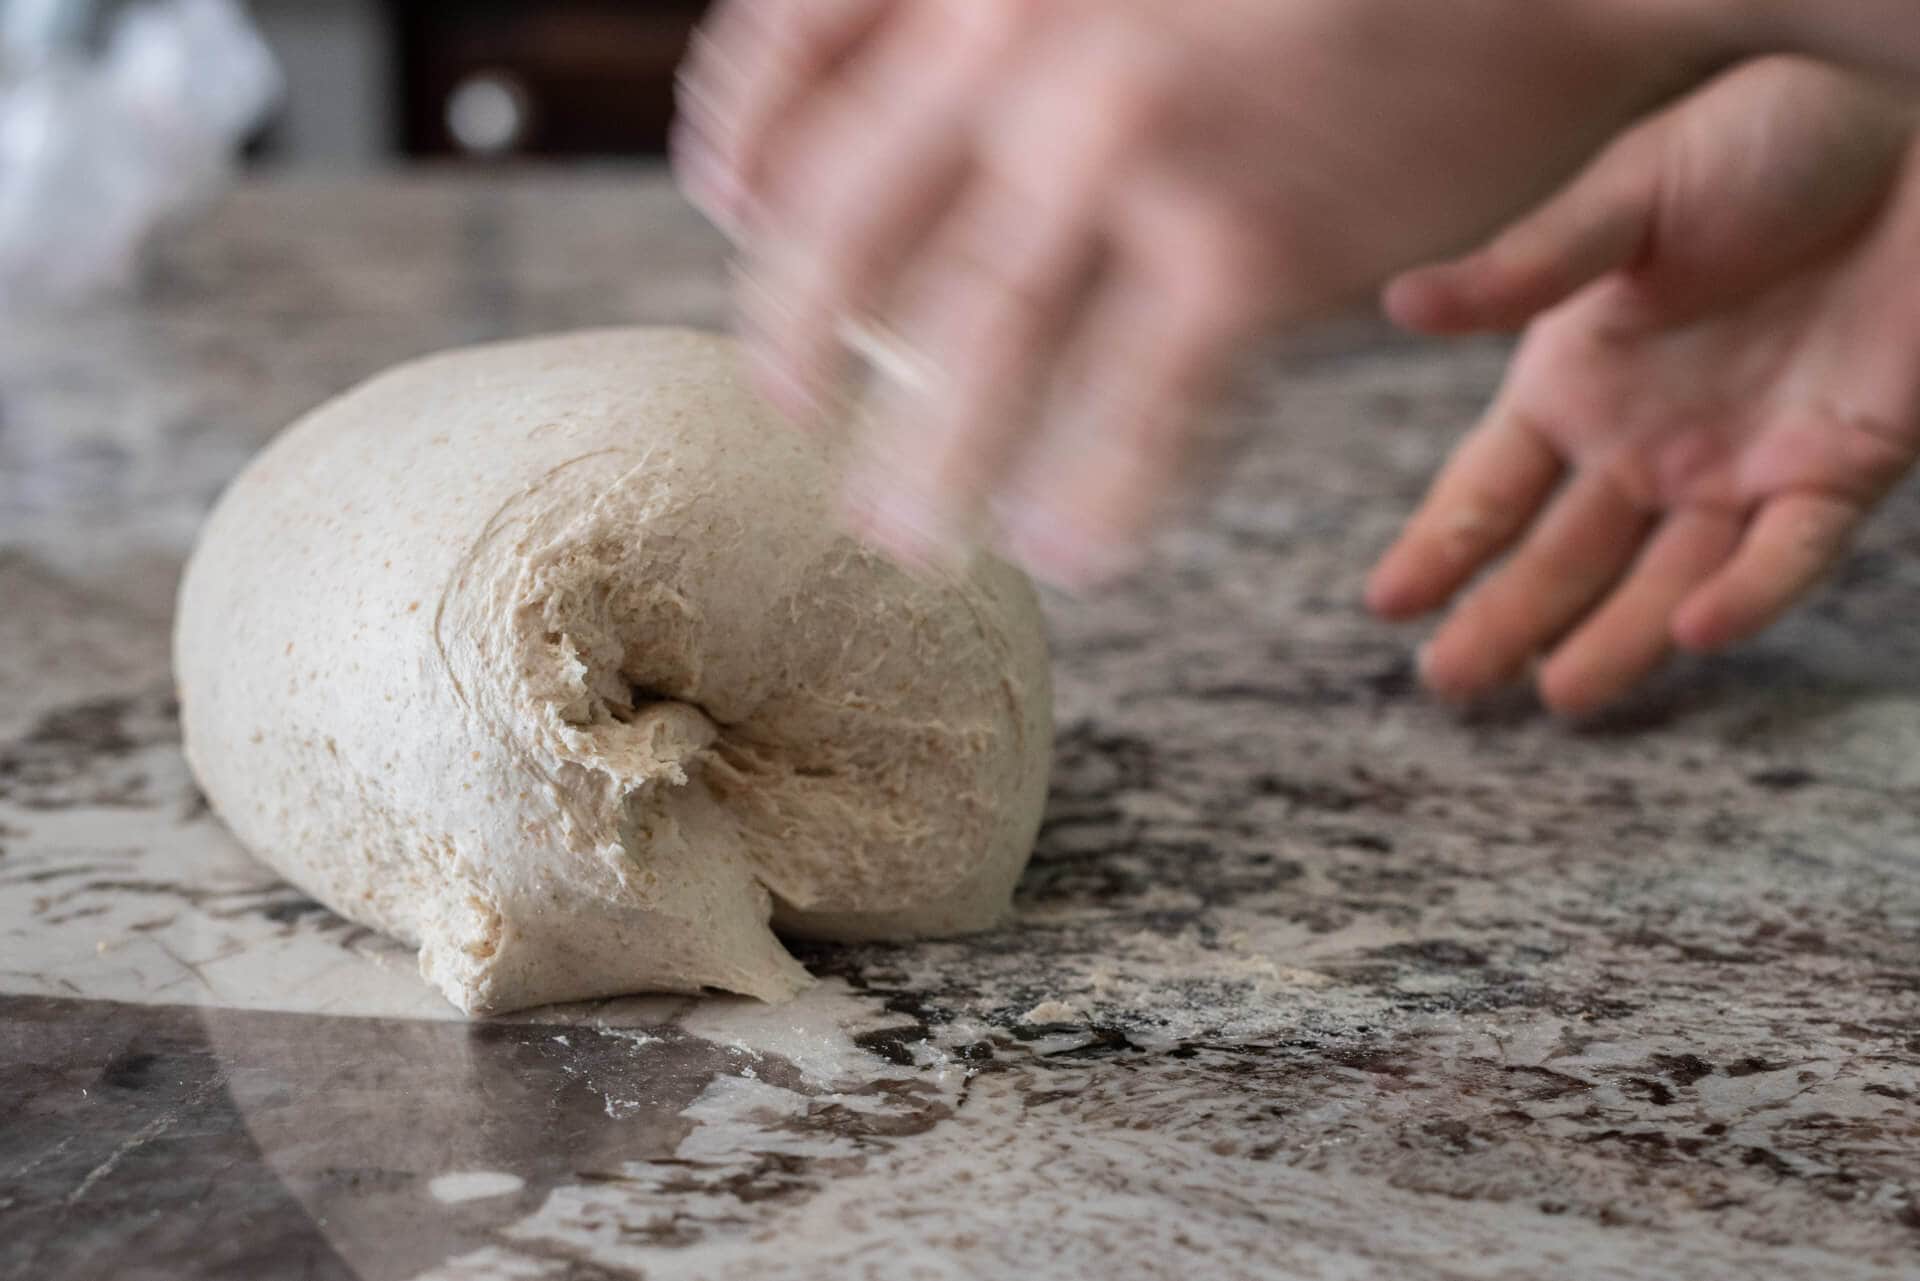
It can be a struggle to keep a small dough quantity at a consistent temperature in the winter. A common issue I run into here in my kitchen is the rapid cooling of my dough when I’m mixing and strengthening, especially when I perform a round of slap and fold on my cold, granite countertop. This can also happen when making enriched dough, like my sourdough cardamom rolls, which call for ingredients cold from the fridge (making calculating that final dough temp a little more tricky).
To adjust for cooler temperatures, I like to warm my mixing water so it’s a few degrees over the final dough temperature for a given recipe. Then, when I finish mixing and perform my typical five-minute slap and fold kneading session on the counter, the dough might only be slightly under the final dough temperature (sometimes it’s spot on, and no further adjustment is necessary).
Sometimes, though, the cold nature of my counter means the dough drops a little farther. To compensate for this, I bump my dough proofer up a few degrees at the start of bulk fermentation, usually to 77°F (25°C). After 30 minutes in the proofer, covered, I take my dough out to perform the first set of stretches and folds and take its temperature. Usually, its temperature has risen, and the dough should be right on target for the rest of bulk fermentation. If it is, I then drop the proofer’s temperature back down a few degrees and continue as usual with bulk.
Recommended reading: How to slap and fold (knead) your bread dough.
What container should I use inside the proofer?
In terms of materials, from ceramic to plastic to metal, any container will work to hold your dough inside the Brød and Taylor dough proofer.
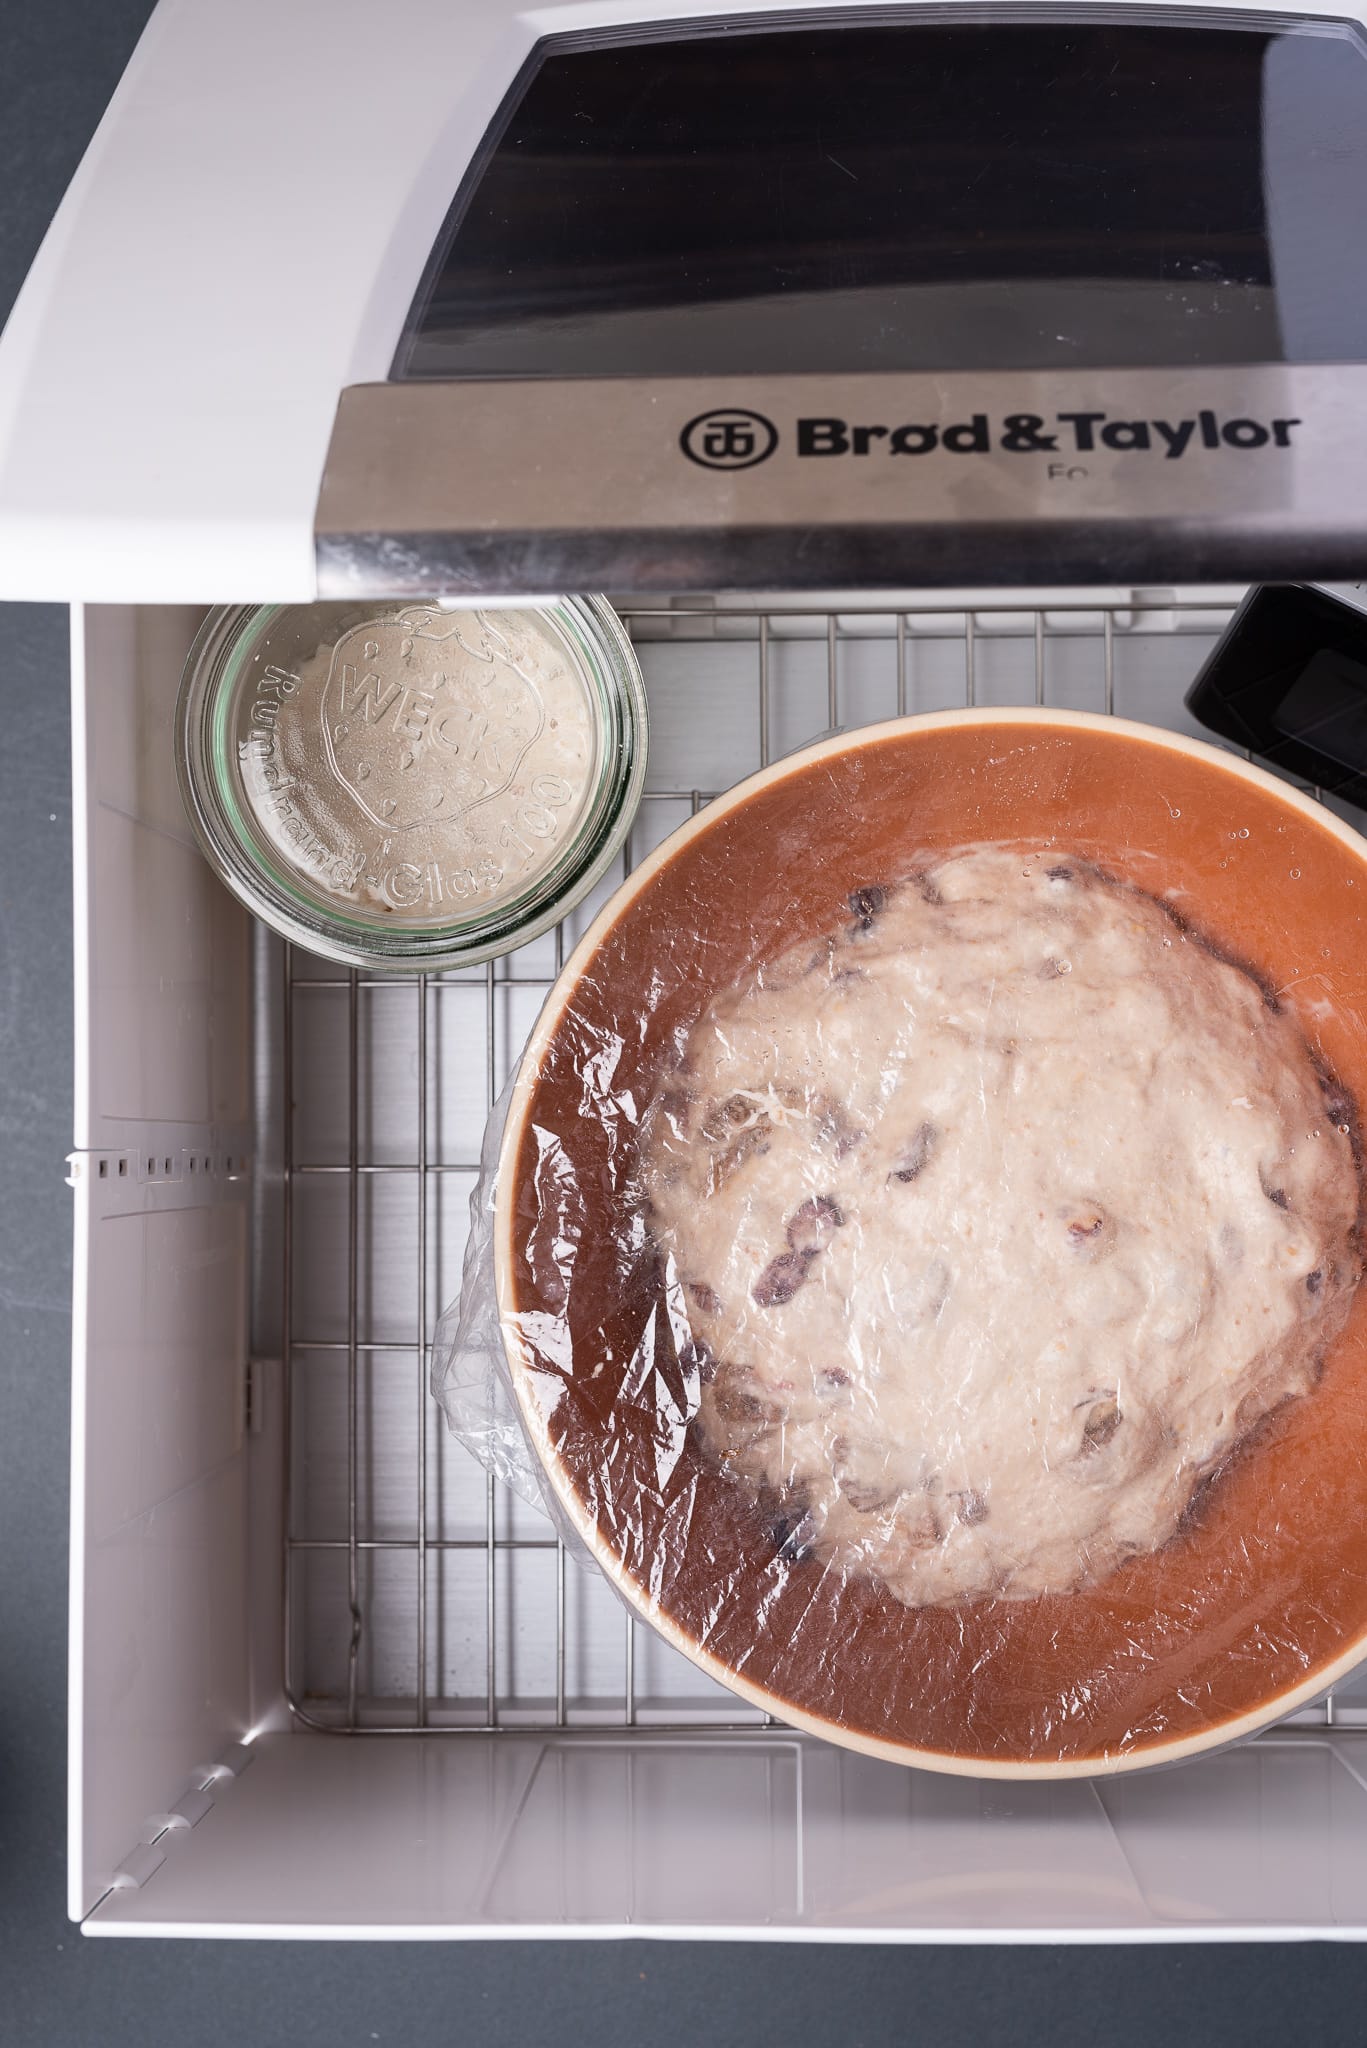
If you’re a frequent visitor here, you’ll undoubtedly recognize the orange and blue ceramic bowls I use to hold my dough in bulk fermentation. These large bowls are from Heath Ceramics and have a 4.5″ height and 10″ diameter. One of these bowls, which comfortably holds around 2 kg of dough, will fit easily inside the proofer with room for another levain or starter jar inside.
When I’m baking larger dough batches, I usually use my Rubbermaid food tub, which comfortably holds 4-5 kg of dough. The tub is quite large and still fits in the dough proofer.
The proofer’s interior dimensions of the proofer are 14.75 x 12.5 x 8″ high. Any container you have with smaller dimensions should fit and work just fine in the proofer.
I hope this roll-up of information on how to use the Brød and Taylor dough proofer has given you a good overview of the proofer and a few use cases for keeping your starter, levain, and dough. While the advice here isn’t the only way to use the proofer, it’s a collection of the best methods I use to keep my sourdough starter vigorous, my dough on schedule (and flavorful), and even a way to adjust your baking timeline.
If you have a question that didn’t get answered or feedback on how you use a proofer in your kitchen, please leave a comment in the discussion below!
What’s Next?
For more temperature-related baking information, hop on over to my post on the importance of temperature in bread baking to learn more about desired dough temperatures, final dough temperatures, and why temperature impacts bread baking.
If you find yourself baking in the cold of winter, see my guide on how to bake sourdough bread in the winter for my best tips on keeping your starter, levain, and dough fermenting vigorously.
Happy baking!


99 Comments
Must be nice to be rich. That proofer had better do more than that for me to justify it.
It is also a slow cooker. And for the confectioners among us, it’s great for melting large quantities of chocolate overnight and maintaining it at the right temperature so it doesn’t go out of temper before you’re ready to use it.
Oh it does so much more than just bread stuff!
Why do you have to say that? Bitterness isn't necessary.
My kitchen is 9C and I have had to encase my B&T in thick insulation as even at a set high temperature it doesn’t get above 20C. The proofer just can’t beat the temp difference. Would love it if B&T produced a warm jacket.
Mine warms pretty significantly. Though if you put in an item that's very large, it will take time to get up to temp. The best way to offset this for dough is to really warm the mixing water so the final dough temp is much higher.
I have a cold kitchen too and had to encase my B&T in thick insulation to get it to 25C.I would like a fitted jacket too.
I love your articles. When you use the Rubbermaid tub, do you leave your starter outside the proofer? Doesn’t seem like you’d have room!
Thank you! Yes, I usually keep my starter outside when I use the Rubbermaid.
The article is wonderful, thanks for the guide. I usually make Panettone and I need a stiff starter. Normally the experts recommend three renovations. The final temperature of the starter should be between 26 – 27 ºC (79 – 81 ºF), with a normal proofer bread that warms the air we should select 28 ºC (83 º F). For panettone normally we make two o three renovations, every renovation should lasts 3:30 – 4 hours (depending on the amount of flour in relation with the starter). What do you recommend about of temperature of my B&T, the recipient, place where I put my recipient, covered or not, etc? Right now my home is at 25 – 26 ºC (77 – 79 ºF). Normally, I use a plastic bowl covered with a plastic wrap put in a corner of my proofer which is working at 24 – 25 ºC because I need that my starter is at 27.5 – 28 ºC maximum. But the currently results are not resulting good enough for me. Thanks.
Thanks! When I do panettone, I use a Sourdough Home to keep my lievito madre… It's just so hard to do otherwise, and the Home cools, too!
Thanks for your clarification! I thought my proofer was broken because the temperature inside didn’t match the temperature set on the side panel. 😂
You’re welcome and that’s a common misconception, we’ve all been there 🙂
What temp is best to proof white sandwich bread dough? I use the water tray and leave uncovered. I have been doing 78-81 degrees F.
Yes, I like 78°F (25°C).
Added on Friday:
Further reading taught me that a proofer can be used for fermentations that require constant heat. As I do some, the purchase of this tool will be doubly useful to me and will avoid temperature differences for my sourdoughs and breads!
On thursday:
This post is very useful!
Reading the comments, the proofer only seems useful if the room is rather cool? Am I wrong?
As a member, can I use the discount available on your site? And if so, this reduction is applicable at Brod & Taylor only, I imagine.
Thanks !
Yes, the proofer only heats!
I normally bake four to six loaves at a time, so wonder if using a proofer would be helpful. Thoughts?
Depends on the size of your loaves and, really, the total dough weight. I find the proofer can hold 2kg comfortably.
Hi, thank you for a great article!
I have bought this proofer as my commercial kitchen is cold in the winter months. I am using the proofer for sweeten doughs to make cinnamon buns. It only needs to prove for an hour and once rolled,filled and shaped another 30-60 mins, I wondered what temperature I should set the proofer for this. Should I follow the guidelines as if its a white bread dough?
The proofer has been ordered so waiting for it to arrive so it will be handy to have something to work with for the first bake. Any advice would be helpful.
Thank you!
You’re very welcome! I would still go around 74-76F or so. That’s generally my go-to temp when using something covered inside the proofer.
Hi there, I have been using my proofer for a few weeks now. My kitchen is really chilly 16/17 degrees- it’s winter here in the UK. I put a digital thermometer in the proofer and it shows 2 degrees lower than the temperature set on the proofer, i.e setting the proofer at 26 degrees and the inside thermometer shows 24 degrees. However, I’m now thinking because of your article that I should ignore this inside temperature and just test the temperature of my dough? Would you agree? I have been getting quite a lot of slumped doughs on slashing, so I could be over proofing ?
Hope this makes sense!! Thanks in advance
Jill
Yes, I’d totally go by what the dough actually reads—even more important if you leave your dough container covered in there, it will be warmer than the readout. If you get collapse on scoring, it is possible over proofing might be the cause!
Thank you so much for your prompt reply. It has been covered so it’s probably much warmer than I thought. I will definitely test the temperature of the dough on my next bake.
Hello – first time commenter here… I just received my proofer yay! One of the main reasons I purchased finally is for using it for the high temp second bagel proof your recipe requires after shaping up. I have been looking on amazon for sheet pans that would give me the max real estate possible in the proofer and also have sides so the the corn meal doesn’t fall off the sheet all the time… but haven’t seen anything that fits the bill. Have you found something that works? I was planning on stacking multiple sheets inside using shot glasses upside down to stack the sheets. Hoping this might work….
Hey, Jessica! Stacking like that will work just fine, B&T even sells a shelf for use in there. I haven’t found a sheet pan that will fit in there, but I haven’t looked either! A quarter sheet pan surely would, but you might only be able to fit 3-4 bagels on there (maybe more?). If you find something, please report back!
I use a 6qt round Cambro for pizza dough. Is this proofer tall enough to fit the Cambro?
The interior dimensions are 14.75 x 12.5 x 8” (height).
My B&T proofer is indispensable. I use an 8″ round, .75″ thick cork trivet set on the center of the rack to prevent the hot spot from uneven heat on my starter/dough. @Hans_michigan
Great suggestion!!
If you live in a warmer climate like down south in Florida, is this still worth buying?
If you find your kitchen is on the cooler side, then it’ll still work for you! I generally like to keep my starter and dough at 76F (24C).
It’s a little expensive for me so I’ve been looking for a used model. Haven’t had much luck so far. The fact that it folds is a huge plus! Otherwise it wouldn’t store well in my apartment.
It’s a really well designed tool!
It’s a really well designed tool!
Hello! I’ve been using the B & T proofing box since September and love it! Its a game changer. I’m just a bit confused though on these guidelines, I’ve always used the water tray for the proofer for my levain and dough and have always kept them covered. I leave the temp at 78. I’ve had consistently wonderful baguettes, pizza dough and bread loaves with all of your recipes, has this been inaccurate?
That’s just fine, Sammy. You can use the water tray and cover if you’d like, but your dough might be getting a little warmer than you think. The water tray increases the effectiveness of the proofer (as expected), and covering will additionally keep the dough a little warmer because it’s trapping the heat. You can test what the dough temp is yourself, just take the temp of the dough periodically through bulk fermentation and see where it ends up for you. If it’s warmer than expected (and warmer than the temp you input on the controls), you can remove the water tray or keep the dough uncovered. Hope that helps!
Yes ty! I had just thought that not keeping a lid on the dough would give a skin to it as there are cracks in the B &T lid.
Great guide to using a proofer. Can I ask, when I set my proofer to 24deg Celcius, the internal temperature of the proofer is always about 2 degrees cooler, should I adjust it to try to maintain an internal proofer temp of about 25 deg for the bulk fermentation?
Thanks! The best way is to put a bowl of water in the middle there, set the proofer to the temp you’d like it to be at, then measure the water after a few hours. Whatever the delta is between the controller and the water, adjust the temp to compensate. Note that the temp at the corners of the proofer are usually lower than the controller as well (whereas the center is much closer).
Good idea thank you, should I be trying to achieve a dough temp of 25 deg for the whole of bulk fermentation or just a final dough temp? Many Thanks.
Thank you so much! This is the guide I’ve been searching for since getting the B&T. I am going to print these charts and put them by the proofer. I’ve wanted to keep my starter in the proofer regularly. I do have a question though – if I want to bake less often, say once a week, I have found that the time it takes to revive from the fridge means I basically have to feed it for a week anyway, so there’s not much point in putting it in the fridge. Any way to keep it strong but to feed it once a day instead of twice (and keep it in the B&T, which is why I am asking here)?
Hey, Jen! You can certainly just refresh once a day. To do so, leave much less starter in the jar (perhaps just a few grams) so it takes longer to ripen through the day. Also, keeping it a little cooler will help slow it down, so while it might not be as cool as your house in the winter, cooler than, say 78°F (26°C), will slow it down.
Thank you!
We recently had to buy a new oven and I was surprised to see it had a “Proof” setting which the maker says keeps the temperature at 85 degrees. Do you have any thoughts on how to use it given the temperature is higher than what you’re citing as the settings on the B&T proofer?
That’s great, Joel! That’s a little bit warm for me, but that will work! Just be aware the dough might progress a little faster given the warmer temperature.
Thanks. I appreciate it.
I’ve been thinking that fermenting at higher temperatures shifts the fermentation more toward bacteria, less yeast because it is more sour, less oven spring. Is that correct?
Dough temperature is always my biggest issue. Most of the time , the dough barely reach to 75⁰F as I want beacause my kitchen always colder than anywhere in the house. I have to place the dough in the oven with a warm water bowl to make it work but very frustrated sometimes.
Yes, it’s always an issue! It always feels like you’re playing darts, trying to get that dough as close to the target as possible, but it can be challenging.
Thanks Maurizio! One question about the levain building stage: you mention that you keep the proofer at around 75 degrees, while the target temp for the levain is 78 degrees. Do you mean that at the beginning of the levain build stage you make sure that the levain is 78 degrees (using warmer water), letting it drop to 75 degrees during the time in the proofer?
That’s correct, I warm the water if necessary. However, as I mention up in the post, setting the proofer at 75F actually keeps my starter around 76-78F when placed at the center of the proofer. Hope that helps!
Thank you for this! I got a B&T last month on your recommendation and it has been a game changer, and now this write up will help me dial in even more (and confirmed some of what I was doing already!). Before I bought the proofer, I had been using an old shipping box put over a desk lamp with a digital thermometer keeping track of the temp; a few strategically placed vents cut into the box actually had the setup working pretty well but it was clumsy and I was creating waste going through light bulbs.
Glad to hear you like the proofer, Jess! Before getting mine I had rigged something together as well. It worked totally fine, but was less convenient. Happy baking!
I recently got based on your recommendation. Wow, what a difference it makes in terms of efficiency, especially in the winter here on the east coast…
Ah so glad to hear that. Definitely in my top 3 recommended tools for any baker! Happy baking 🙂
Could you elaborate a bit more on why you choose not to use the water tray with your dough during bulk?
Mostly from habit. I live in a very dry climate and am always covering everything: dough, food, other containers. If I leave anything open to the air, it’ll dry out quickly.
I love mine. I bought it because I keep the main house cool in the winter (60F) and space heat the rooms I’m in which makes fermenting dough… problematic
The B&T works very well and has one huge advantage for me. My kitchen is small and the proofer folds up nicely so I can slide it in one of the cupboards. In fact, I have some dough in there now. Mmm….. dough…
Right on, Rick! Yes, it makes for a much more efficient way to keep your dough warm in the winter. I used to fold mine up as well (handy feature I forgot to mention), but these days, even in the summer I leave it out!
THANKS so much for a wonderfully helpful post on using the B&T Proofer. Your article will be saved for future reference and a frequent go-to for me.
You’re welcome, Mare!
Hi Maurizio! I have been making SD for two years and much of the time using my B&T proofer which is invaluable. In the past, I always used the water tray and covered my dough while fermenting. After reading this post I used it without the tray and experimented with your Stiff SD recipe. The bread was truly amazing with a fantastic light, airy crumb! Very, very close to my perfect loaf! I did tag you with a picture on IG, hopefully you can see it. Thank you for sharing your knowledge.
That’s so great to hear, Susan! Happy to hear my tips here have helped. Like you, the B&T is a permanent fixture here in my kitchen—it’s on 24/7 365 🙂 Thanks so much for the comments and enjoy your beautiful loaf!
Hey Maurizio, thanks for the nice post about the Proofer. You have influenced me to bought it. But I’m having some trouble using the proofer. I’m in the winter season and if I set the proofer to 24/25/26C the dough never gets there. I always have to set for a temperature like 33 and when the dough gets to 25C I decrease the temperature. The bad thing about that is that Im a baby sitter of the proofer, I can’t leave it alone. If you have any advice to give me I’ll be grateful. The proofer is a good tool, but very chalenging and with a slow heating.
You’re very welcome, Lucas! The proofer is a low heat device, for sure, so it will struggle to do massive temperature changes, especially when you have a large dough mass inside a container (think about how many layers of heating that has to go through!). The best way to use the proofer is to first get your dough to the final dough temp specified in the recipe—or as close as you can get. This way, the proofer only has to do small temperature adjustments to keep it in the sweet spot.
But yes, if you wildly undershoot the final dough temp, crank the heat up on the proofer to get it really warm in there, then back that heat off as your dough warms through bulk fermentation.
So primary thing is always to try and hit that final dough temp, using the proofer as a gentle additional heat source, less as a catch up device. If that makes sense 🙂
The other issue you might be seeing is that the walls of the proofer are just thin plastic. If the room it’s in is very cool (as mine is, usually about 62F), it might struggle to maintain temp. I just set it a couple of degrees higher.
We didnt have the funds to buy one right now but i was able to put together our cooler chest, a plant germinating pad and in-line temp controller. Works wonders for under 60$
https://www.amazon.com/gp/product/B00P7U259C/ref=ppx_yo_dt_b_asin_title_o03_s00?ie=UTF8&psc=1
https://www.amazon.com/gp/product/B07PZNGVMX/ref=ppx_yo_dt_b_asin_title_o03_s01?ie=UTF8&psc=1
Yes, that’s another great approach! I did this in the past before I got the proofer.
I’ve had my Brod and Taylor since last fall. My starter lives in it, and proofing both sourdough and commercially yeasted doughs is a breeze. Much more consistent results compared to inside the oven with the light on! I have the optional folding rack and that allows you to fit two quarter-sheet pans at once.
Thanks for the review!
Ah yes, I forgot to mention the folding rack! I use it as well. It’s certainly a staple in my kitchen, it just makes things so much more consistent and easy. Happy baking, Louis!
My wife bought me one of these for Christmas and while it has a conveniently compactable frame it’s sorta turned into a permanent fixture in the kitchen. Many a recipe from this site have passed through it in the past couple months!
Now that’s a great gift! Like you, mine is on and running 24/7 right in my pantry. I use it for my bread making, of course, but it’s also handy for just about anything you have to warm.
Wonderful article as usual! I have been using the Brod and Taylor for years with the tray and covering the dough during fermentation. I have been wanting to bake loaves with a stiff levain and will try your suggestion. Thank you
Thanks, Susan!
I have been using the Brod & Taylor proofer for years; I received it as a gift. I often have two or three sets of dough proofing at one time. I purchased 1/4 and 1/8 steam tray pans from a restaurant supply. They fit perfectly. Round bowls tend to take up a lot of real estate. I also found that a 1/4 sheet tray fits perfectly if I am letting free form loaves rise. Also muffin tins fit as well. Thanks, as always, for the thorough and well thought out blog post.
Great idea with the pans, Mark! I’ll have to check those out. You’re right, round bowls take up an odd amount of space in the proofer, but it still allows me to fit 4xWeck jars in the corners (starter, other levain, etc). You’re welcome and thank you for the tips!
Hi. great article. I built your homemade, styrofoam proofer. Do these instructions hold true for that proofer, too?
Thanks, David. Yes, for sure. The key is to take the temp of your dough when in that proofer and see how that deviates from the temperature you put on the controller. That way, you know what to set it to so your dough is the temp you want.
Great, thanks. I’ll try that.
So informative! I always go with an oven with the light on. I keep a thermometer in there too and turn the light on and off as necessary. It is a great option if you don’t want to invest in a proofer, but want to ensure good results with your dough.
Thanks, Leah! Yes, the oven with light on works super well, I do that often when I have larger dough tubs going (2 x 4kg or so). That’s always a fantastic option (just be sure to put a note not to preheat the oven!!). 🙂
Lol, yes. I have done that after the dough was taken out but the thermometer was left in there. It melted completely😢
Yikes!!