
One of the exciting aspects of working with pan loaves is the pan affords some wiggle room to experiment and push the boundaries. Because the pan provides added structure, you can increase the hydration (making it softer), push the number of mix-ins, and even experiment with new grain types. This guide on shaping a pan loaf outlines my go-to method for shaping rectangular loaves of all shapes and sizes.
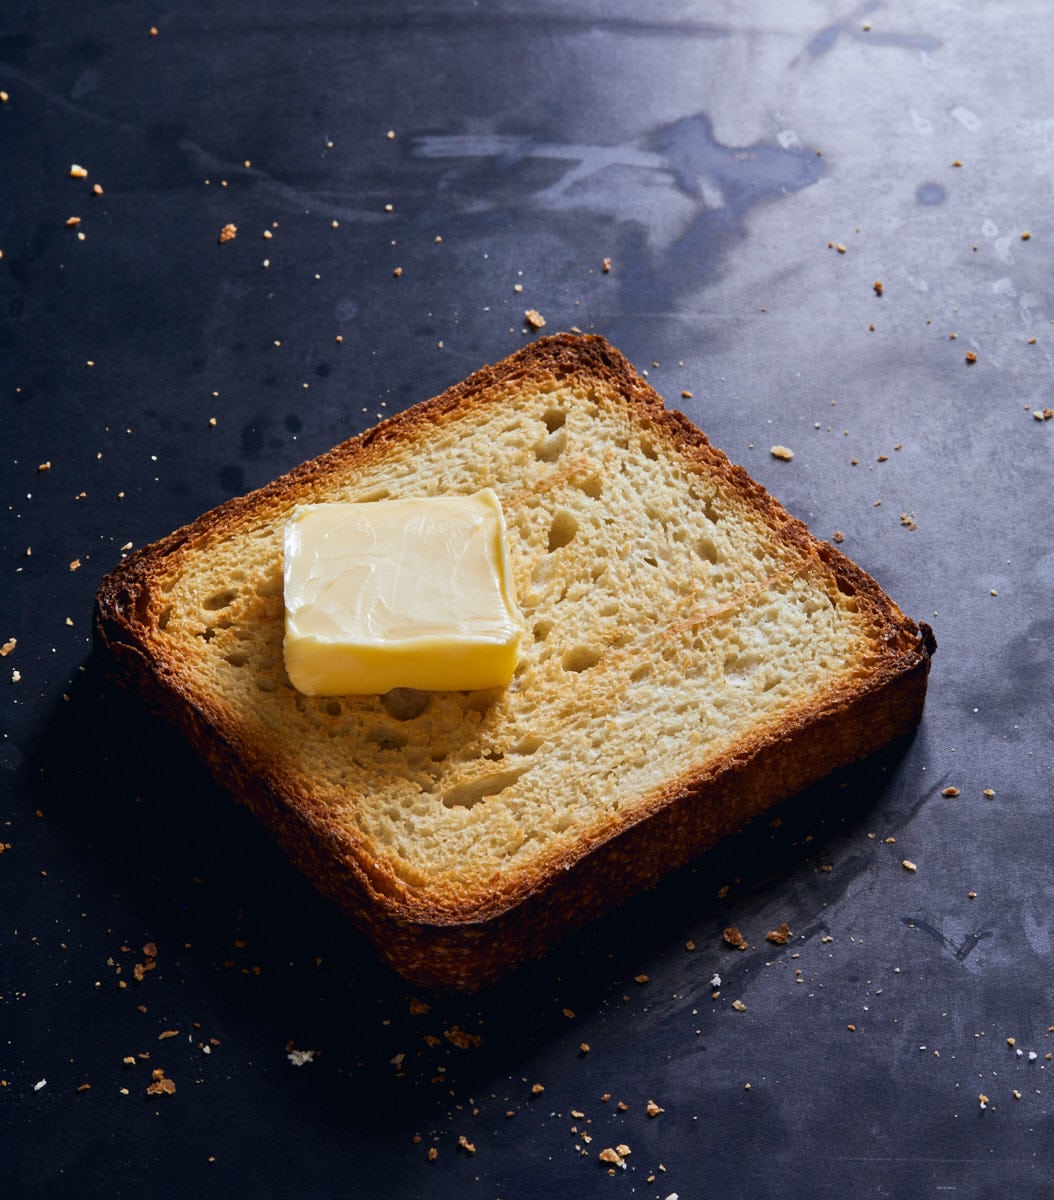
I can summarize what I love about pan loaves with one word: toast. I often bake pan loaves because their shape makes them perfect for sandwiches and toast with butter and jam. Plus, who can argue with a peanut butter and jelly sandwich? No one.
Many recipes at this site shaped as a boule or bâtard can be adapted to use a pan loaf instead. Shape the dough as described below, steam your oven, and turn your free-form loaf into a pan loaf.
I can summarize what I love about pan loaves with one word: toast.
Common Dough Weights for Different Pans
Finding the right pan to hold a dough can be a challenging thing. I’ve tried so many pans, always searching for the right one. Below is a list of my favorite pans and how much dough I’ve been able to fit in each one without it overflowing.
Click on the Bread Style column to view a particular recipe, and the Pan column links to purchase each online, if available.
| Bread Style (with recipe link) | Pan (with store link) | Total Dough Weight |
|---|---|---|
| Rye bread | 9″ x 4″ x 4″ Pullman Pan | 1450g |
| Pain de Mie | 9″ x 4″ x 4″ Pullman Pan | 800-900g |
| Small Sandwich Loaf (or sourdough banana bread) | 9″ x 5″ x 2.75″ Pan | 700-1000g |
| Large Pan Loaf | 8.85″ x 4.7″ x 4.7″ Campbell’s Bread Pan | 1400g |
Dough Strength and Shaping a Pan Loaf
I usually push the hydration relatively high with my pan loaves. Why? The pan gives you incredible leeway with hydration because it provides the structure for your loaf. If baking a hearth loaf, especially a highly hydrated recipe, you must ensure the dough has sufficient strength to keep its shape throughout bake time. With a pan loaf, the pan gives you all the support you need—no worrying about it spreading excessively in the oven.
However, you still want the dough to be strong enough to rise and have an even and open interior. Kneading up front, using the slap and fold technique or with a mixer, is a great way to do it, but stretch and folds during bulk fermentation are usually my approach.
Read more about dough strength and how to stretch and fold dough in bulk fermentation →
How to Shape a Pan Loaf: Step by Step
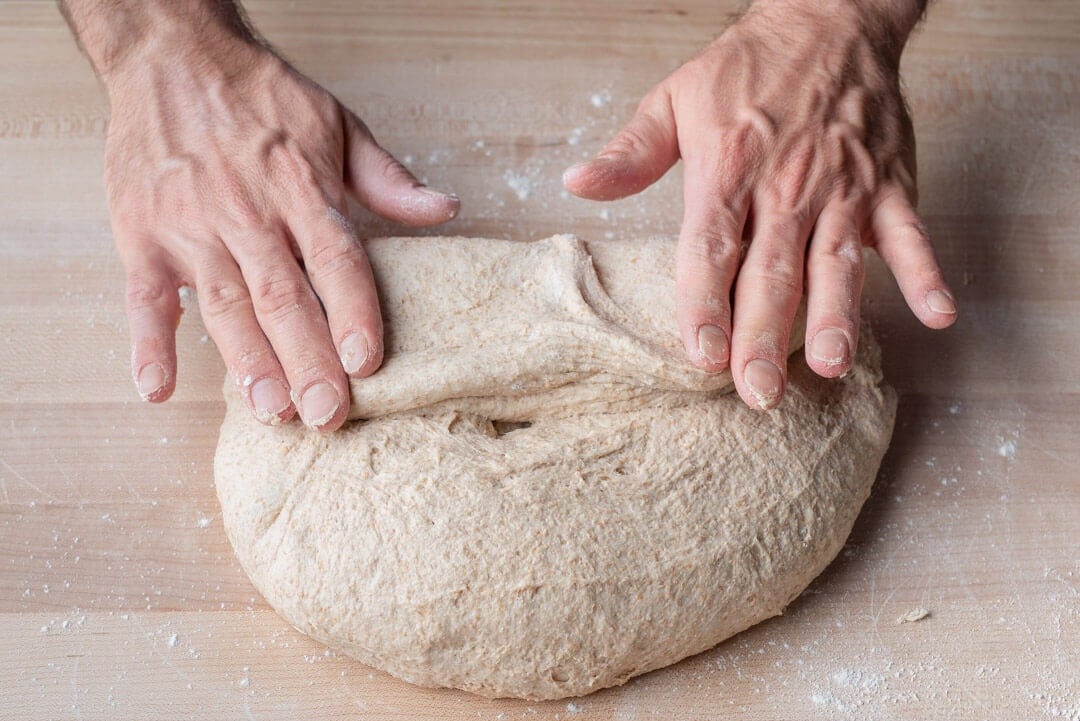
Lightly flour the top of your relaxed dough on the work surface. Use a bench knife and your hand and flip the round over. Fold the bottom up to the middle. Then, fold each side, left and right, over to the other to form an open envelope in front of you.
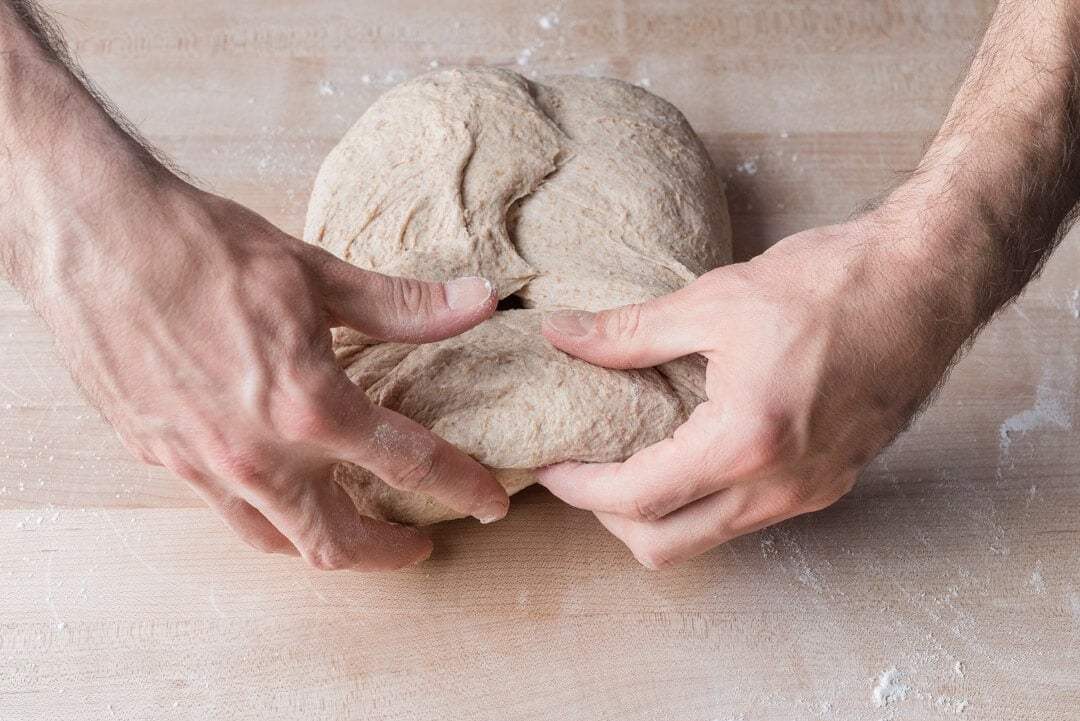
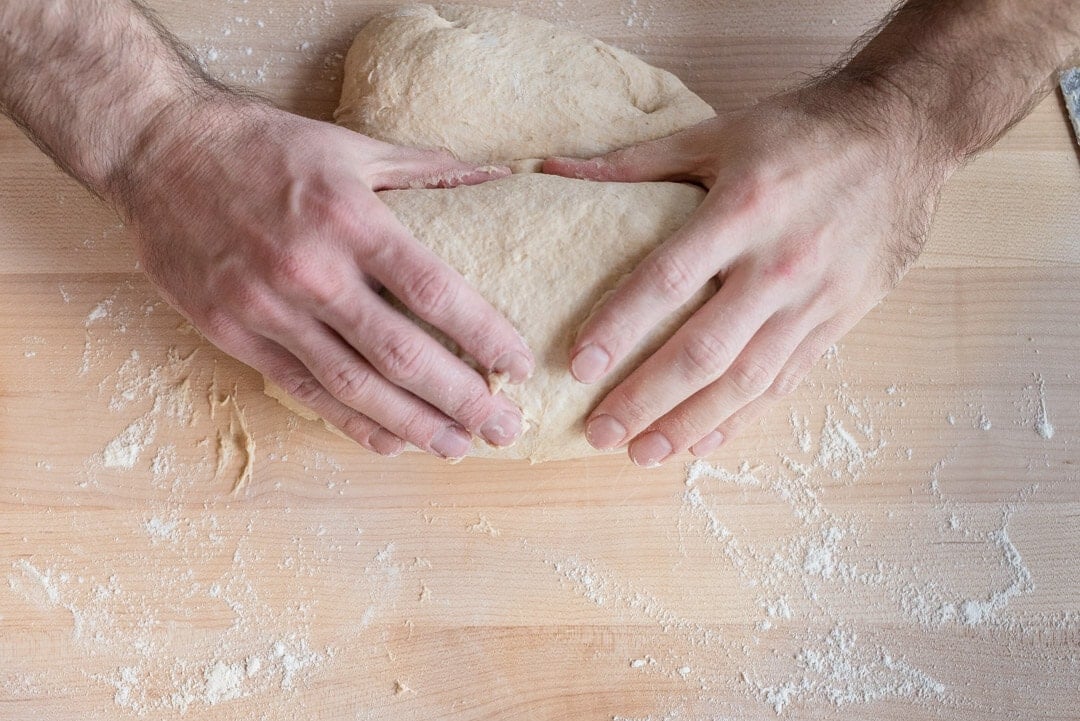
Then, grab the top and fold it up and down to just above the middle. Using both hands, grab the new top and gently roll it down into a long tube (imagine rolling down a beach towel or yoga mat).
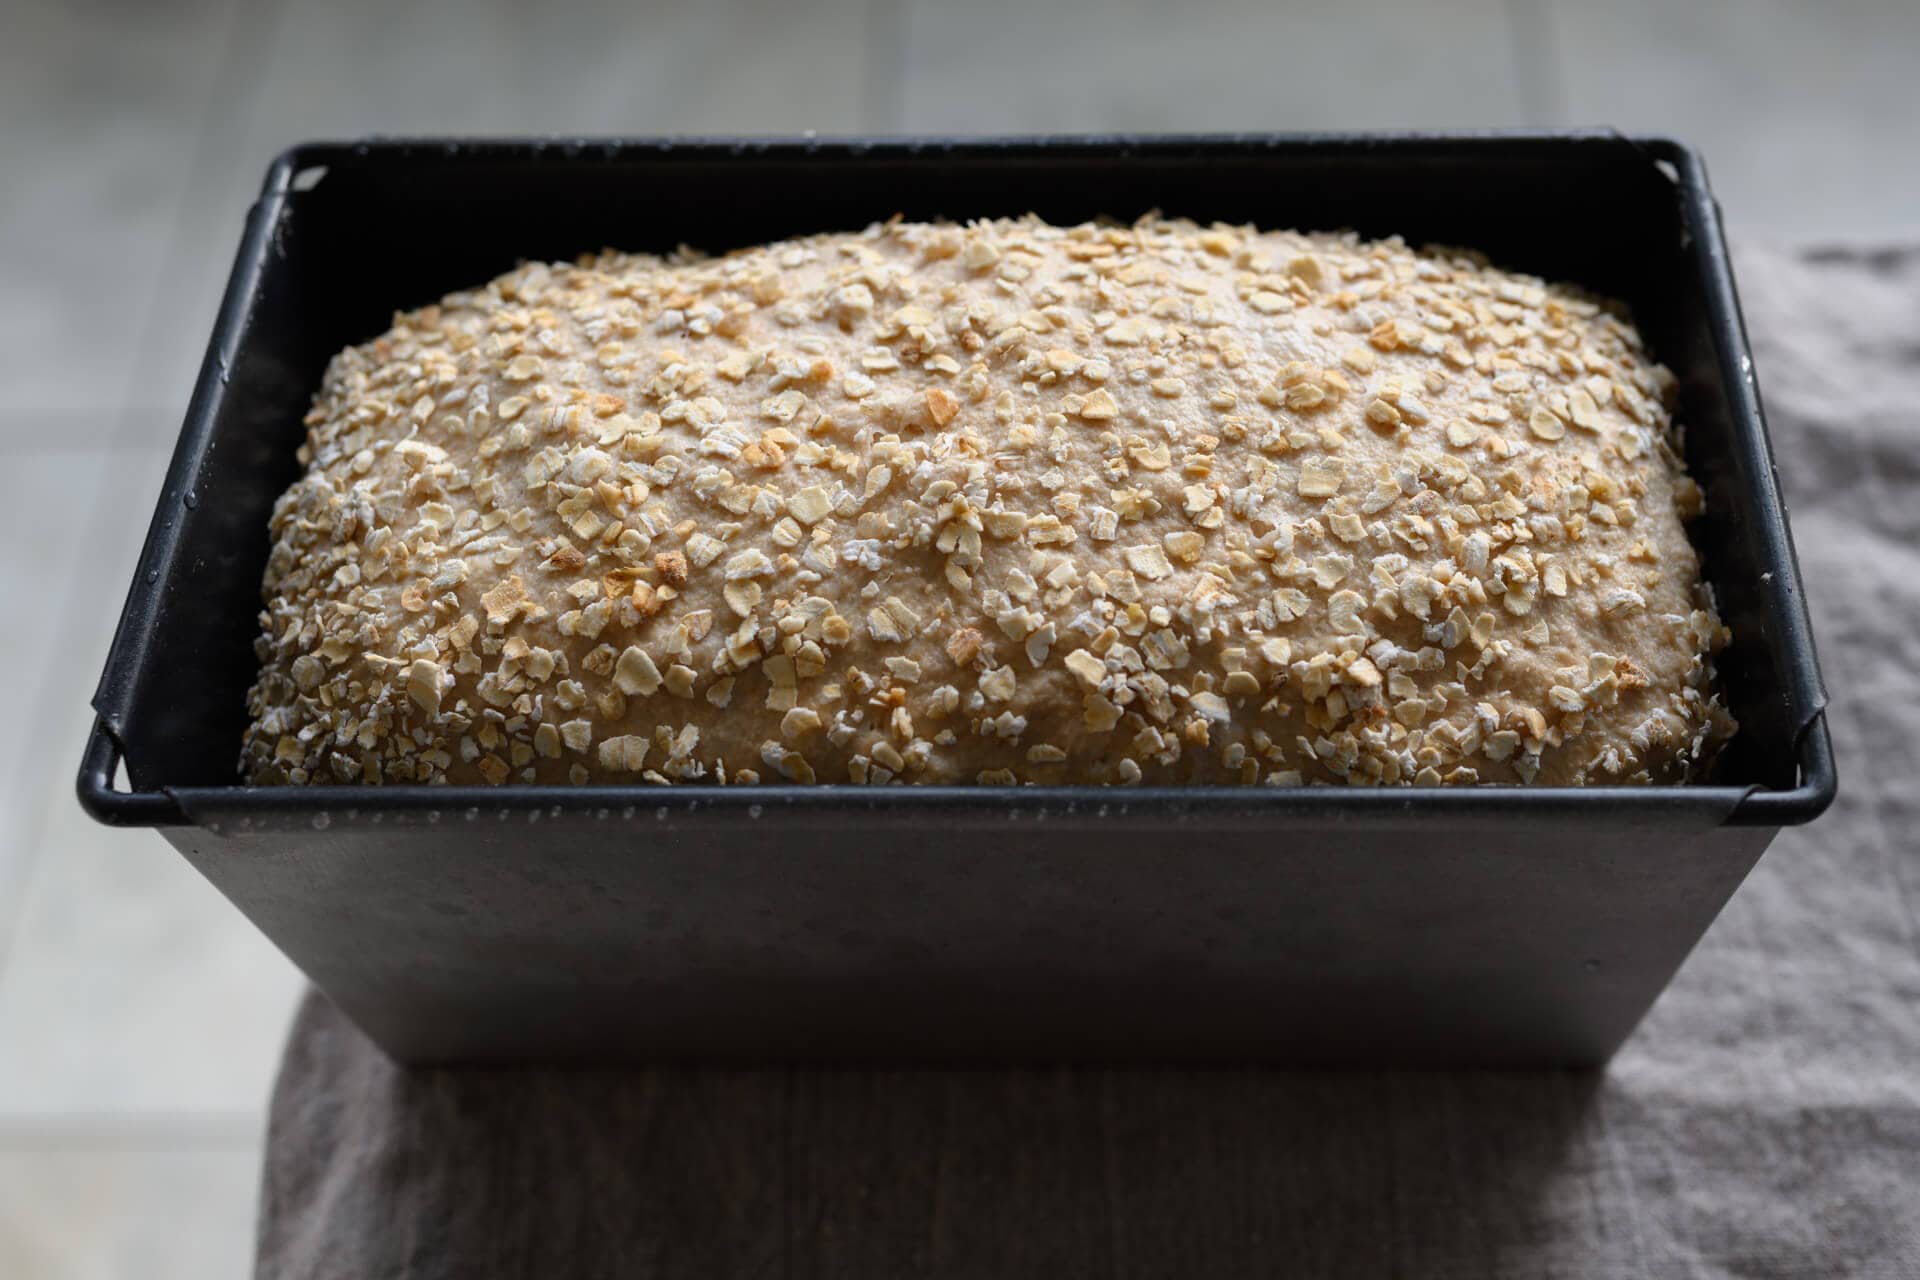
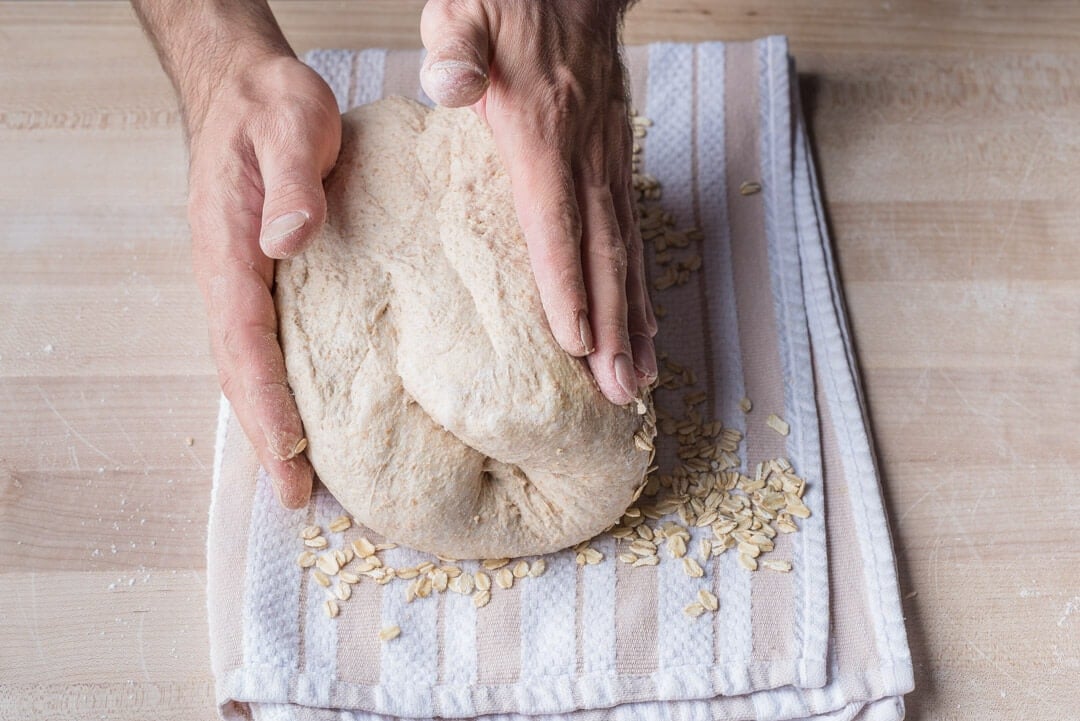
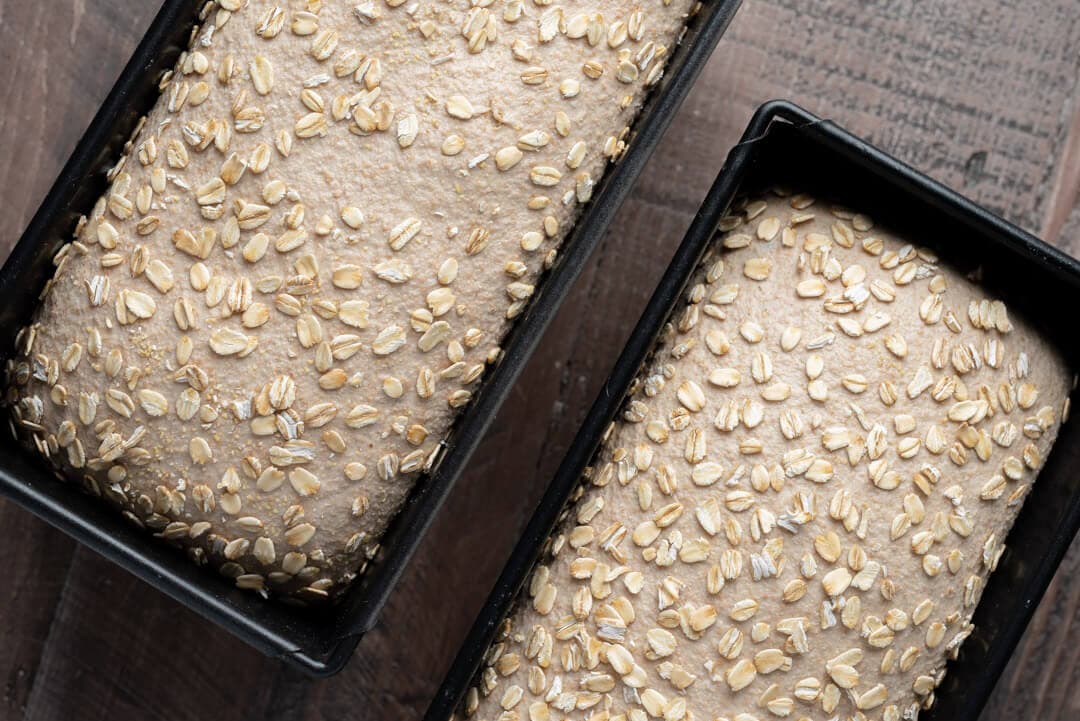
At this point, you can top the bread dough by rolling it on a towel spread with oats, seeds, or other toppings.
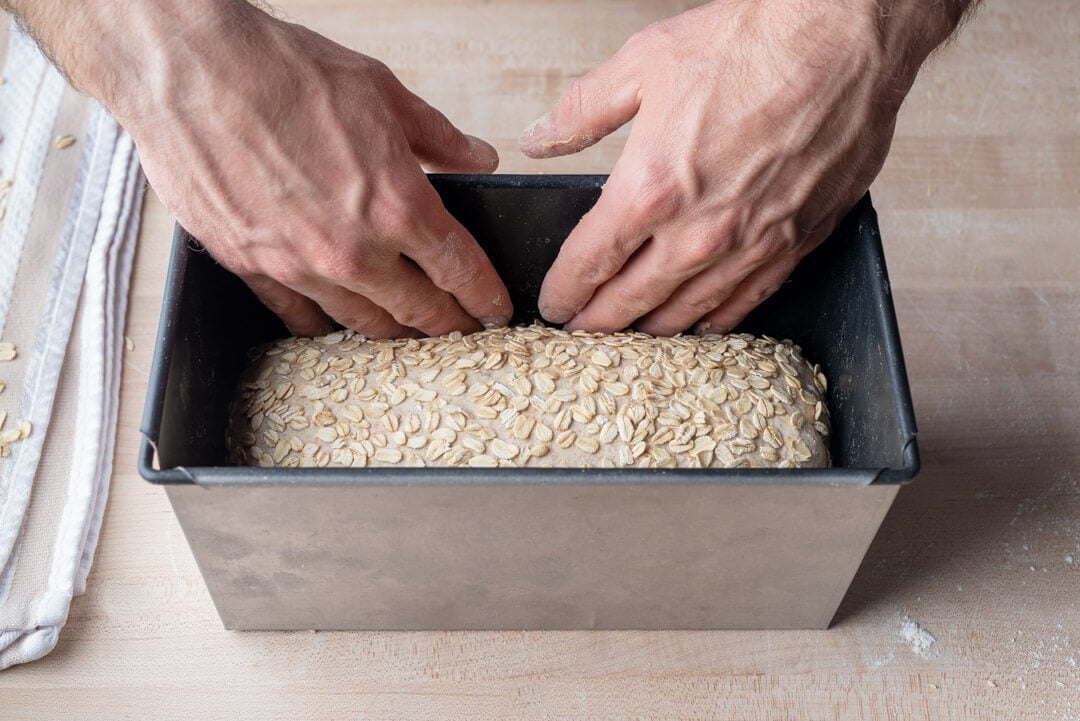
At this point, you should be able to drop the dough in, but if you have trouble, don’t fret; once you drop it in, use your fingers to tuck the dough down at the sides. You want a smooth top on the dough in the pan so it rises uniformly.
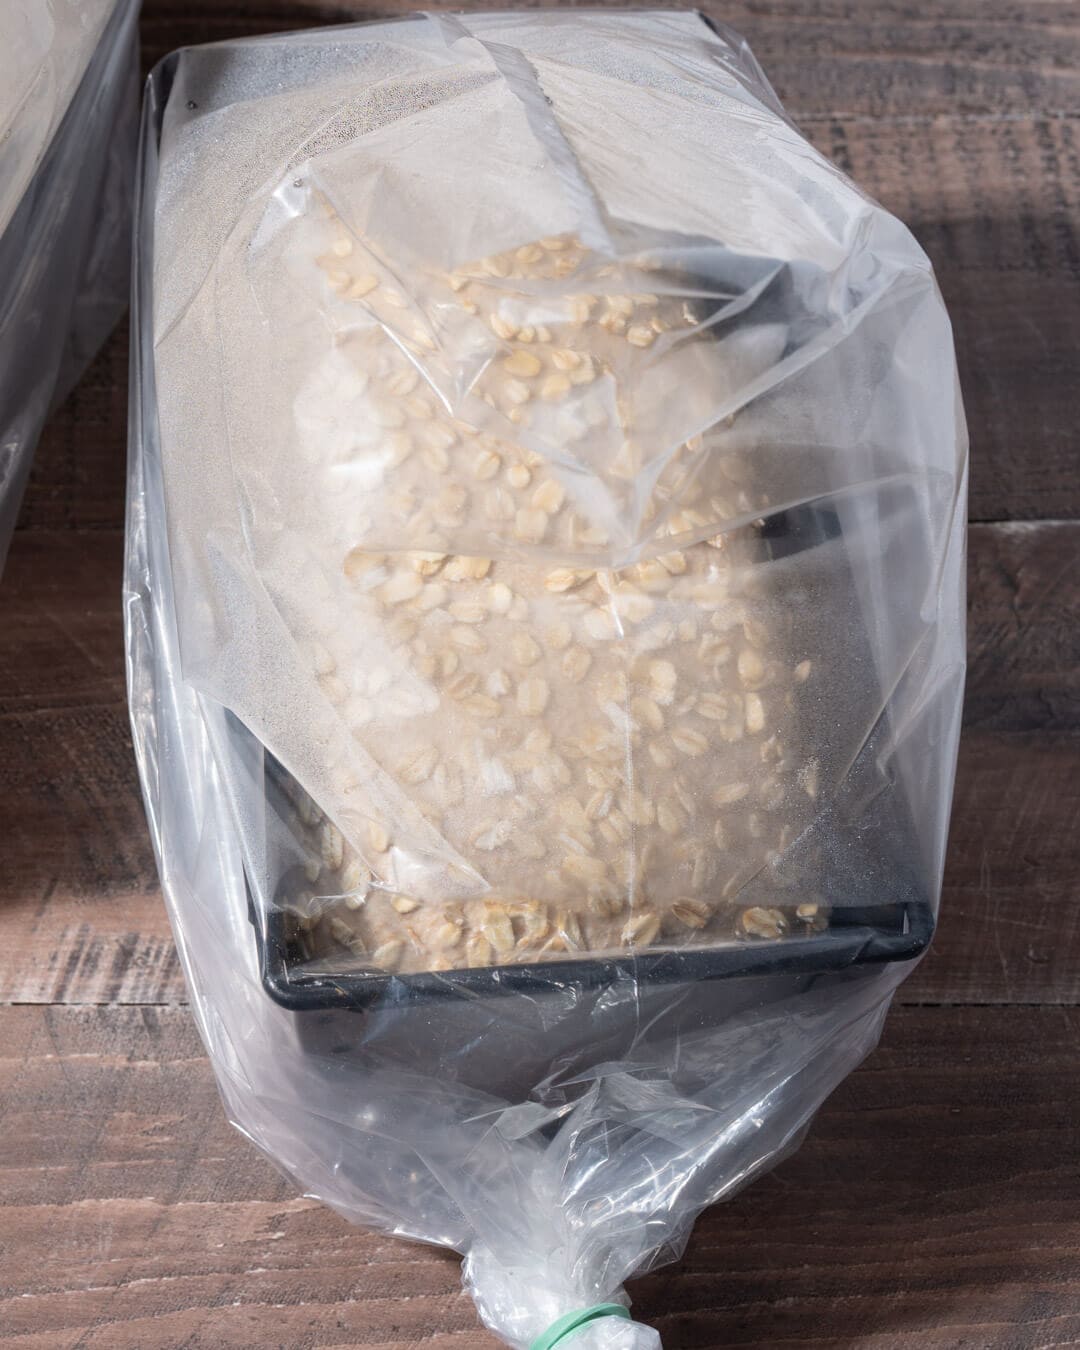
Finally, wrap the tin in food-safe plastic bags to proof overnight in the fridge, if desired. You want to keep these covered in the fridge to avoid a thick crust forming on the dough, inhibiting optimal rise.
How to Shape a Pan Loaf: Video
The following video shows me shaping my honey whole wheat barley pan loaf, which is scaled to 1400g.
Proofing and Scoring
The photo below shows how puffy, soft, and well-risen the dough is in my pan. When poked, the dough springs back slowly, not filling in the impression. This is a little past what I’d typically proof: a freeform hearth loaf.
Why?
Since the pan provides added structure, we don’t have to worry about the dough spreading when baking. I would have baked it much earlier if this were a hearth loaf.
I prefer not to score pan loaves. If the fermentation is pushed to the limit, the bread will rise in the oven in a more subdued and controlled manner. With this proof, the loaf will not expand dramatically or rupture erratically in the oven.
What Next?
I hope this article on how to shape a pan loaf gave you a go-to way to get that soft dough into shape and into a pan. Now, it’s time to use these skills! I have a few sandwich loaf recipes where you can put all these new techniques to use right away:
- Pain de Mie (super soft sandwich bread)
- Whole Grain Wheat and Spelt Pan Bread
- Partially Whole Wheat Sourdough Sandwich Bread
- Honey Whole Wheat and Barley Pan Loaf
- Sourdough Sandwich Bread with Pre-cooked Flour
Or, head back to my beginner’s guide to baking sourdough bread to learn more steps in the bread-making process.
Happy baking!

20 Comments
What kind of pans are you using in these pictures? I just got a couple Pullman 9x4s and immediately cut myself on the sharp folded metal. The pans in your pictures look like they have smooth sides?
What is the easiest dough to make in a sandwich tin for relative beginners? I normally make your no knead bread as free form and have a lot of success, but just trying a ton for the first time, can I use the same recipe with perhaps a bit more hydration?
A tin not a ton!
Hi there! I prefer baking in bread tins because I love sandwich shaped bread for sourdough. My question is if you do a cold ferment in the fridge should you take it out and let the pan warm up before baking? I find my dough isn’t rising as much as the pan is so cold when hitting the oven…
I add steam with ice bath down the bottom of the oven, but I just find the spring is lacking. Especially on the sides of the dough.
Hi Maurizio. I've tried this recipe twice and while the end result is delicious I've had the same issue with the dough both times. The dough is sooooooi sticky I can't really shape it. I manage to get it in the pan but it's a blob. I'm following the recipe and amounts. I'm not sure what I'm doing wrong.
It sounds like your dough is most likely over hydrated—your flour likely isn’t able to take on quite a much water, and that’s ok! Try reducing the hydration by 5% and give it another go—the reduced water should bring strength to the dough and you’ll feel it immediately. Once you find a suitable hydration, you can try to push it back up (if desired), but as you do, take note of how the consistency of the dough changes: the dough will start to slacken out as you add more and more water, this means you’ll likely have to mix more upfront or add another set or two of stretch and folds during bulk fermentation.
Generally, with an increased hydration, you need to mix longer to develop the gluten in the dough to sufficiently support the water added, but this only goes so far. At some point, the flour you’re using just isn’t able to take on any more water and you’ll essentially have a weak and slack dough. It’s always best to start conservatively and work your way up with hydration as you feel out your flour. This is typically why I recommend holding back water during mixing, adding it in as the dough handles it.
Try to keep everything else as consistent as possible and let me know how the next attempt goes!
My Pullman pan is 12 x 4. Can I use the 2 loaf recipe to make one 12” loaf?
I think it's going to be a bit too much dough, depending on the recipe. Usually, I would do 3/4 of the dough for that pan.
So you don’t need to press out the air bubbles before shaping into a loaf?
I do give it a gentle degas if it's needed. It all depends on how airy you want the interior of your pan loaves.
I would like to know with the pullman pan when do you use the lid? Do you bake with it on or is it used only while the dough is rising and then taken off to bake the bread?
If you want a loaf with a completely flat top, bake with the lid on. You only slide the lid on just before baking.
Thanks Maurizio for the information.
Do we need to oil the tin pan? Thank you
I usually do, just in case!
Does using the pullman pan cover achieve the same results as putting the pan in a plastic bag? What are the disadvantages to baking a sourdough sandwich loaf with the pan cover on in the oven?
I don’t like to proof the dough with the cover on only because I like to see what’s happening in there. As long as you feel it’s air tight, yes, that would work just fine. When you use the cover to bake, you end up with a square loaf of bread that’s truly in the “Pullman” style: square slices with very minimal and light crust.
Hi Maurizio, I have a question about loaf pans for sourdough. I would prefer not to use aluminum pans or pans with a nonstick coating and was considering between either a stainless steel, cast iron, or stoneware (glazed or unglazed) loaf pan to make sourdough loaves from sandwich bread to babka. My question is, can the cast iron/stoneware work if allowing the dough to proof in the pan? I wouldn’t want to jeopardize the loaf’s rise given that cast iron and stoneware take a while to heat up in the oven, and I wouldn’t want to risk an extremely hard crust by using these materials either. Do you have any thoughts as to whether people use these materials for sandwich bread and the like or if metal is best for this use?
That’s a great question. I’ve never baked a loaf in a cast iron pan where I also proofed the dough. In my experience with something like banana bread and other quick breads, cast iron pans usually tend to give them a slightly thicker crust. This doesn’t mean it’s a bad thing, in fact, I love this with my banana bread—the Staub cast iron loaf pan imparts a little crunch to an otherwise super soft bread.
My feeling is it will likely result in a thicker crust.
I proof and bake in Lodge cast iron and aluminum USA Pan, side by side and I find zero difference in the end product. The cast iron pan needs a slightly longer bake time to track final temperature but that’s the only difference I see. Hope this helps.