When attempting a new recipe I will usually keep working at it many times over until things are to my liking. I will go through pages and pages of notes with various tweaks to temperatures, folding intensities, flour combinations, and numerous other things. When I finally make a breakthrough I refer to my notes and pictures and will write up a new post in the hopes my discoveries will help any readers out there looking to bake these loaves in their kitchens. And this entry is no different. I believe I’ve finally found a great combination of inputs to produce a superb whole grain sourdough loaf. In my last whole wheat entry, the result was around 75% whole wheat. This entry describes how to get a nice and light, moist crumb with a higher percentage.
If you’re looking for a completely whole grain loaf, take a look at my other recipe for a 100% whole wheat sourdough where I sift out the bran and reincorporate it later!
I haven’t made a “white” sourdough loaf in a few weeks (the last one was my Walnut Cranberry Sourdough loaf), and I’ve become accustomed to the deep & rich taste these whole grains present when baked. They hold up to just about any food, and only sometimes overpower other ingredients.
One thing I’ve been experimenting with is a younger levain, per Chad’s description in his Tartine Bread books. In his latest book, Tartine Nº 3, he describes a levain prepared in about 4 to 6 hours at a warmer temperature between 80°F (26°C) and 85°F (29°C). My levain, however, is typically created overnight (about 12 hours) at a relatively low temperature between 66°F (18°C) and 70°F (21°C), depending on how brutal the winter days have been. I wanted to reduce my levain build time to match Chad’s more closely and see if using it at an earlier stage would help with fermentation activity during my bulk fermentation stage. I’ve only baked a few loaves this way, and all have been whole grain, but I’m eager to try this younger levain method in future bakes with my typical country loaf.
If you’re interested in maintaining a warmer temperature for your starter and/or levain, a small home dough proofer might be a good option. I’ve been using one lately quite heavily in my kitchen and it’s proven to be indispensable.
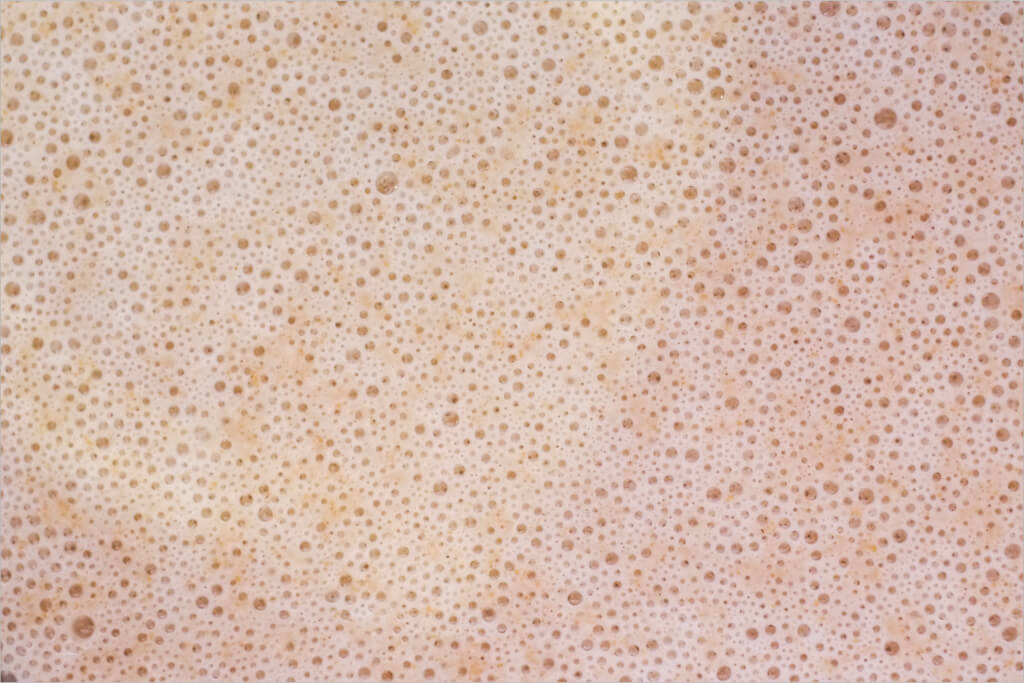
Here you can see the progression over a 6-hour levain build. Earliest is top left, oldest and ready for the mix is lower right (read like a book).
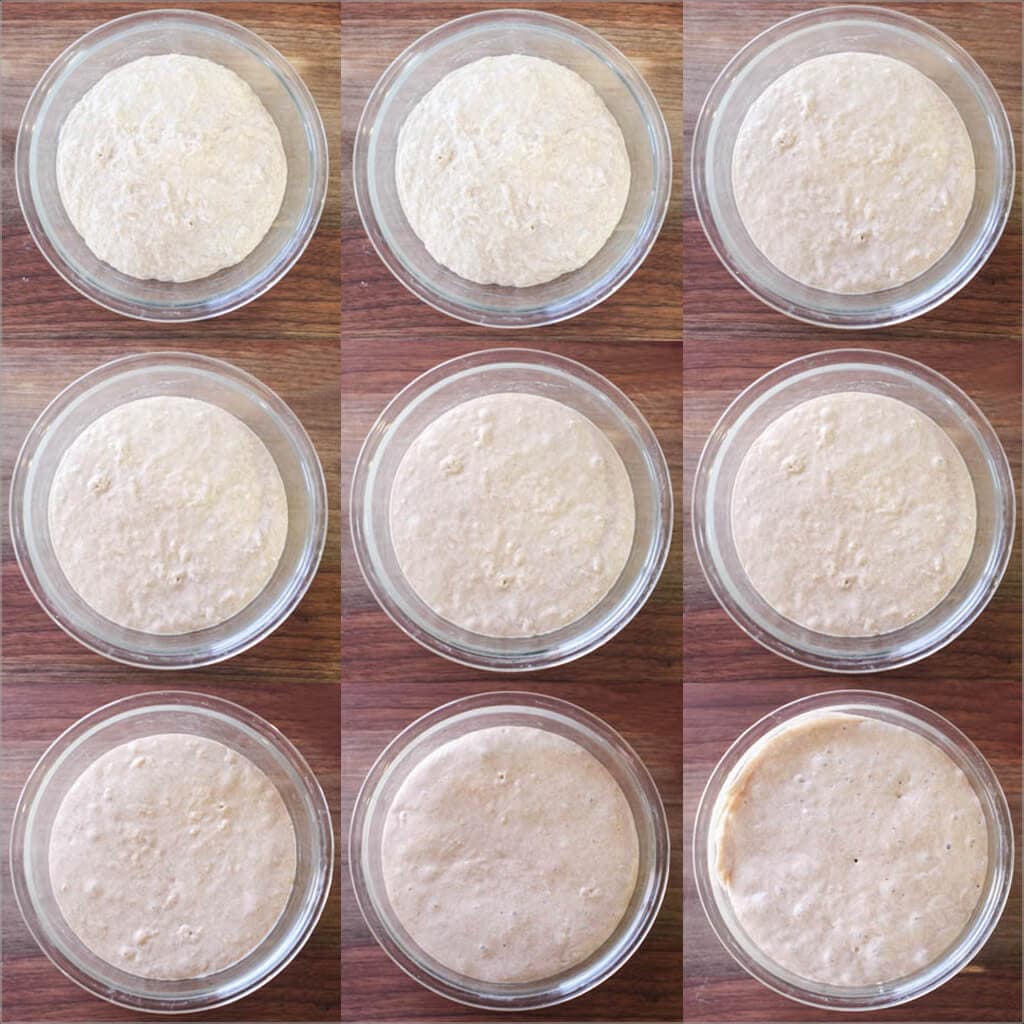
If you’ve only ever used a mature levain for your bread, you might get a little uneasy watching your young levain develop, never quite sure if it’s ready. Remember you can always do a quick “float test” before using the levain to ensure it’s ready.
Whole Grain Sourdough Formula and Method
Prepare the levain – 10:00 a.m.
The following levain build was kept at around 77°F (25°C) ambient temperature and started in the morning on the day I mixed the dough, rather than the night before.
| Weight | Ingredient | Baker’s Percentage |
|---|---|---|
| 19g | Mature sourdough starter (100% hydration) | 25% |
| 39g | Whole wheat flour (Bob’s Red Mill Stoneground Whole Wheat) | 50% |
| 39g | All-purpose or bread flour (Sangre de Cristo) | 50% |
| 78g | Water | 100% |
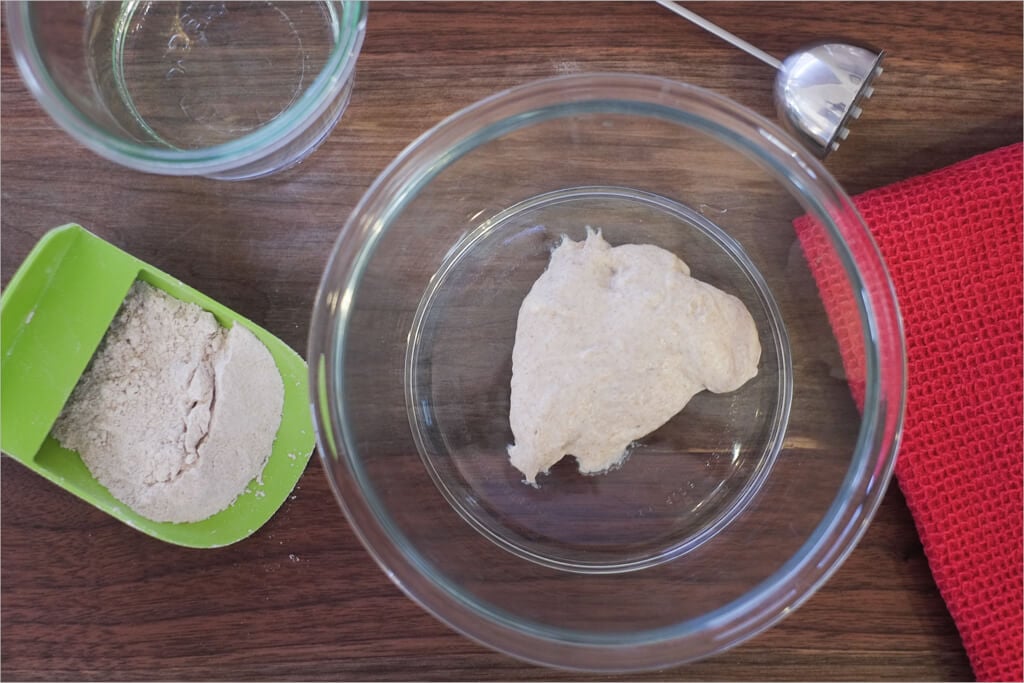
After mixing the above in a thick-walled glass container, cover and set in a slightly warm area, around 77°F (25°C), for about 6 hours.
Mix the flour and water & autolyse – 10:00 a.m.
Autolyse times for bread with this high of whole grain can typically range from 2 hours to overnight. I’ve done both and almost everywhere in-between. I elaborated on the differences between short and long autolyse times in my last whole wheat entry, but I’ll quickly say here a longer autolyse helps whole grains fully hydrate and starts the gluten development process to reduce total mixing time.
Additionally, during an autolyse, where the flour and water are mixed (remember, no levain or salt added during this step), enzymatic activity begins and sugars are “unlocked” for fermentation. Chad, in Tartine Nº 3 explains best:
As the autolyse is increased, amylase, which is activated by the water, starts to release sugars in the flour, making them more available for the wild yeasts and bacteria when the natural leaven is introduced to the dough. Some slightly bitter grains such as red wheat take on a noticeably sweeter tone…
Chad Robertson
But first, how does a long autolyse increase the rise height of your bread? Hamelman elaborates in his essential book, Bread:
When making breads containing lots of whole-wheat flour, during the autolyse the bran has an opportunity to absorb more dough water. This also has a favorable impact on loaf volume, because during the final mixing of the dough there is less of a cutting action of the bran on gluten strands.
Jeffrey Hamelman
I know, I know, I hear you saying “now I have to not only create a levain and watch it, but I also have to do a longer autolyse and manage that increased time as well?” Well, I found I can make this easy on myself, and you too. Just do your autolyse for the same amount of time as your levain, between 4 and 6 hours. Start them at the same time, and then they are done at the same time. Easy, right? From there you can experiment further with varying autolyse times and note their impact on reduced mixing time and dough strength and adjust accordingly.
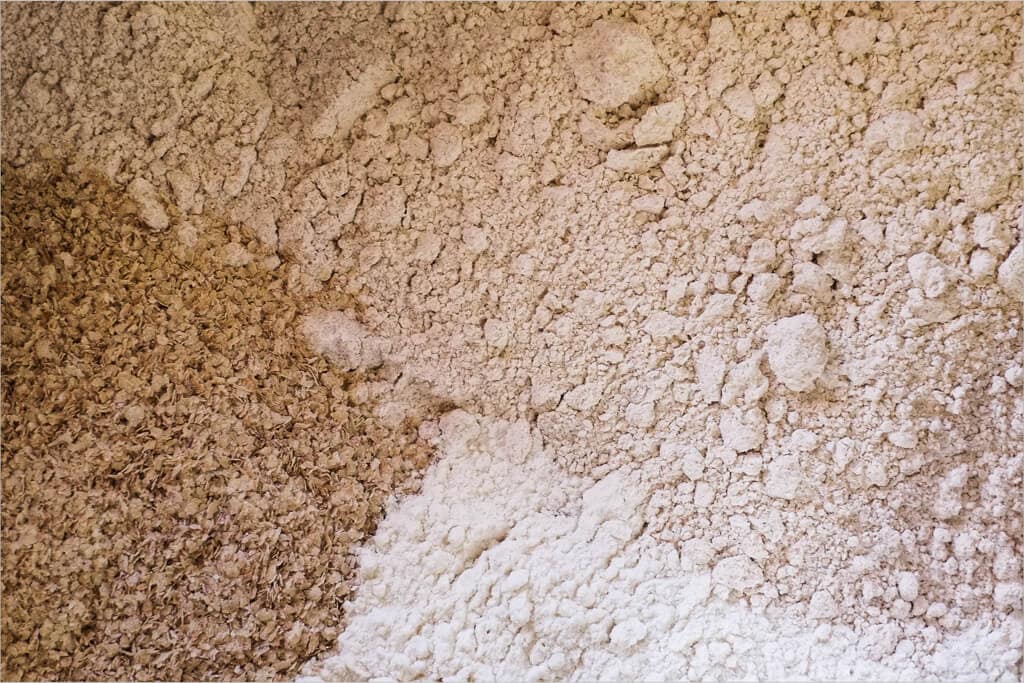
Let’s get mixing.
Ingredients for Autolyse:
| Weight | Ingredient | Baker’s Percentage |
|---|---|---|
| 100g | Sangre de Cristo white flour (a locally milled flour, this is high protein, close to bread flour) | 10% |
| 150g | Bob’s Red Mill whole wheat flour | 15% |
| 500g | High Extraction (explained below) Bob’s Red Mill whole wheat flour | 50% |
| 250g | King Arthur Organic White Whole Wheat | 25% |
| 50g | Wheat Germ (optional) | 5% |
| 825g | Water | 82.5% |
Note that the total hydration for these loaves will be 95%, we will add more water later when we dissolve the levain after autolyse.
Method:
Six-Hour Autolyse:
- Create your 500g high extraction flour by sifting your whole wheat flour. The flour that falls through the sifter is what you’ll use now, the bran that remains on the top can be reserved and used to coat your bannetons to prevent sticking but also increasing the whole grain percentage in this bread
- Add 825g water to your mixing bowl
- Add in 500g high extraction flour, 250g white whole wheat flour, 150g whole wheat flour, 100g white bread flour, and 50g wheat germ
- Mix until all the dry flour is incorporated
- Cover with plastic wrap and keep covered in a warmish place in your kitchen at around 77°F (25°C)
After six hours mix an additional 125g water and 175g levain in a separate bowl. Mix these until you’ve fully dissolved the levain in the water.
Add to your autolysed dough:
- 25g sea salt
- Your dissolved levain (your levain plus the withheld 125g water)
Mix with your hand until the mass becomes a bit “sticky,” and the liquid levain is fully incorporated. Transfer to your bulk fermentation container.
| Final dough temperature: | 78°F (25.5°C) |
Bulk Fermentation – 4:20pm
You’ll notice after the autolyse and mix the dough has some pretty good strength to it, yet it is extensible enough to stretch out without snapping back. Do the following turns gently during the bulk phase to avoid tearing the dough, with the last two sets of turns being very gentle.
- 4:50 p.m. – Turn Set 1
- 5:20 p.m. – Turn Set 2
- 5:50 p.m. – Turn Set 3
- 6:20 p.m. – Turn Set 4
- 6:50 p.m. – Turn Set 5 (very light set of 3 turns)
- 7:20 p.m. – Turn Set 6 (again, very light)
- 7:20 p.m. – 9:00pm – Rest on counter untouched
Note that a “set” here is four stretch and folds. I reach under my dough, pull up, and fold over the other side I do that four times. For this loaf in steps 5 and 6, I only did three very light turns, the dough was strong enough, and I did not want to risk tearing it.
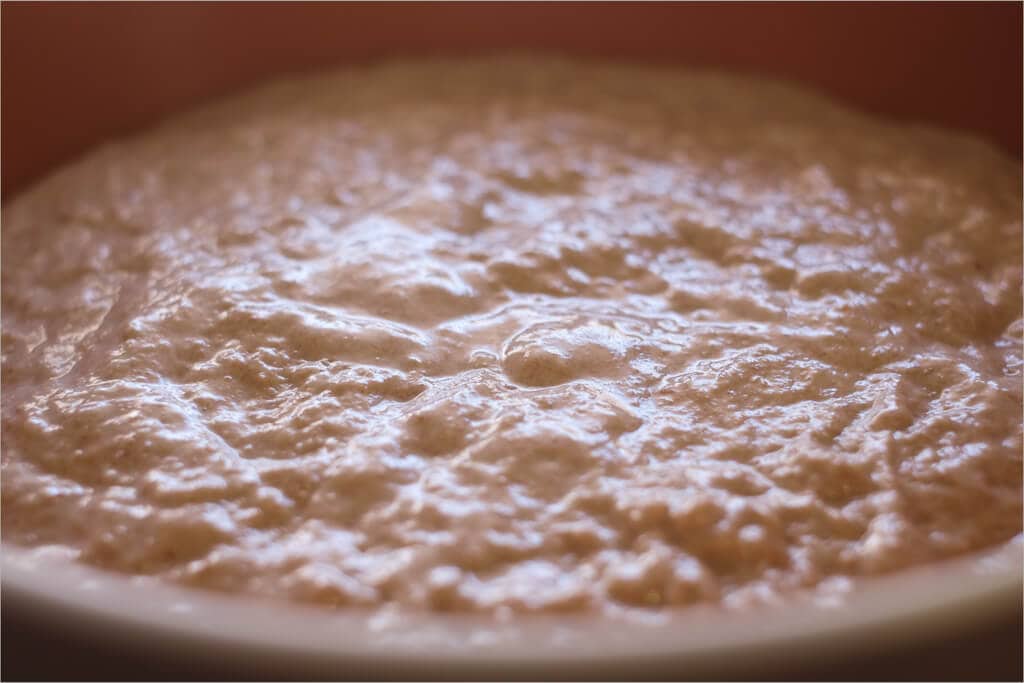
With whole grain like this, you won’t see that crazy explosive rise you will with predominantly white bread, but the bulked dough should look jiggly in the bowl when you slightly shake it. The edges of the dough should have some shape to them in the bowl.
Pre-shape – 9:00 p.m.
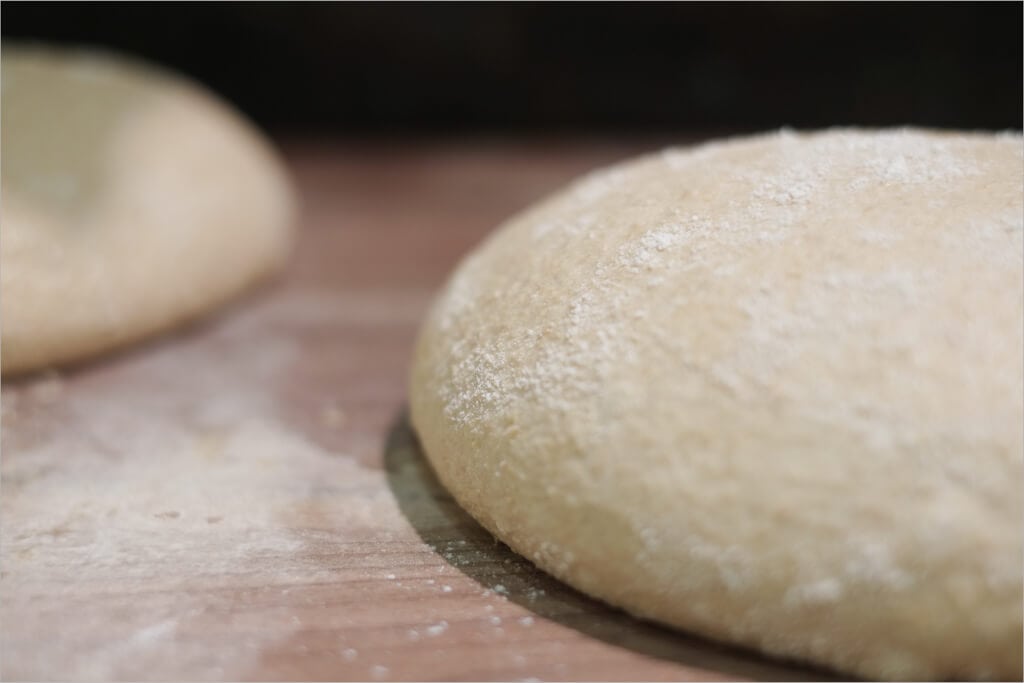
Take the dough out of the container onto your work surface and sprinkle some flour on top before dividing. Divide the mass into two halves and lightly spin each half with your dough knife in one hand and your other hand. Let this pre-shape rest for 20 minutes.
Lightly dust your two linen-lined bowls with the bran you’ve reserved when creating your high extraction flour. Alternatively, you can use white or brown rice flour.
Shape + Proof – 9:20pm
After the pre-shape, my dough looked like it was holding its shape quite nicely, but it also still felt very extensible. I decided to do one loaf as a batard as I knew I’d be able to do the more complex shaping required. Plus, I love the batard shape. At 95% hydration shaping can be quite a challenge. Make sure you use enough flour to keep your dough from sticking to your work surface, but try to keep it to as much of a minimum as possible. I know, it’s not an easy balance to find.
See my post on shaping a batard for more tips and a video.
Create a nice taut surface on your loaves to ensure they have maximal oven spring. You don’t want to work them over and press out all the gasses, but you should have nice tight skin on the outside. This tight skin helps the dough rise when first put into the oven. After you’ve shaped them, gently place them into their bannetons and place in the fridge for an overnight proof.
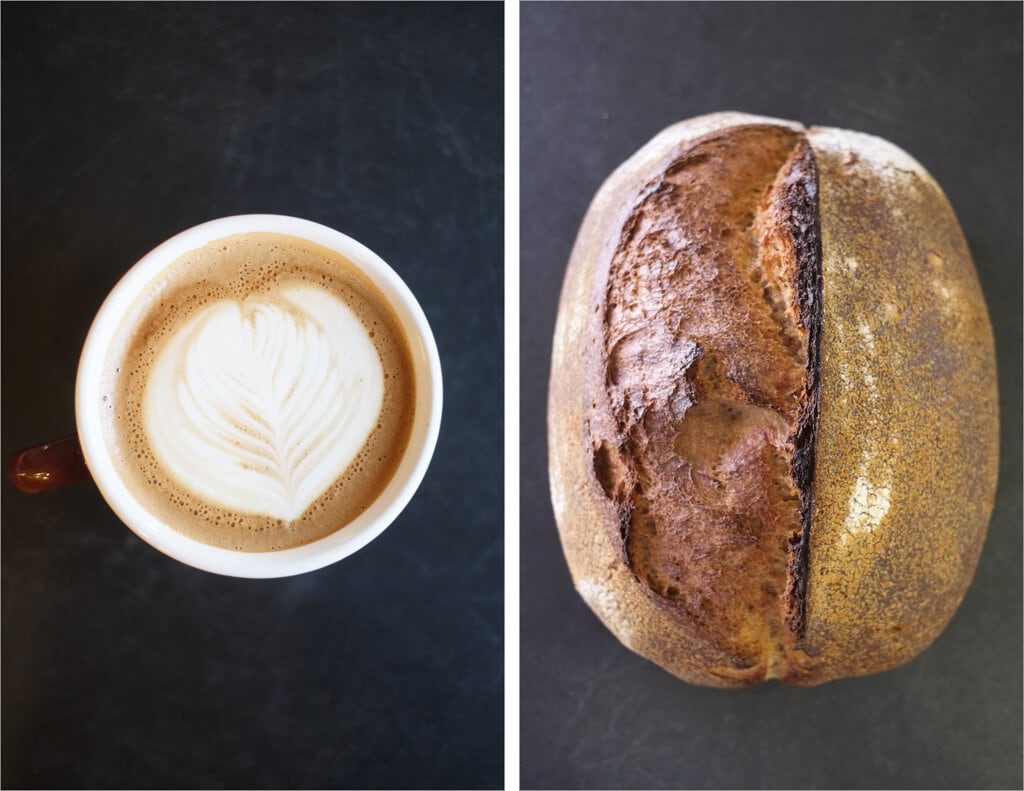
Ahh that was a long day, but it was satisfying, wasn’t it? There’s nothing like taking the time to create these lumps of dough only to see them spring to life as large loaves in the morning not to mention the whole eating them part.
Score + Bake – 7:00am
In the morning, place your baking stone in your oven at the bottom 1/3 position and turn it on to 450°F (230°C) and preheat.
When preheated, take one of your loaves out of the fridge and grab a piece of parchment paper to place on top of the basket containing the dough. Take your peel and then put it on top of those two and quickly invert it, so the dough is now resting on the parchment paper and the peel.
When you score these whole-grain loaves, try not to dig in too deep at a 90° angle. If you go too deep, your loaf may not rise to its full potential. For the boule, I do a very light 90° “X” shape, and the batard is my usual 40° crescent from one side to the other.
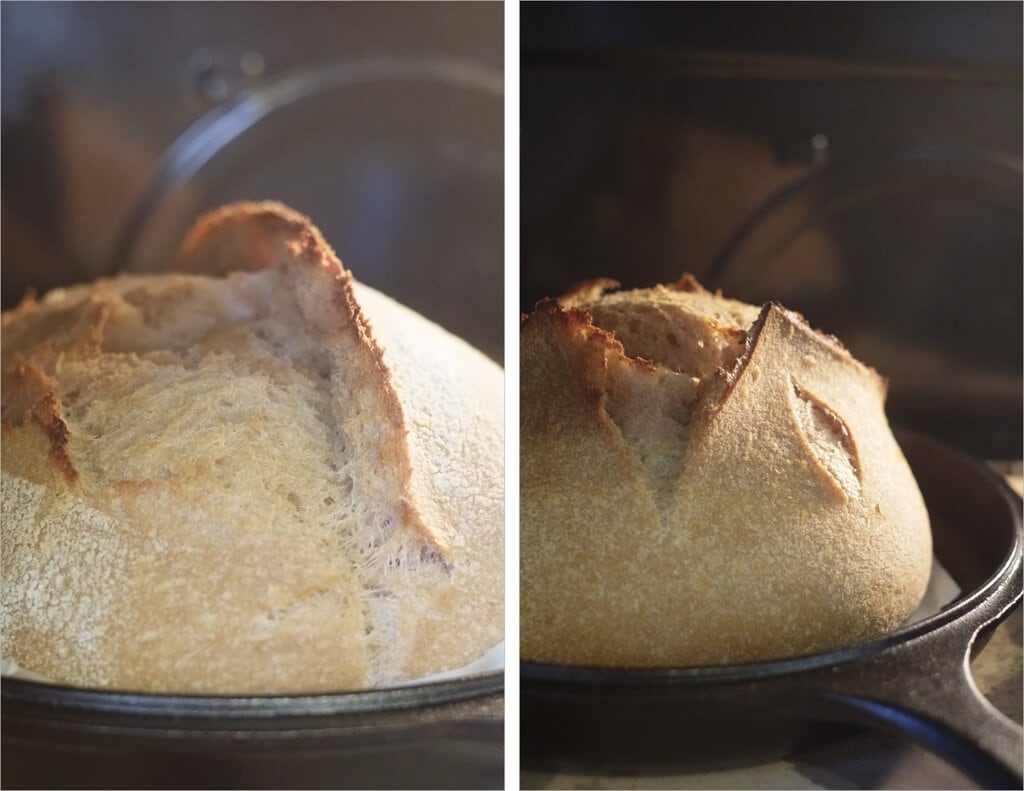
Place the dough into the combo cooker and bake, covered, for 20 minutes. After 20 minutes, take the lid off the combo cooker and bake at 450°F (230°C) for an additional 30 minutes, until done. For each of these, I had to go a bit longer than 30 minutes until the interior temp reached between 205-210°F (96-99°C).
Conclusion
These two guys are, without a doubt, the best whole grain loaves I’ve made. The rise was far superior to any before them, and I just knew they were going to come out great when I loaded the oven. When I turned them out of their bannetons onto the peel, they held their shape: nice and bubbly with some height to them. I firmly believe I still have some room for improvement here and can get them even higher and an even more open crumb. These loaves have upped my bar and are a high starting point from which I’ll keep experimenting.
And as I mentioned up above, my future whole grain experiments have only improved and baking with so much whole grain brings so much flavor.
Crust
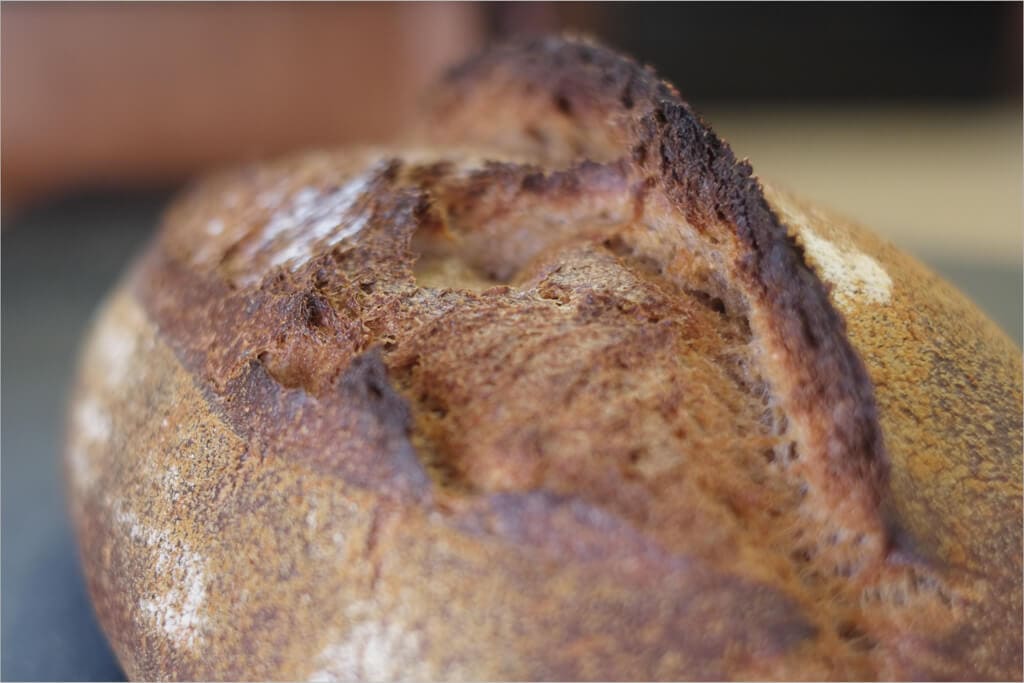
The crust was a tad on the thick side but not so much that it was hard to eat. I do not mind a thicker crust on my bread, but thin and brittle is what I strive for. Regardless, it was quite fragile, and there were some nice blisters and cracks throughout with some great movement, and look at le gringe! Now those are some ears if I’ve ever seen any.
Crumb
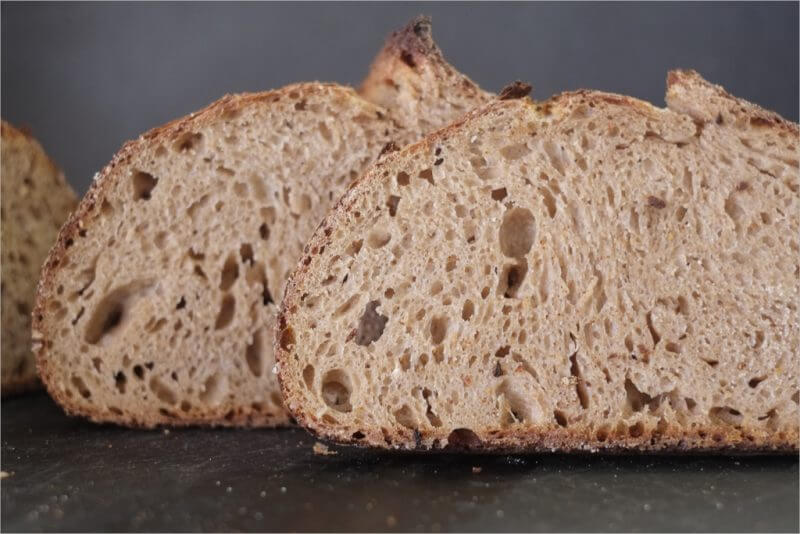
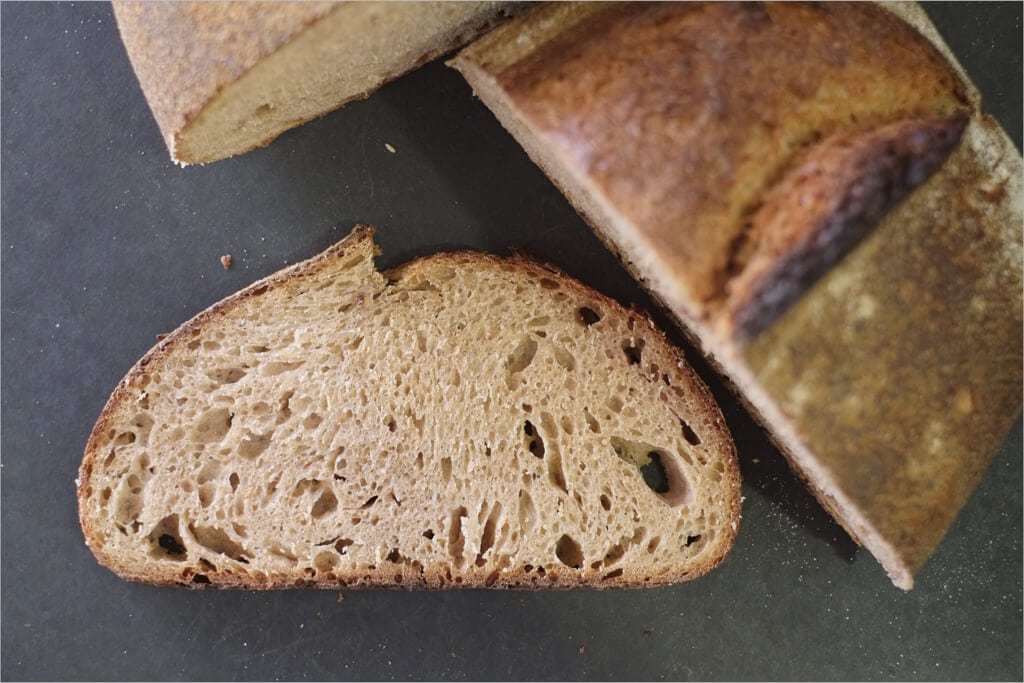
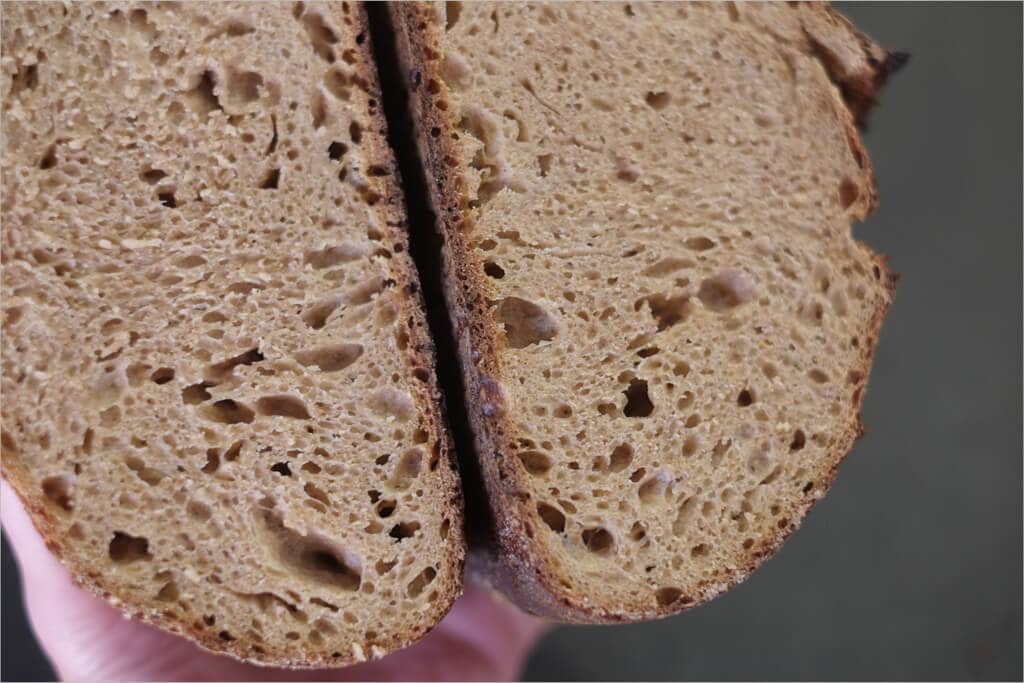
High rise on these two! Each slice is open and airy with an excellent level of tenderness. At 95% hydration, a moist crumb is to be expected but I think this might be pushing the hydration levels, more water would not help this achieve anything further. Plus, pushing hydration more than 95% exits my shaping comfort zone as its very hard to handle (I’ve done a 115% hydration loaf, and I thought I was going to end up pitching the entire batch it was so difficult).
Taste
I like the taste of these whole grain loaves. The extended autolyse tones down the sometimes bitter taste found with this much hard red wheat, and the remarkable rise and airy interior help to lighten the loaf. I know I said this last time, but this is now my go-to recipe for whole grain bread!
Buon appetito!
If you use this recipe, tag @maurizio on Instagram so I can take a look!


