I recently had a chance to head out to San Francisco, CA for a quick vacation and now that I’m back I find myself still thinking of the ocean, Tartine bread, Napa wine, and Lagunitas beer. My brother and I met up there to spend some time with a good friend of ours and we did it right: Tartine bakery for oat porridge bread and croissants, Bar Tartine for dinner, Napa for wine, and a quick 2-day excursion to Healdsburg to explore the area on Segways while sipping wine and trying not to get run over. And for some reason, the trip seeded a new recipe in my mind: a golden raisin and fennel seed sourdough.
We planned before leaving for Napa and had a loaf of Tartine oat porridge on pre-order, picked up the night before it was in our packed bag with a charcuterie spread ready for the day. I will be lying if I don’t admit to being just as excited about cutting into that bread as I was about drinking wine and seeing the sights the next day.
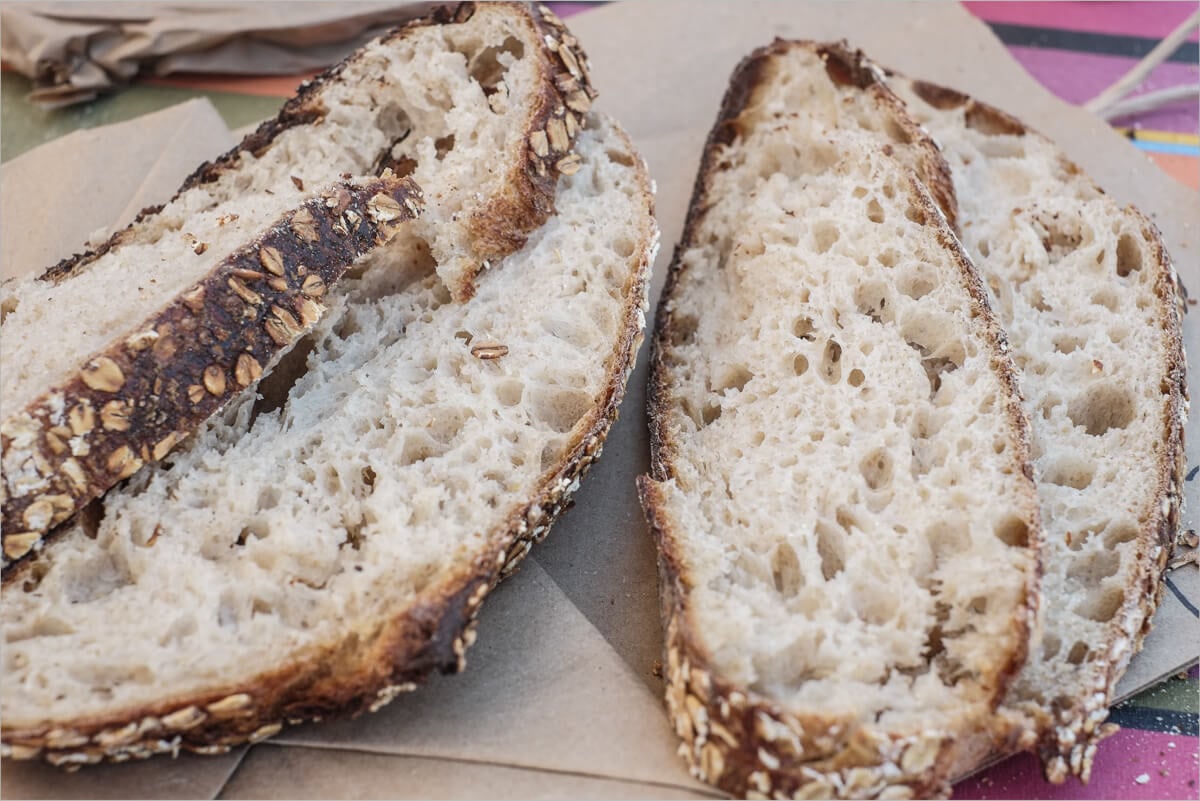
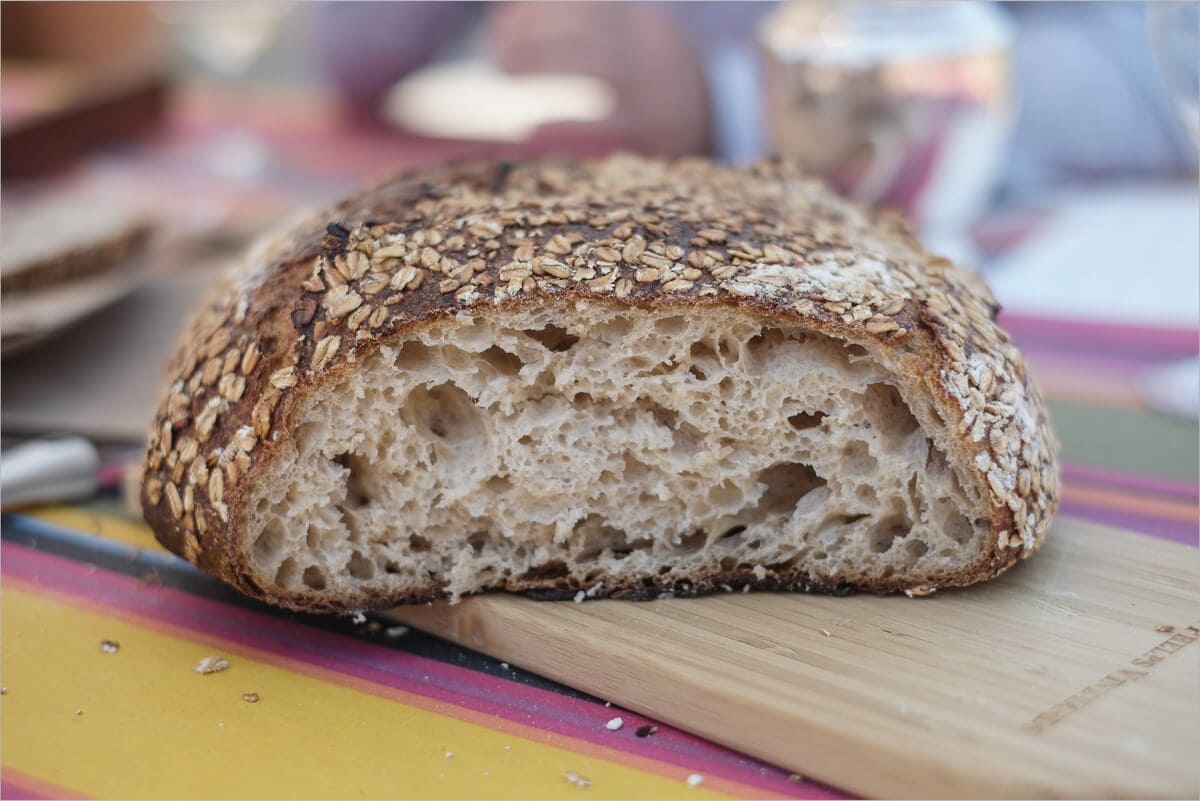
The bread was superb, but you probably already knew I was going to say that. The loaf was actually a bit challenging to cut as the crust and crumb were so moist and tender I would almost crush it while slicing. About midway through our little lunch, we just gave up on the knife altogether and started ripping pieces off with our bare hands. Between the three of us, we almost finished off the entire loaf in that one sitting. Wait, we did finish off the whole loaf in that one sitting.
After a few visits to other wineries, which were all incredible, we stumbled on St. Supéry with its empty (!?) pétanque courts bathed in the shade by large oak trees overhead, cooled by a vast green ivy wall behind, and supplied with wine from inside. We just had to play a few competitive rounds where the two losers had to fit the tasting bill. Wine, excellent company, pétanque courts, trees, and green ivy all over—that’s a beautiful scene for the afternoon.

In Healdsburg, we signed up for a tour through several wineries on Segways. Sure, you might be thinking: “hey isn’t that kind of like drinking and driving?” Yes, it is in a way, but I tell you Segways are so intuitive it’d be hard to crash one, even after 3 or 4 drinks (although there was that one hill where my brother almost ate it going up, to the laughs of the rest of the group). The Segway tour was a massive hit with us, we had a blast rocking back and forth trying to accelerate and stop on a dime, plus we got a chance to explore some of the smaller, off-the-beaten-path, wineries we would have never found on our own. The countryside reminds me of a scene straight out of Tuscany; I could live there and pick grapes for the rest of my days without a peep.

On the drive back to San Francisco we decided to stop in at the Lagunitas brewery and take their laid-back, yet educational, tour. I’ve been on several brewery tours around the US (Odell in Ft. Collins included) and Lagunitas might have just taken the top spot. The tour guide had an excellent, joyous attitude throughout the entire thing and not only did we get to try ample samples of their beer, but we also got to hang out with this guy the whole time:

San Francisco was a blast, as it always is, but now let’s get on to some homemade bread…
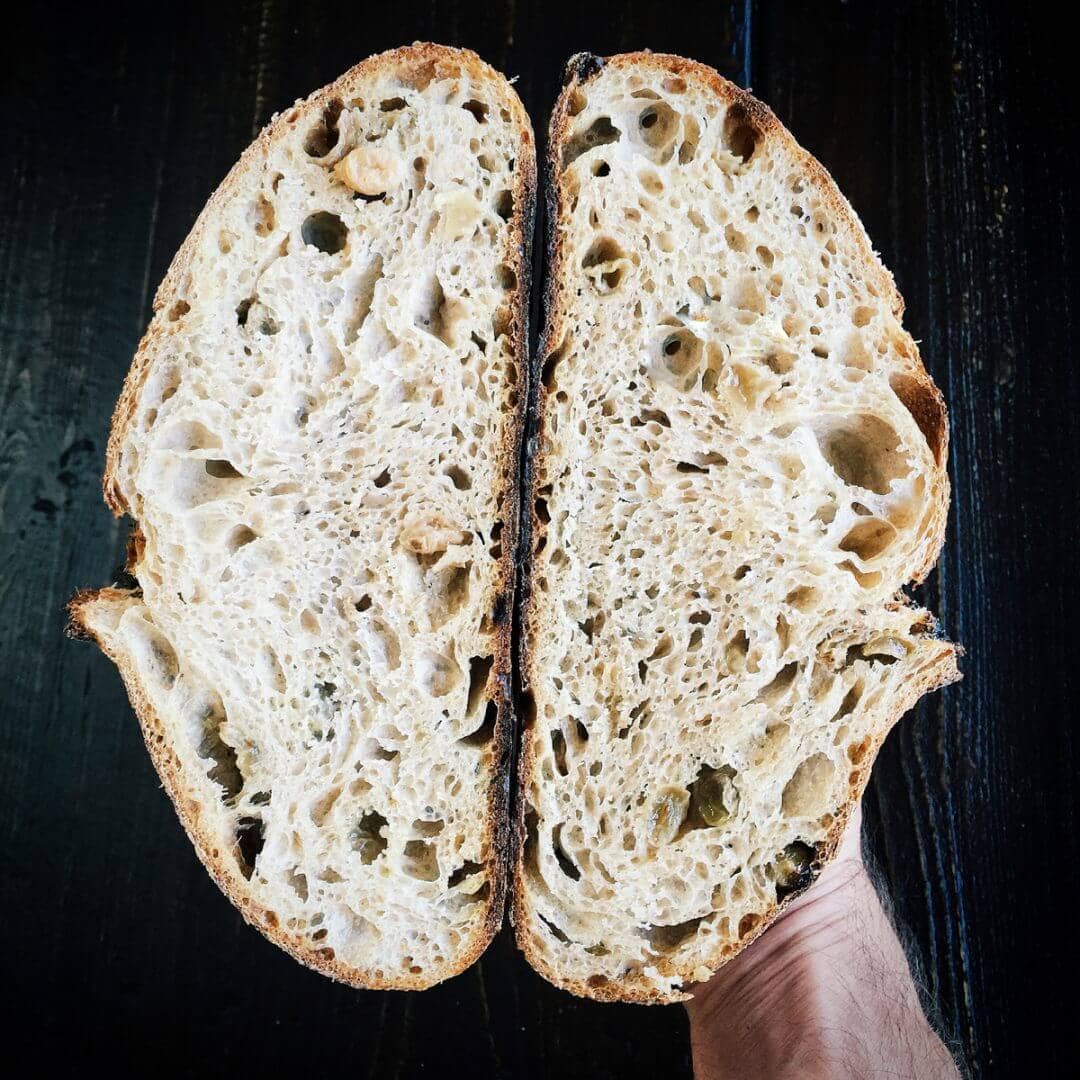
So I’ve been tinkering with this golden raisin and fennel seed sourdough loaf for a little while, tweaking the amount of each ingredient until I got the right pinch of fennel seeds, and the right scoop of raisins, to pair with my standard sourdough recipe. It’s a rather straightforward entry this time, but sometimes it’s comforting making simple bread with a few ingredients to keep things interesting.
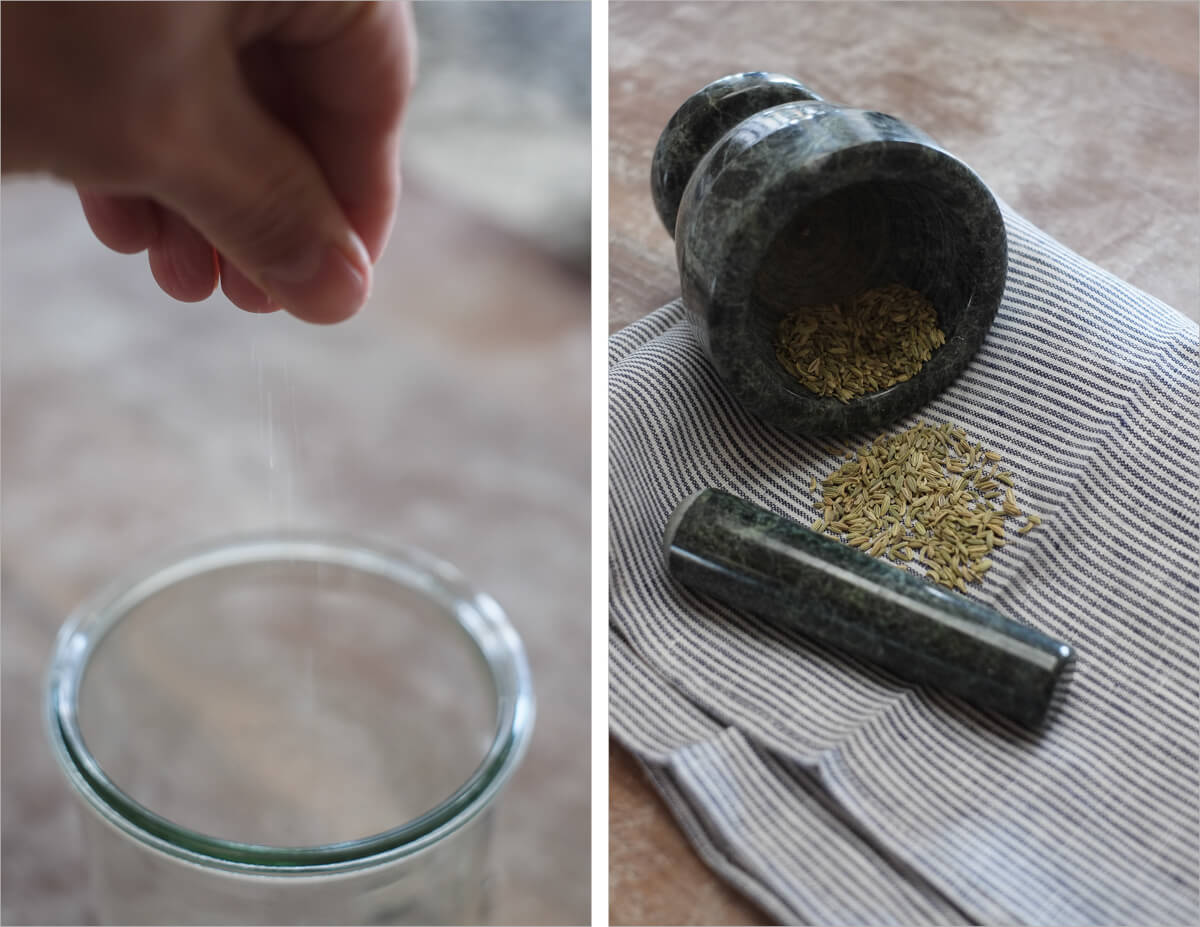
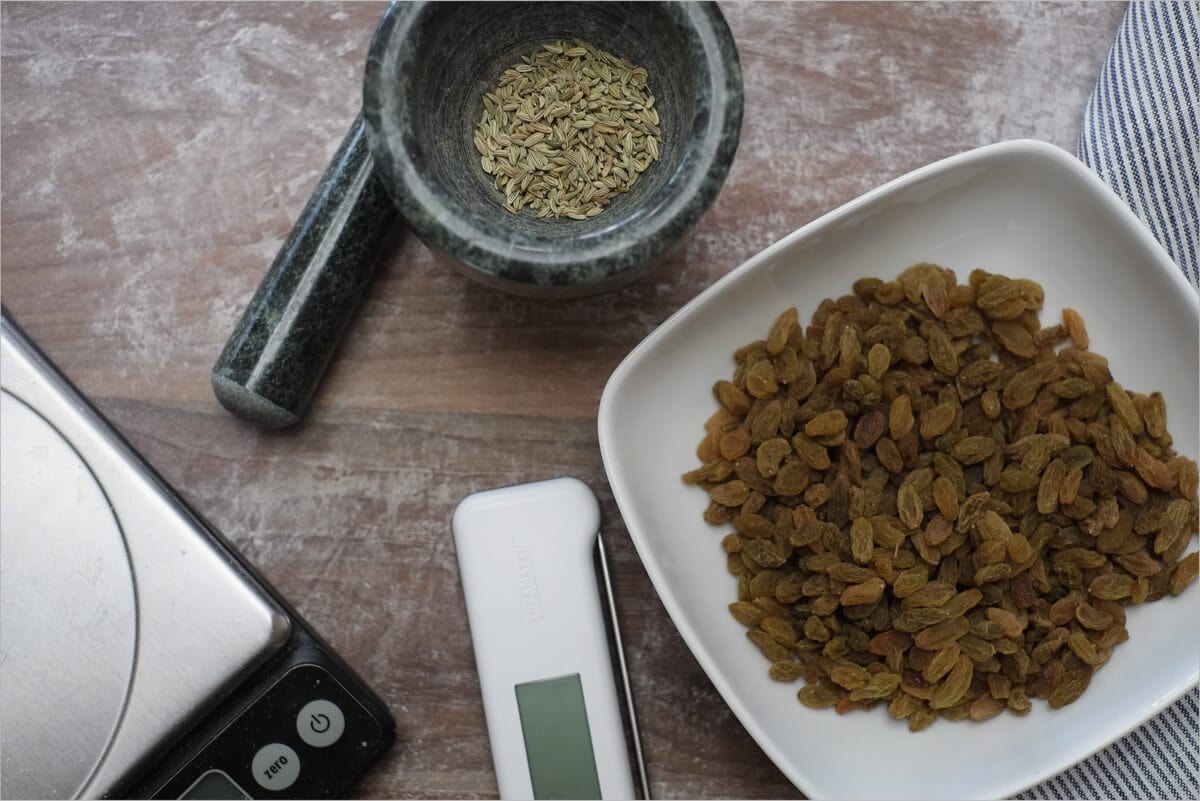
Fennel goes so well with sourdough; it has a delicate flavor that whisks me back to our trips to Italy where we would eat raw fennel with a smidgen of olive oil, salt & pepper. It’s typically served as an antipasto of sorts, right before that large summer family lunch or dinner. Just perfect, and refreshing. For this bread, I used fennel seeds and pulverized them with a mortar & pestle until I had nothing but small pieces remaining.
Golden sultana raisins add a touch of sweetness at every other bite, just enough but not so much as to overpower the rest of the flavors in the bread. Some raisin bread recipes call for quite a bit of the small, sugary ingredient, but I prefer to be light-handed with them. After all, we’re not making dessert bread here; we want a dash of sweetness to peek through occasionally. During bulk fermentation I poured boiling water over the sultana raisins and let them sit for about 30 minutes, then I drained the excess water.
One thing to note with this recipe, as with anywhere you are adding hydrated ingredients (my oat porridge bakes are a good reminder), the raisins do hold on to a little bit of water and will later release this into your dough. You should add water with trepidation during mixing and only add just enough.
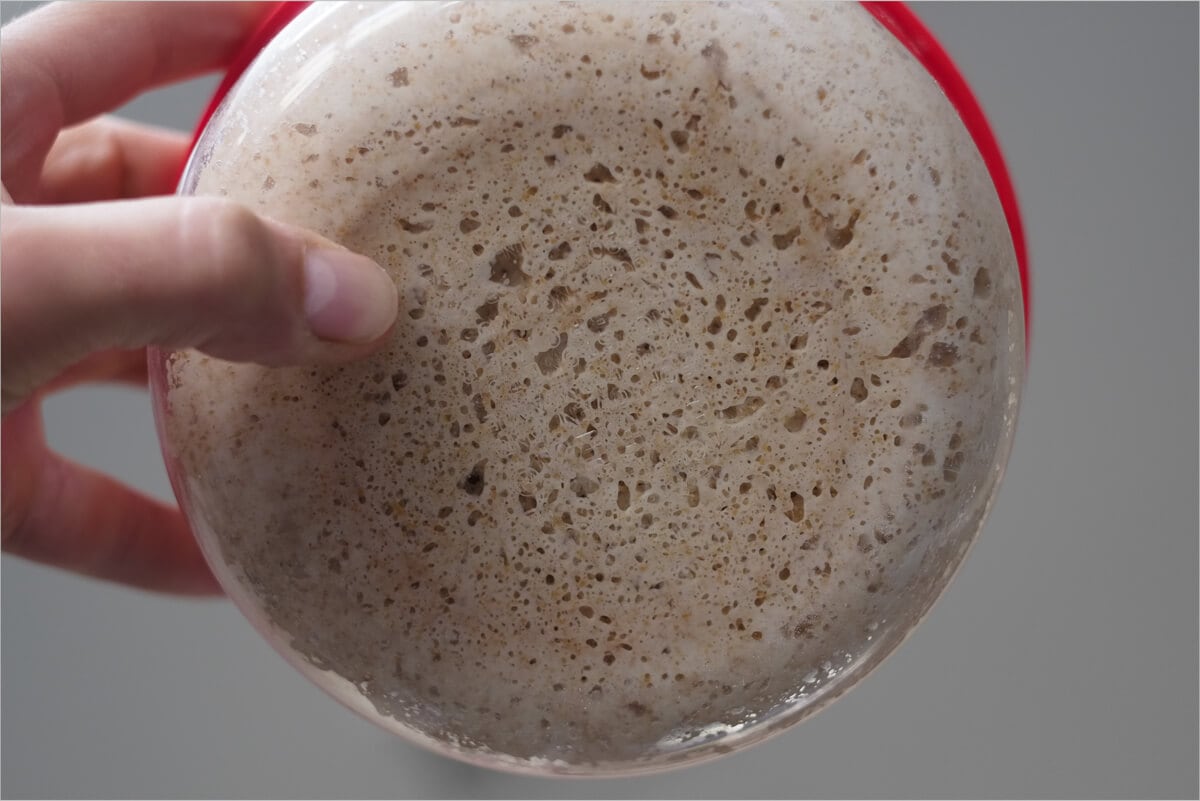
Prepare the young levain – 6:30 a.m.
Prepare the following just after you get up in the morning:
| Weight | Ingredient |
|---|---|
| 25g | Ripe starter |
| 50g | Giusto’s whole wheat flour |
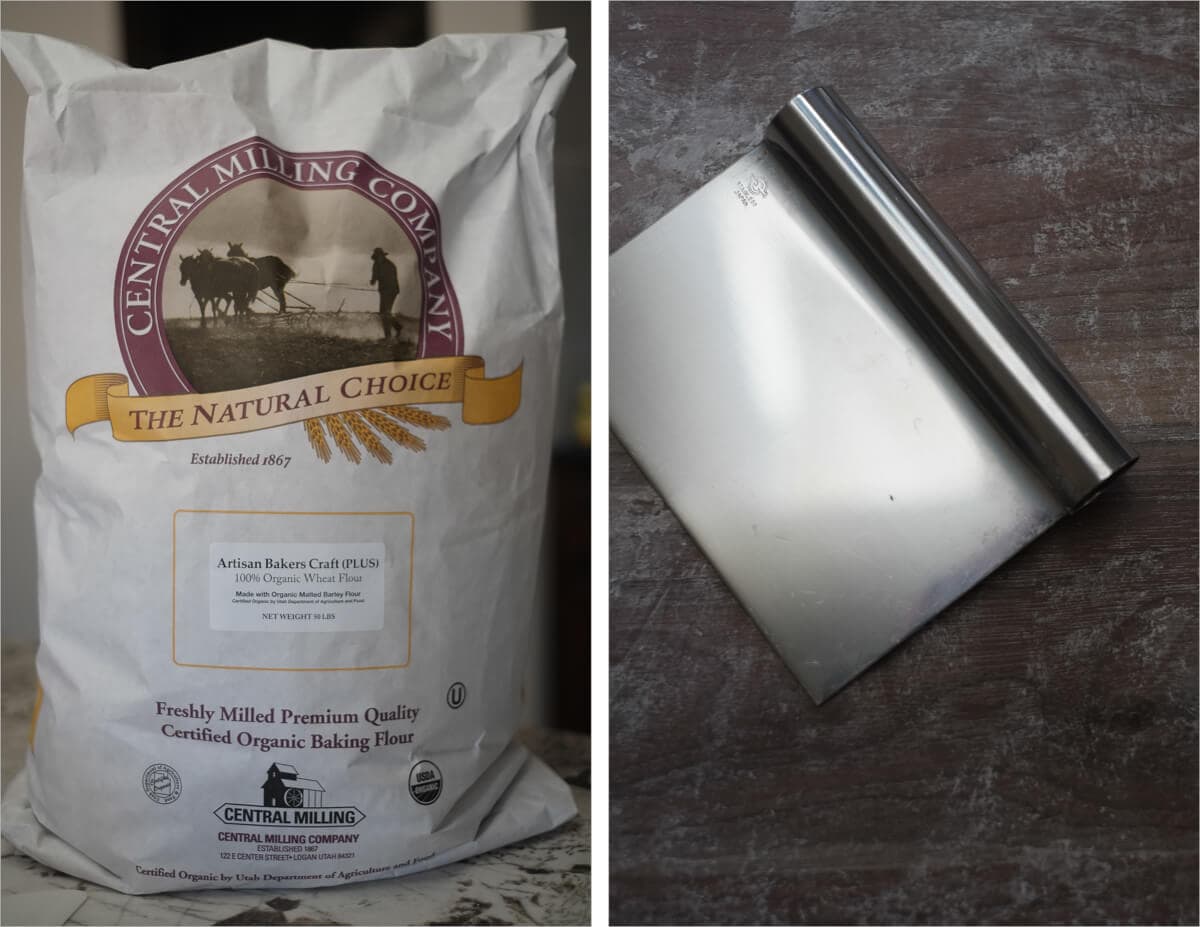
| 50g | Central Milling Organic Artisan Bakers Craft (malted) |
| 90g | Water |
Keep it in a warm area in your kitchen for 6 hours or until it smells and looks ready to you. You should see small bubbles on top, and if you used a glass container, bubbles throughout.
If you’re curious on the differences between a levain and sourdough starter, see my guide!
Autolyse & Mix – 9:30 a.m.
I decided to perform my typical 3 hour autolyse for this bread, but feel free to change this to suit your schedule. I do not usually go lower than 40 minutes, but any amount of time you can provide at this stage is beneficial.
Ingredients:
| Weight | Ingredient | Baker’s Percentage |
|---|---|---|
| 200g | Giusto’s whole wheat flour | 20% |
| 800g | Central Milling Organic Artisan Bakers Craft (malted) | 80% |
| 800g | Water | 80% |
| 20g | Fine sea salt | 2% |
| 150g | Ripe levain | 15% |
| 150g | Golden Sultana Raisins | 15% |
| 7g | Fennel seeds, crushed with a mortar & pestle | 0.7% |
Perform the following for your autolyse:
- In a thick bowl add your 800g white flour and 200g whole wheat flour
- Add 700g of your water (the rest, 100g, is reserved until later when we add in the levain & salt after the autolyse)
- Mix these ingredients by hand until incorporated. Remember at this stage we are not looking for any gluten development, make sure all the dry bits of flour are gone
- Cover with wrap and keep near your levain for 3 hours or so
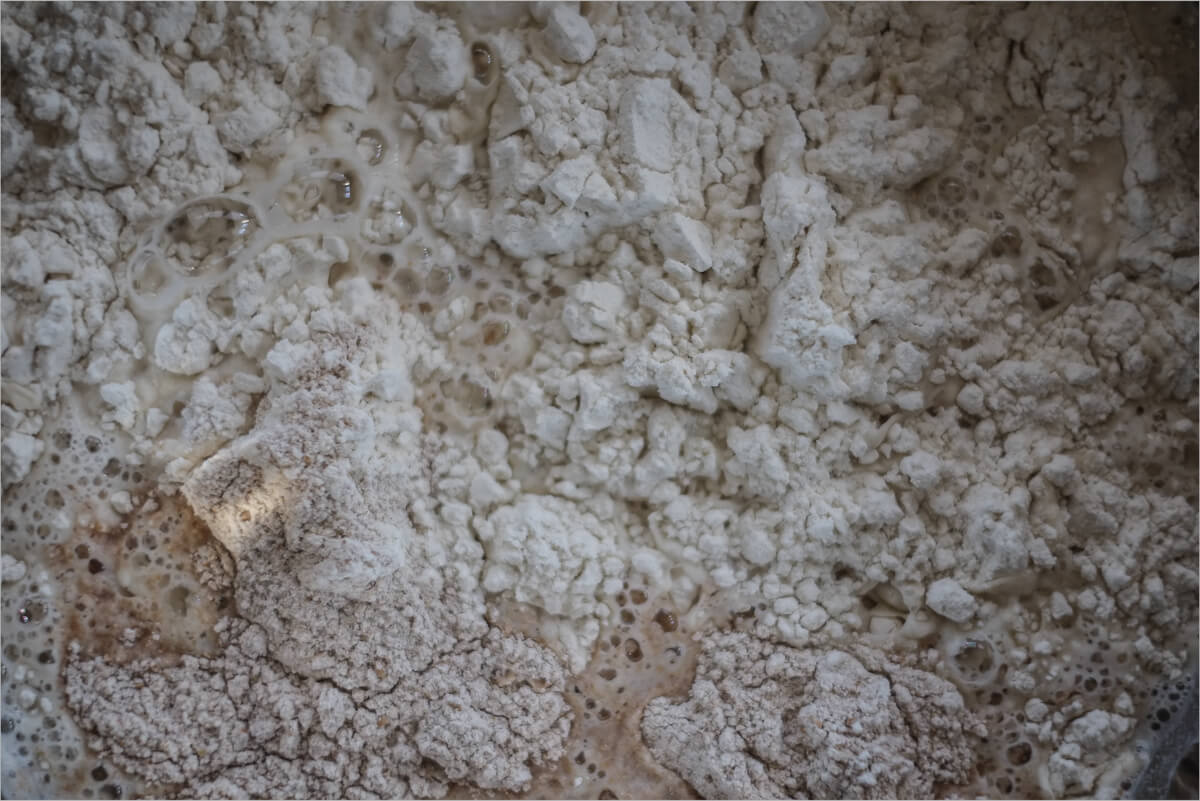
I love the raw smell of flour just as the water hits it; you can almost taste the sweetness in the air. The Central Milling flour I used for this bake (I’ll have more thoughts on this flour later after I get a chance to run it through a few more bakes) turned out to be very, very “thirsty” and could have used more water. I could tell it could take more water just by the feel of it. Usually, the dough is very slack at this point and almost falling apart. Next bake I’ll have a little heavier hand when adding water, but it’s best to start with lower hydration and gradually work your way up as your mix (and sometimes even bulk) progresses. You can always add more water but removing it, well, that’s not possible.
Mix after your 3 hour autolyse – 12:30 p.m.
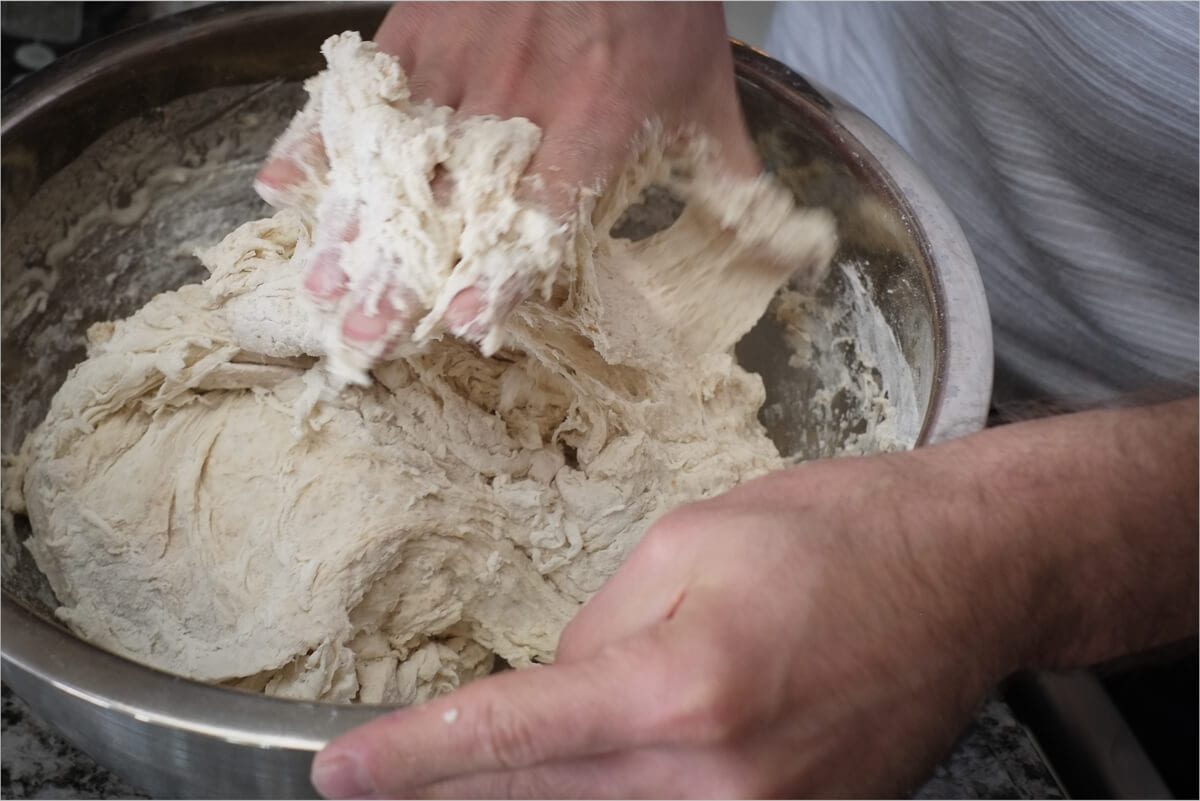
For this bread, I decided not to mix with my previously learned slap & fold technique. However, I did build some strength upfront by mixing with a heavier hand and for a few minutes longer than I typically would.
Follow the process below:
Add your 150g levain and 20g salt to the top of your dough and cut it in with your hand. It will kind of break apart but then come back together again after cutting for a while. Use a little of your 100g water reserve to get things going. If it feels like your dough is super sloppy and breaking apart, don’t add the entire 100g reserve. After “cutting” for a while to get the salt & levain incorporated fold the dough over itself in the bowl, similar to what you would do during bulk fermentation folding. Mainly I would reach my fingers under the dough, pull one side up and over to the other side, rotate the bowl a bit and repeat. I did this mixing for about 2 minutes until the dough started to get sticky. You will notice a change.
| Final dough temperature: | 77°F (25°C) |
It’s starting to get cold in my kitchen. Where it would normally be around 77°F (25°C) out here, it’s now dipped down to 72°F (22°C). You’ll have to keep an eye on your dough and adjust your timetable to suit. Things may seem to take a little longer than usual. Also, you want to try to hit the desired dough temperature of 78°F (26°C). If it’s cold in your kitchen, you should raise your mixing water temperature to compensate.
See my post on the importance of dough temperature for more discussion on why temperature is such a vital component in baking.
Bulk Fermentation – 12:35 p.m.
Transfer your dough to a clear container to be used during bulk fermentation and let rest for the first 30 minutes. After the first 30 minutes have passed, do your second set of stretch and folds put your golden raisins in a bowl and cover with just-boiled water. You will let these raisins soak for 30 minutes, just until after your second set of stretch and folds.
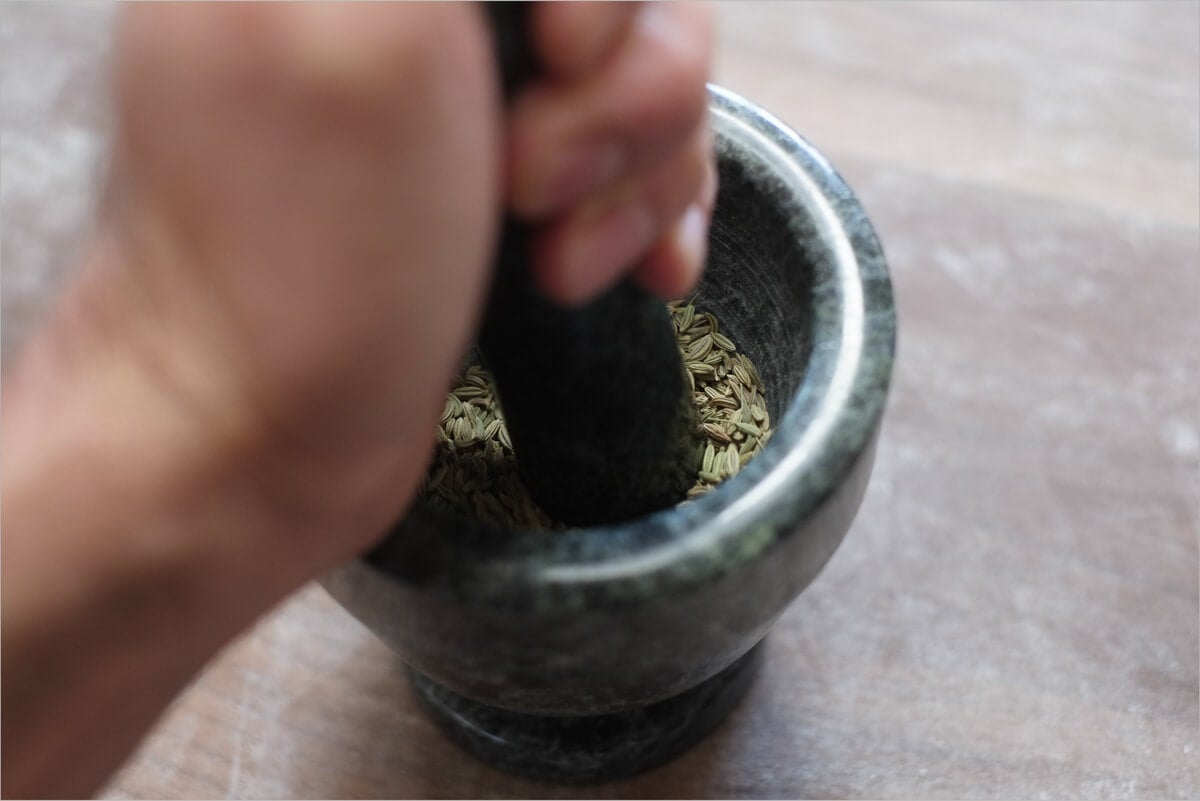
After the second set of stretch and folds add your crushed fennel seed, drained golden raisins (I drained them in the flour sifter I use for making high extraction whole wheat), and a little splash of water. Mix a bit with your hand to get these ingredients dispersed through your dough.
- 1:05 p.m. – Turn Set 1 (at this point cover your raisins in a separate bowl with boiled water and let sit)
- 1:35 p.m. – Turn Set 2 (after this set add crushed fennel seeds and drained golden raisins)
- 2:05 p.m. – Turn Set 3
At this point, the dough started to hold its shape in my container, and the fennel and raisins were well incorporated. Judge for yourself at this point: does the dough look like it’s holding its shape? Or is it still spreading out like a bowl of wet dough? If it’s not holding it’s shape do one or two more sets of stretch and folds after 30 minutes each. I let mine rest for the remainder of bulk fermentation, which took a little longer than usual due to the colder temps in my kitchen.
Pre-shape – 5:45 p.m.
Take the dough out of the container onto your work surface. Divide into two halves and lightly spin the dough in little circles across your work surface with your bench knife in one hand and your other empty hand—kind of like turning a car’s steering wheel. No need to overwork the dough here! You want to gently form them into two boules, just enough to hold their shape for a 20-minute rest.
Lightly dust your proofing bannetons with white rice flour in preparation for the next step. If you don’t have bannetons, you can use any small bowl around your kitchen.
Shape + Proof – 6:05pm
Shape each resting dough into a batard or boule or boule and place them into their flour-dusted bannetons. Now place these into plastic bags and let rest on the counter for 2 hours at room temperature, which as I mentioned earlier, is a bit cool here around 72°F (22°C). After this two hour rest on the counter, you should have noticed your dough rise just a bit, place your bannetons with wrap into the fridge to proof overnight, we will bake these in the morning.
I’ve been emailed a few times with questions about my refrigerator and what temperature it is during my overnight proof. I’ve kept a thermometer in there for a while now, and it consistently reads 39°F (3°C), which is recommended by my manufacturer, apparently.
Score + Bake – around 9:30am
In the morning, preheat your oven to 450°F (230°C). After one hour, take one of your bannetons out of the fridge and cut a piece of parchment paper to place on top. Take your peel and then put it on top of those two and quickly invert it, so the dough is now resting on the parchment paper which is resting on the peel.
Score the top of the dough with your desired pattern. If you’re following my lead with the typical “crescent” slash, make sure it’s very horizontal to the dough, move quickly, and score rather deeply.
Take out the shallow side of your Dutch oven and drag in your dough. Quickly place the pan back in the oven, cover with the deep side, and bake for 20 minutes. After 20 minutes, open the oven and take off the deep lid of the Dutch oven (set it next to the other half inside the oven), then cook for an additional 35 minutes or so, until the bread is to your desired doneness.
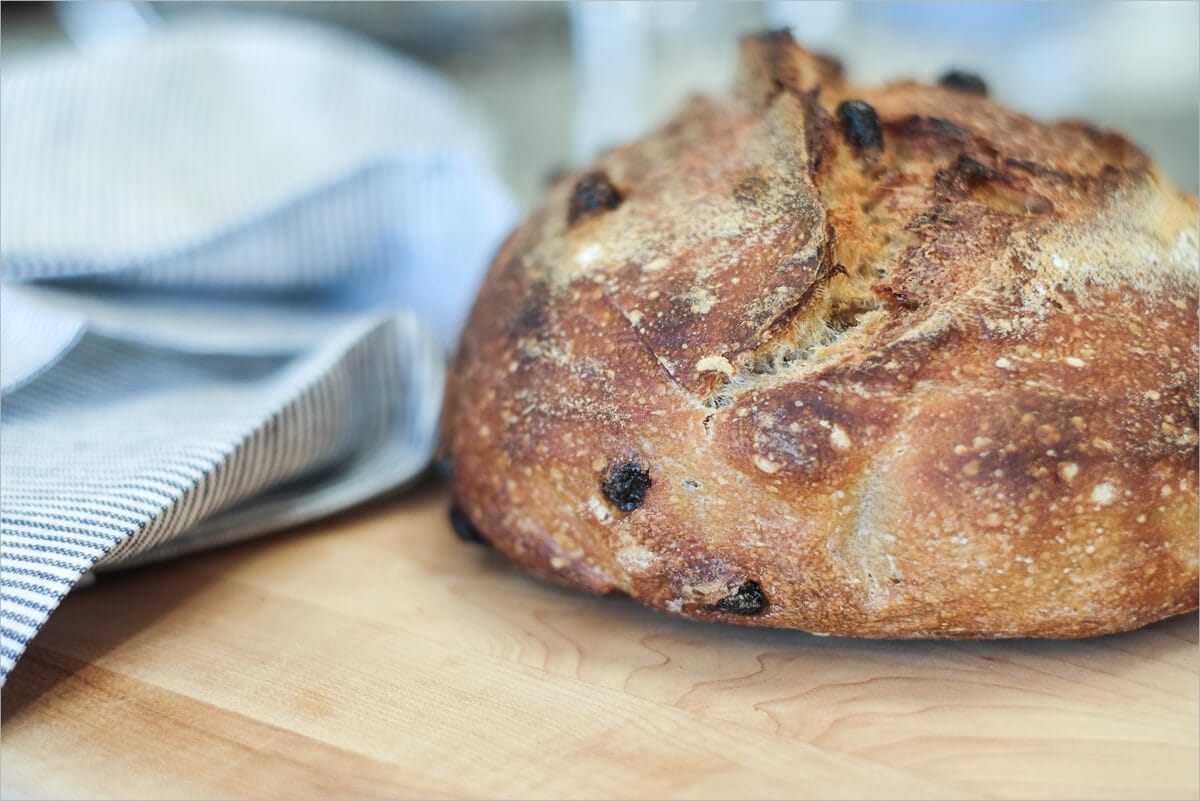
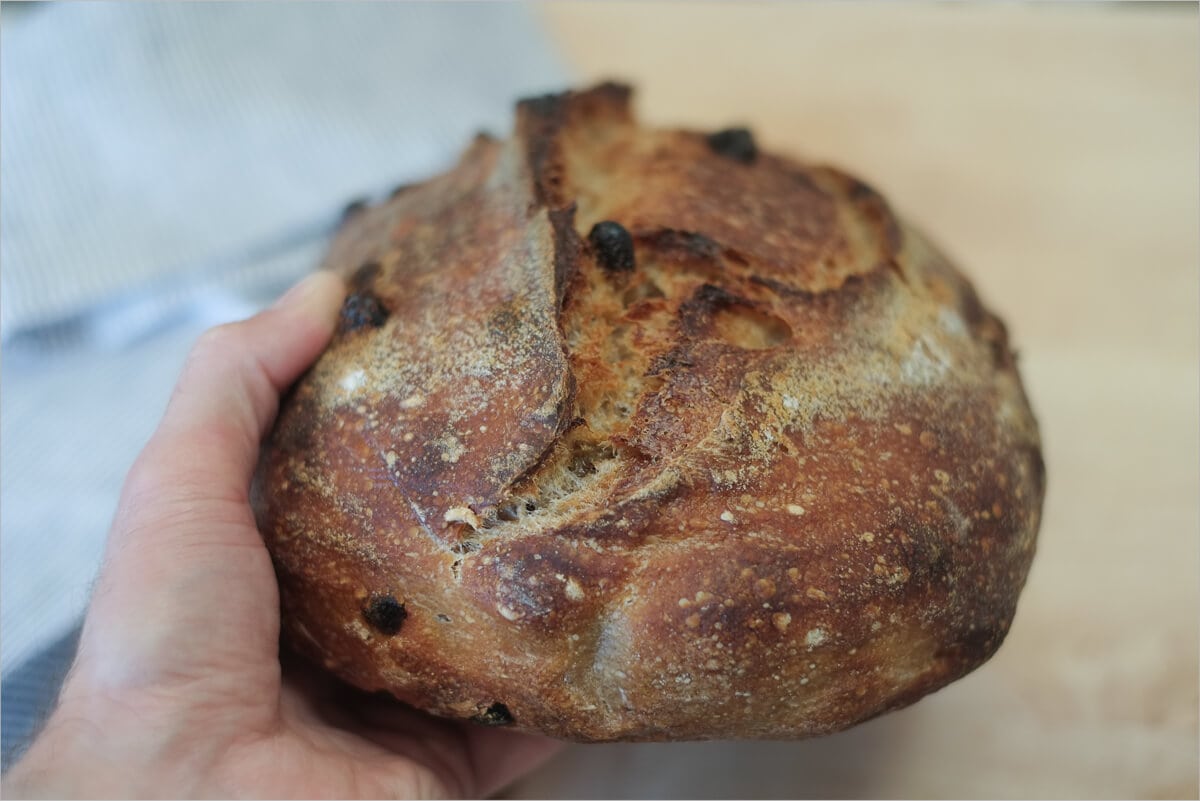
Keep an eye on this loaf in that last 15 minutes of baking! It will turn from almost done to burned in a matter of minutes. I reduced the temperature for my second loaf as the first cooked rather quickly. I didn’t burn it, but it was a close call. Another thing, some people don’t like the charred raisins on top, you know, those that were sticking out when you first placed the dough in the oven. Before baking, you can either try to gently poke them back into the dough, pluck them off, or do what I do: pick them out after your baked bread has cooled.
Conclusion
I love the flavor combination of this bread; the delicate fennel taste and slightly sweet golden raisins pair well with the subtle sour flavor found in my sourdough. It’s easy to toss in toasted hazelnuts, walnuts, pecans, etc. and have good bread. However, this is a nice change from the norm, and I have to keep myself in check when deciding what to bake next, it seems to keep creeping to the top of my mind — I can’t make the same thing every single week for a month. If my next entry here has golden raisins and fennel, I might have a problem…
Crust
I baked these loaves dark, maybe a bit past what I’d normally do, but the taste of the crust was delicious. It’s funny when people see my bread; they always exclaim: “did you burn this!?” But, as it always happens, they taste it, and it has loads of flavor. I think most people are used to that light, pale brown crust that is so common in the grocery stores. To me, I see that and think: “wow that’s so undercooked and probably has no flavor.” However, as I mentioned earlier, it’s easy to burn these so keep an eye on them.
Crumb
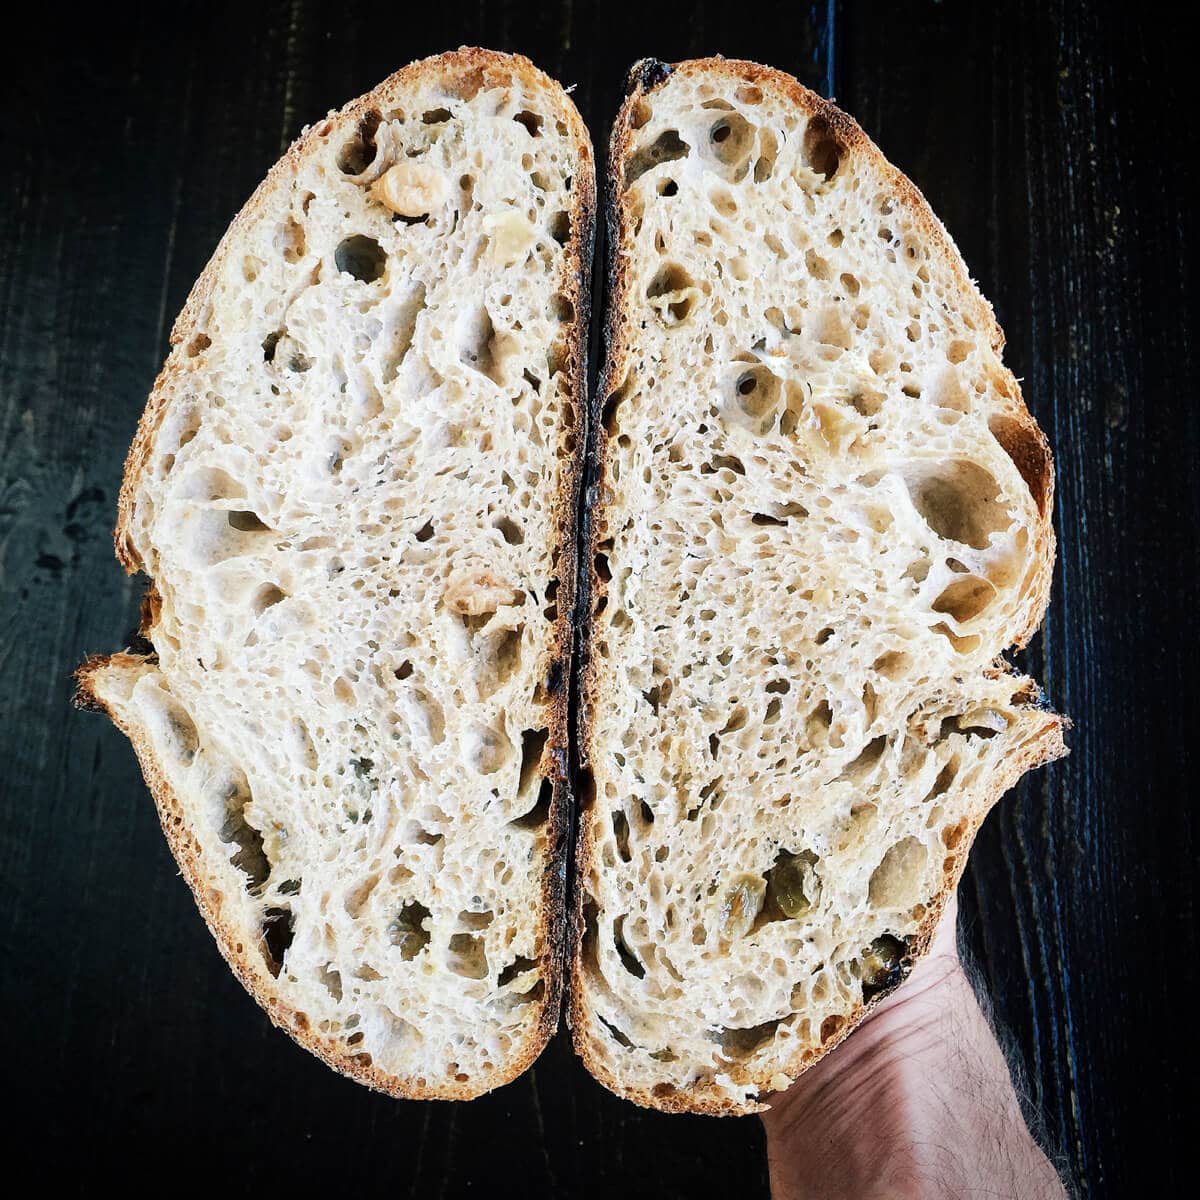
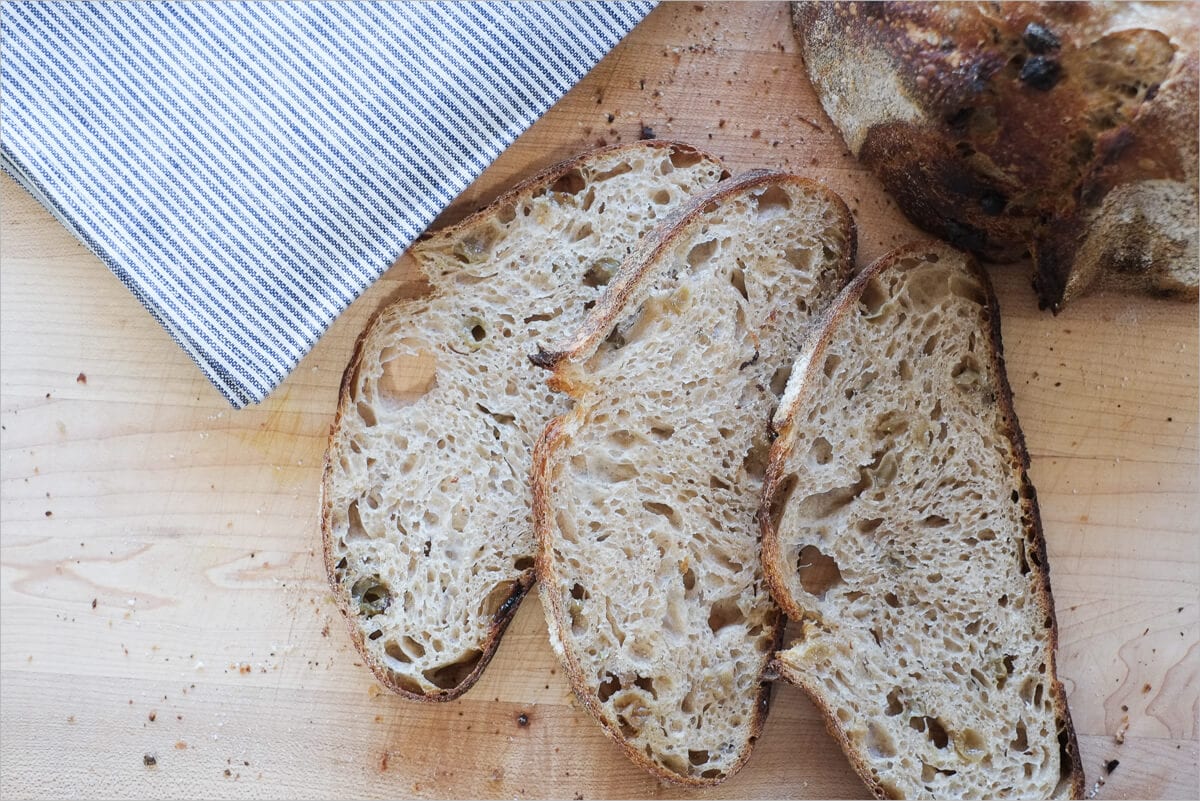
I had some severe fermentation going on in these loaves, and you can see it in the pictures. They had a nice and light feel to them despite the added raisins, and you know that’s a good sign.
Taste
I love the taste of this bread. I paired it with roasted chicken, avocado, roasted tomato, aged gouda and lettuce for incredible sandwiches throughout the week. Also, try it toasted with a little apple butter spread on top… Yes!
Buon appetito!
If you use this recipe, tag @maurizio on Instagram so I can take a look!


