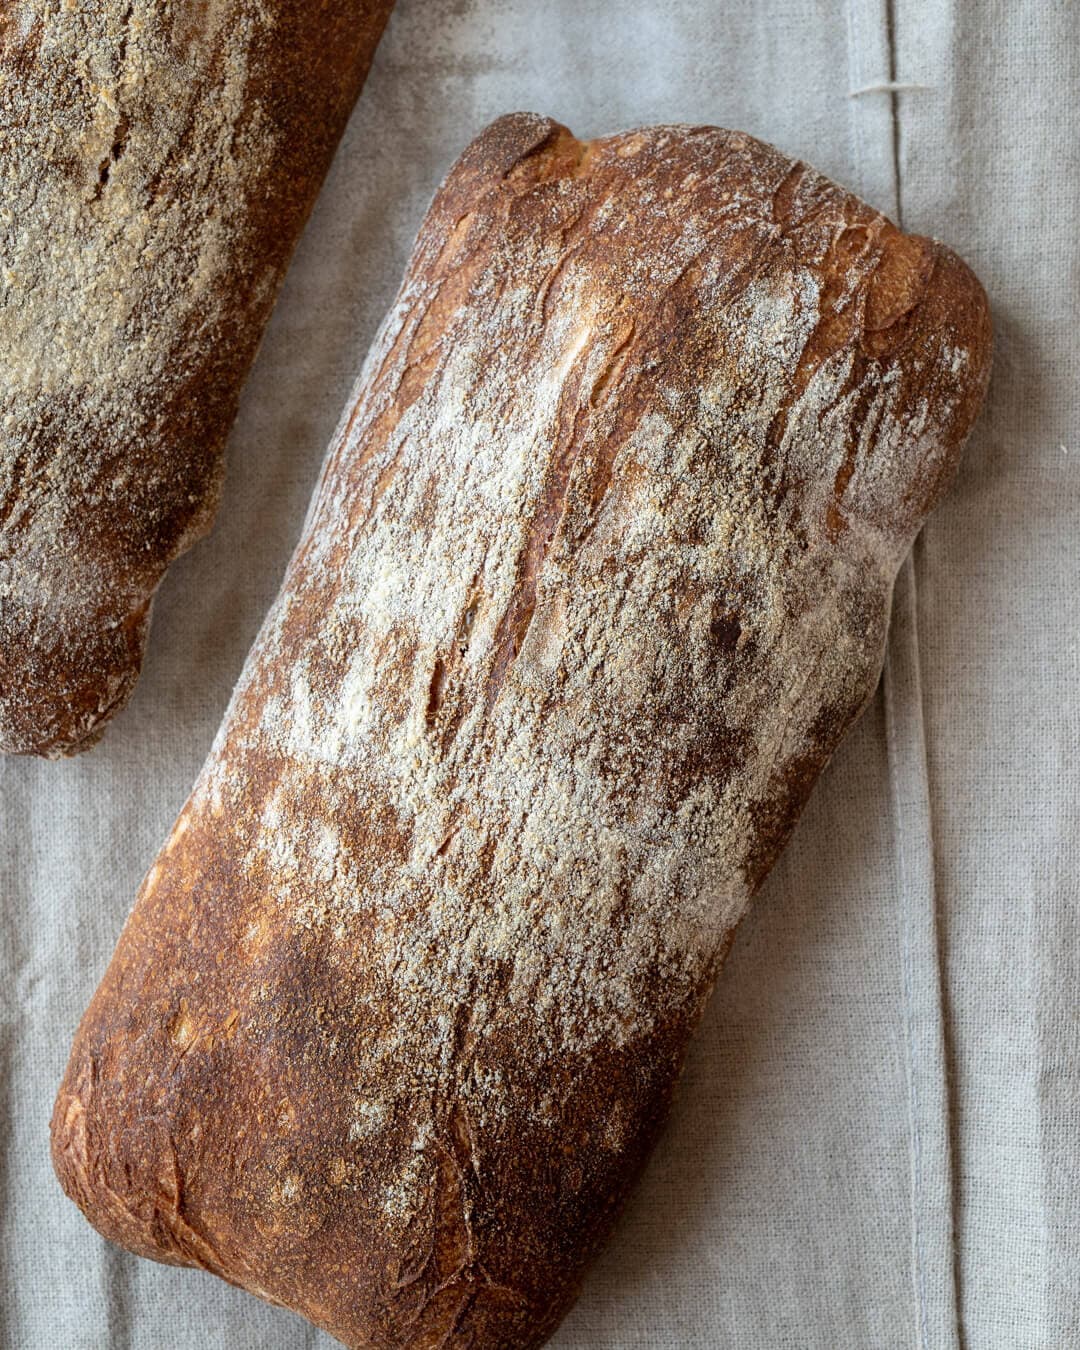
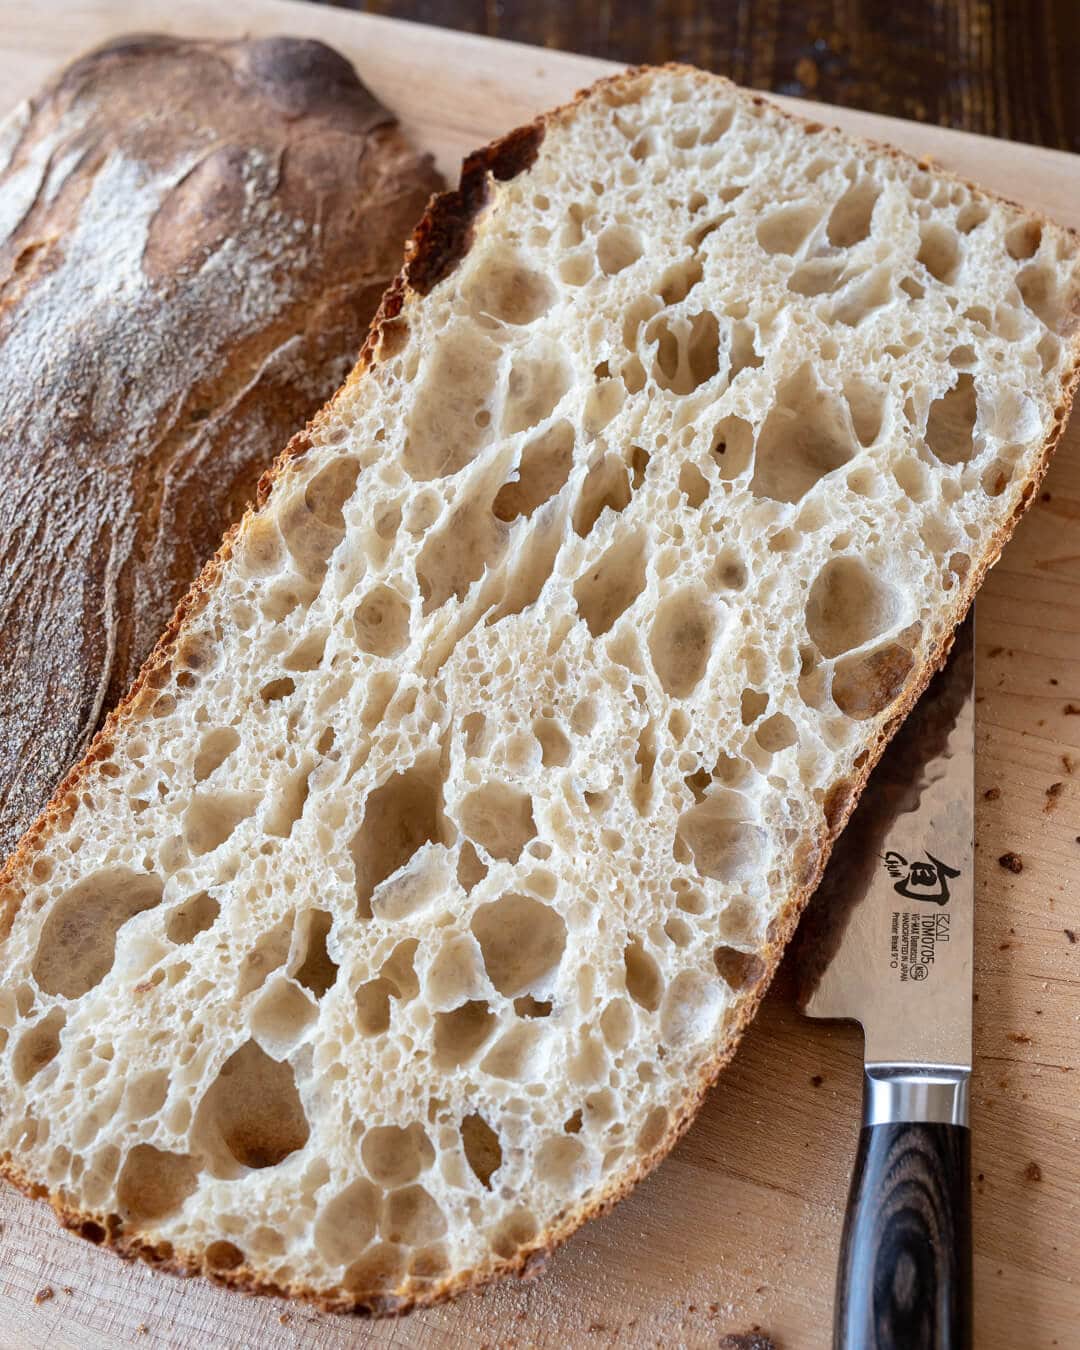
This bread is such a treat. It’s soft, incredibly open, and light in hand—almost like a bushel of puffy marshmallows bound together by a crust poised to shatter at the slightest pressure. This is a loaf of bread that asks you to tear it with hands, dunked into the best olive oil in the pantry. That is if you can stop yourself from cutting it in half and sandwiching together all manner of delicious ingredients (I couldn’t, as you’ll see later). I hope this sourdough ciabatta bread recipe becomes a regular in your kitchen as it has been in mine.
Classically, ciabatta is intended to be used for sandwiches, or panino, of all kinds. The smaller ciabatta panini are wildly popular in Italy and even here in the US, and for a good reason. The wide footprint of these slippers—ciabatta means slipper in Italian—have a sturdy crust that provides the right platform for ensnaring anything and everything one could conceivably use for a sandwich. As you’ll see later in this post, I found myself making sandwiches with just about everything lying around in my fridge—not to mention all the fresh vegetables from the market.
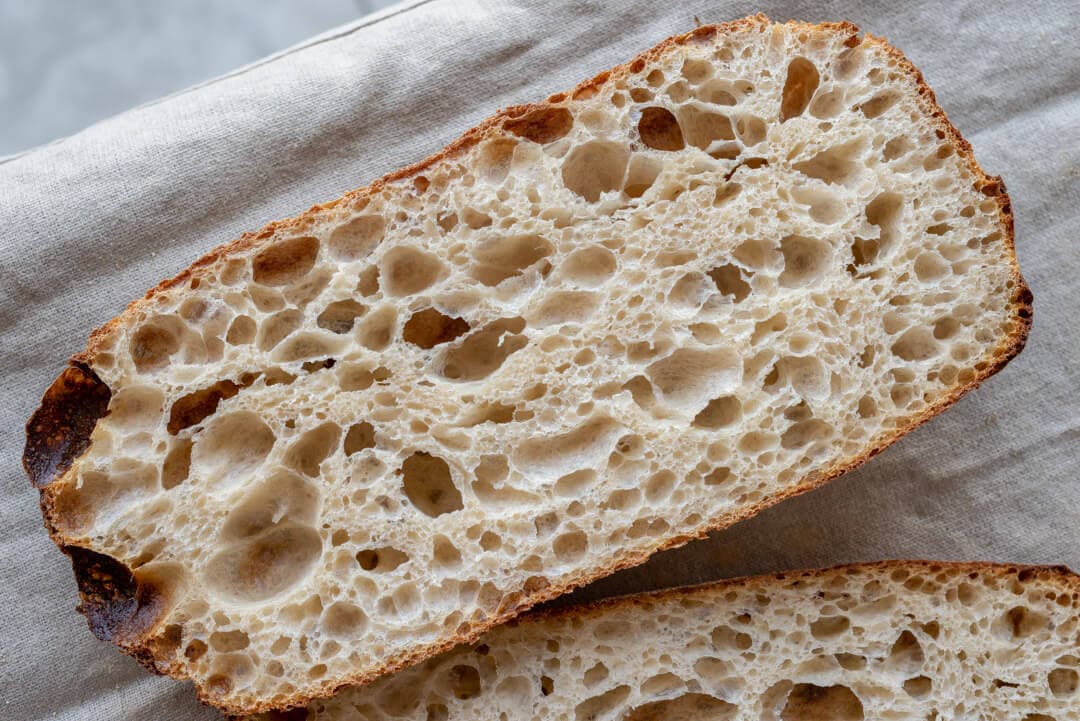
And while the appeal of this specialty bread is evident, it can be a challenging dough to work with at first attempt. It’s more comfortable in a sense there’s no preshaping or shaping, really, but the high hydration and slack dough can elicit a few choice words at divide time.
For this reason, I highly recommend you use a mixer with this sourdough ciabatta bread recipe if you can access one. It’s possible to mix this by hand, but the dough can get unruly when mixing on the counter. When I did combine this by hand, I relied heavily on the bassinage technique, whereby I added water in stages as I strengthened the dough. See the Mixing and the Bassinage Technique section a little later in this post for more details.
Flour Selection
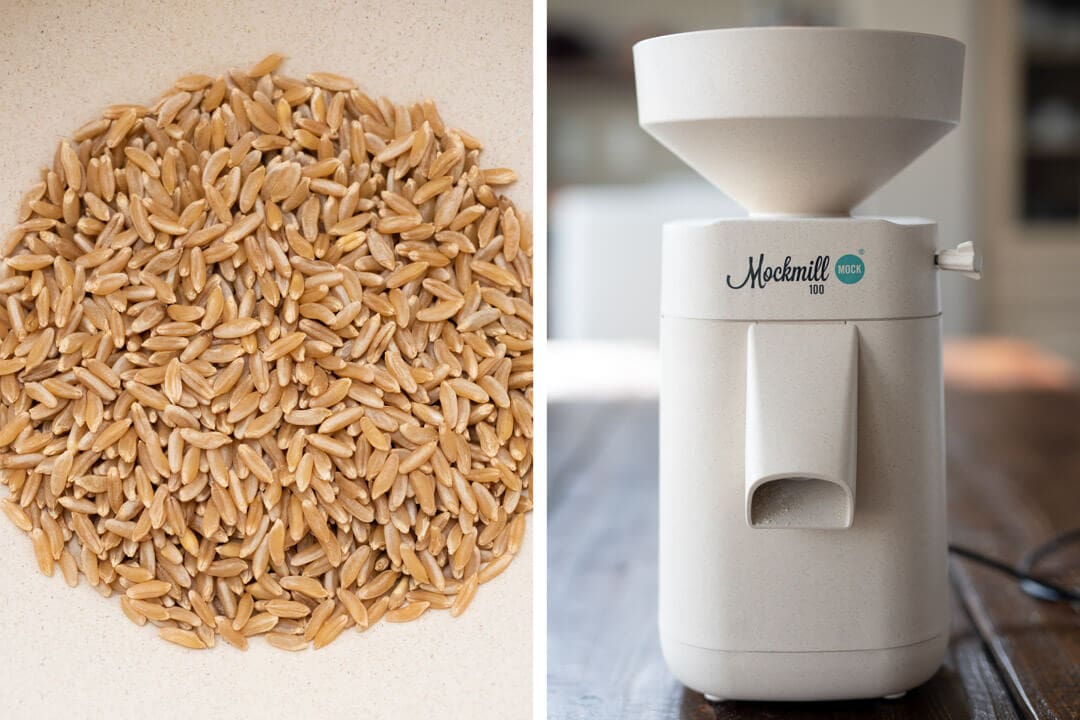
I’ve iterated on this recipe utilizing a variety of grains, ranging from all modern wheat to spelt to khorasan (Kamut). Out of all the trials and tests, I found khorasan to add just the right amount of color and flavor to this ciabatta. In using 15% whole grain khorasan, the grain imparts its characteristic golden hue and buttery, sweet flavor. The beauty of this formula, though, is that the 15% can be used as a playground for whatever grain you fancy (spelt sure was good, too, and you all know I have a soft spot for spelt).
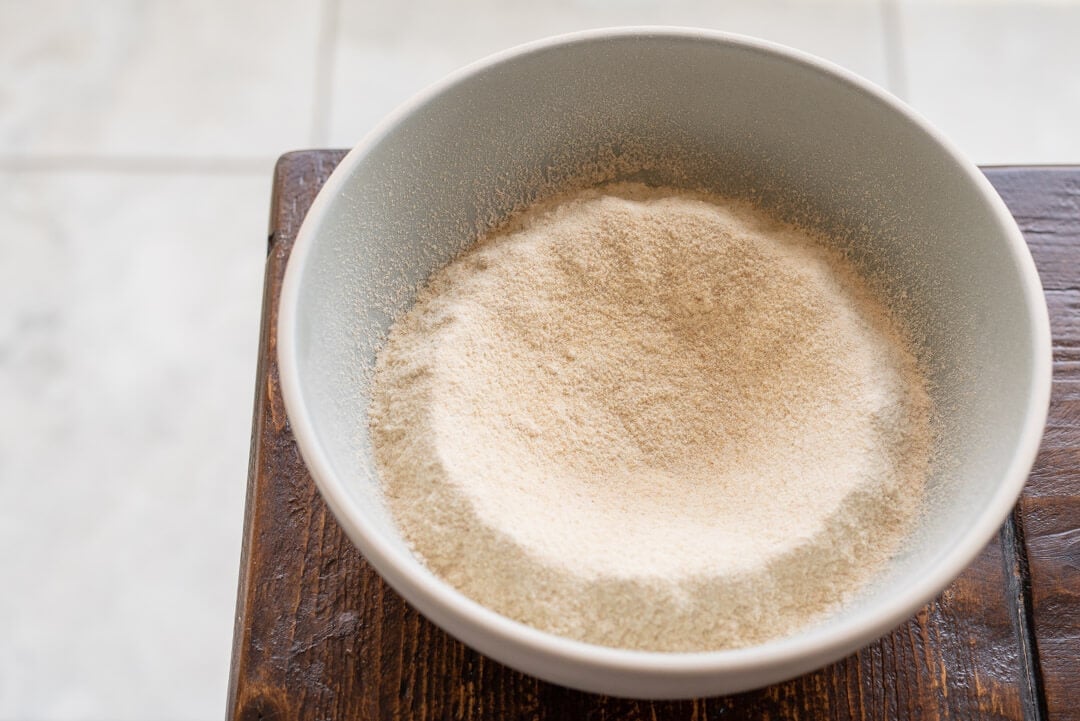
I milled the whole Khorasan berries into fine flour on my Mockmill 100 countertop mill. Because Khorasan is a relatively “hard” berry, it takes a bit longer to mill the grain, but it’s not a problem for the Mockmill. In this formula, I also utilize a relatively large percentage of high-gluten (high protein) white flour. Why? In testing, I found this flour helped to support the high water percentage and a small amount of extra virgin olive oil. I made this bread without high-gluten flour, and it was still quite delicious, but the interior wasn’t quite as open as I envisioned. Typical ciabatta is made with a large percentage of high-gluten flour, but I like to keep this as low as possible (to avoid a potentially gummy interior) while still retaining the aesthetic and texture I’m after. Always a balancing act.
Mixing and the Bassinage Technique
Bassinage Technique
One approach to working with highly wet dough, such as the one in this sourdough ciabatta bread recipe, is to hold back a large percentage of the mixing water until after the dough has developed some strength through mixing. This technique, commonly referred to as bassinage, dictates the addition of water slowly during the entire duration of mixing.
Frequent readers of my site know I do this almost every bake to some degree, but holding back even more water makes this more useful with a dough such as this. Adding a lot of water to the dough at the start makes mixing difficult: if using a mixer, the mixing arm cannot “grab” the dough, and the arm will slosh around in the mixing bowl. Mixing by hand might even be impossible as the dough never really holds together as it falls apart every turn.
Mixing with Machine and By Hand
With this recipe, I highly recommend you use a mixer if you have one available. I prefer to hold back about 25% (300g in the case of this formula) of the total water in the recipe until after I moderately develop the dough in the mixer. At this point, stop the mixer and pour in some of the reserved water. Turn the mixer back on to incorporate and continue to add the water in over the next several minutes in small increments as it’s fully absorbed. As always, remember to stop adding water if the dough starts to fall apart, showing signs of reaching maximal hydration.
At the end of mixing you will notice your dough will be smoother, glossy, and sufficiently strengthened.
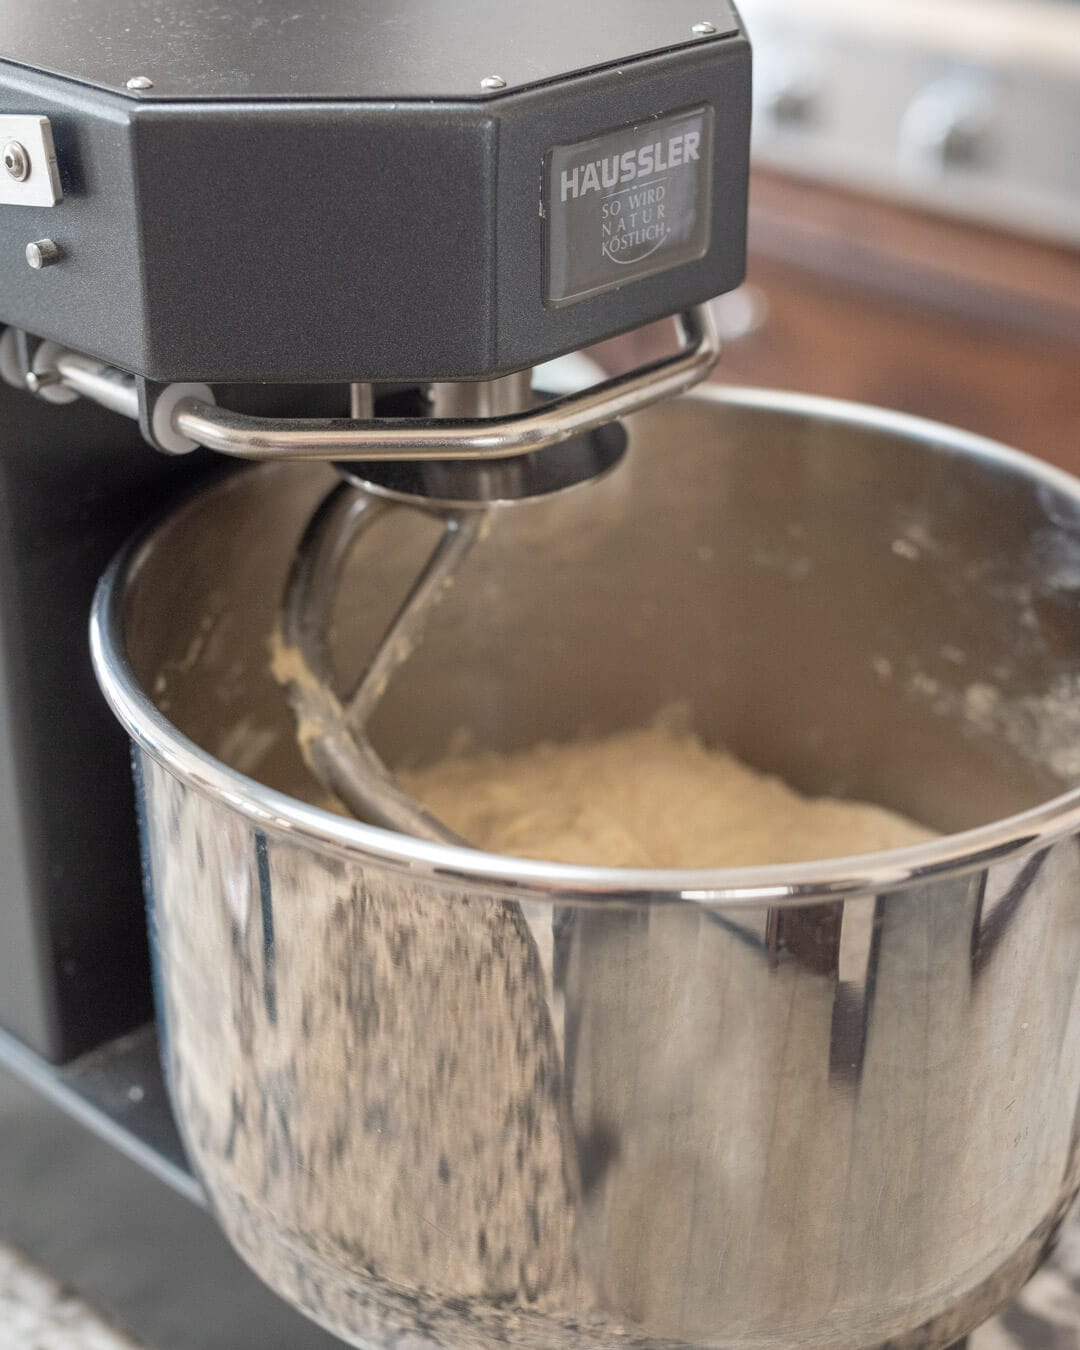
For some of my more wet bread doughs lately, I’ve been using my Haussler Alpha mixer, picked up from Pleasant Hill Grain. I’ve had this mixer for a while now and have had a chance to put it to the test. It’s built like a tank with high-quality components and is an exceptional machine. I’m planning on writing a full guide on using this mixer shortly. A Famag spiral mixer or KitchenAid mixer with a dough hook will also work well to develop this dough.
Sourdough Ciabatta Bread Recipe
Vitals
The following sourdough ciabatta bread recipe results in four large ciabatta. I baked these in two batches of two in my home oven. When baking the first two, I placed the remaining two in the fridge on a proofing board, still held at the sides by a couche (to retain shape).
| Total Dough Weight | 2000 grams |
| Pre-fermented Flour | 5.75% |
| Hydration | 85.00% |
| Yield | 4 x 500g ciabatta |
Total Formula
This is a roll-up of the entire formula for this dough. Read on to see the levain and the dough mix broken out into two separate tables. For an in-depth explanation on how I use Baker’s Percentages below, see my beginner’s sourdough post.
| Weight | Ingredient | Baker’s Percentage |
|---|---|---|
| 511g | White bread flour, malted (Giusto’s Artisan Bread Flour, 11.5% protein) | 50.00% |
| 358g | High protein bread flour (Central Milling High Mountain, 13% protein) | 35.00% |
| 153g | Freshly milled khorasan (Kamut®) wheat | 15.00% |
| 869g | Water | 85.00% |
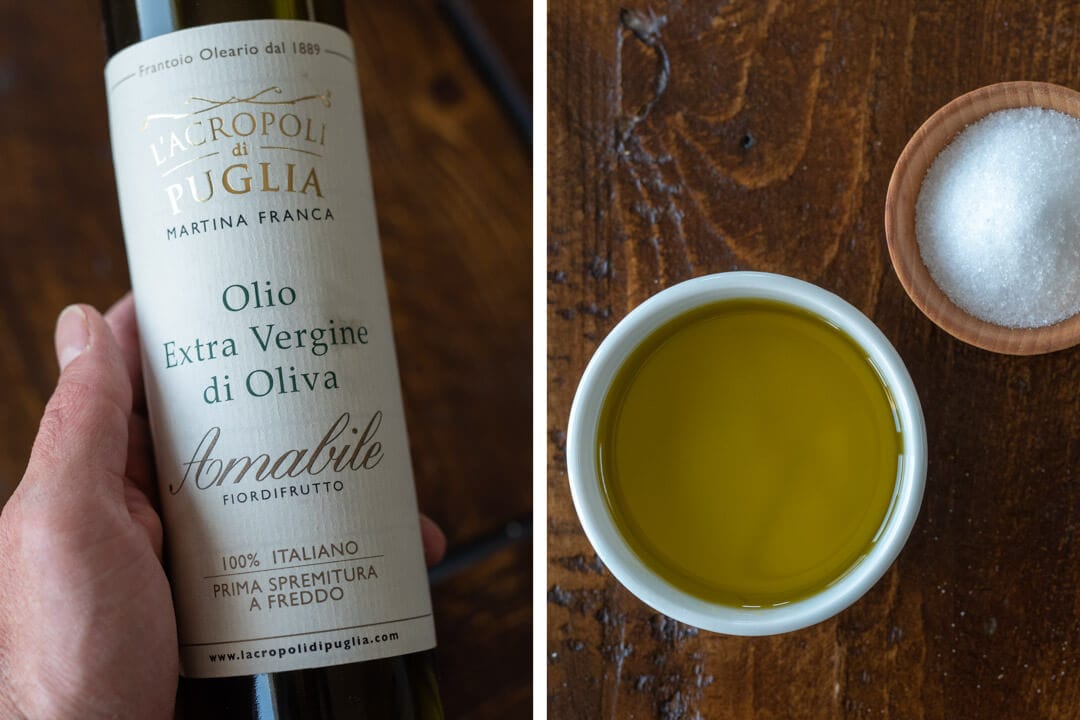
| 31g | Extra virgin olive oil (L’Acropoli di Puglia, Amabile) | 3.00% |
| 20g | Salt | 2.00% |
| 59g | Sourdough starter | 5.75% |
Levain
| Weight | Ingredient | Baker’s Percentage |
|---|---|---|
| 59g | Mature sourdough starter (100% hydration) | 100% |
| 29g | White bread flour, malted (Giusto’s Artisan Bread Flour, 11.5% protein) | 50% |
| 29g | Freshly milled khorasan (Kamut®) wheat | 50% |
| 59g | Water | 100% |
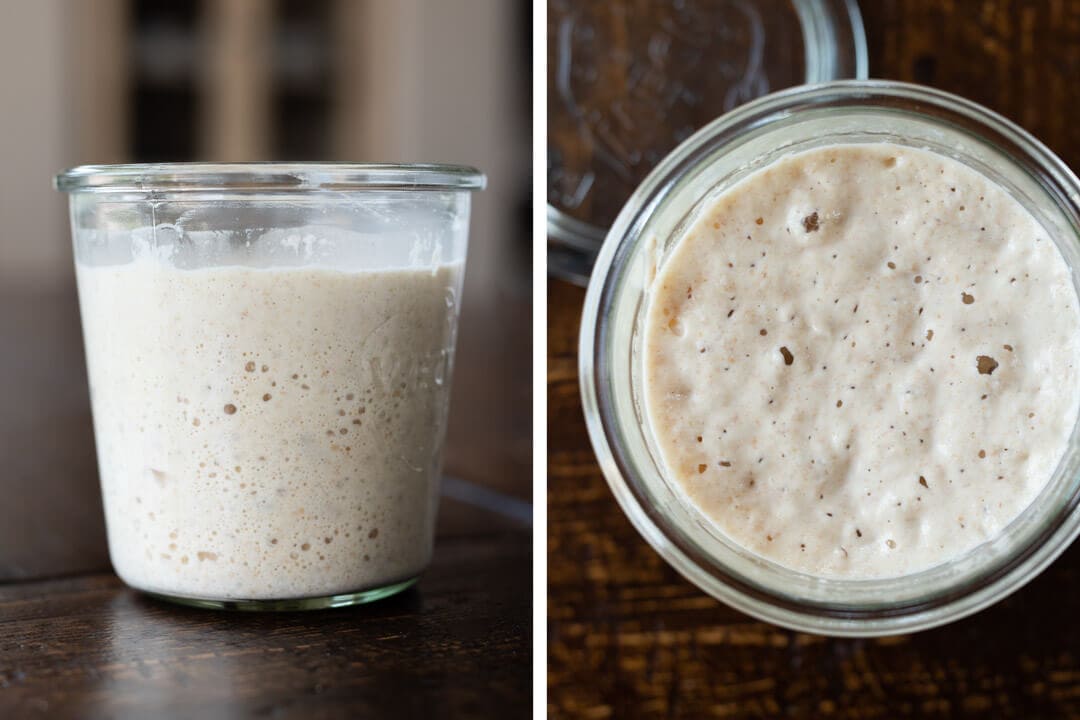
This is a fast levain build: we go from feeding to maturity in only 3 hours. The high inoculation percentage and warm temperature expedite the maturation of this levain.
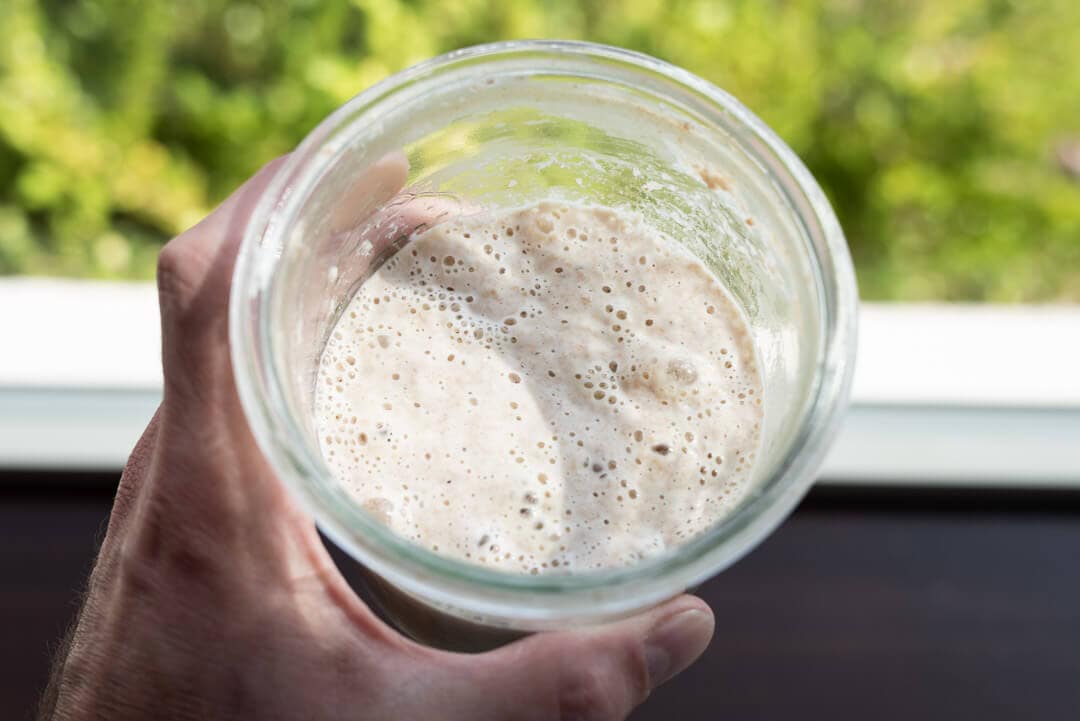
The above images show my levain when fully ripe, just before I add it to the Dough Mix at 1:00 p.m., below. Note the streaks on the side of the glass in the image on the left: this recent fall, along with significant aeration and slightly sour smell, indicates to me it’s ripe (mature) and ready to be used.
At 100% inoculation (the percentage of mature starter used to build the levain) my levain was ready to be mixed into the dough after 3 hours when kept at 77-80°F (25-26°C).
Dough Mix
The target final dough temperature (FDT) is 79°F (26°C).
Note that the table below shows the weights for the ingredients only for the final dough mix. In other words, the weight of the flour here will be less than the Total Formula lists above because some flour needs to be used to build the levain, above.
| Weight | Ingredient |
|---|---|
| 482g | White bread flour, malted (Giusto’s Artisan Bread Flour, 11.5% protein) |
| 358g | High-protein bread flour (Central Milling High Mountain, 13% protein) |
| 124g | Freshly milled khorasan (Kamut) wheat |
| 810g | Water |
| 31g | Extra virgin olive oil (L’Acropoli di Puglia, Amabile) |
| 20g | Fine sea salt |
| 176g | Ripe liquid levain (see above) |
Method
1. Liquid Levain – 10:00 a.m.
First, mill the required whole-grain khorasan listed in the Total Formula, above. Then, build the levain (mix everything listed in the Levain section, above) and store somewhere around 78°F (25°C) ambient until ripe, about 3 hours.
2. Autolyse – 12:30 p.m.
Add the called for flour, and all but 300g of the called for water to a mixing bowl. Three-hundred grams is quite a lot of water to hold back when first mixing, but we will add this water slowly through mixing using the bassinage technique.
Mix by hand or in a mixer until fully incorporated. Cover the bowl and let autolyse for 30 minutes.
3. Mix (Bassinage) – 1:00 p.m.
To the mixing bowl, add the levain, salt, extra virgin olive oil, and a splash of the reserved water.
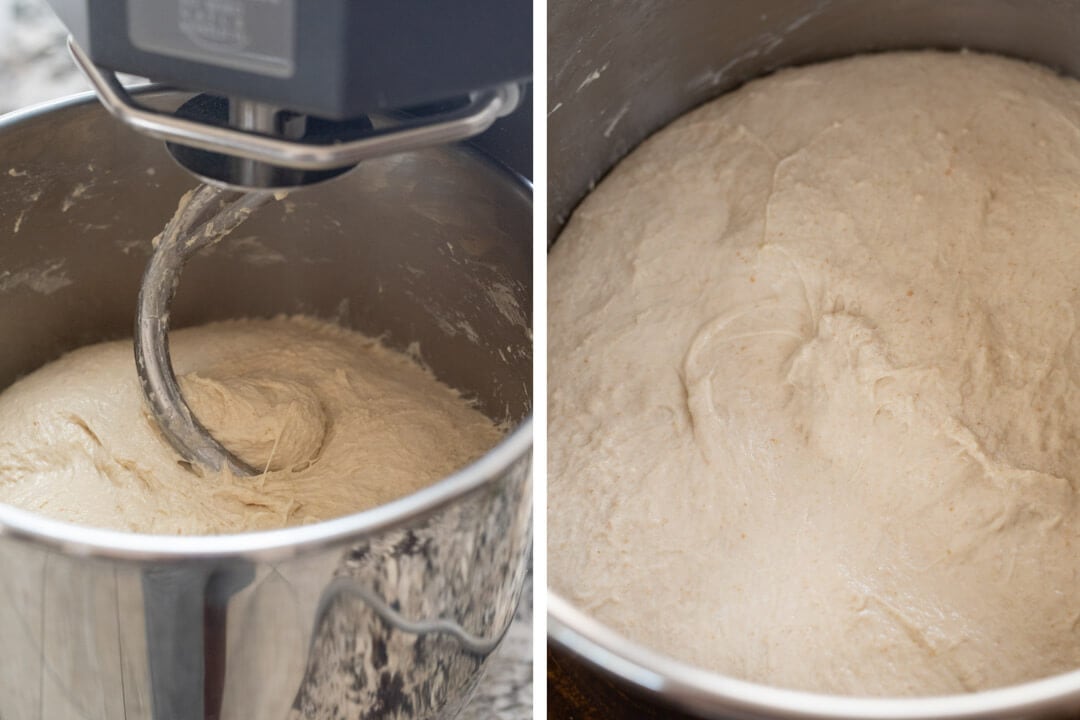
Mix on speed one until everything is incorporated, about 30 seconds. Then, switch the mixer to speed 2 and mix for 4 minutes. After 4 minutes, start adding the rest of the reserved water, a little bit at a time, throughout an additional 4 minutes for a total of 8 minutes mix time.
As you can see in the mixing progress images above (left: after mixing 4 minutes, and right: at the end of mixing), the dough will still be plenty wet and sticky by the end of mixing, but smoother and with some strength. At the end of mixing the dough will not pass a full windowpane test, but will come very close. Be sure to mix this dough sufficiently!
4. Warm Bulk Fermentation – 1:20 p.m. to 3:50 p.m.
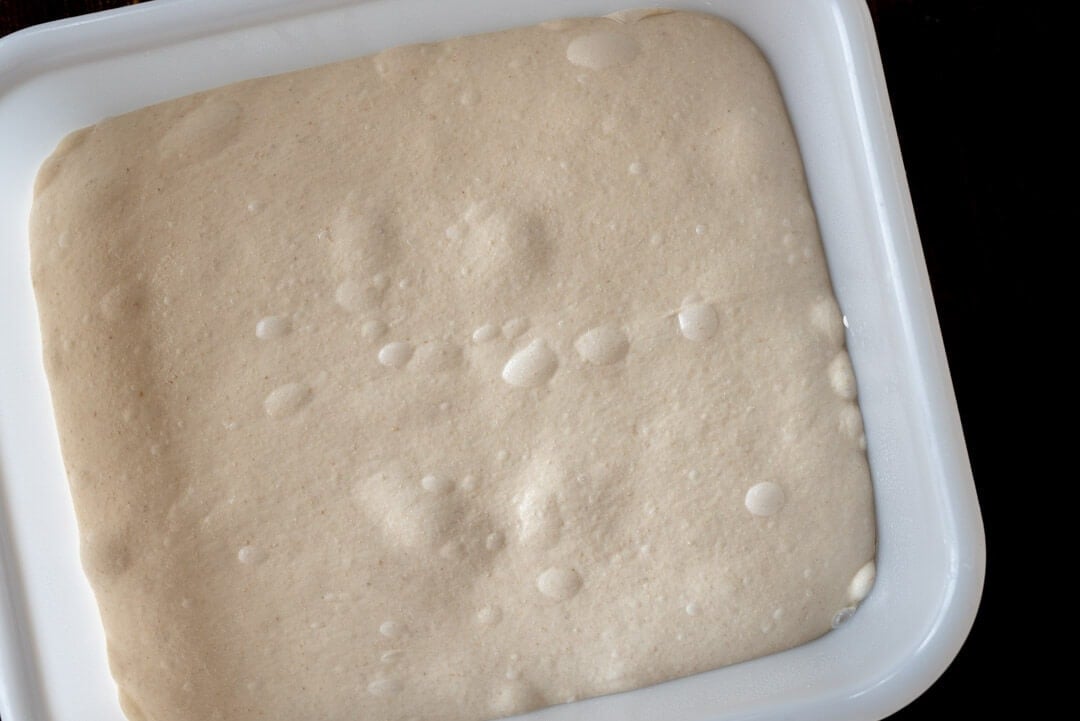
For bulk fermenting this dough I used the 11-quart Rubbermaid rectangular tub I have listed on My Baking Tools page—it’s the perfect size for 2 kg of dough (and more). It makes dividing the dough into four equal rectangles much more straightforward: when the container is inverted it drops the dough in a perfect rectangle.
During this phase (of the two-step bulk fermentation phase), give the dough a total of 3 sets of vigorous stretch and folds separated by 30 minutes each. The first set happens 30 minutes after the beginning of bulk (i.e., 1:50 p.m.). The dough will be very slack and wet, use wet hands and perform the folds quickly. After the third set let the dough rest the remainder of bulk fermentation untouched.
After the last set of stretch and folds, let the dough rest until the full 2 hours and 30 minutes of bulk fermentation have elapsed. This duration, at around 75-78°F (23-25°C), will certainly push the activity in this dough—which is what we want. The next day when you remove the dough from the fridge, you’ll see plenty of signs of a well-fermented dough.
5. Cold Bulk Fermentation – 3:50 p.m. to 9:00 a.m. (next day)
Place the covered bulk container into your home fridge at 38-40°F (3-4°C) until the next day.
6. Divide – 9:00 a.m. (next day)
To maintain an open and light interior, try to handle this dough as little as possible.
First, put aside any notion of using only a small amount of bench flour when handling this dough. The heavy use of dusting flour not only means you can control the dough more naturally, it makes it possible. And anyway, the thin veil of flour on the crust adds to the classic look and visual appeal.
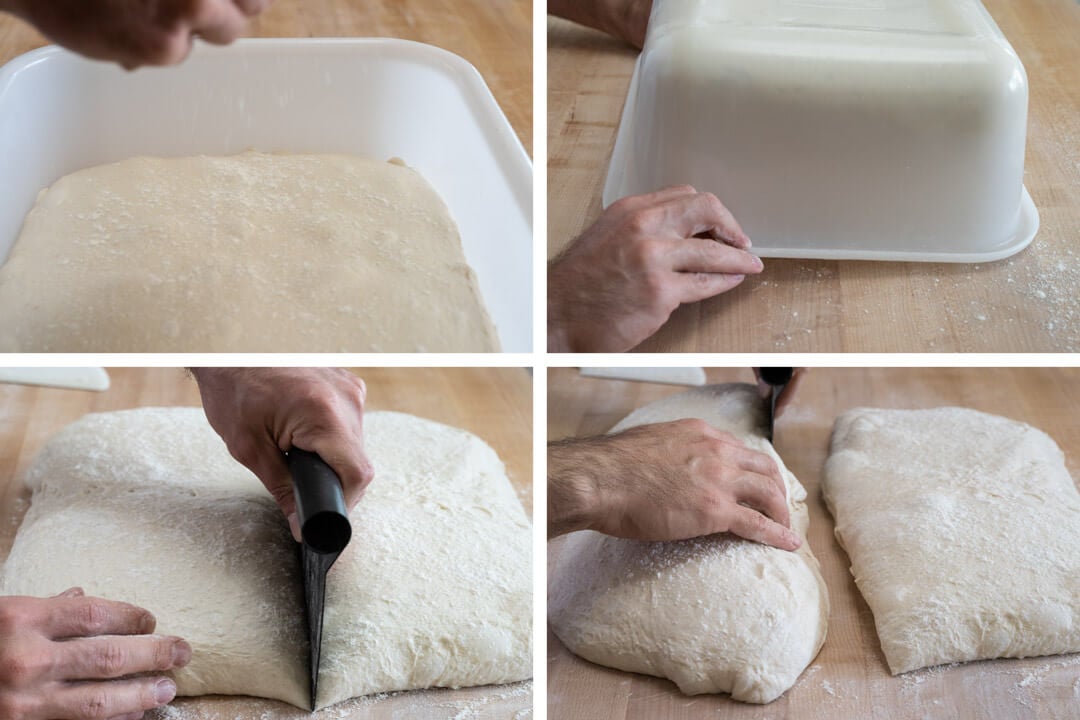
Remove the bulk container from the fridge and heavily dust the top of the dough in the tub with flour.
Using your plastic scraper, loosen the dough from the sides (insert your scraper down between the dough and container). Then, in one quick motion, invert the rectangular bin and let the dough fall from the inside of the container down to your work surface (upper-right image, above). Liberally flour the new top of the dough. Using your bench knife, cut the dough into four rectangles and separate them just a bit by dragging them apart.
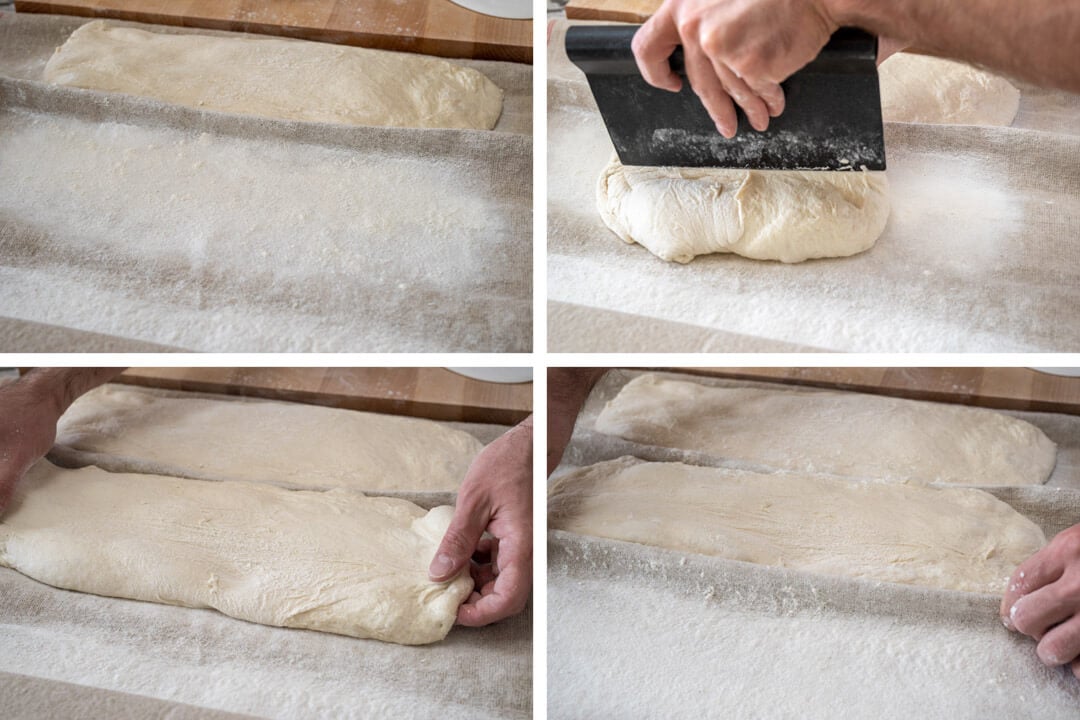
Next, flour your couche (a large kitchen towel also works well here) very liberally (upper-left image, above). You want to be generous with the flour here, if there’s any part of this dough that sticks to the couche you’ll have a hard time transferring the pieces to your oven. You will use the couche in precisely the same fashion as when making baguettes, but the “wells” are much wider to accommodate the pudgy ciabatta.
Using your bench knife grab one of the four rectangles and transfer it to the couche. I like to keep the dough the same way it was resting on the work surface: the bottom stays on the bottom when transferring. Next, using your hands gently stretch the rectangle out as tall as you desire (for me this was about 14″ to fit my home oven). Finally, make a crease in the couche and flour the new spot to get ready for the next piece.
7. Proof – 9:15 a.m. to 11:15 a.m.
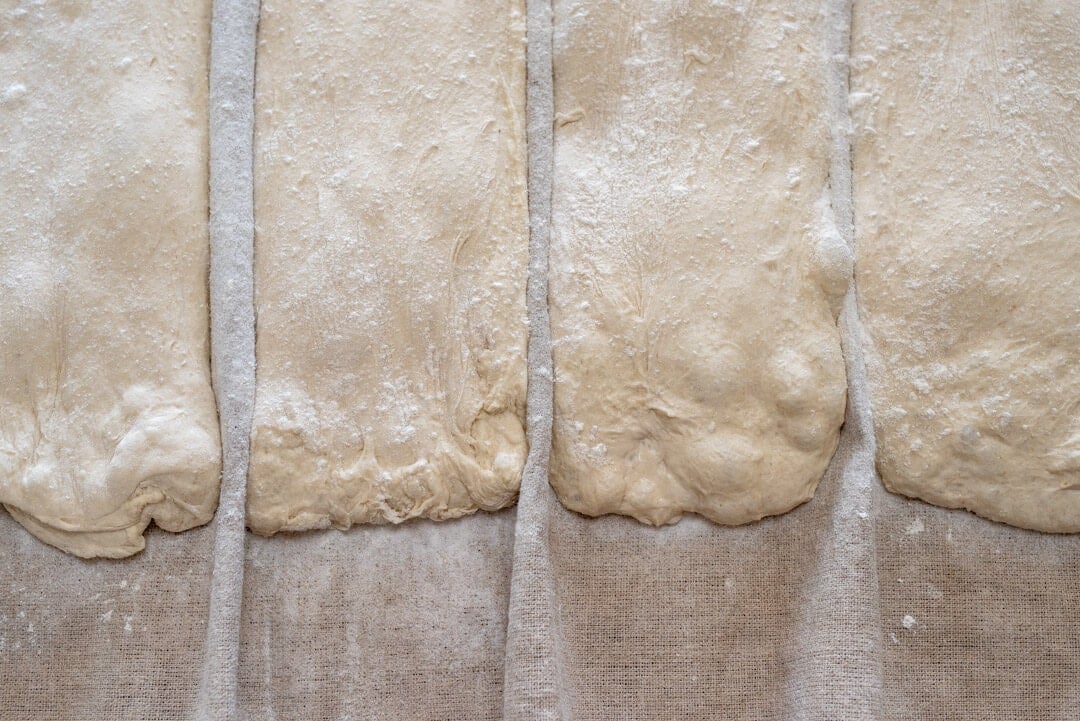
Cover your dough with another couche, a food-safe plastic bag (be sure not to let the plastic touch the dough), or even as a reader suggested previously (thank you!), a large plastic bin with tall sides. Let your dough proof for around 2 hours. At the end of this time the dough will look significantly fermented, bubbly all over, and when poked, almost little to no spring back.
The final proof time might be different for your dough depending on the level of proof. If your kitchen is considerably warmer, you might need to bake earlier.
8. Bake – Preheat oven at 10:15 a.m., bake at 11:15 a.m.
Preheat your oven with baking stone/steel for one hour at 450°F (230°C).
Prepare a single, large piece of parchment paper that will cover your entire baking stone or baking steel. Flour the top of the resting dough to ensure there are no sticky parts. Then, using a large, straight cutting board placed at the edge of a piece of dough, grab the couche and flip each portion out onto the cutting board: what was resting on the bottom is now on the top. Transfer the dough to the parchment paper by sliding it off the cutting board to one side of the parchment paper. The process for flipping the dough is the same as shown/described on my Kamut baguette post, only with a broader cutting board in place of the thin transfer peel.
Place the other two pieces of dough into your fridge; you will bake these after the first two.
Slide the parchment paper with dough onto your baking surface using a pizza peel. Once you’ve loaded the dough, steam the oven and bake for 20 minutes with steam. Then, remove the pans used for steaming, vent the oven, and turn it down to 425°F (220°C). Bake for an additional 20-25 minutes until done. It’s important to bake this bread fully—if underbaked; the high hydration could result in a gummy and “wet” interior.
I steamed my oven in my usual way, described here in my post on how to steam your home oven when baking bread.
Conclusion
What I love about this sourdough ciabatta bread recipe is that while the dough is challenging at first, after a bake or two, the simplicity of it all emerges as if it was behind a curtain all along. I mean, there’s no preshape, there’s no shaping, and of course, no scoring. The tricky part, and hopefully I short circuit this for you, comes with the required realization that the less you handle the dough, the better.
After an initial discovery period, I found myself embracing the hands-off approach, realizing that after mixing the rest of the process is quite straightforward.
This bread is a springboard for testing different whole grain flour. I’ll work with that 15% of Khorasan and substitute it for whatever flour or raw berries I have on hand. The rest of the formula and process are a comfortable base, enabling that testing and ensuring a fantastic result.
Crust
Such a beautiful crust. The colors, the light dusting of flour, the wrinkles… Each ciabatta presents a unique look just a bit different from the next, and there’s no denying the eye appeal of this bread.
My version of this ciabatta has a crunchier crust than some you might find elsewhere. The added extra virgin olive oil and high hydration bring this about, and it’s precisely my intention for this bread. Note that the bread might soften a bit after a few days, depending on your climate. My remedy? Slice it in half and grill it or quickly hit it with the broiler in the oven. Talk about delectable.
Crumb
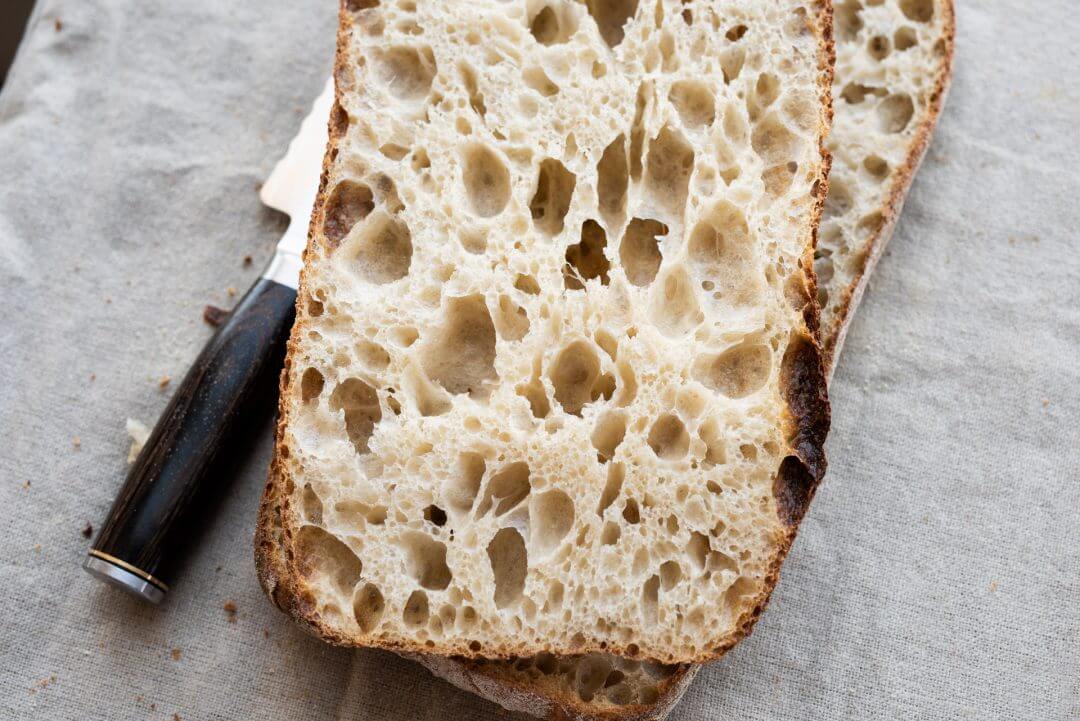
I think my initial analogy sums it up best: the interior is like a bag of soft marshmallows trapped inside a crunchy crust. The interior is chewy, glossy, delicate—all the things I want to see in a bread prized for its soft and porous interior.
Taste
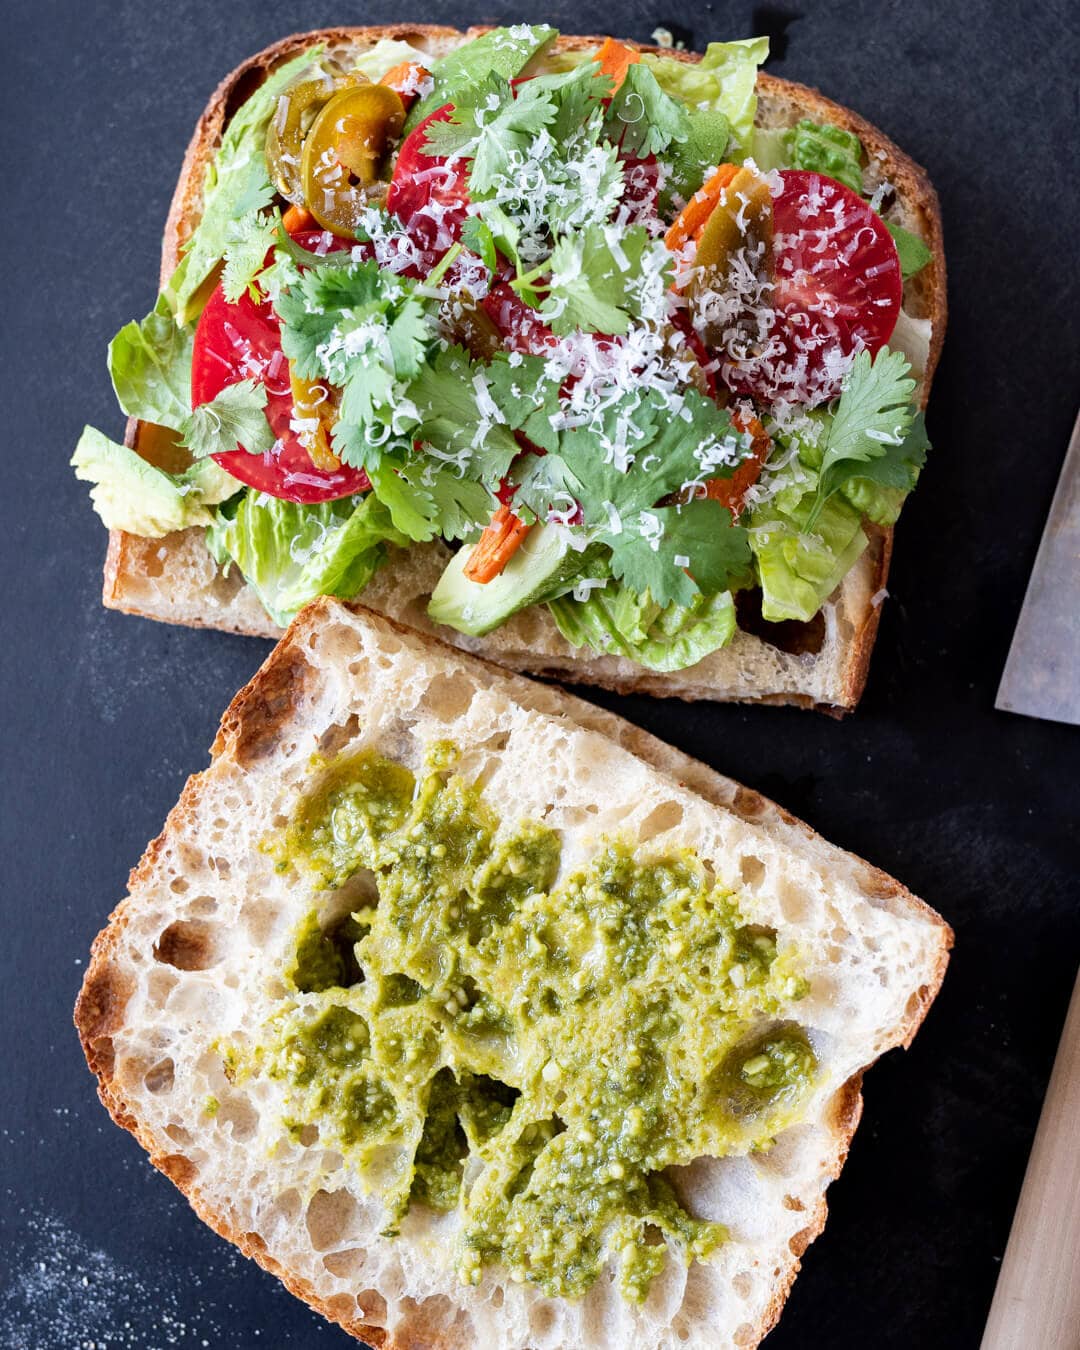
As promised earlier, a glimpse at one of the many sandwiches concocted in my kitchen: freshly made hummus, lettuce, ripe heirloom tomatoes, cilantro, pickled jalapeños, carrots, and a topping of homemade pesto. Even when piled high—high—the bread provides structure, holding everything between layers of thin crust and soft crumb. The danger here, of course, is the tendency to over-engineer the sandwich, adding anything and everything your wandering hands find in the fridge. Maybe that’s not a bad thing. No, not at all.
When eating, you will notice that because this bread is comprised mostly of white flour, there isn’t an overwhelming flavor component shining through. That slight peak of that buttery, sweet khorasan does make its way forward, however. It’s like when you top food with coarsely ground pepper, you get a hit of flavor every once in a while, just enough to surprise and delight. The added olive oil adds the slightest hint of that fruity, mineral flavor, and depending on the type you end up using, a hint of bitterness (in a good way) as well.
If you use this recipe, tag @maurizio on Instagram so I can take a look!
Ciabatta FAQs
Can I mix this dough by hand?
It’s possible, but I do recommend using a mixer. If mixing by hand, make sure you hold back the 300g of water until after you mix in the bowl or on the counter for a while to develop the dough. Once you strengthen the dough significantly, add the water to the dough in a mixing bowl in stages. Continue to mix the dough until it absorbs the remaining water.
Can I modify this recipe to make ciabatta rolls?
Small ciabatta panini are wonderful. I’d dump the rectangular dough out and divide it into six identical pieces (around 335g each). You could go even smaller if desired. Note that the bake time will likely change, smaller pieces will bake faster.
Can I use a round bulk container for this dough instead of a rectangular one like you use?
You bet. Be aware that it will require more dough-handling to get each shape it into long rectangles.
You say this dough is super high hydration, but it’s only 85%, some of your other recipes are even higher. How come?
My dough formula is comprised primarily of lower protein white flour instead of thirsty whole grains. Additionally, my current batch of flour isn’t able to take on a lot of water. Further, the added olive oil slackens the dough and pushes the total hydration up to 88%. It’s always relative to the flour!


