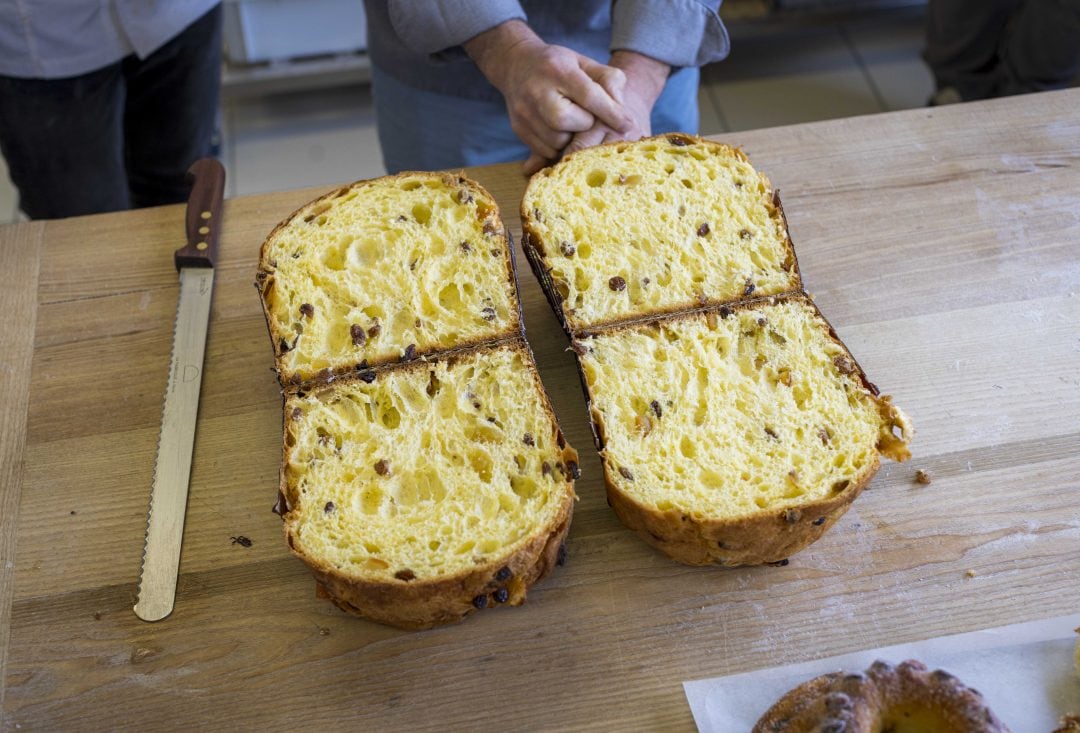
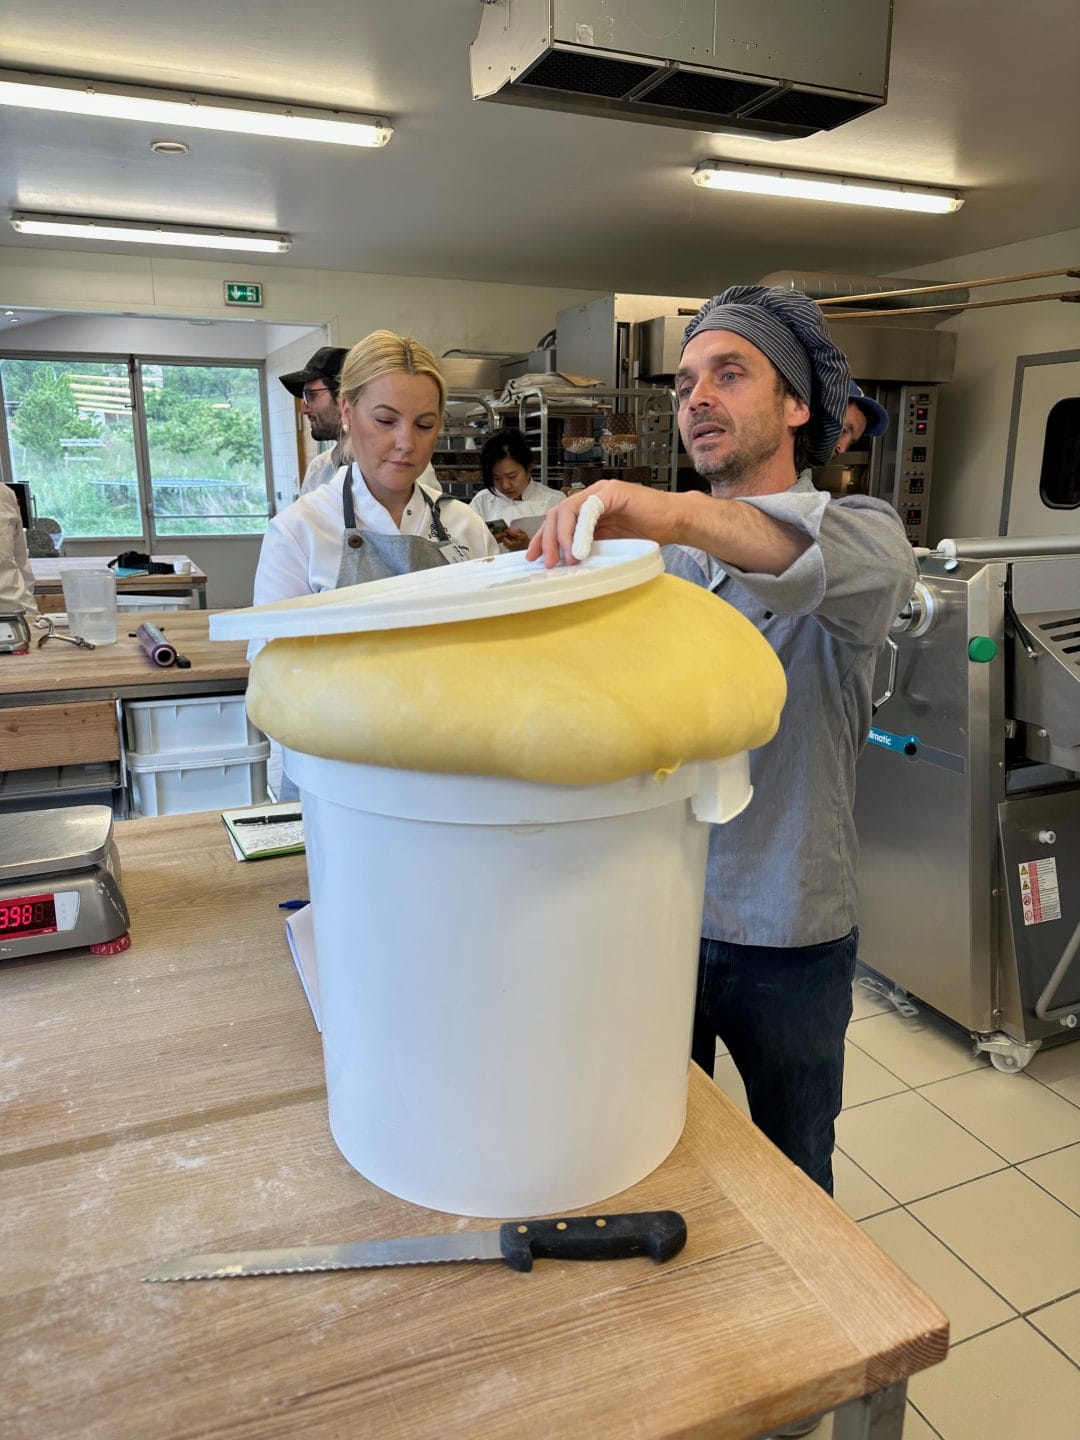
The other week, I took a trip to France—not for the usual sightseeing or culinary tour (though there was some of each), but rather to take a baking course with a deep dive into baking naturally leavened sourdough bread, pastry, and, most importantly, panettone. In this post, I wanted to give you a behind-the-scenes look at the course and some of my biggest takeaways from my time there.
I took the Panettone, Viennoiserie, and Sourdough Bread Advanced Course (in English) at École Internationale de Boulangerie (EIDB). EIDB is a baking school founded by Thomas Teffri-Chambelland tucked away in the countryside of Noyers-sur-Jabron, southern France, and it couldn’t be in a more idyllic location.
The running joke during the class was that I was an Italian that went to France to learn to bake an Italian dessert. But all that matters not because, as you’ll partly discover in this post, the class was filled with valuable theoretical and practical baking information. Ultimately, I was left with amped-up baking enthusiasm and a head full of new ideas.
Note that this post isn’t meant to review the class or the school (and I was not compensated). Instead, it’s a high-level recount of my time there and the key takeaways I discovered from the instructors and other bakers.

While the bakery looks like a beautiful cottage in the hills, there’s serious learning to be had, both from the science and theory side and the practical and pragmatic side.
Class Focus
The class focused on 100% natural leavening (sourdough), primarily panettone and viennoiserie, with some material on hearth loaves and pan rye bread (think more whole grain rye instead of Light Deli Rye). At the start of the class, we spent time in the classroom, covering the theory and science behind what we would later practice in the bakery.
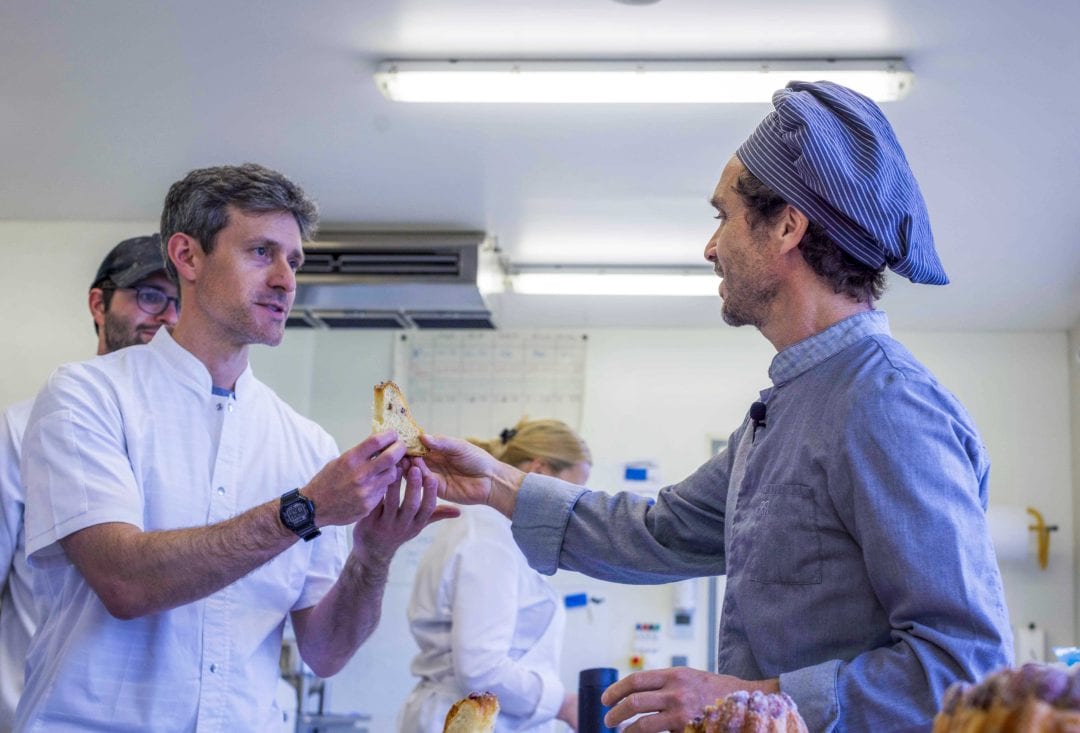
I’ll dig into panettone here in a bit, but the class covered much of the material in Thomas’s cookbook, Sourdough Panettone and Viennoiserie. I purchased his book when it came out a while back, and the course was the perfect setting for asking questions about the material and practicing it hands-on in the bakery.
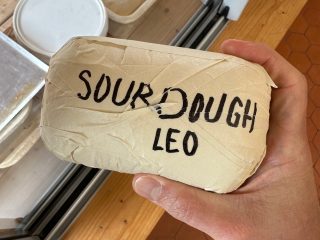
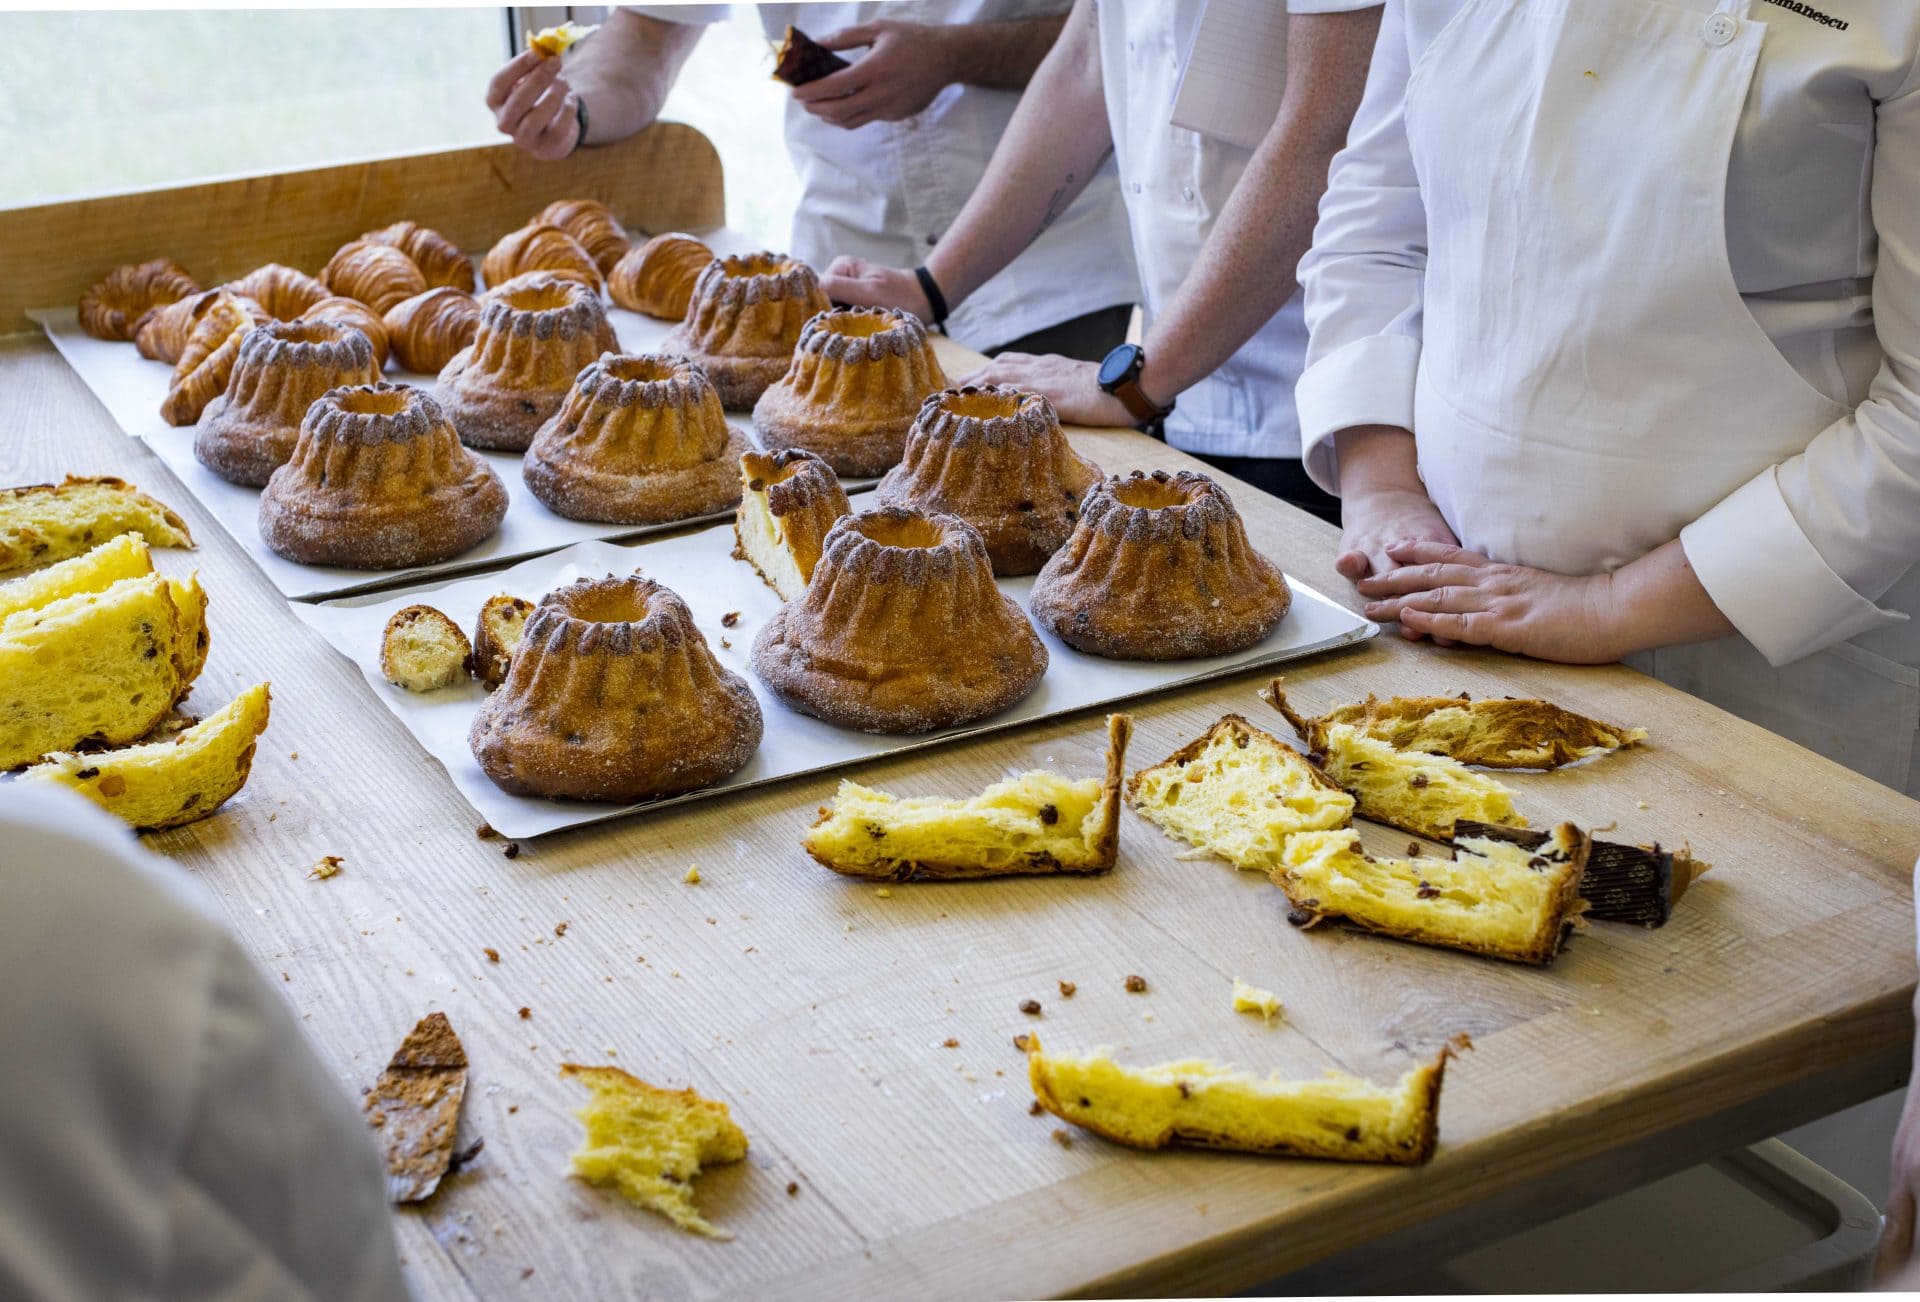
Here’s a list of some of the sourdough products we made, both using a traditional sourdough starter for bread and a panettone starter—lievito madre (LM) or pasta madre—for the rest:
- Panettone (LM)
- Brioche (chocolate and plain)(LM)
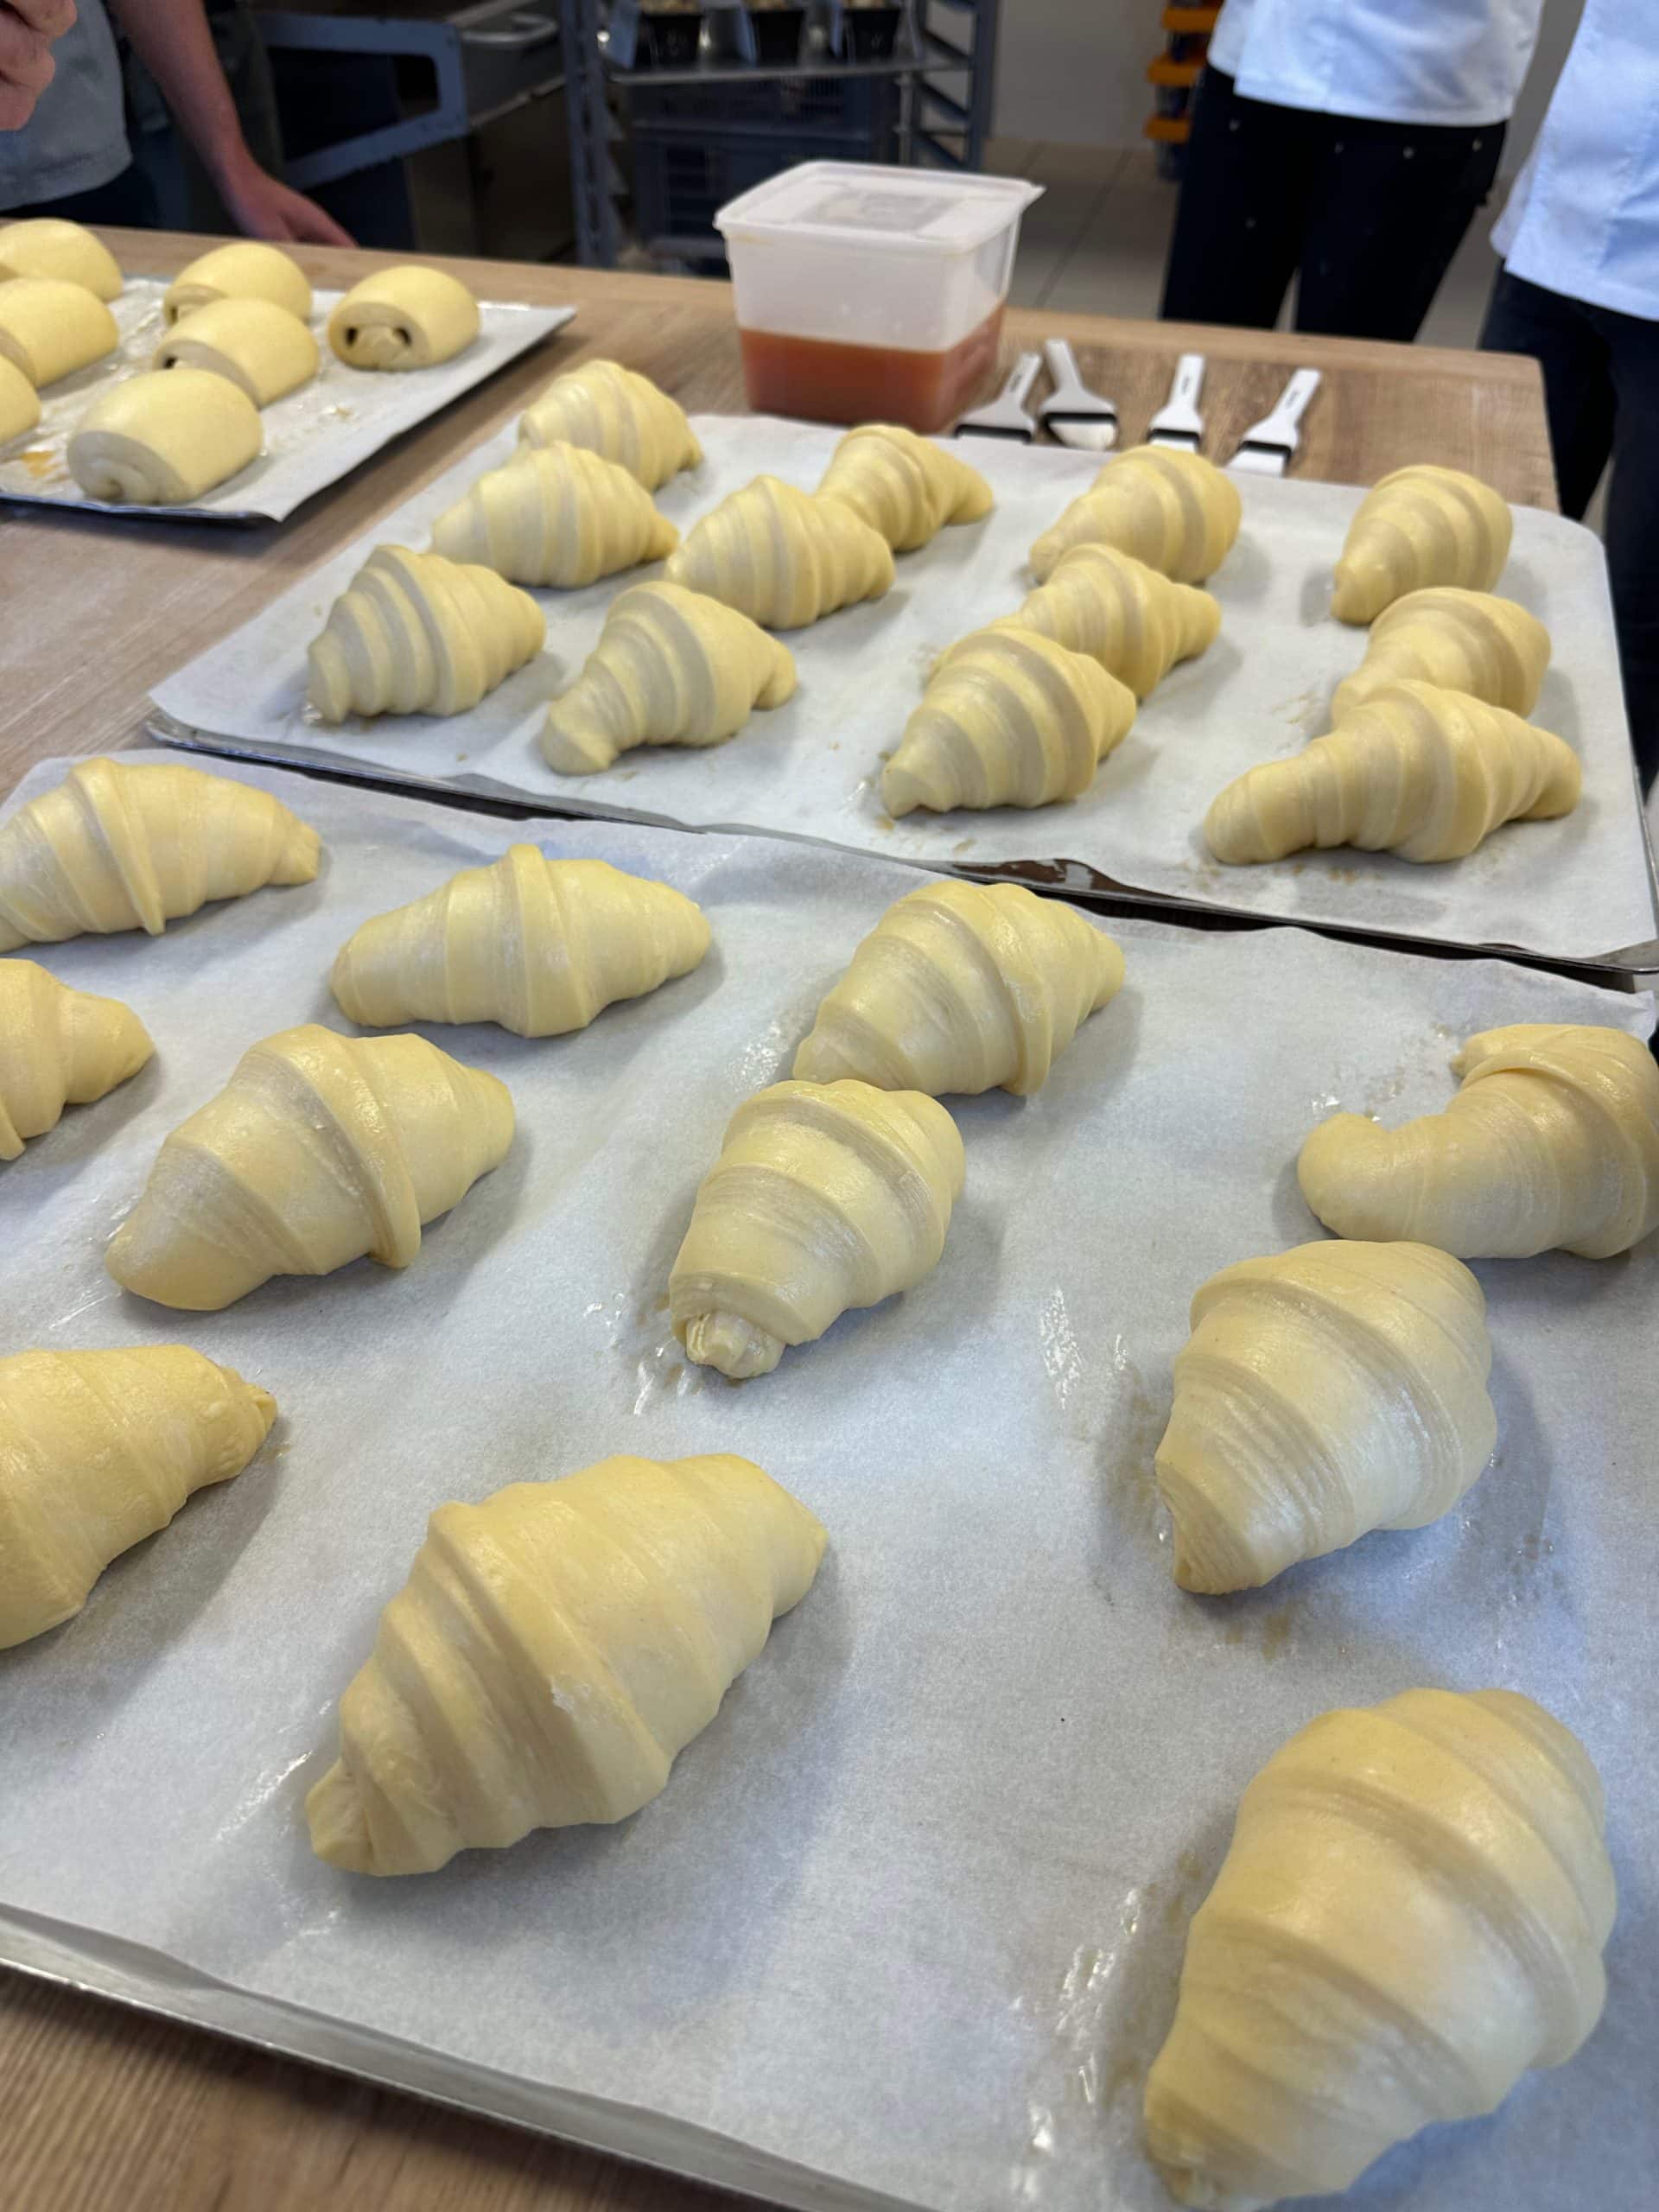
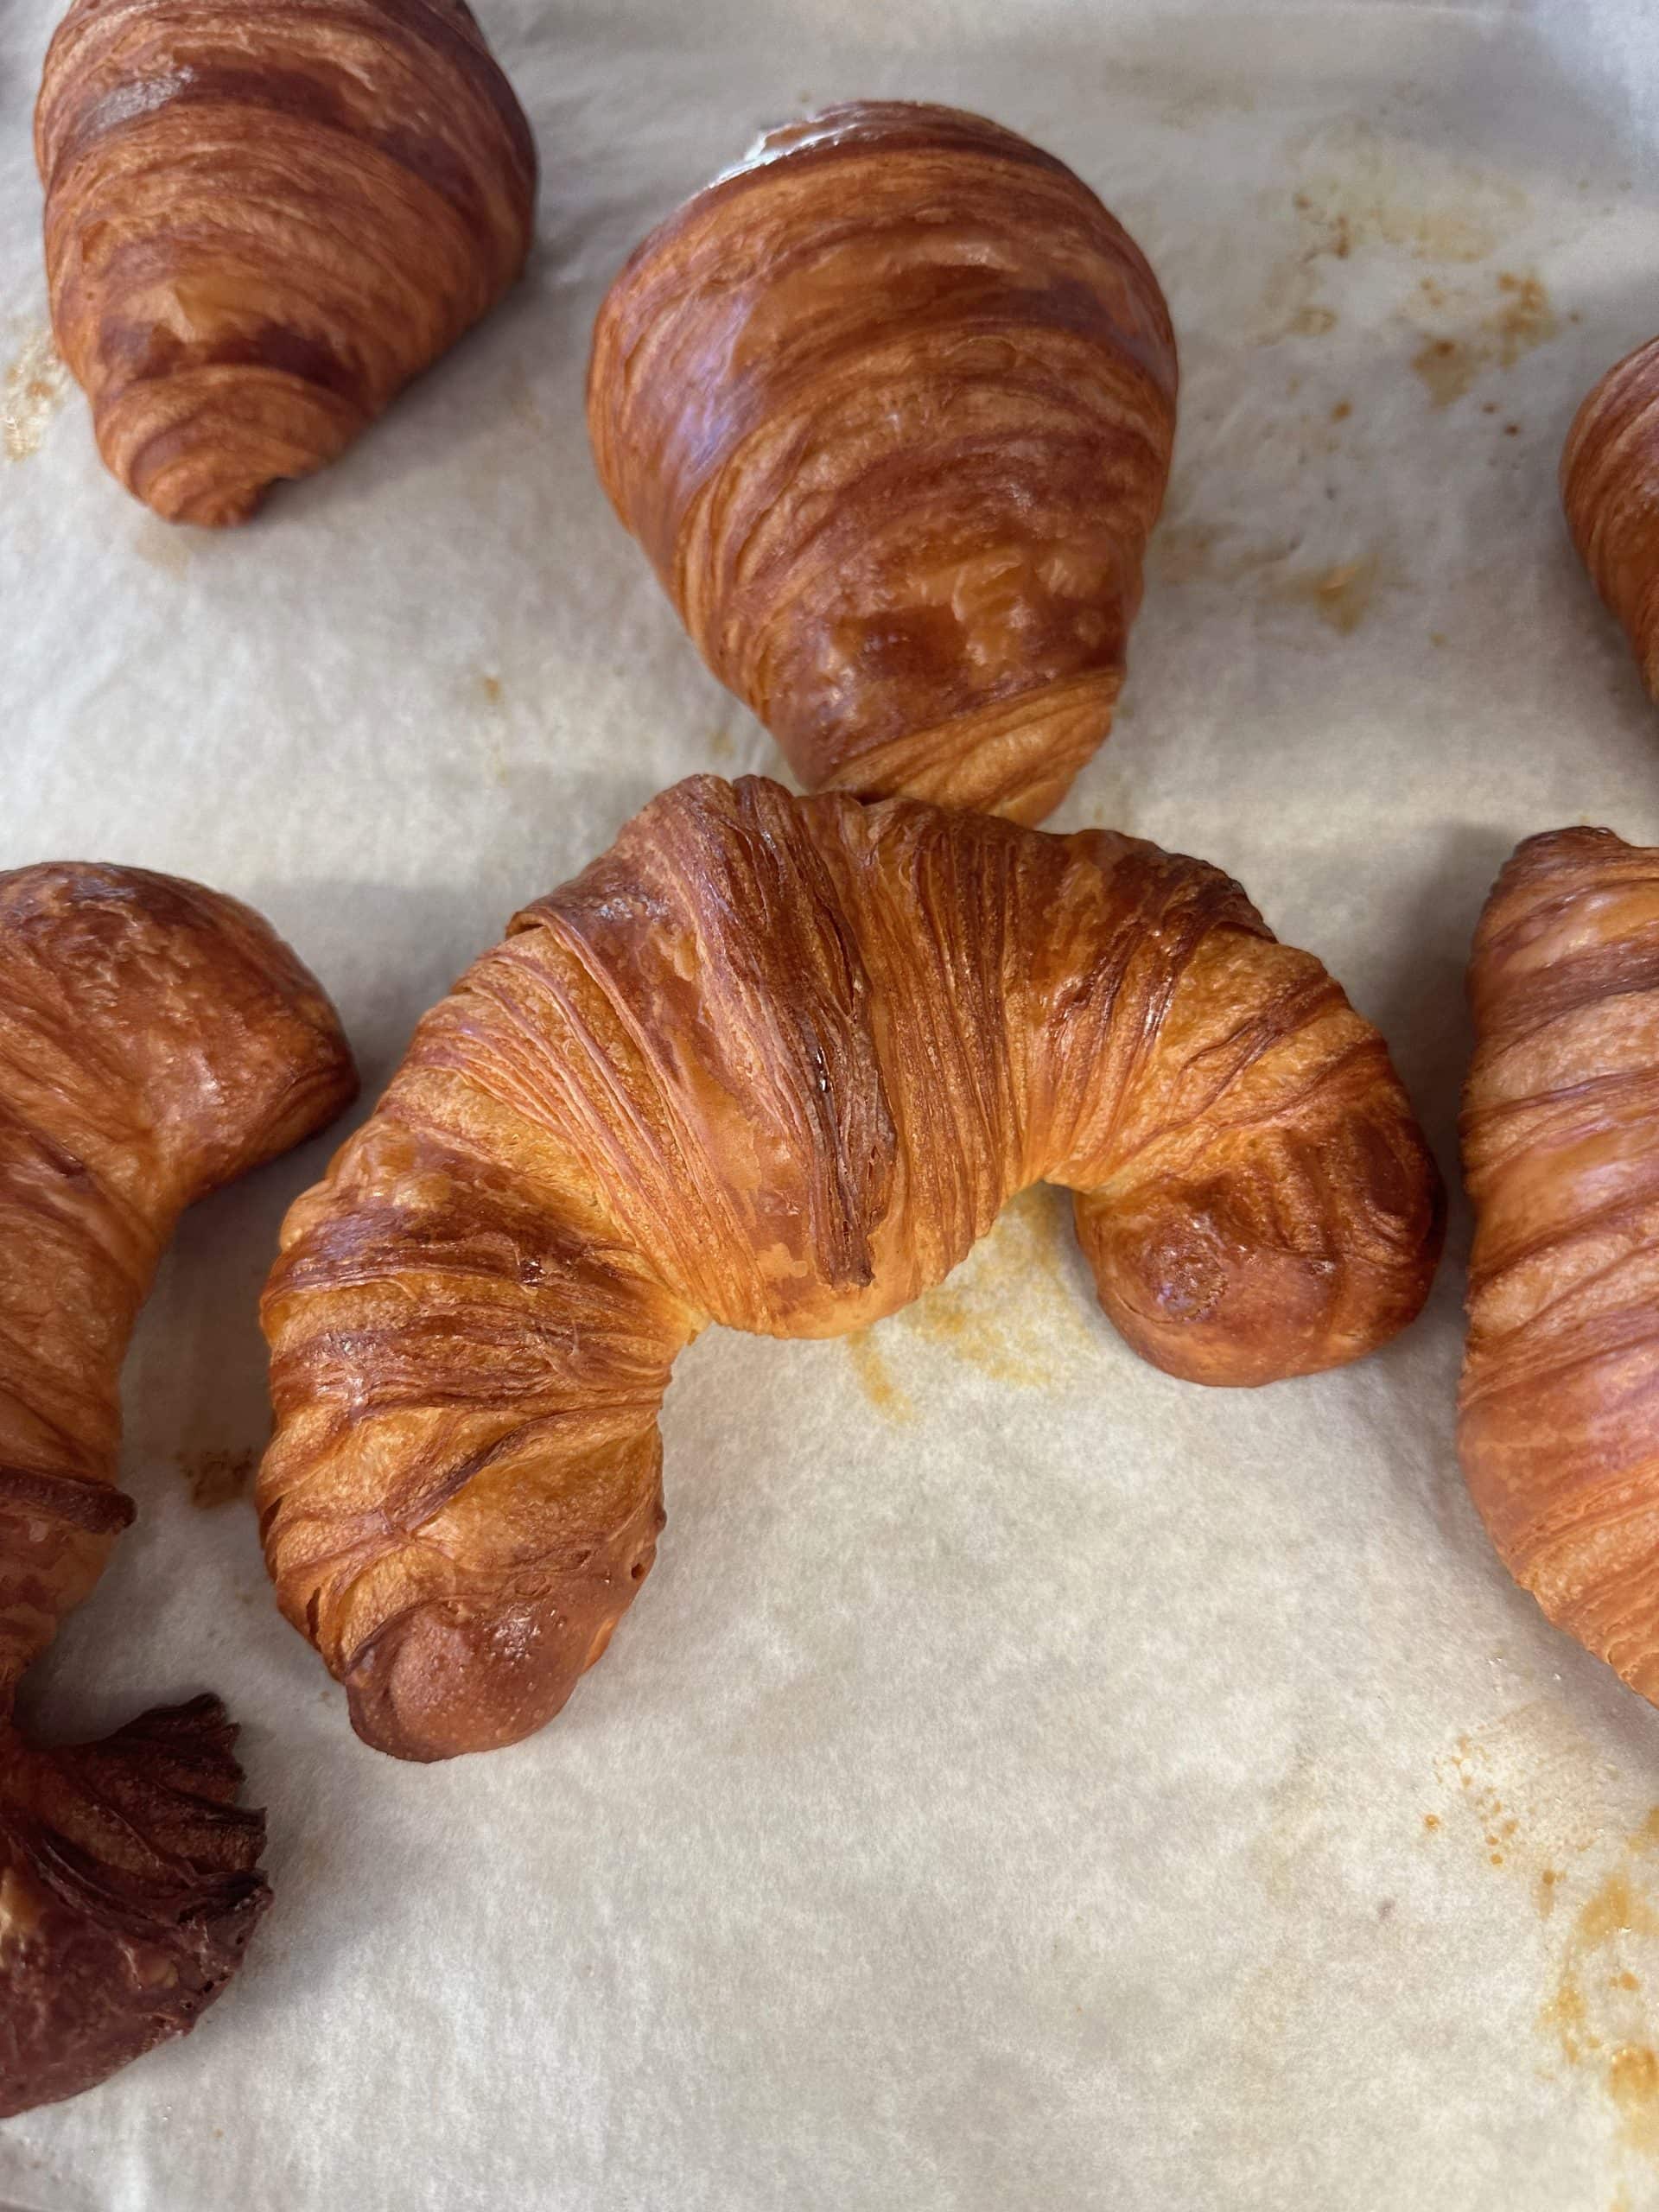
- Croissant (LM)
- Shokupan (LM)
- Kugelhopf (LM)
- Challah (LM)
- Pompe à l’huile (olive oil bread)
- Gingerbread
- Country bread
- Sechskornbröt
- Rugbrød
It was quite the spread of products, all in a single week.
My Key Sourdough Baking Takeaways
I wanted to start up front with the most significant and impactful “a ha” moments I had during the baking course in France. While I can’t possibly recount everything in the class (for this, you’ll have to take it for yourself—which I highly recommend), here are a few things I thought would help me most in my baking, and, hopefully, you too.
Mix Longer For More Dough Extensibility
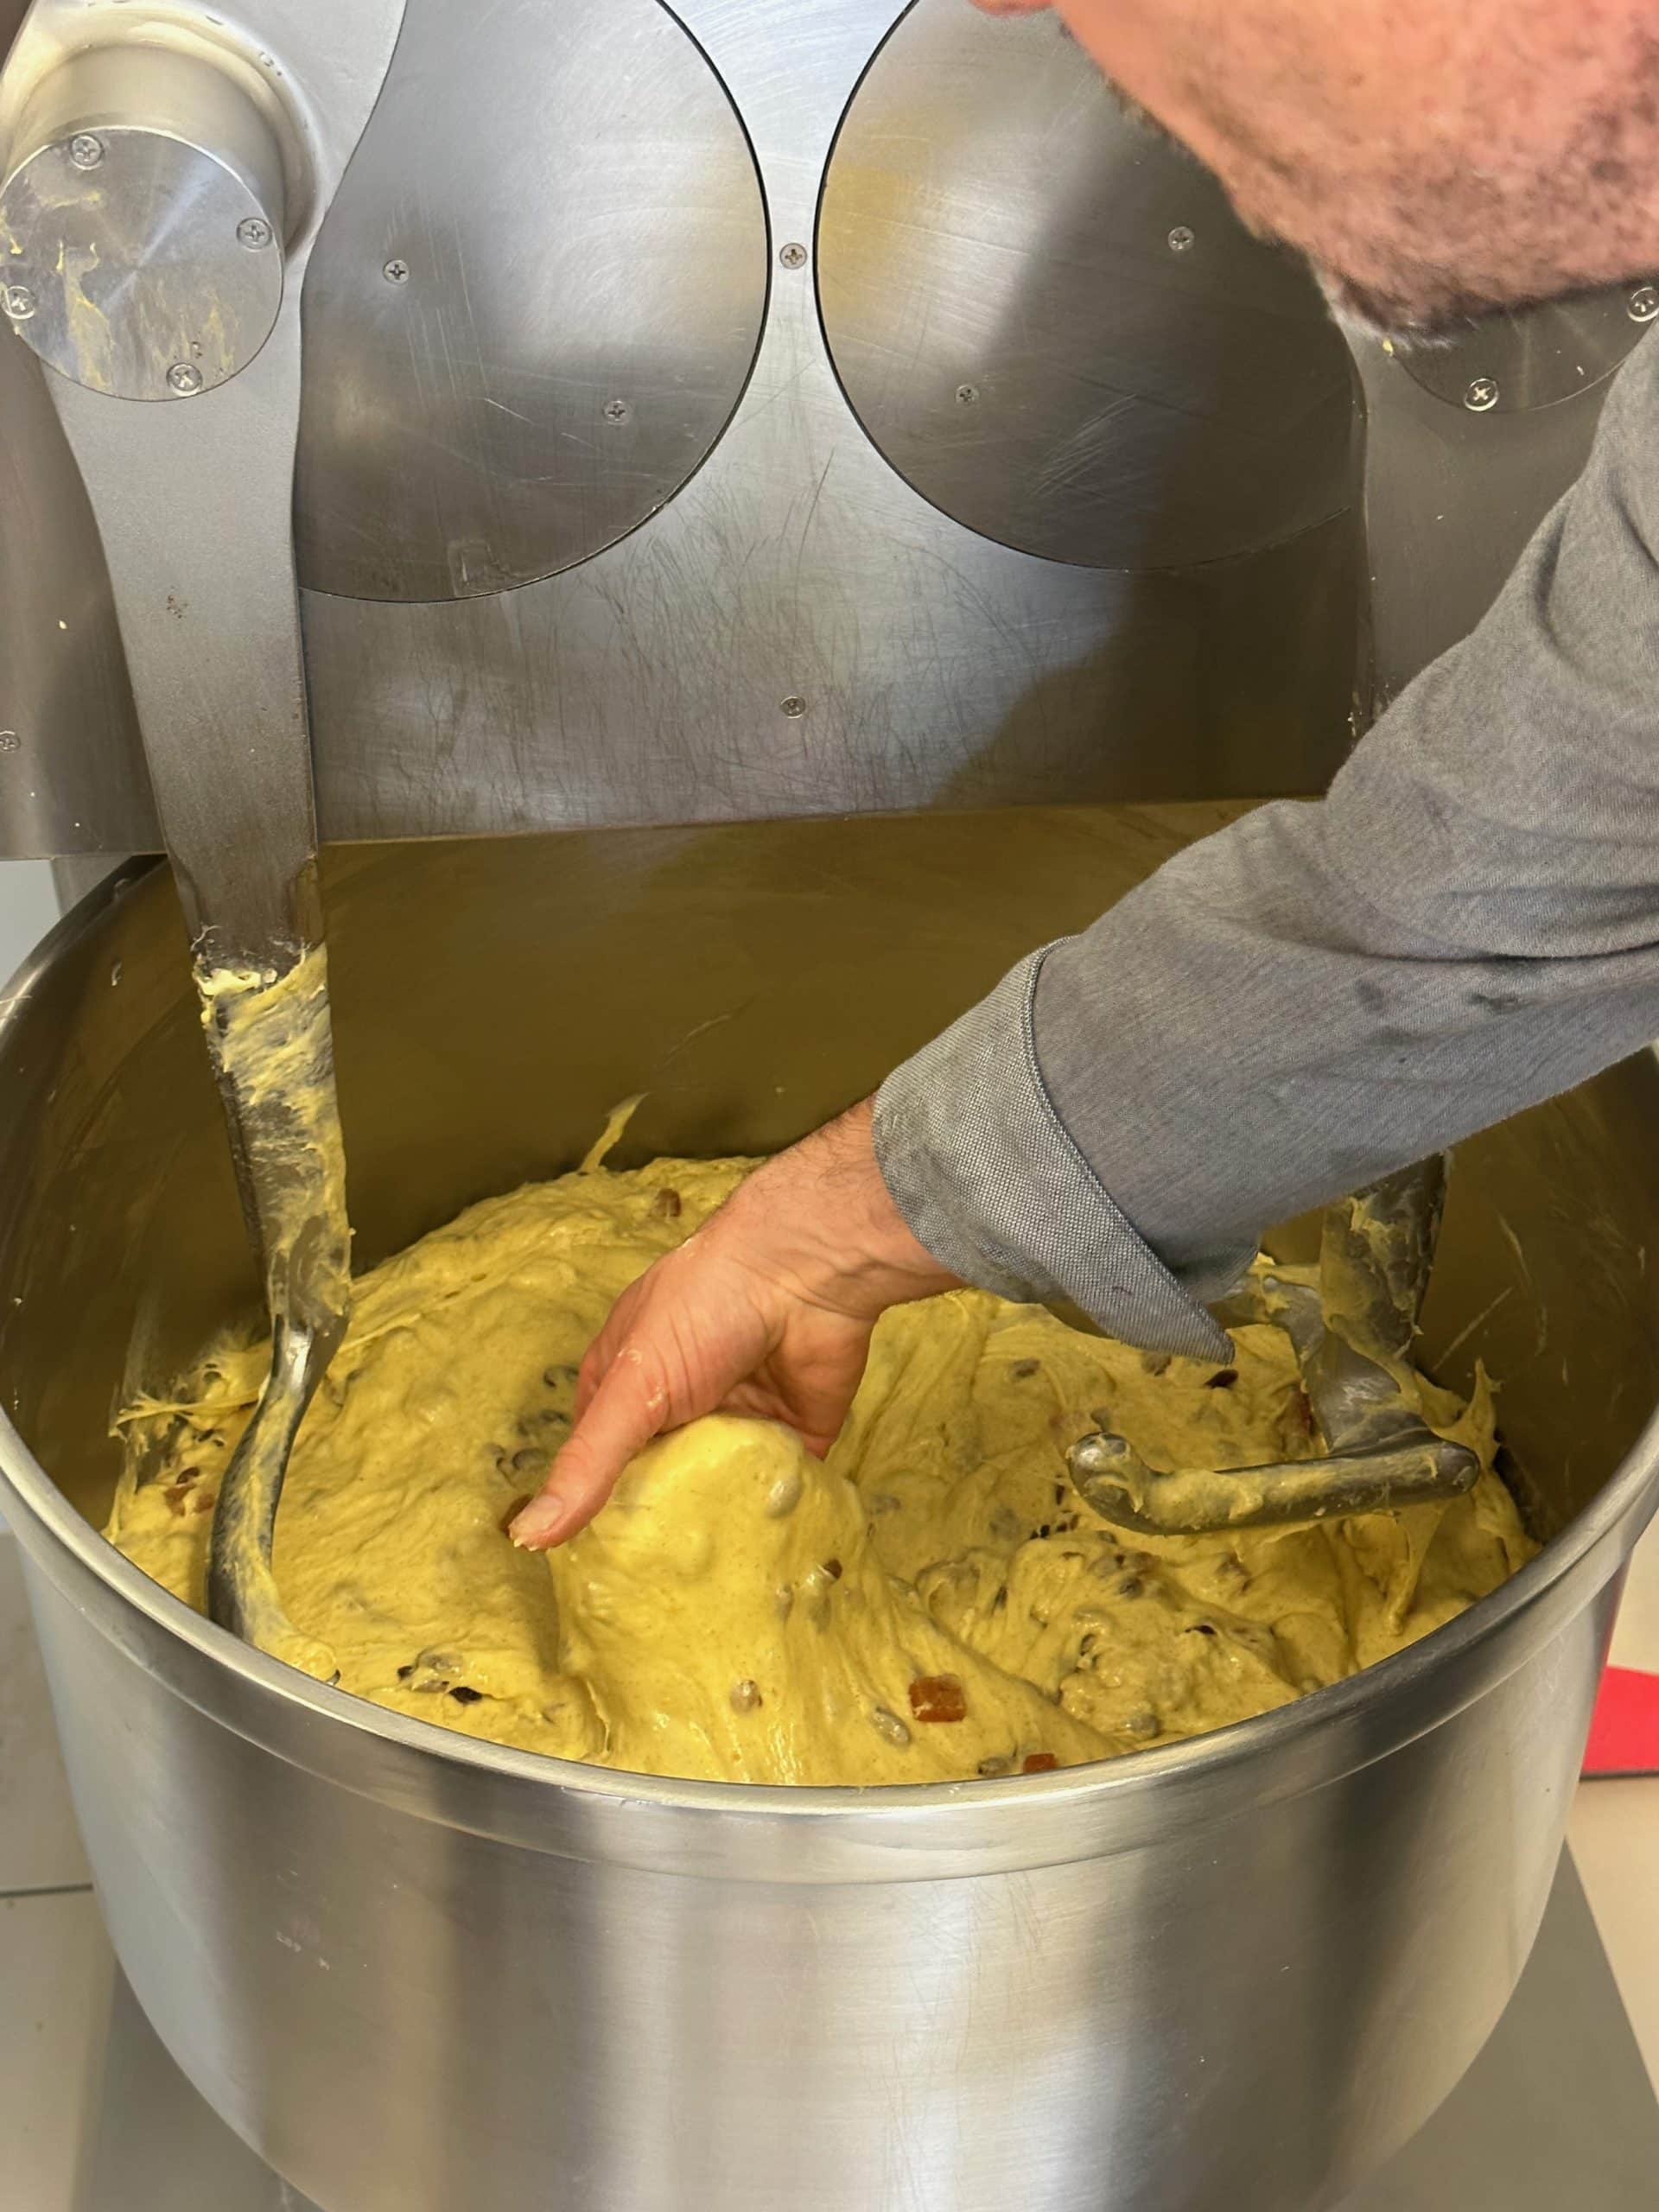
One of the biggest nuggets I took away from the course was that mixing longer or more intensively at a higher speed makes it possible to increase the extensibility of a dough. Remember that dough extensibility is the ability for it to stretch out before resisting and eventually tearing.
It’s helpful to have sufficient dough extensibility for maximum dough rise during fermentation and baking. In my experience, the autolyse technique can certainly help with this, especially with strong flour, but by mixing the dough for longer, you can also—somewhat paradoxically—increase dough extensibility, too.
This can be very helpful with bread, but it’s essential with panettone because a super extensible dough is needed for maximum volume in the oven.
Remember, though, that throwing your dough in the mechanical mixer and letting it mix for many minutes isn’t always the correct approach. Over-mixing a dough, especially bread dough, can result in flavor loss due to excessive oxidization, and if let go too long, I’ve found it can lead to a tough final texture.
Keep Protease Enzymes in Check
As any sourdough baker knows, our dough can only proof for so long before the dough structure breaks down, leading to overproofing and a collapsed dough in the oven.
But what causes this?
Part of the explanation is enzymes. A dough made with sourdough ferments becomes increasingly acidic due to acids created (primarily by bacteria) during fermentation. As the dough’s pH drops, conditions become more suitable for protease enzymes to work—which can eventually destroy the dough’s structure.
What Do Protease Enzymes Do in Bread Dough?
Protease enzymes in sourdough bread modify gluten proteins in the dough by helping to break them down into smaller pieces (peptides) and individual amino acids. This breakdown is beneficial because it improves dough handling and the final bread’s texture and flavor. However, too much protease activity can lead to overproofed dough and a dense final product.
The goal isn’t to altogether disable protease activity by keeping a dough’s pH high (low acidity) because sufficient activity leads to better bread texture and flavor. Instead, the goal is to keep it in check so it doesn’t lead to fragile dough and dense bread.
To Reduce Sourness, Use Sugar
I wrote about this in my sourdough cookbook, which has recipes using sugar in the levain for products like sourdough brioche. Adding sugar to a starter, levain, or dough reduces the effectiveness and function of bacteria. Panettone is perhaps the most extreme example of this, where at the time of mixing the second (final) dough, bacteria are disabled.
Sugar negatively impacts bacteria more dramatically than yeast, thereby reducing its metabolic activity.
One might argue that adding sugar to a dough will reduce the perceived flavor of sourness because it simply tastes sweeter. This is true, but it’s more than that: Sugar inhibits bacterial metabolic activity more dramatically than yeasts. And since bacteria is the primary creator of the acid byproducts from fermentation, reducing its ability to function means a reduction in the overall amount of sourness in the final product.
Just like with the extensibility information above, for this to work, there are caveats. The sugar concentration in the dough has to be high enough (in my testing, I’ve found this to be around 20 to 25% of the total flour for a levain, though it could be outside this range, too). Additionally, adding a sugar percentage this high will significantly slow overall fermentation.
All of this means adding sugar to the dough will reduce sourness, but it does require adjusting the other parameters in the process and dough to compensate.
For Reduced Sourness and Sweetness, Mix a Second Dough
To make a product with reduced sourness and not very sweet, mix a second dough like you would for panettone. The first dough has a high sugar concentration to deactivate bacteria, and the second dough can be closer to your intended flavor profile with reduced sugar (or even high sugar again!).
When I say first dough, I mean a mix of your preferment, some flour, water, and a large percentage of sugar, left to ferment for some time. Then, the second dough takes some of the first-day dough and (usually) calls for more flour, water, and other ingredients. This is the typical process for making panettone (the first dough is called primo impasto, and the second dough is called secondo impasto in Italian).

Sugar acts as a sort of “filter” in the dough, inhibiting bacteria, which is the primary producer of the acid byproducts, resulting in a sour final product.
An excellent example of using sugar to reduce sourness in naturally leavened bread is Shokupan, which should have no sour flavor but also not be super sweet. In my recipe, I don’t use a panettone starter and second dough to achieve this, but rather, I use sugar in the preferment as a sort of shortcut, acting somewhat like a first dough with high sugar percentage to “filter” out some bacteria. (I will be updating my recipe with my recent learnings soon!)
A Few Other Key Takeaways
What Are Dextrans?
Dextrans are complex glucans (polysaccharides) produced by lactic acid bacteria (LAB) through fermentation. Dextrans help increase dough volume, crumb structure (fluffy texture), and, importantly, increase the shelf life of panettone (or even bread dough). They have high water affinity and retention, which helps extend the final product’s shelf life.
Note that only certain strains of LAB can produce sufficient amounts of dextran. Maintaining a panettone starter in a very particular way, the refreshments leading up to mixing the dough, and using sugar in the dough help select the appropriate strains of LAB for dextran production.
Panettone
Panettone is having a spotlight moment right now—for a good reason. When made correctly, it’s otherworldly, and every baker is tackling the “Mount Everest of baking.” I grew up eating panettone just about every holiday, and I can say, at this moment, I’ve eaten perhaps the best panettone I can remember. Sure, Italy has fantastic panettone throughout, but most of the time, what you find in the USA isn’t very high quality because we mostly get an industrialized product. Though, this is indeed changing.
The thing about panettone is making it at home is a serious undertaking. If you think feeding your sourdough starter twice a day is too much, maintaining a panettone starter will probably be too much of a commitment for you. And that’s before you even get to make the dough!
Still, I think it’s a worthwhile endeavor for those serious about enjoying this technical challenge at home. I’ve dabbled with it in the past but couldn’t commit fully (mostly because my cookbook was taking all available free time)—but now I’m ready for the commitment.
If I had to give a few pieces of advice for panettone from the course, they would be:
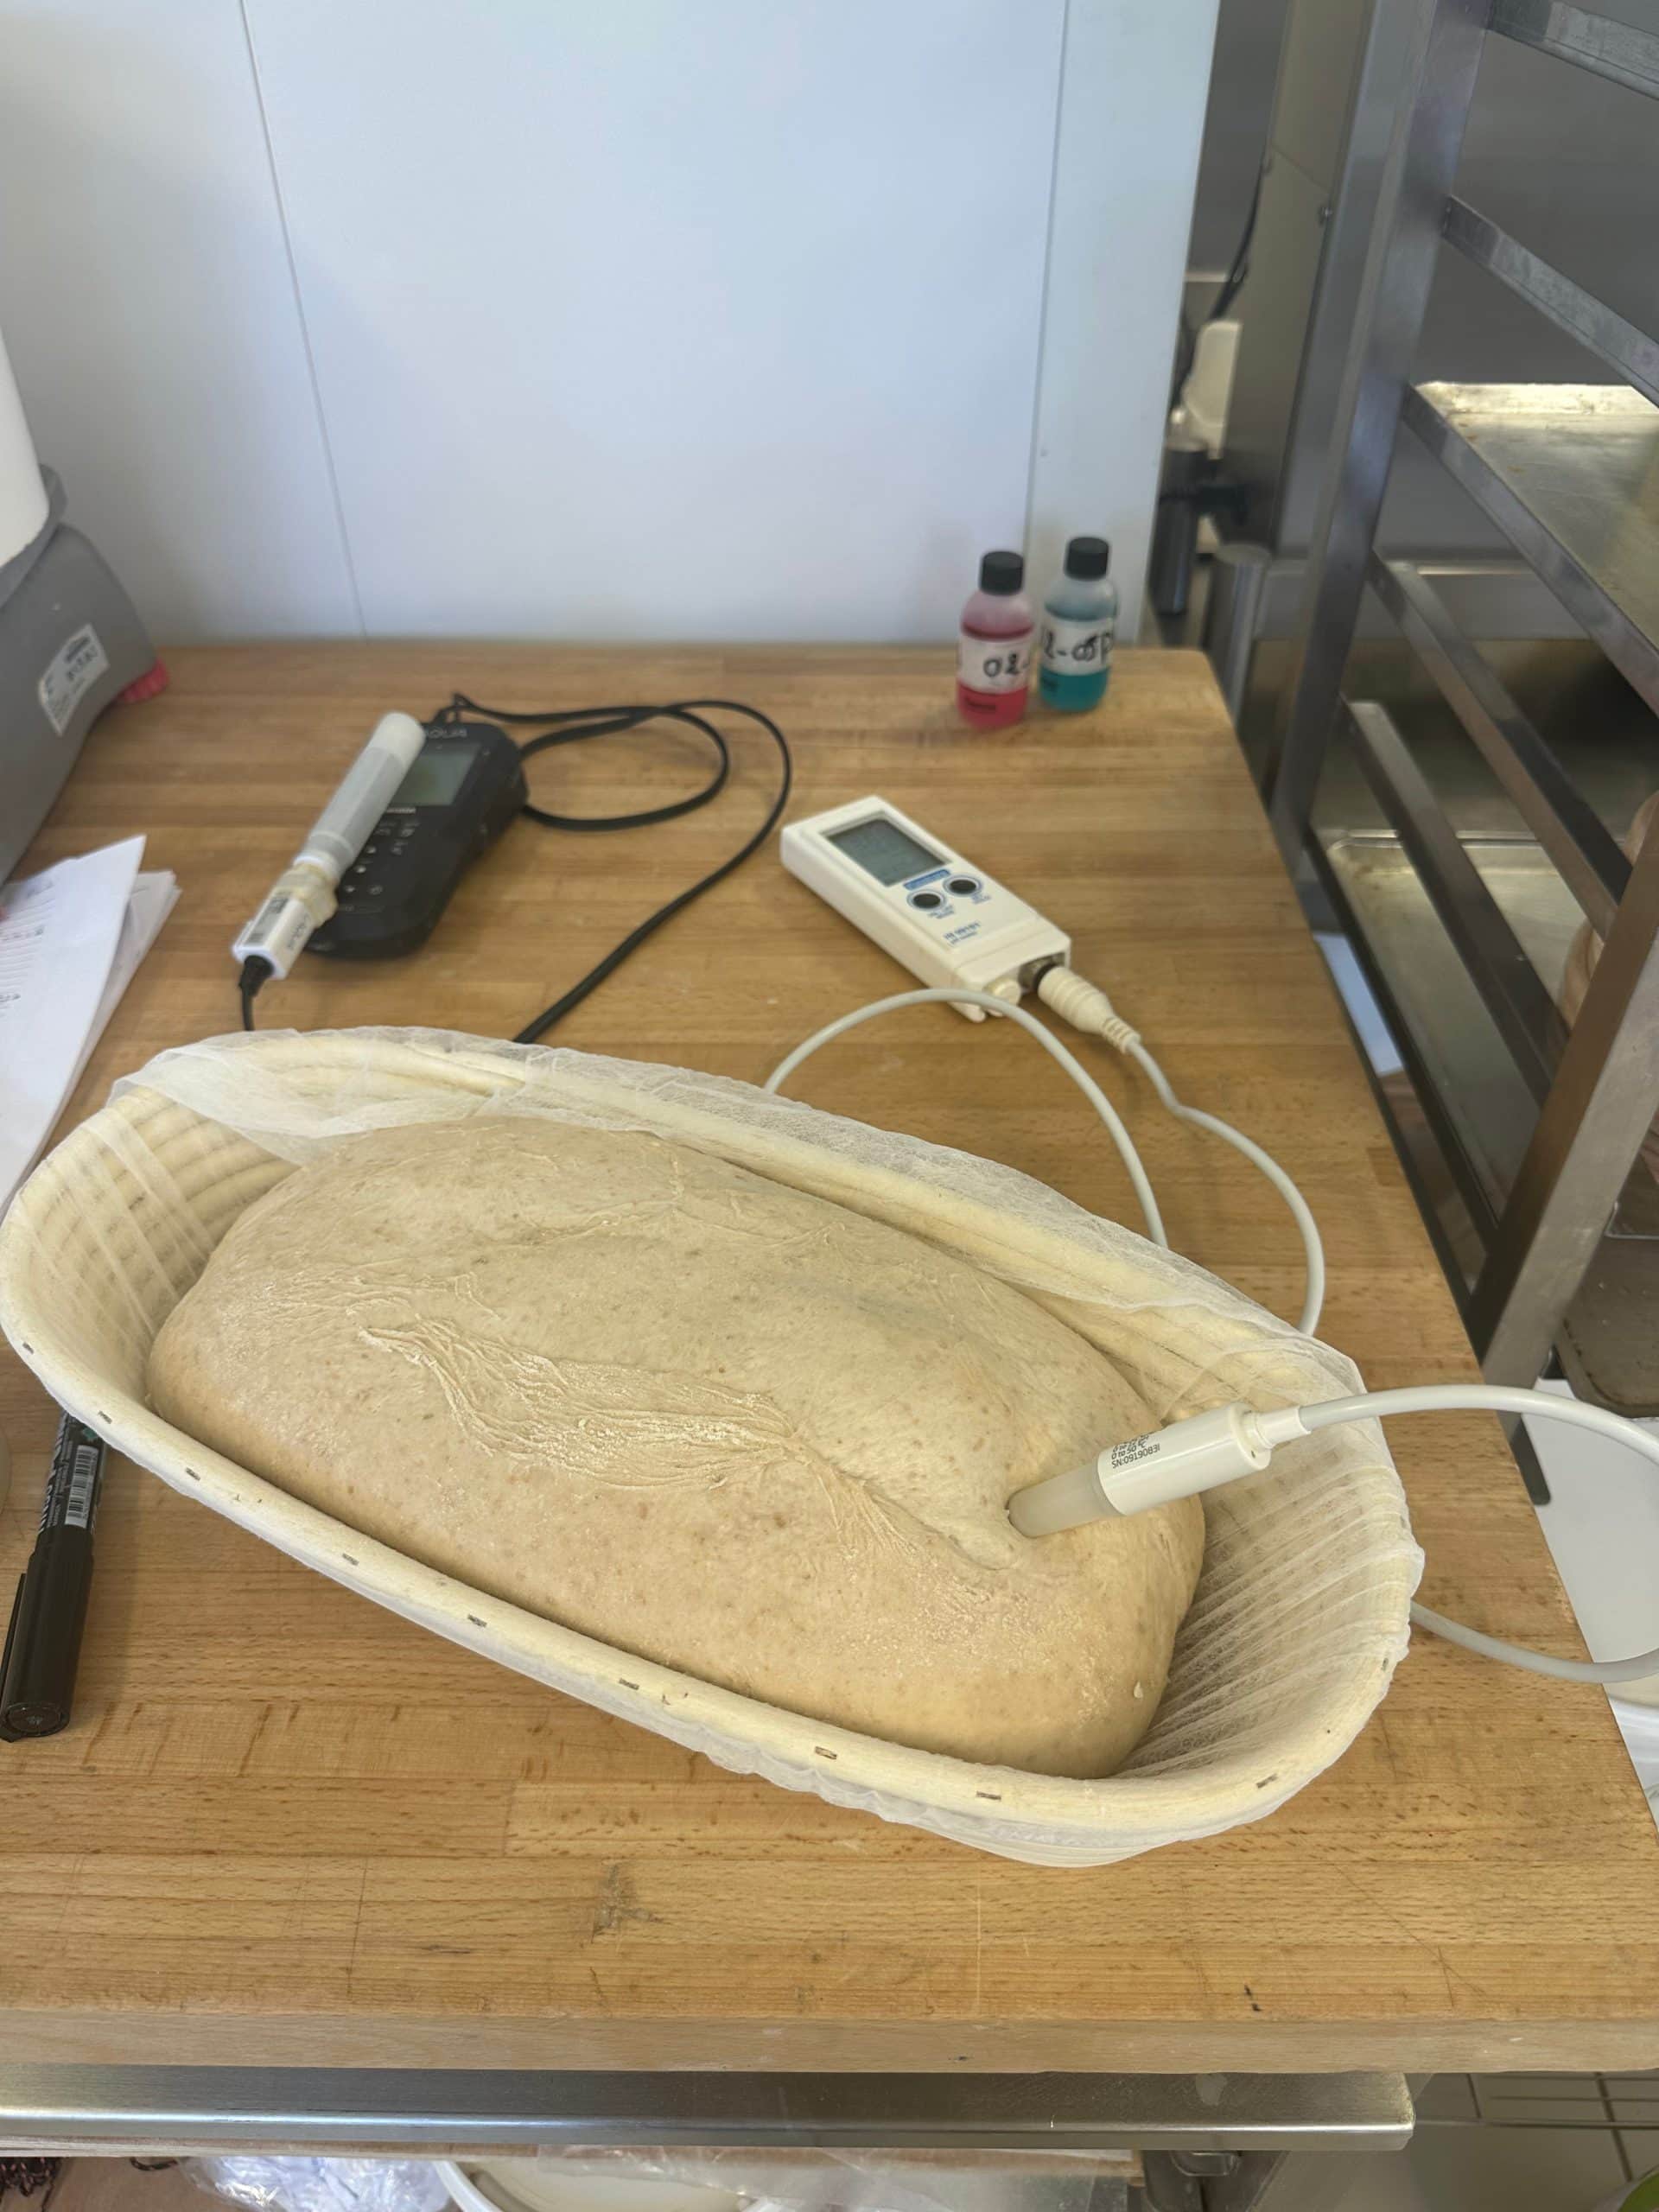
- Buy a pH meter
- You’re probably not mixing long enough
- Be observant and pay close attention to your panettone starter maintenance to ensure the right balance of yeasts and bacteria!
I want to recap more of what I learned about panettone here in this post, but frankly, it’s too large a topic even to scratch the surface. However, stay tuned. I’ll post more panettone material here as I learn to maintain the starter, mix the dough, and play with inclusions.
More to come.
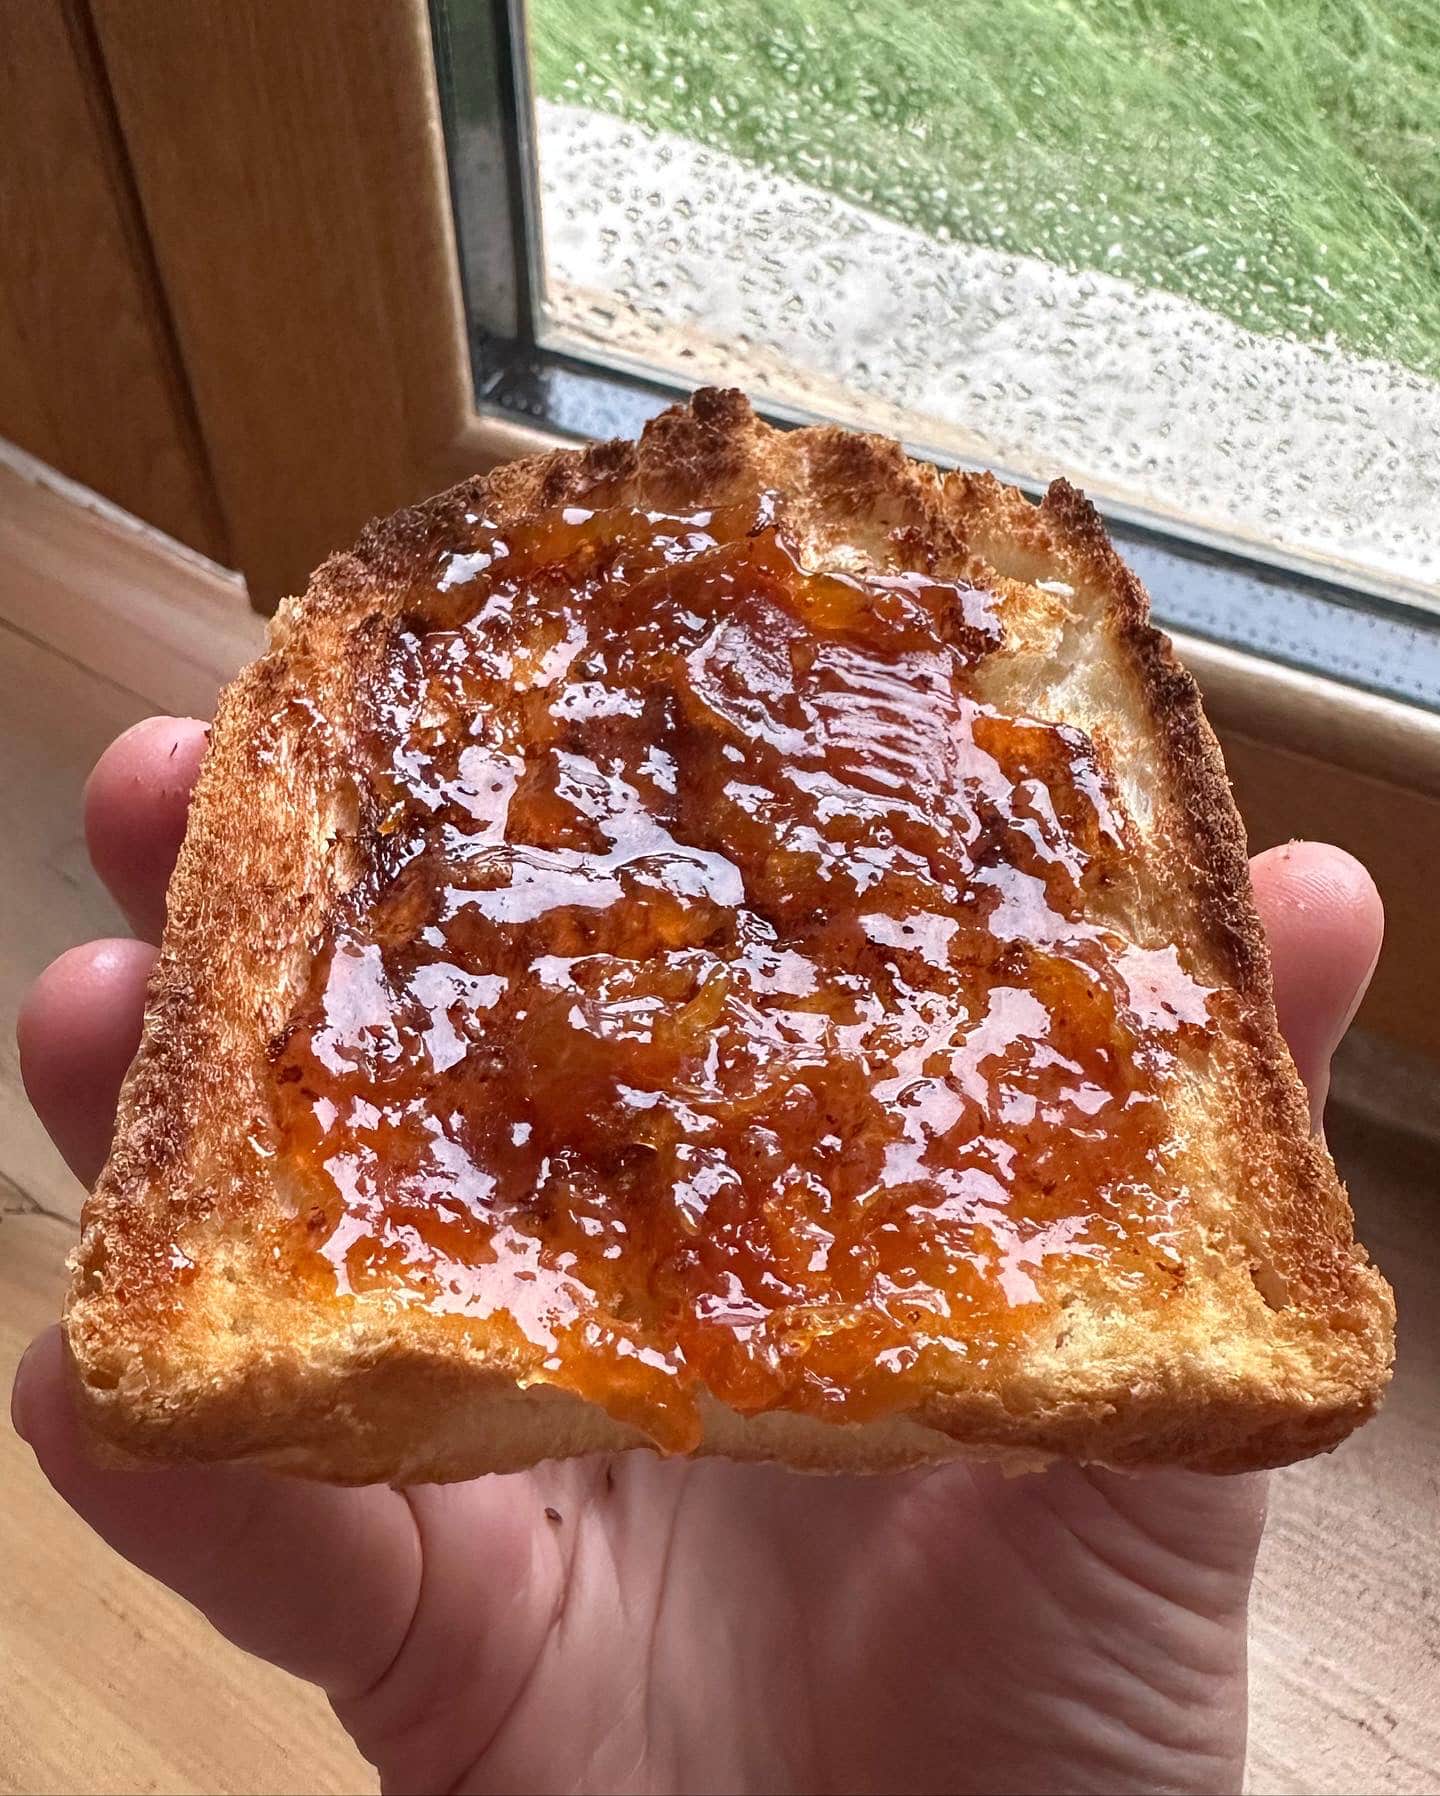
A Few Photos From the Course
Here are a few photos I took during the week-long course to give you an idea of what it was like in the bakery and the range of products we made (click to see a larger version).




The Instructor, Staff, and Other Bakers
One of the fantastic things about taking an in-person baking course is that you get to learn from the instructor and staff, but also the other bakers. I finally met several bakers I’ve been talking to online for years. It was an incredible bunch of talented bakers from around the world.

Gathering bakers like this together in a class is an incredible way to keep pushing the craft forward—ideas for things to test, improve on, and perfect were flying about at an incredible pace. I didn’t realize I had missed this so much before the pandemic began. To say I left inspired by each of them would be an understatement.
Resources
You can find more course information at the École Internationale de Boulangerie (EIDB) website. If you’re interested in taking a course, I’d recommend looking a year in advance (as I did); they fill quickly.
For more on Thomas’ books, including the panettone book we used during the course, you can find their baking books here.
What’s Next?
There were so many things to learn during that week from Thomas and the school’s excellent instructors and other bakers. It’s hard to capture it all in a single blog post, but I hope this gave you an idea of the amount of learning and collaboration during our week together. All I can say is I wish I could retake it!
If you want to see the personal side of my trip, check out my photos and itinerary, here.


