Shaping bread dough is my favorite part of the entire sourdough bread-making process. After hours of nurturing a sourdough starter, mixing, and bulk fermentation, it’s when we get creative and put our hands to work.
The problem is that shaping can be difficult.
If the dough isn’t at the right level of strength, is not divided and preshaped correctly, or the motions for shaping are practiced, it can be frustrating. And trust me, I’ve been there a few more times than I’d like to admit (hello there, unruly oat porridge sourdough).
This guide to shaping bread dough will help you through this tricky step; it contains my best guides to handling and shaping many of the common, and a few uncommon, bread shapes.
What is Shaping Bread Dough?
Shaping bread dough is the step in the bread-making process when you physically transform divided and preshaped dough into its final form, with the intention that the form is retained to some degree until the dough is baked.
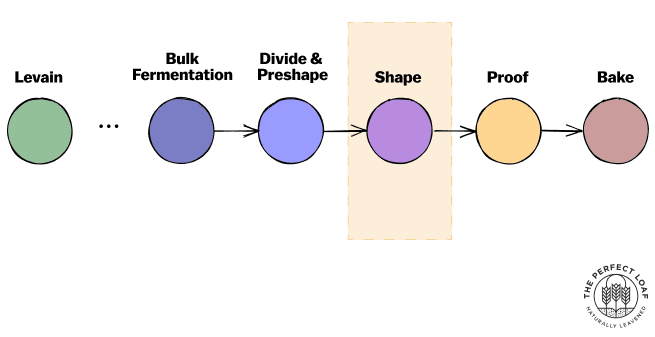
With the style of baking I typically do, shaping is the sixth step in the process, right after dividing and preshaping and right before proofing. The result of shaping is smooth dough with a tight outer skin that’s then placed into a proofing basket or bowl for the dough’s second (or final) rise.
Before shaping, though, we must first talk about the step before: preshaping.
Should I Preshape My Dough Before Shaping?
While not always necessary, I usually preshape my bread and pizza dough.
At the end of bulk fermentation (first rise), we have a large dough that’s risen for several hours and is disorderly once tipped out to the work surface. If you’re making more than one loaf of bread, this large dough needs to be split (divided) into smaller pieces. In doing so, you end up with shaggy, unorganized bits of dough. To make final shaping easier, preshape those shaggy bits into loose but organized pieces.
These smaller pieces will be smoother, more cohesive, and ready to form into the final shape.
Why Do We Need to Shape Bread Dough?
Strictly speaking, shaping bread dough isn’t mandatory. Some styles of bread are simply cut and loaded for baking (I see ciabatta as one that has little or no shaping at all). However, shaping allows bakers to form their fermented bread dough into a pleasing final shape.
However, the shape of a baked loaf is more than just how it looks it also has implications on its eating quality and the way the bread might be used. For example, compare the French baguette with a large miche. Both are very different shapes that result in using them for different purposes, but further, the shape affects the characteristics of the bread:
- Baguette: because of its thin, pointy stick shape and short but hot bake time, it will have a very thin crust and maximum crust-to-crumb ratio.
- Miche: because of its large, round shape (boule) and required long bake time, it will have a thicker crust with a lower crust-to-crumb ratio
How to Check If Bread Dough Is Ready for Shaping
For the type of bread I typically make, the step right before shaping is preshaping, but right before then is bulk fermentation—the dough’s first rise. Let’s look at each case.
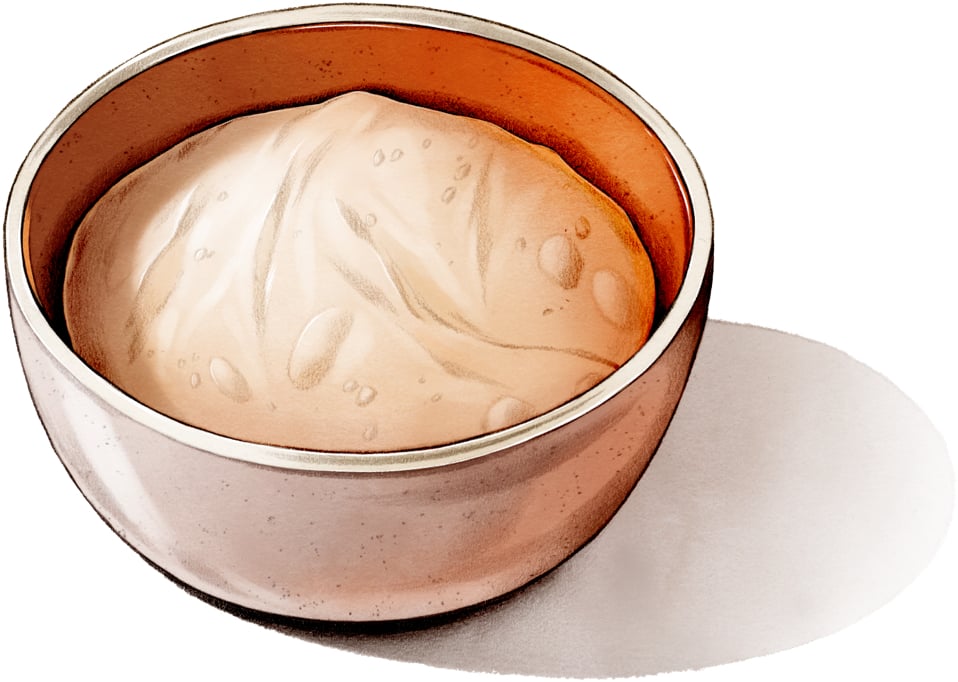
- End of bulk fermentation: Look for dough that’s risen perceptibly in the bulk fermentation container. It should be smooth and elastic, and the side of the dough where it meets the container should be domed down.
- After preshaping: Look for dough that’s relaxed outward. Since the dough is usually preshaped into rounds, the preshaping process naturally tightens the dough (strengthening the gluten). Because of this tightening, the dough must relax outward to allow for final shaping without tearing. Typically, look for the dough to have relaxed back out from its preshaped round to about 30%1.
How to Get a Tight Outer Skin When Shaping Bread Dough
One frequent question I receive is from bakers struggling to get a tight (or taut) outer skin when shaping bread dough. A tight outer skin helps ensure the dough keeps its intended shape all the way to bake time. Further, that tight skin is also smooth, taut, and elastic, which helps it remove cleanly from the proofing basket.
To get a tight outer skin when shaping, be sure the dough:
- Has sufficient dough strength: the dough should be strengthened through both mixing and stretching and folding during bulk fermentation so that it’s strong and smooth before dividing
- Is preshaped properly: preshaping is an opportunity to transform a shaggy mass of dough into a smooth, regular shape which helps facilitate the final shaping
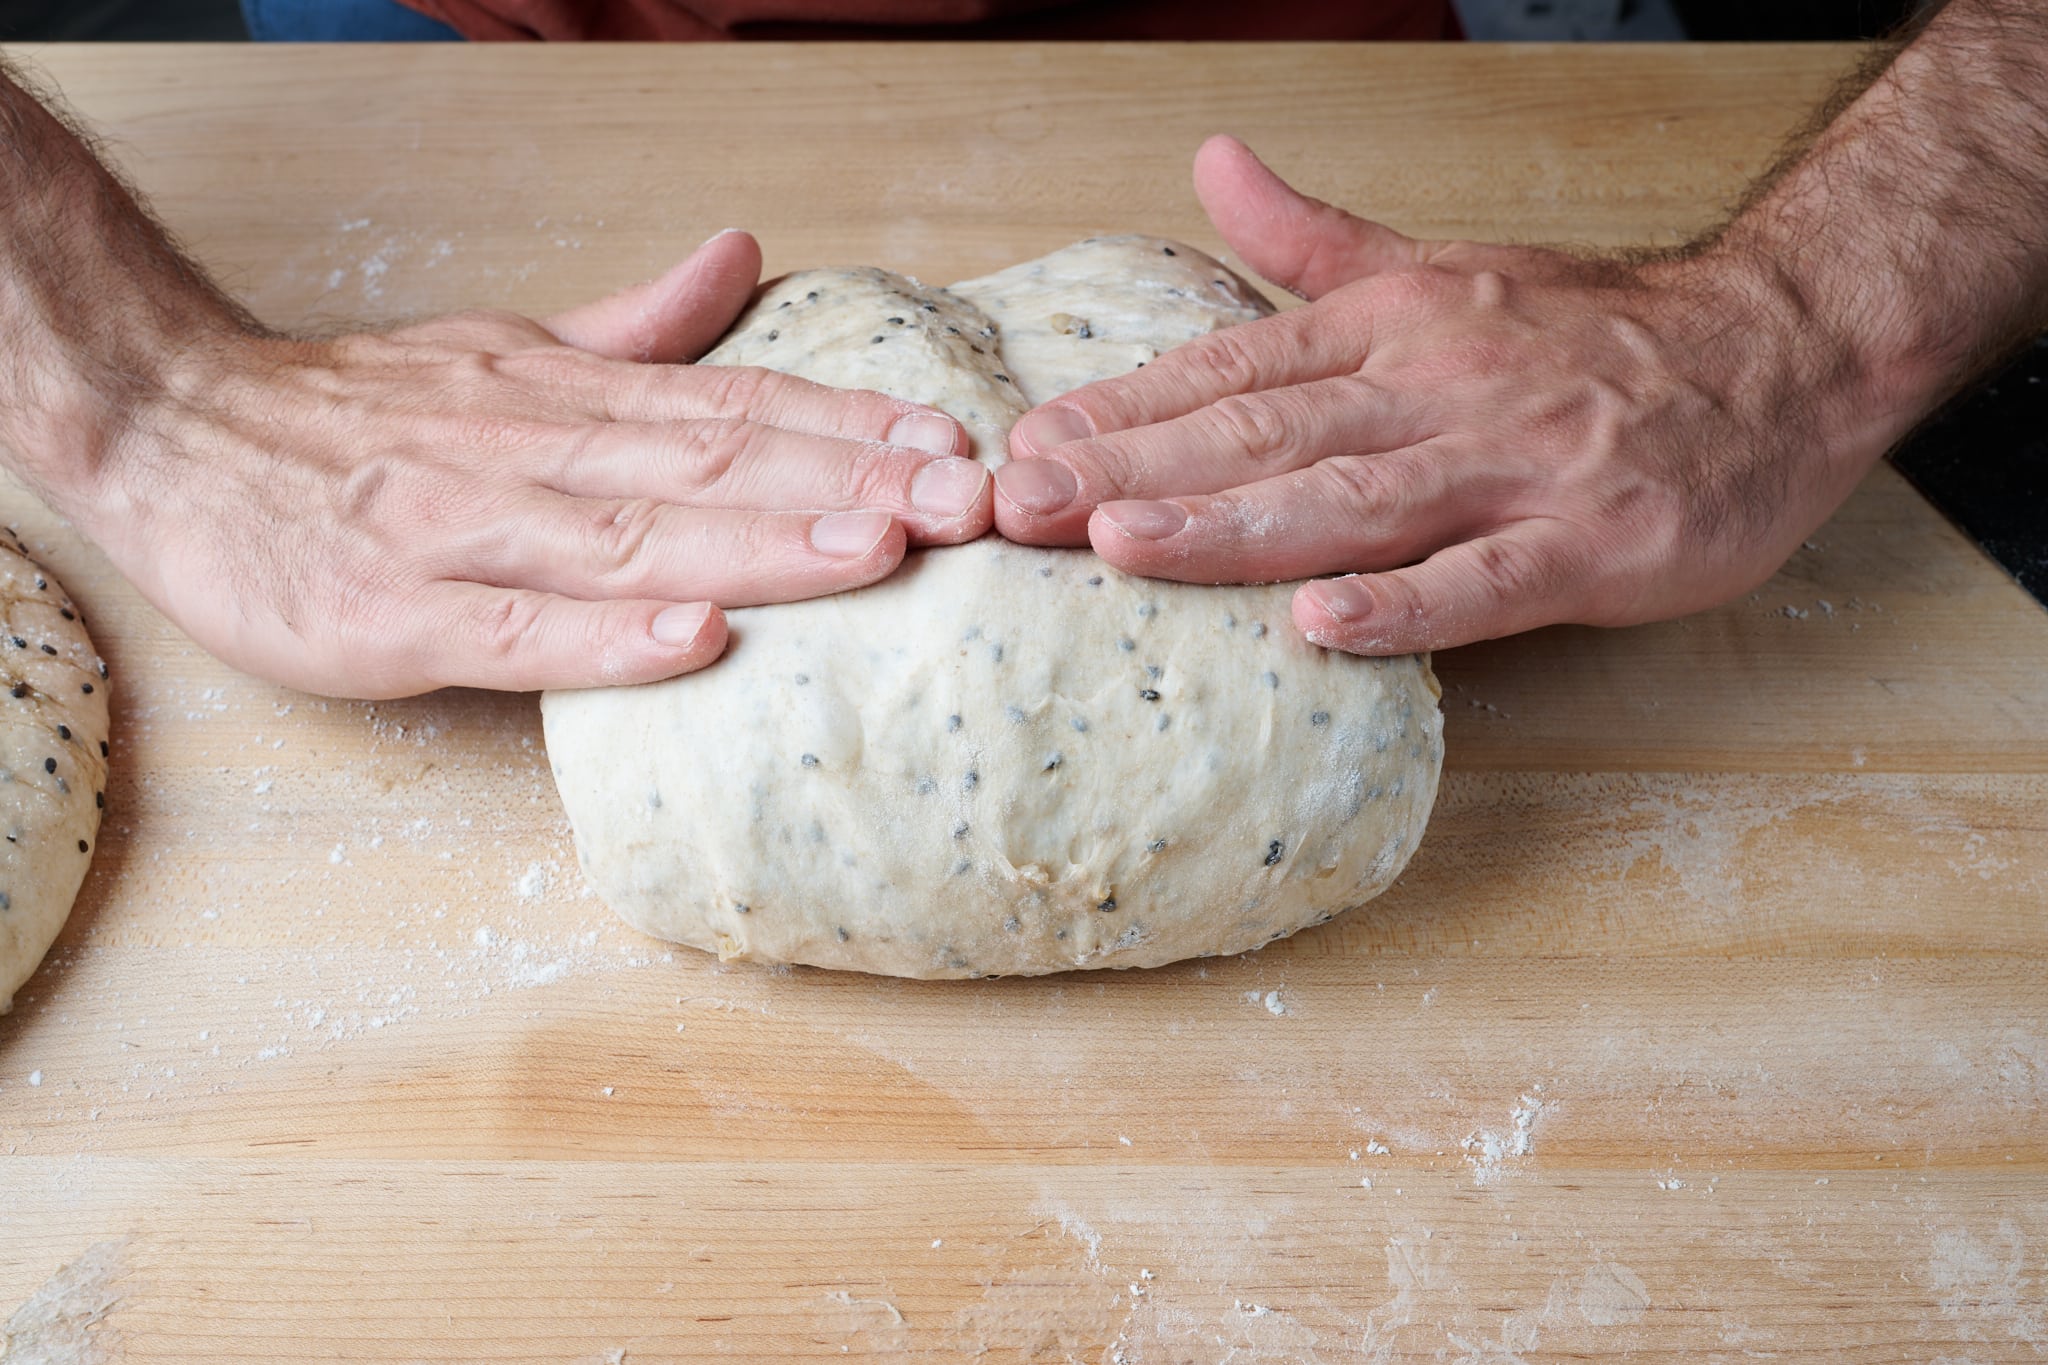
- Is shaped tightly: the dough should be shaped tightly enough to hold its form until baking. This is usually shown as dough that has a smooth outer skin that isn’t overly sticky and holds its shape on the work surface after shaping
When Can I Add Toppings Like Seeds or Grains to The Outside of My Dough?
Once you’ve shaped your bread dough and it has a smooth outer surface, you can roll the dough in a tray of seeds, grains, or other toppings. If your dough is very dry, it can help to first lay out a towel moistened with water, then, first roll the dough on the towl, then the tray with toppings.
Read through my guide to topping bread dough for topping inspiration (oats, seeds, wheat bran, and more!).
Let’s now turn to the actual shaping of bread dough and what forms are available to the baker, starting with my favorite shape, the oval bâtard.
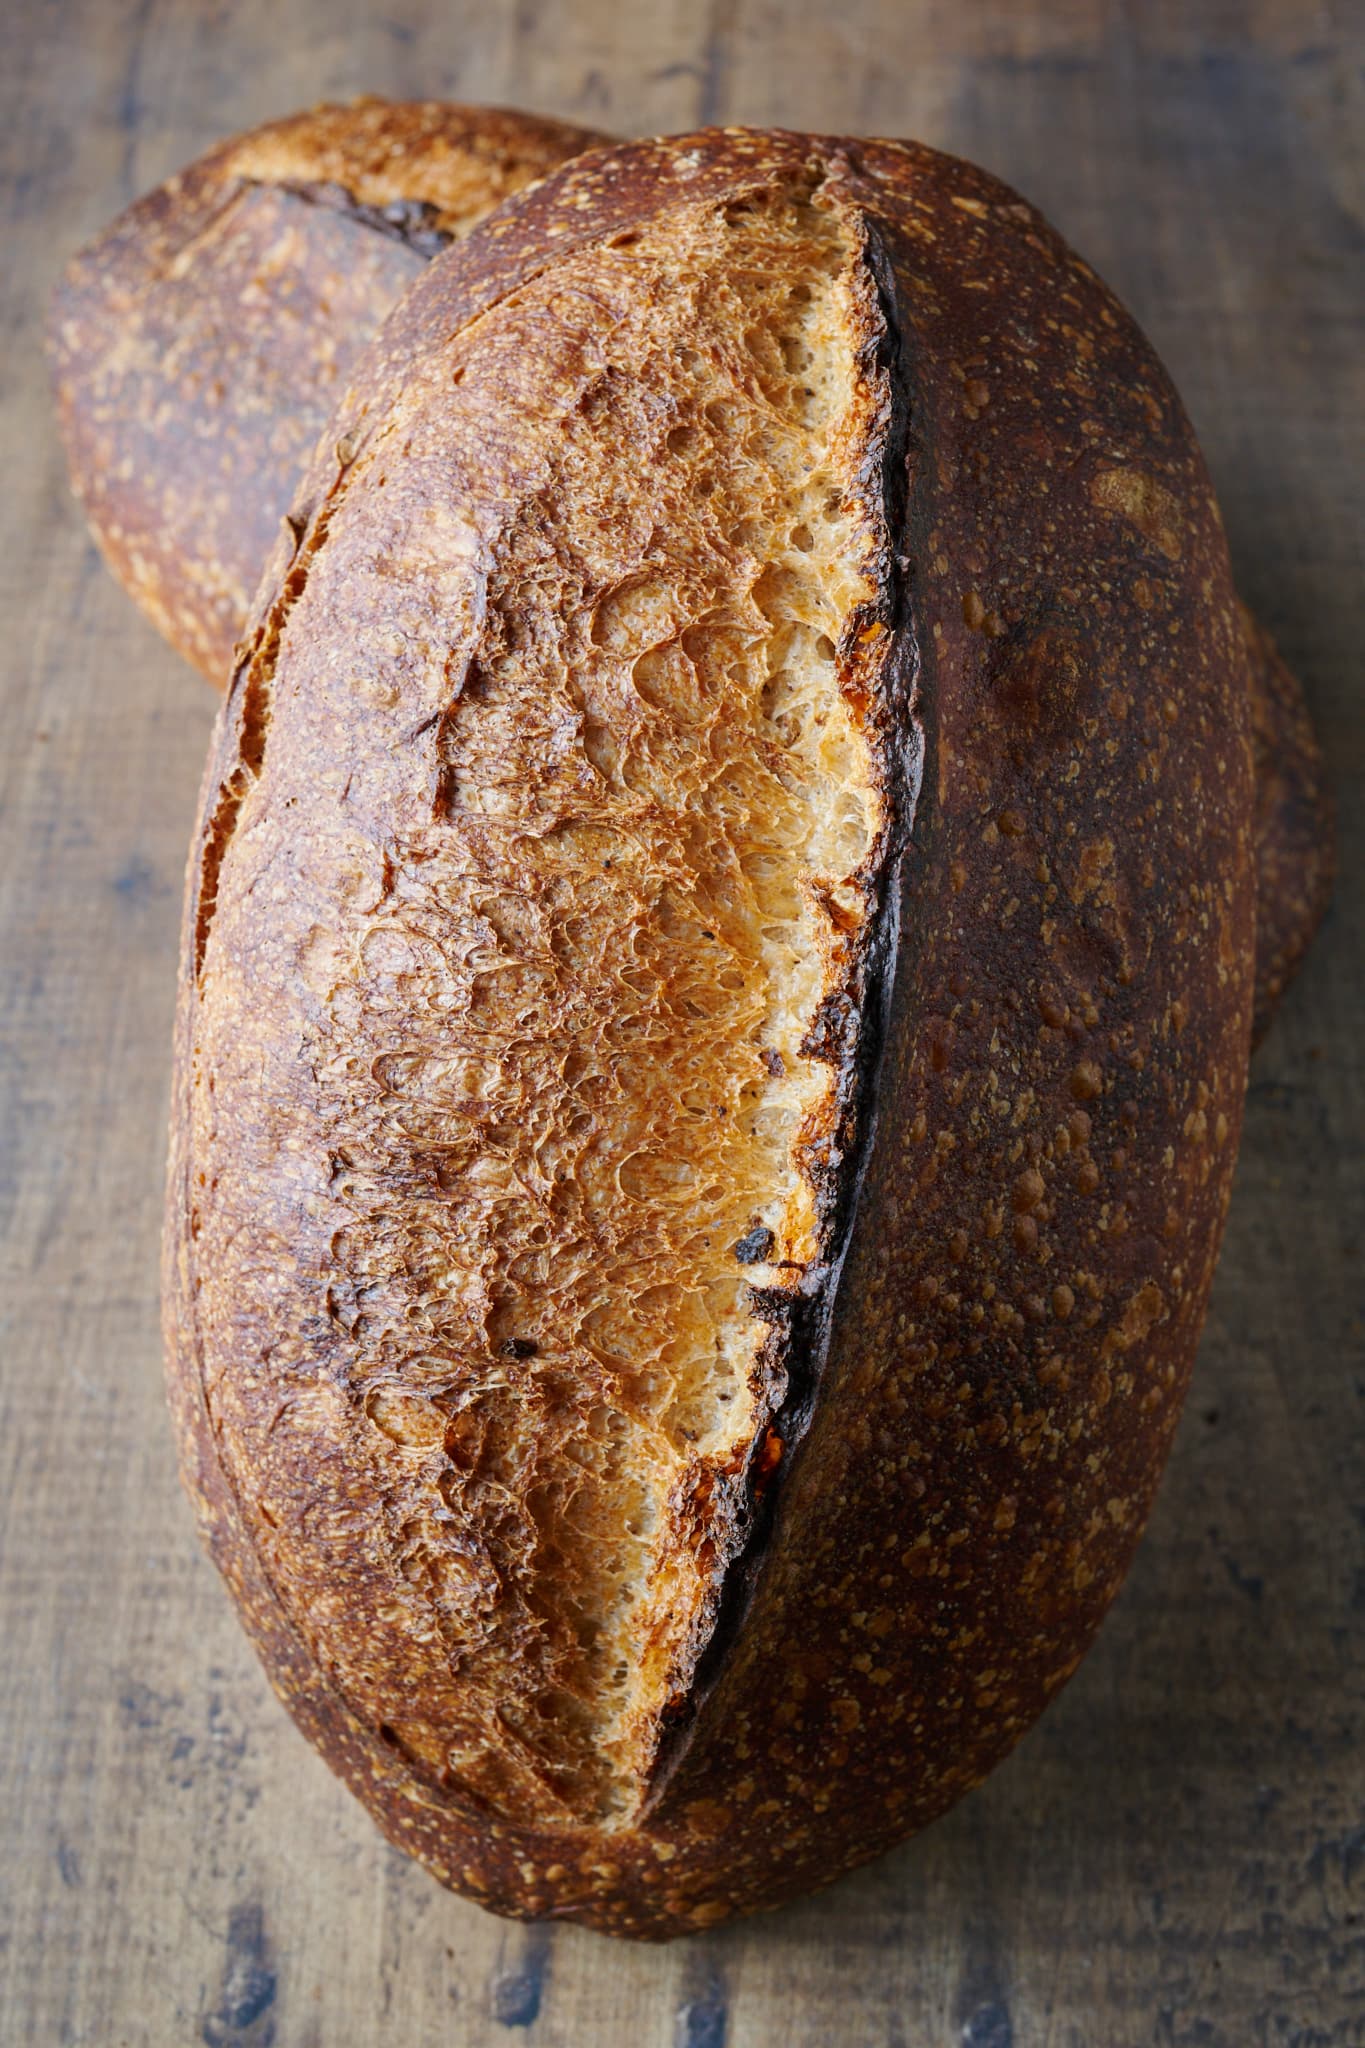
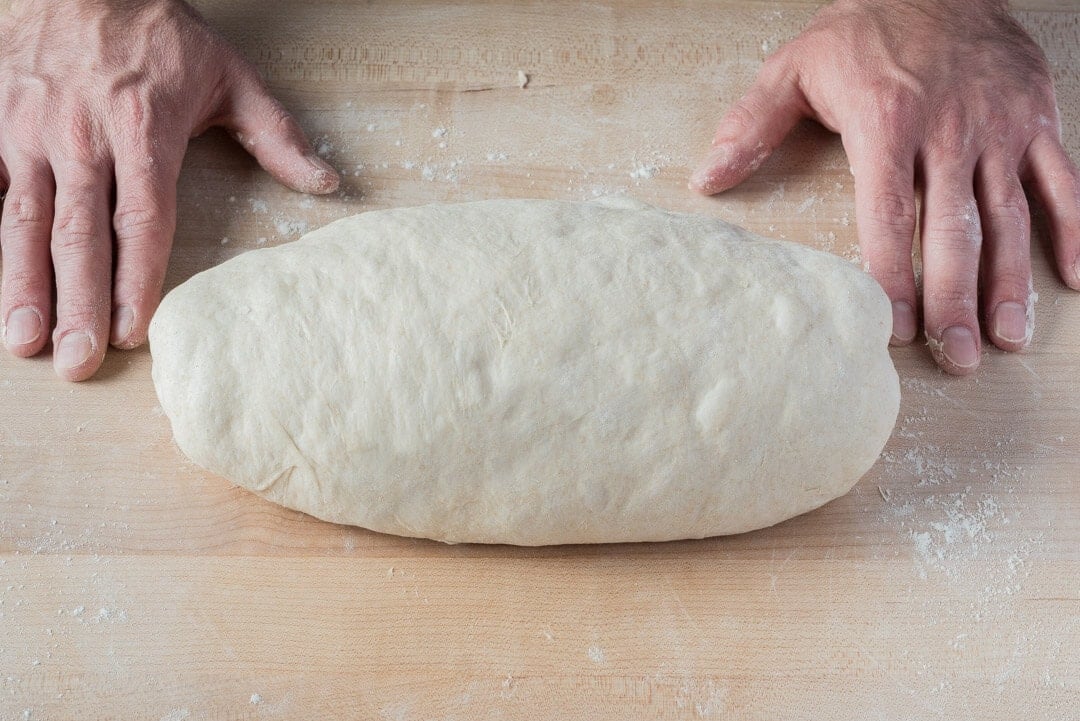
How to Shape a Bâtard (Oval)
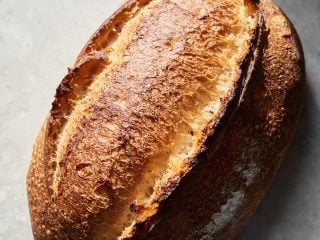
I’m naturally drawn to this shape, and I typically score a long, single slash to bisect the loaf down its central meridian. The way the score peels back, singeing the very edge to a dark brown, and forming a pronounced “ear” with a spectrum of colors from edge to edge—it gets me every time.
I also simply like the way it slices. Each cut makes a cross-sectional slice that’s a little shorter, perfect for making a hearty sandwich.
- Shaping: I have two methods, one for slack dough that imparts more structure and strength (“stitching”) and one that I use more often, which is gentler and encourages a more open crumb (“cinching”).
- Proofing: I always proof my bâtard dough seam side up in a covered basket.
Read my guide to shaping a batard →
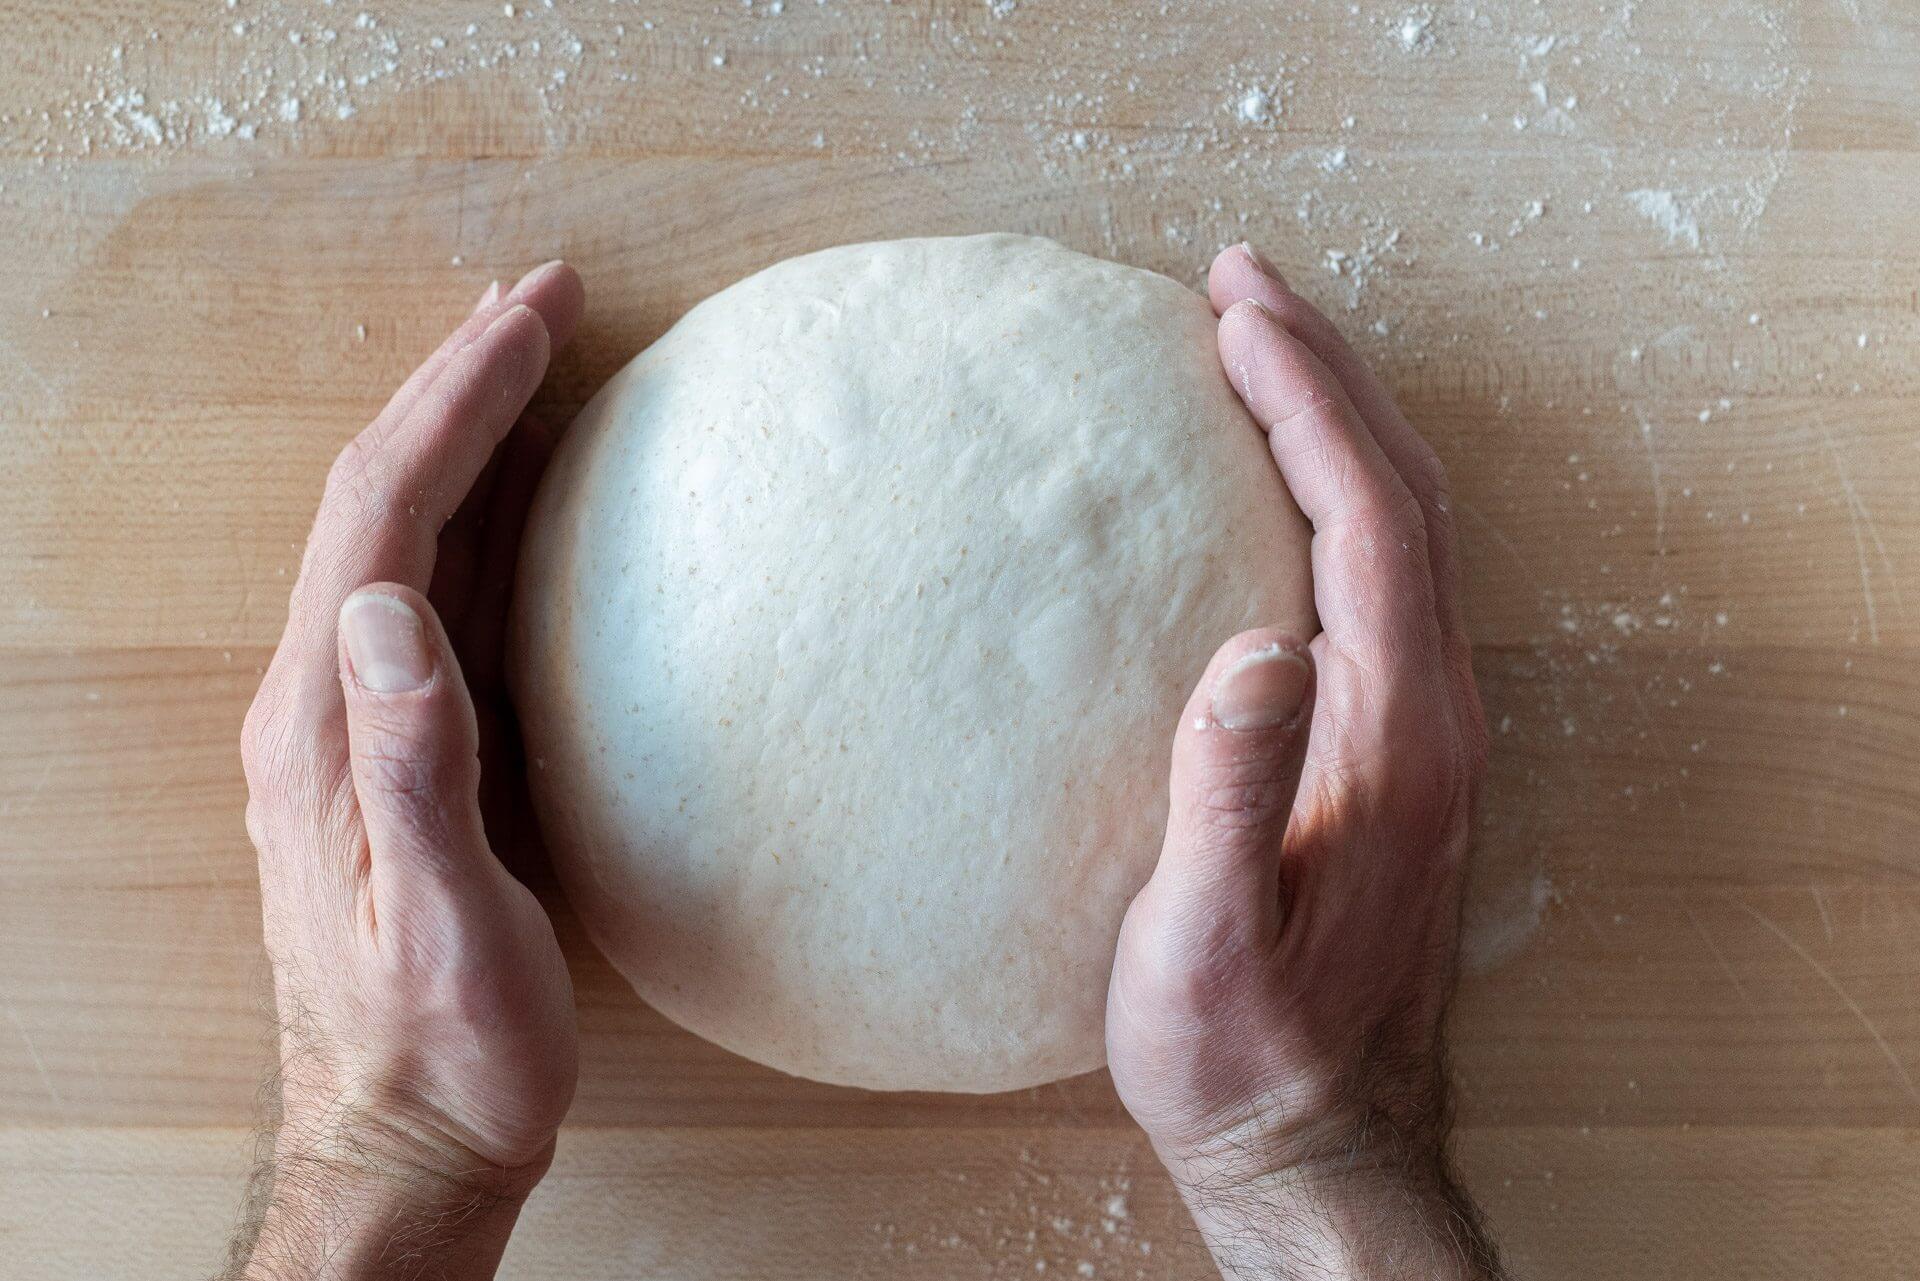
How to Shape a Boule (Round)
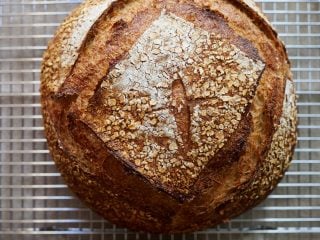
A staple shape for any baker, the boule is the simplest form of shaping and a good option when working with doughs that are expected to have a tighter interior crumb (like porridge bread, whole wheat, or those with high mix-in percentages).
I use the same boule shaping method for shaping smaller loaves up to larger loaves, like a sourdough miche.
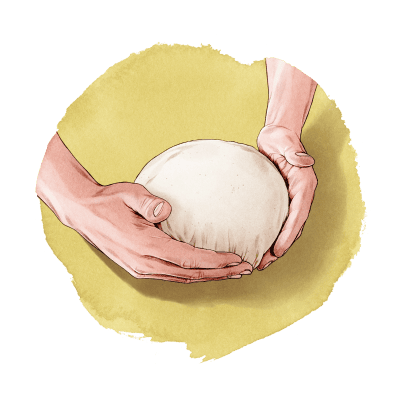
- Shaping: I have two methods, one for a slack dough calling for extra folds, pushes, and tucks, and one for a simple “gathering up” of the corners toward the middle when the dough is stronger and more elastic.
- Proofing: I always proof my boule dough seam side up in a covered basket.
Read my guide to shaping a boule →
How to Shape a Pan Loaf (For Sandwich Bread)
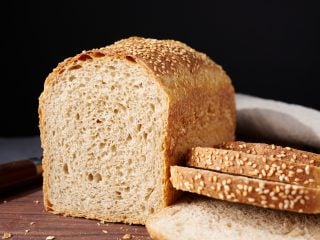
I’m a big fan of pan loaves; the pan’s structure lets you push the limits of what a dough can handle (water, mix-ins, enrichments) while almost always guaranteeing success.
- Shaping: My method is similar to a bâtard, though I typically like to degas pan loaf dough before shaping to ensure an even crumb with small holes.
- Proofing: I always proof my pan loaf dough seam side down in a covered baking pan.
Read my guide to shaping pan loaves →
How to Shape a Baguette (Or Demi-baguette)
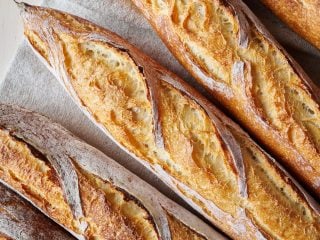
Thanks to our smaller oven size and limited proofing options, baguettes are a challenge for the home bread baker. But they also require practice and consistent attention to fermentation, dough strength, shaping, and proofing.
That said, they’re one of my favorite types of bread to make and are 💯 worth the effort.
- Shaping: More involved than most other shapes, and it becomes easier with consistent practice. The challenge with baguettes is to be gentle enough to preserve an open and airy structure, without being so gentle they lose structure when baking.
- Proofing: I always proof my baguette dough on a couche (baker’s linen). Another option is to use a clean, large kitchen towel.
Read my guide to shaping a baguette →
How to shape buns, rolls, and small pieces of dough
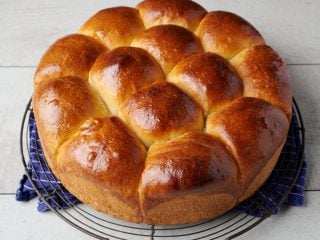
You can use your hands to make small, tight rounds when shaping bread dough as a small bun or roll. Alternatively, you can use a bench scraper if the dough is extra soft and tacky. I tend to use my bench scraper more often than not because it’s easy to push and pull the dough against the work surface with the blade, more easily encouraging a tight skin to form on the exterior of the dough.
I use two methods here, one with only my hands and one with my bench knife.
- Shaping: I use two methods, either with my hands lightly floured, or I will use a bench scraper to push, pull, and round the dough into a tight form.
- Proofing: If I’m baking buns or rolls in a pan (like shown above), I’ll proof them directly in the pan (typically until they rise to the rim). I’ll proof them on a covered baking sheet with equal spacing between them for sturdier or crustier buns and rolls.
Read my guide to shaping buns, rolls, and other small pieces of dough →
How to Shape Pizza Dough

Okay, while not strictly “bread dough,” I’d be remiss if I didn’t include a link to my pizza dough shaping guide. I’m in a camp that believes pizza is certainly not bread, but I still hold both in equally high regard.
- Preshaping: I typically pick up each piece of divided dough and use my hands to pinch the dough around itself to form a ball with a smooth, tight skin and no bottom seam.
- Proofing: Pizza dough is proofed before it’s shaped into a final, large circle. I like proofing my pizza dough in a covered pizza dough bin, a small glass container, or a covered baking sheet.
- Shaping: To shape a proofed piece of pizza dough, I first dimple down the bottom side of the relaxed round, careful not to overly press out the outer rim of the circle. Then, I flip it over, dimple down again, and begin spreading the dough outward into a large circle. Often, I’ll pick up the dough midway through this spreading and drape it over the backs of my curled fingers to encourage the dough to stretch outward.
Read my guide to shaping pizza dough →
Shaping Bread Dough FAQs
Why is my bread dough so sticky when shaping?
Either your dough is over hydrated, under-strengthened, or over-proofed. In most cases, it is either over-hydrated or under-strengthened. Hold back some of the mixing water next time if you feel the dough is very wet and hard to handle at the end of mixing. If the dough feels weak and fails to smooth and hold its shape by the end of bulk fermentation, mix/knead it longer or add more sets of stretches and folds during bulk fermentation.
Should I use water, flour, or something else when shaping bread dough?
When preshaping, I like to use water, but for final shaping, I almost always use flour don’t he work surface and my hands to keep everything nonstick. An exception might be a very highly hydrated dough like a pan loaf, where water might make more sense since the dough will be very sticky and wet.
What’s Next?
Now that you know everything about shaping bread dough, see the next step in the bread-making process: proofing your bread dough for the best flavor and rise possible.
Finally, if you want to see all the steps to the sourdough bread-making process, read through the Beginner’s Guide to Sourdough Bread.
The amount the dough relaxes outward depends on the type of dough. For instance, a very wet whole wheat dough will relax outward farther and faster than a low hydration white dough.↩