
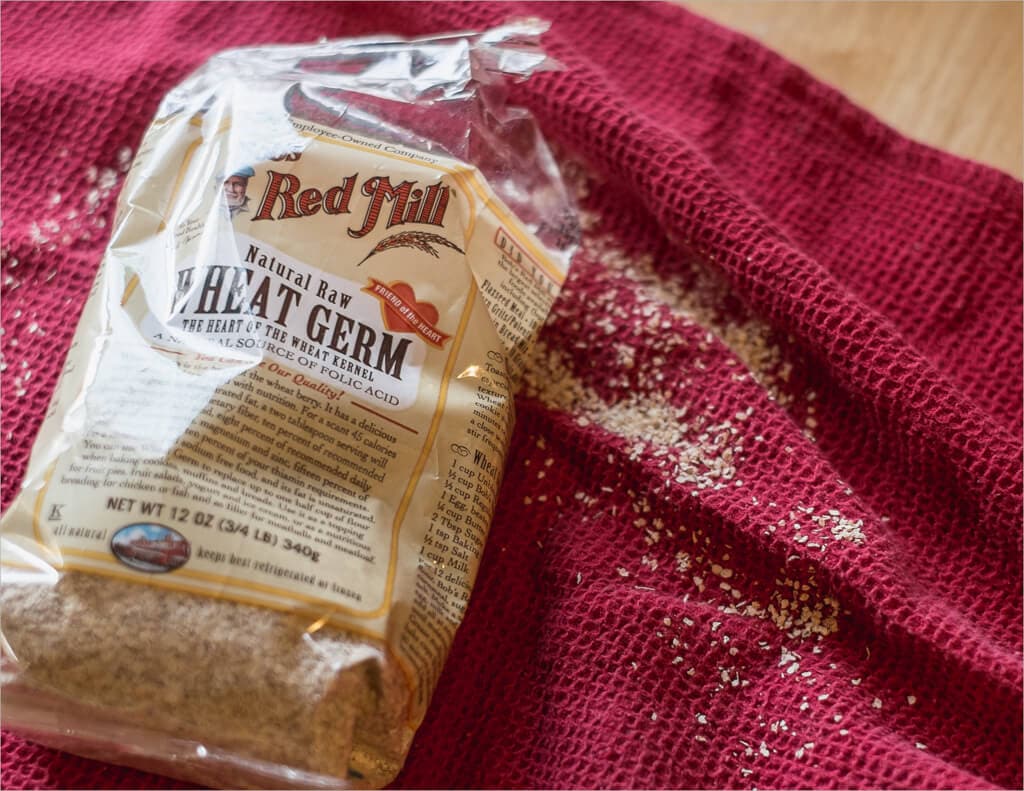
One of the reasons I started this journal was to experiment with my bread baking, and this entry has me dabbling with a bit of wheat germ. What the heck is wheat germ and why would we want to use it?
More fiber and nutrition with wheat germ? Yes, I think that sounds like two good additions to my family’s bread. After doing some research on The Fresh Loaf, and through some interactions on Instagram, I quickly ordered a package of wheat germ.
The germ is retained as an integral part of whole-grain foods. Non-whole grain methods of milling are intended to isolate the endosperm, which is ground into flour, with removal of both the husk (bran) and the germ. Removal of bran is aimed at producing a flour with a white rather than a brown color, and eliminating fiber: neither of these objectives is necessarily desirable from the nutritional viewpoint. 1
The “research” suggested that adding about 10% of wheat germ would stimulate the fermentation during the bulk fermentation phase, much the same way as adding extra whole wheat flour would, but requiring much less whole wheat. One reason I wanted to give this a try is that my starter can sometimes get a bit “sluggish” when using only white flour and this go around I really wanted to push the white flour.
Without further ado, on to The Wheat Germ Experiment!
Prepare the leaven – 10:00pm
The night before you plan to prepare your dough, mix the following, lightly cover, and set out on the counter overnight:
- 55g ripe starter
- 200g whole wheat flour
- 200g water
Mix the flour + water, autolyse – 8:00am
In the morning, once your starter is ready (see here for some shots on what a “ready” starter should look like), gather your ingredients.
Ingredients:
- 250g (25%) of your new leaven
- 100g (10%) raw wheat germ
- 100g (10%) whole-wheat flour
- 800g (80%) all-purpose white flour
- 20g (2%) fine sea salt
- 720g water and 50g (77%) in reserve for the next step
Method:
- Add 250g leaven to your large mixing bowl
- Pour in 720g water and mix with your hands until the leaven is completely dissolved
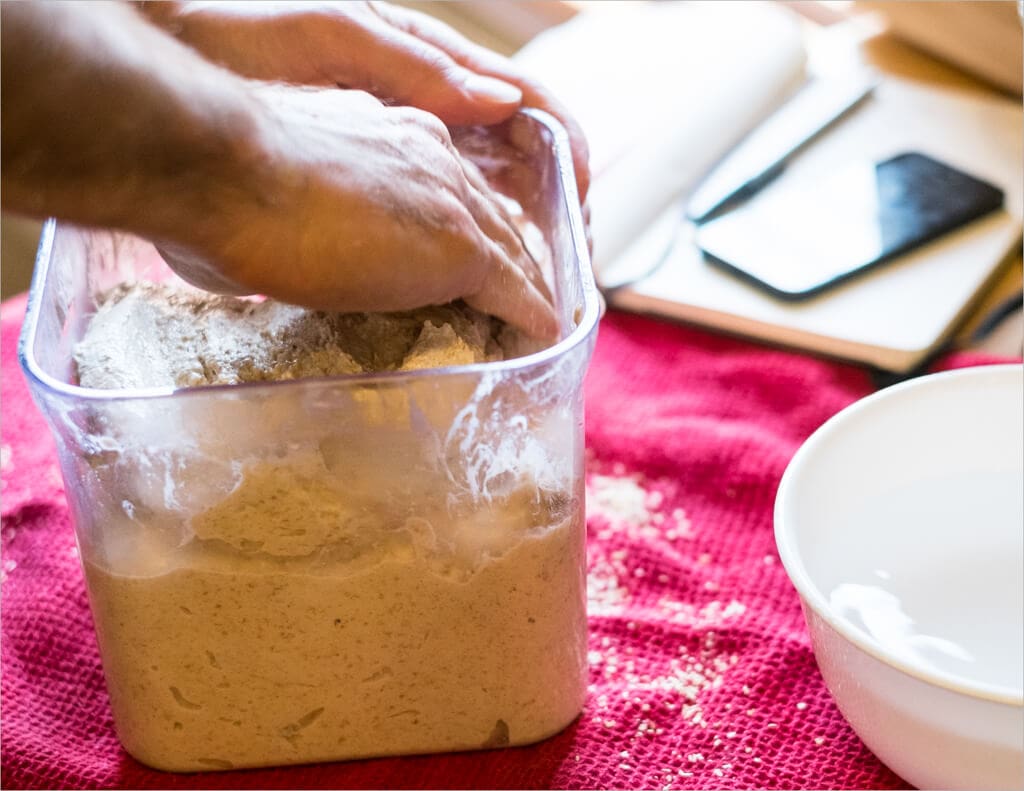
- Add 100g wheat germ, 800g white flour, and 100g whole wheat flour and mix with your hand until all the dry bits of flour are gone
- Cover your bowl with a towel and let autolyse for 40 minutes
- After 40 minutes, add 20g salt on the dough and slowly pour your reserved water on top. Squeeze the dough with your hand to incorporate the salt throughout
- Now reach your hand under the dough and pull the side up and over onto itself. Continue to do this as you spin the bowl; grab, pull, and push. Do this until the dough comes together and becomes super sticky and comes together
- Transfer your dough to your plastic or glass container, set a timer for 30 minutes
Bulk Fermentation – 8:50am
At this stage we want to do 4 sets of turns, plus 1 – 2 hours of bulk fermentation. This is one of the most important phases of the whole process, and one that I continue to struggle with. You really need to feel the dough and adjust your fermentation time based on the strength of the dough, not the clock.
After I had started this phase and the first 4 turns sped by, per usual (don’t weekends always do this?), I realized the dough needed more turns as it just didn’t feel strong enough.
- 9:20am – Turn 1
- 9:50am – Turn 2
- 10:20am – Turn 3
- 10:50am – Turn 4
- 11:20am – Turn 5
- 11:20am – 12:50pm rest on counter
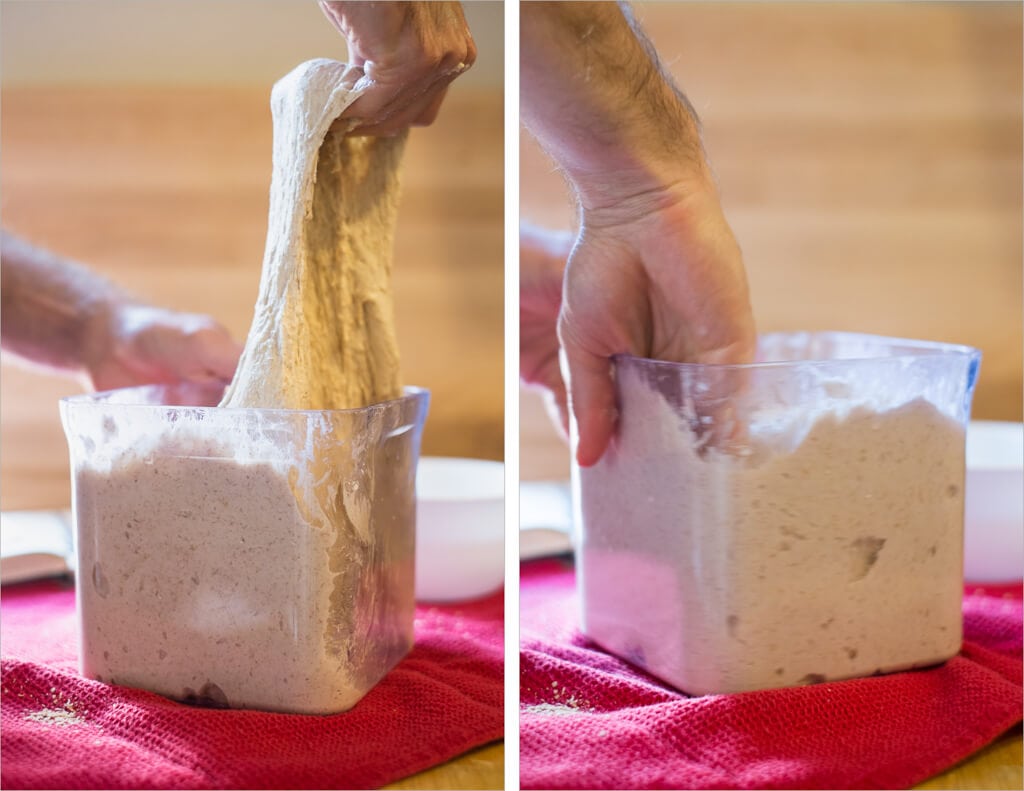
As you can see, that’s a pretty lengthy bulk step but I felt it was necessary. At the end of this the dough rose about 30% almost to the top of my container. The dough felt much stronger and would hold its shape after turning.
Pre-shape – 12:55pm
Take the dough out of the container onto your unfloured work surface and sprinkler some flour on top before dividing. Divide the mass into two equal halves and flour the top of each half. Flip one half over using your dough knife and your hand, then gently bend the 4 sides of the dough from under to the top (imagine closing a cardboard box you’re preparing for shipment). Using the knife flip the mass so the new seam is on the counter and spin it a few times to create a bit of tension. Set a timer for 35 minutes and let it bench rest.
Shape – 1:30pm
The resting dough should have spread out, but not quite into a thin pancake shape. If it has formed a pancake you can strengthen it by pre-shaping one more time and waiting another 35 minutes.
Flour the top of one of the boules and flip it over with your lightly floured hand and dough knife. Take the part of the dough that’s closest to you and fold it up and over in half. Take the part that’s to the right, stretch it out as far as it will stretch, and fold it up and to the left. Repeat with the left side and the side of the dough farthest from you. Then take the edge that’s closest to you, pull it up and over again towards the back. When doing this last move you will lift the entire dough up and over until the seam side is now down on your work surface.
Spin the dough using your two hands to shape into a boule. As you slightly pick up the dough and spin it, the bottom snags the unfloured work surface and creates tension. I do this several times to create a very taught surface on the top of the boule sometimes small air bubbles will be visible. This tension is what creates that nice blistery look on your loaf once you bake it.
Proof – Approx 2:00pm
Place towels into small mixing bowls, or bannetons, and dust with white rice flour. These baskets will hold the dough as they proof in the fridge overnight.
For one of these boules I decided to try out a rectangular banneton I’ve had sitting in my cupboard for some time. I essentially placed the boule in the banneton like usual, but because of the shape, it ended up forming more of an elongated shape (a batard) than a pure round boule. Place both of the baskets into the fridge for an overnight proof, a chance to strengthen and build taste complexity.
Score + Bake – 7:00am
Gather your tools:
- Lame (blade) for scoring bread dough prior to baking
- Parchment paper
- Pizza peel
- Pizza stone
- Oven mitts
- Lodge Combo Cooker
See my post on baking in a Dutch oven (or combo cooker) for more information on the following process.
In the morning get your oven ready: place your pizza stone in your oven at the middle position and turn it on to 450°F (230°C) to preheat.
Take one of your loaves out of the fridge, cut a piece of parchment paper, and place it on top of the basket. I then place the pizza peel on top of the parchment paper (and basket) and invert the whole thing quickly to get the dough out of the bowl and onto the paper and peel.
Get your razor blade out and score the top of the loaf to allow the bread to expand while rising in the oven. For the rectangular loaf I did a single slash down the middle starting from the very top to the bottom. I attempted this scoring pattern to coax the loaf into opening up forcefully through the middle.
Place the dough into the combo cooker, cover with the lid, and bake for 25 minutes. After this time, open the oven, remove the lid of the combo cooker, and bake for an additional 35. After pulling the loaves from the oven I cool them on a wire rack for at least one hour before cutting into them. Cutting too soon can cause the crust to harden drastically and the inside to become quite dense. See my post on storing bread for more information on this.
Conclusion
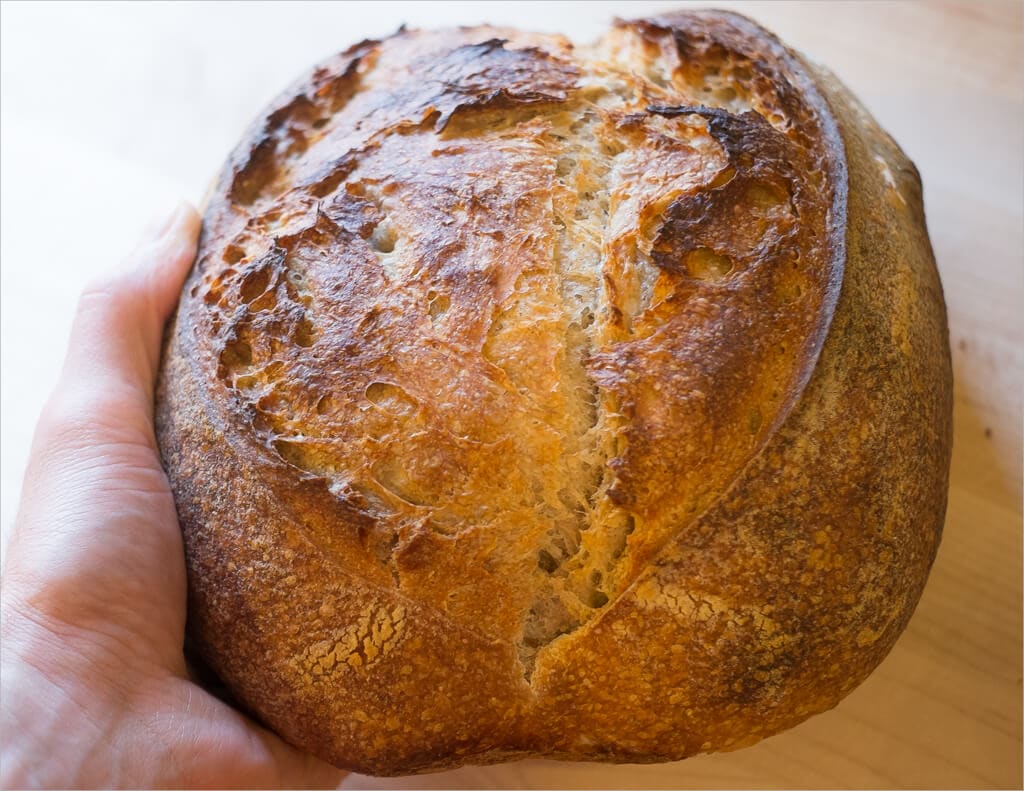
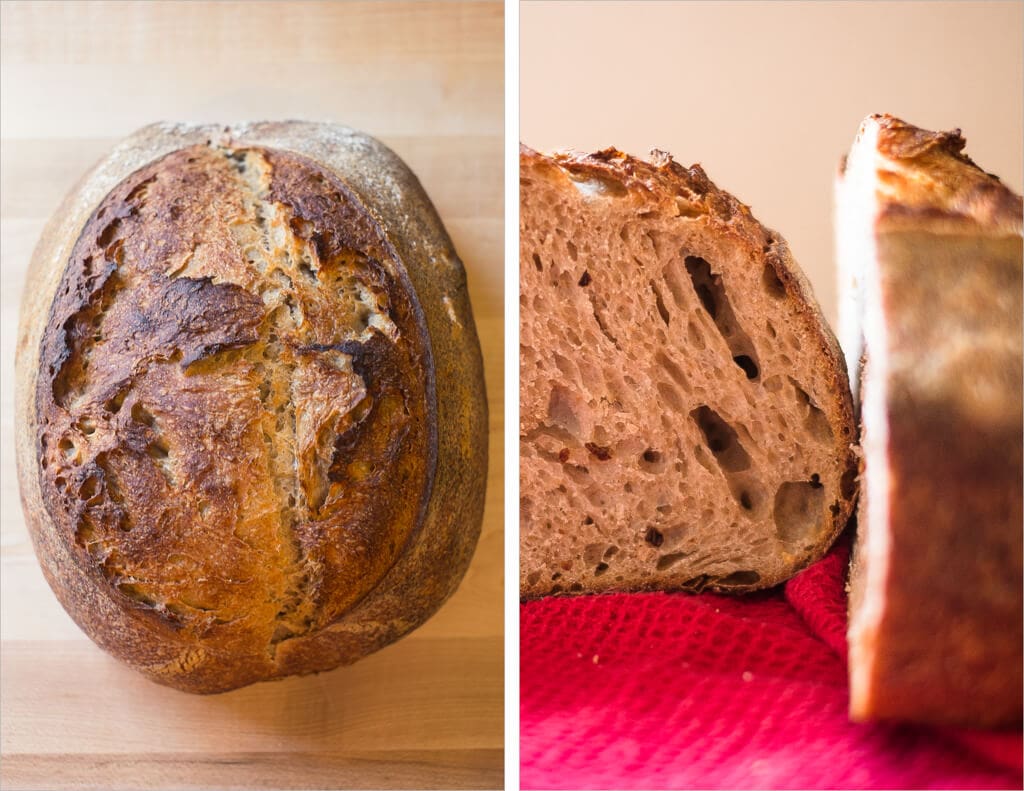
Crust
Nice coloring, but not quite enough spring to form the “ears” I so desire. One reason for this, I believe, is my shaping might not have imparted sufficient tension on the outside of the loaf.
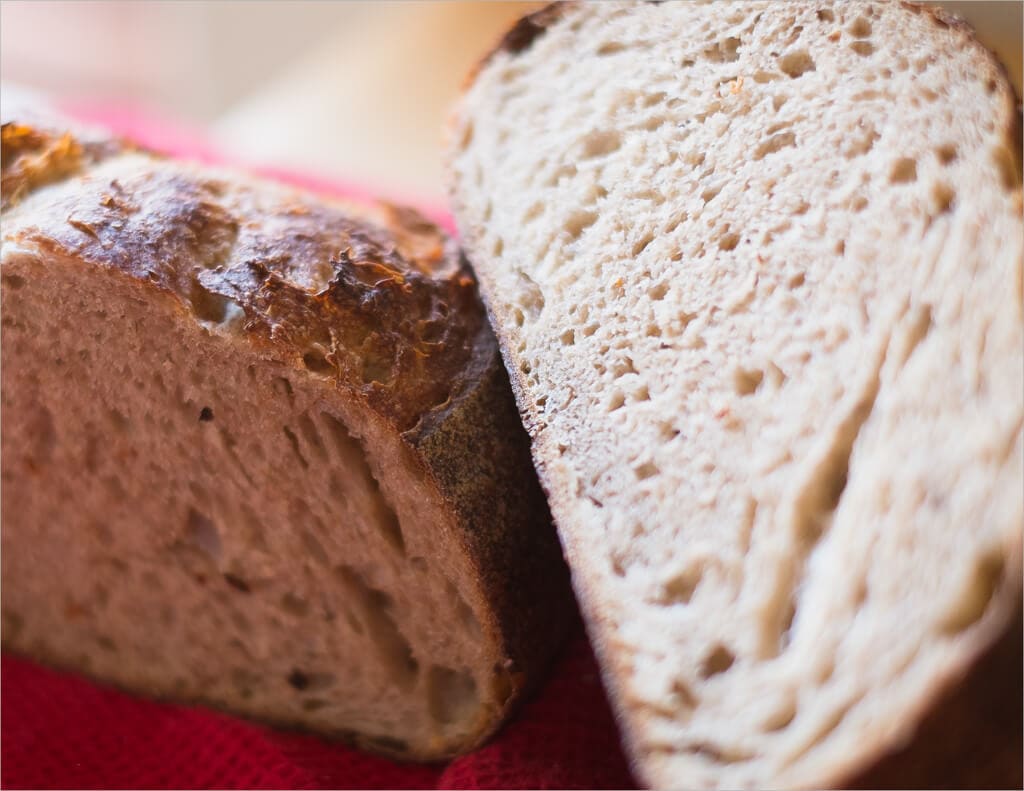
Crumb
Nice rise and great interior movement, but not quite open enough. It’s a bit dense, as you can see— where are the irregular open holes for these loaves? Something to work on.
Taste
Well, they taste excellent! The wheat germ seems to add a touch of “nuttiness” to the bread and a bit of texture to the crumb as well. In the future I’d like to experiment with toasting the wheat germ before incorporating it into the main dough.
All-in-all the experiment was well attempted, but will need some tweaks for the next go around. I do believe, based on these findings, that the wheat germ does in fact spur fermentation further than what I would normally see with 100% white flour. My starter must really like that wheat germ, and you know, I think I like the taste and texture enough to give this a second shot in the near future.
Buon appetito!
If you use this recipe, tag @maurizio on Instagram so I can take a look!
